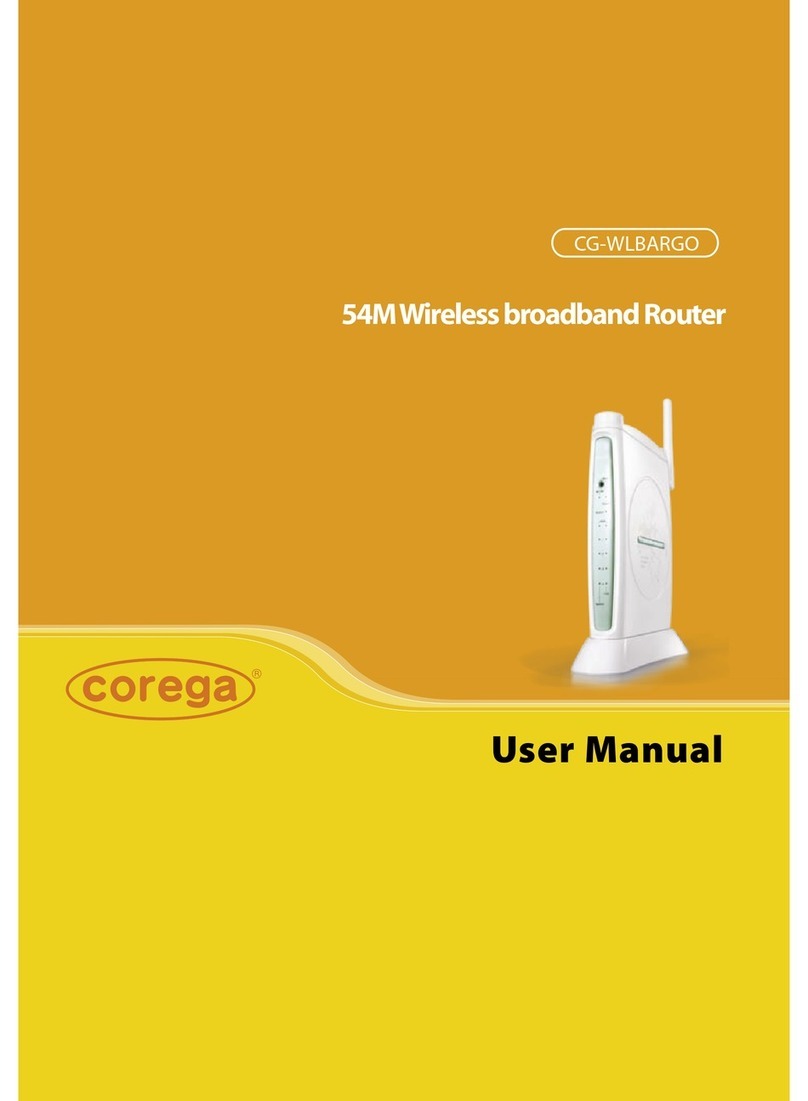
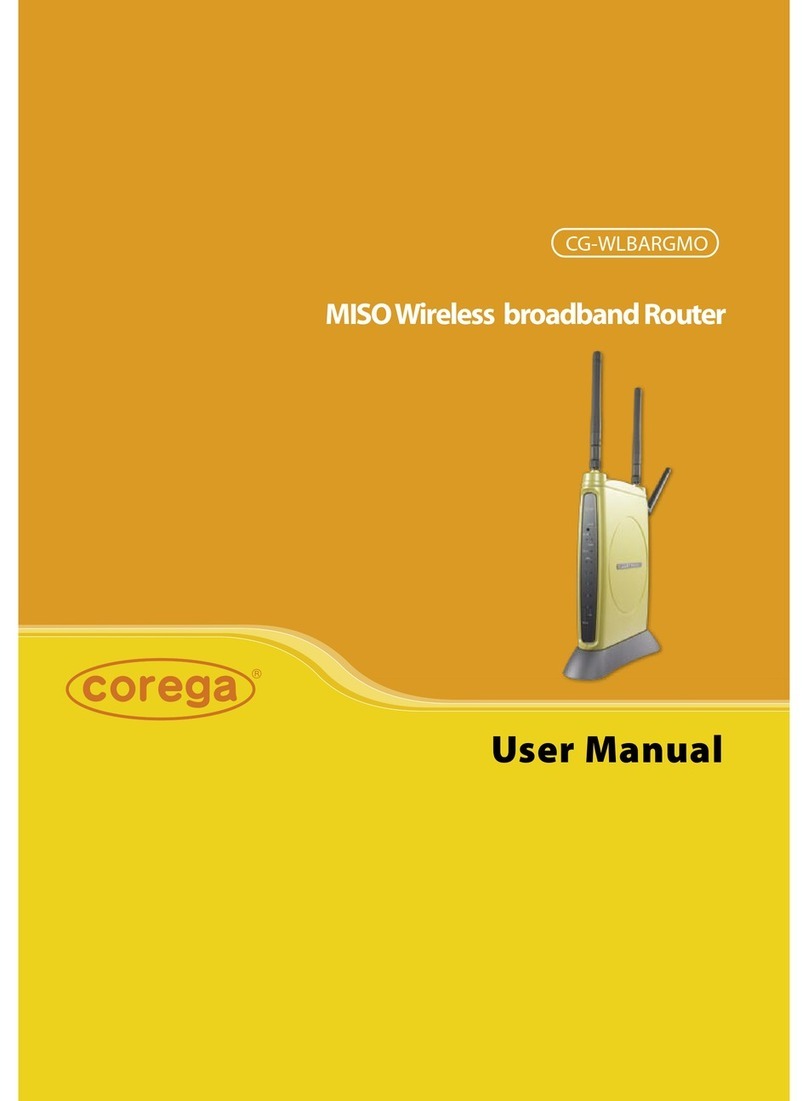
Corega WLBAR-AA User manual

Trademarks
CoregaTM is a trademark of Corega Holdings KK., Japan.
Other trademarks, brand and product names are acknowledged as
trademarks of their respective holders. Information is subject to
change without notice.
All rights reserved.
617-10130-01

WLBAR-AA
ADSL WIRELESS
802.11g 54MBPS
ROUTER
GET CONNECTED
HUBS • SWITCHES • ADAPTERS • WIRELESS LAN • USB • KVMs • MEDIA CONVERTERS • ROUTERS • ADSL
ENGLISH: Pg 1-4
DEUTSCH: Pg 5-8
ITALIANO: Pg 9-12
ESPAÑOL: Pg 13-16
FRANÇAIS: Pg 17-20
русский:Pg 21-24
WLBAR-AB
Quick Install Guide

ENGLISH
1
Quick Install Guide
1. Hardware Installation and configuration
Package Contents
After carefully unpacking the shipping carton, check the contents listed below.
1 x ADSL Router
1 x Power Adapter
1 x CD
1 x Telephone Cable
1 x Ethernet Cable
1 x This Manual
Front & Rear Panel Connectors Figure 1. Package Contents
• Antenna Provides data transmission and reception for wireless devices. Please ensure that the
Antenna is facing upwards
• RESET Using a pencil tip press this button to reset the router back to factory defaults.
• ADSL This is the Wan connection port to the ADSL Splitter
• LAN 1-4 Four LAN ports for local computers/printers
• POWER Inlet socket for external adapter
• Power Off-No power applied
Green-Power to the router
• Status Off - Normal Operation
Yellow - Flashig during power up and firmware uploads.
• 10/Activity Off-Port not active
(One per port) Green-Port has valid connection at 10Mbps
Flashing-Data activity on the port at 10Mbps
• 100/Activity Off-Port not active
(One per port) Green-Port has valid connection at 100Mbps
Flashing-Data activity on the port at 100Mbps
• Wireless Off: Wireless connection not active
Green: Wireless connection is established and ready to use.
Flashing: Data activity on the port
• ADSL Off: WAN connection not active
Green: WAN connection is established and ready to use.
Flashing: Data activity on the port
Figure 2. Router Rear Panel Connections
Power Status
LAN
WirelessADSL
100 10
1
2
3
4
WLBAR-AA
Wireless, ADSL
Broadband
Access
Router
ADSL
RESET
LAN4
LAN3
LAN1
LAN2
POWER

ENGLISH
2
2. Installation
Connect the router as shown.
Figure 3. Hardware Installation
Power on the devices in the following sequence:
• ADSL Router
• Computer(s)
Note: The computer needs to be configured with the following:
• Ethernet Card supporting either:
- 10Base T
- 100Base TX
- IEEE 802.11b
- IEEE 802.11g
• TCP/IP Protocol
• Web browser such as Microsoft Internet Explorer 4.0 or later

ENGLISH
3
3. Basic Installation & Setup
This chapter describes the procedures necessary to configure the basic functions of the router to allow internet access.
The following information should be supplied by your ISP.
Username: & Password:
Now open up Internet Explorer and type:
http://192.168.0.1
Note! For most users, a compatible IP address will be automatically allocated to each computer by the router’s internal DHCP server. If you cannot access the
router – check that the computer has been set to receive a dynamic IP address or manually configure a compatible IP address.
From Windows:
Start/Settings/Network & Dial Up Connections/Local Area Connection/Properties/TCP/IP
The following screen should appear:
Figure 4. Login Screen
Enter the following default username and password.
Username: admin
Password: password

ENGLISH
4
The ADSL parameters used by each Country are slightly different. The settings for most countries are available as a config file on the CD. The config for your country
and ISP now needs to be loaded onto the router.
Select the Management settings menu, then select Config. From the Config menu browse to the config file on the CD and press Restore.
Figure 7. Restoring a config file.
The router will automatically save the settings and try and establish a connection to the Internet. If not, check the username and password are correct and ensure the
settings for your country are correct, then retry.
Congratualtions you have successfully installed your Corega ADSL wirelss router. For advanced settings please refer to the comprehensive English manual on the CD.

DEUTSCH
5
Installationskurzanleitung
1. Hardwareinstallation und -konfiguration
Paketinhalt
Bitte prüfen Sie nach dem vorsichtigen Auspacken des Versandkartons die
Anwesenheit der nachfolgend aufgelisteten Artikel.
1 x ADSL-Router
1 x Stromadapter
1 x CD
1 x Telefonkabel
1 x Ethernet-Kabel
1 x Diese Anleitungen
Abbildung 1. - Paketinhalt
Anschlüsse an der Geräterückseite
• Antenne Ermöglicht Datenübertragung/-empfang für Wireless-Geräte. Bitte vergewissern Sie sich,
dass die Antenne nach oben gerichtet ist
• Reset Durch Drücken dieser Taste für 3 Sekunden wird das Gerät auf die werksseitigen
Grundeinstellungen zurückgesetzt
• ADSL WAN (ADSL)-Anschluss zum ADSL-Splitter
• LAN 1 – 4 Vier LAN-Anschlüsse für lokale Computer/Drucker
• Power Anschlussbuchse für externen Stromadapter
• Strom Aus - Keine Stromzufuhr
Grün - Router wird mit Strom versorgt
• Status Aus - Normaler Betrieb
Gelb - Blinkt beim Einschalten und bei Firmware-Uploads
• 10 / Activity Aus - Port nicht aktiv
Grün - Port hat gültige Verbindung (10Mbps)
Blinken - Datenübertragung am Port (10Mbps)
• 100 / Activity Aus - Port nicht aktiv
Grün - Port hat gültige Verbindung (100Mbps)
Blinken - Datenübertragung am Port (100Mbps)
• ADSL Aus - Port nicht aktiv
Grün: WAN (ADSL) -Verbindung zum hergestellt
Blinken - Datenübertragung am Port
• Wireless Aus - Port nicht aktiv
Grün: WLAN-Verbindung zum ISP hergestellt
Blinken - Datenübertragung am Port
Abbildung 2. – Anschlüsse und LEDs
Power Status
LAN
WirelessADSL
100 10
1
2
3
4
WLBAR-AA
Wireless, ADSL
Broadband
Access
Router
ADSL
RESET
LAN4
LAN3
LAN1
LAN2
POWER

DEUTSCH
6
2. Installation
Schließen Sie den Router wie dargestellt an.
Abbildung 3. – Hardwareinstallation
Schalten Sie die Geräte in der folgenden Reihenfolge ein:
• ADSL-Router
• Computer
Hinweis: Der Computer muss mit dem Folgenden konfiguriert werden:
• Ethernet-Karte, die einen der folgenden Standards unterstützt:
- 10Base T
- 100Base TX
• TCP/IP-Protokoll
• Web-Browser. Zum Beispiel Microsoft Internet Explorer 4.0 oder später

DEUTSCH
7
3. Grundinstallation & Konfiguration
In diesem Kapitel wird das Konfigurieren der für den Internetzugriff des Routers erforderlichen Grundfunktionen erläutert.
Ihr ISP sollte die folgenden Informationen bereitstellen:
Benutzername:
Passwort:
Öffnen Sie jetzt den Internet Explorer und geben Sie Folgendes ein:
http://192.168.0.1
Hinweis! In den meisten Fällen teilt der interne DHCP-Server des Routers jedem Computer automatisch eine kompatible IP-Adresse zu. Falls Sie nicht auf den
Router zugreifen können, sollten Sie sich vergewissern, dass der Computer für die Zuteilung einer dynamischen IP-Adresse konfiguriert ist, oder eine
kompatible IP-Adresse manuell konfigurieren.
Unter Windows:
Start/Einstellungen/Netzwerk & DFÜ-Verbindungen/LAN-Verbindung/Eigenschaften/TCP/IP/Eigenschaften
Vergewissern Sie sich, dass 'IP-Adresse automatisch beziehen' aktiviert ist.
Der folgende Bildschirm sollte angezeigt werden.
Abbildung 4. – Anmeldebildschirm
Die werkseitig eingestellten Standardwerte sind:
Benutzername: admin
Passwort: password

DEUTSCH
8
In jedem Land werden geringfügig unterschiedliche ADSL-Parameter verwendet. Die für die meisten Länder und ISPs erforderlichen Einstellungen stehen als
Konfigurationsdatei auf der CD bereit. Die Konfiguration für Ihr Land und Ihren ISP muss jetzt in den Router geladen werden.
Wählen Sie das Menü Management Settings und dann Config. Durchsuchen Sie die CD vom Menü Config aus nach der Konfigurationsdatei (Config).
Der Router speichert die Einstellungen automatisch und versucht, eine Verbindung zum Internet herzustellen. Vergewissern Sie sich andernfalls, dass Sie den
Benutzernamen und das Passwort korrekt eingegeben haben und dass die korrekten Einstellungen für Ihr Land verwendet werden. Versuchen Sie dann erneut, eine
Verbindung herzustellen.
Herzlichen Glückwunsch – Sie haben Ihren Corega ADSL-Router erfolgreich installiert. Details zu den erweiterten Einstellungen können Sie dem umfassenden, auf der
CD enthaltenen, englischsprachigen Handbuch entnehmen.

ITALIANO
9
Guida di installazione rapida
1. Installazione e configurazione dell'hardware
Contenuto della confezione
Aprire con cura l'imballaggio e verificare la presenza degli elementi elencati di seguito.
1 x router ADSL
1 x trasformatore per alimentazione
1 x CD
1 x cavo telefonico
1 x cavo Ethernet
1 x Questo manuale
Figura 1. - Contenuto della confezione
Connettori del pannello posteriore
• Antenna Consente la trasmissione e la ricezione di dati con dispositivi senza fili. Assicurarsi che
l'antenna sia rivolta verso l'alto
• Reset Tenere premuto questo pulsante per 3 secondi per ripristinare tutte le impostazioni
predefinite del router
• ADSL Porta della connessione WAN (ADSL) per lo splitter ADSL.
• LAN 1 – 4 Quattro porte LAN per computer o stampanti locali
• Power Socket di entrata per trasformatori di alimentazione esterni
• Power Spento - Router non alimentato
Verde - Router alimentato
• Status Spento - Funzionamento normale
Giallo lampeggiante - durante l'attivazione del router e il caricamento del firmware
• 10 /attività Spento - Porta non attiva
(uno per porta) Verde - Porta collegata (10Mbps)
Lampeggiante - Attività di dati sulla porta (10Mbps)
• 100 /attività Spento - Porta non attiva
(uno per porta) Verde - Porta collegata (100Mbps)
Lampeggiante - Attività di dati sulla porta (100Mbps)
• Wireless Spento - Porta non attiva
Verde - Connessione Wireless stabilita e pronta all'uso
Lampeggiante - Attività di dati sulla porta
• ADSL Spento - Porta non attiva
Verde - Connessione WAN (ADSL) stabilita e pronta all'uso
Lampeggiante - Attività di dati sulla porta
Figura 2. - Connettori et LED del router.
Power Status
LAN
WirelessADSL
100 10
1
2
3
4
WLBAR-AA
Wireless, ADSL
Broadband
Access
Router
ADSL
RESET
LAN4
LAN3
LAN1
LAN2
POWER

ITALIANO
10
2. Installazione
Collegare il router come mostrato in figura.
Figura 3. - Installazione dell'hardware
Accendere i dispositivi nel seguente ordine:
•Router ADSL
•Computer
Nota: il computer deve essere configurato nel modo indicato di seguito.
• Scheda Ethernet
- 10Base T oppure
- 100Base TX
• Protocollo TCP/IP
• Browser Web, ad esempio Microsoft Internet Explorer 4.0 o successivo

ITALIANO
11
3. Installazione e configurazione di base
Questo capitolo fornisce una descrizione delle procedure necessarie per la configurazione delle funzionalità di base del router che consentono l'accesso a Internet.
Le seguenti informazioni vengono fornite dall'ISP:
Username
Password
Aprire Internet Explorer e digitare:
http://192.168.0.1
Nota! Di norma, il server DHCP interno dei router assegna automaticamente un indirizzo IP compatibile a ogni computer. Se non si riesce ad accedere al router,
verificare che la configurazione del computer consenta la ricezione di un indirizzo IP dinamico oppure configurare manualmente un indirizzo IP c
ompatibile.
Da Windows
Start/Impostazioni/Pannello di controllo/Rete/Configurazione/Proprietà/Proprietà - TCP/IP
Assicurarsi che l'opzione "Ottieni automaticamente un indirizzo IP" sia selezionata.
A questo punto dovrebbe essere visualizzata la finestra seguente.
Figura 4. - Finestra di login
I valori predefiniti sono:
Nome utente: admin
Password: password

ITALIANO
12
I parametri ADSL utilizzati variano leggermente da paese a paese. Per la maggior parte dei paesi e degli ISP, le impostazioni sono disponibili nel file config che si
trova sul CD. Le configurazioni per il paese e l'ISP devono essere caricate nel router.
Selezionare il menu Management settings (Impostazioni amministratore), quindi Config (Configura). Dal menu Config individuare il file config presente sul CD e
premere Restore (Ripristina).
Le impostazioni vengono salvate automaticamente e viene avviata la connessione a Internet. In caso contrario, verificare lo username e la password, assicurarsi che le
impostazioni per il proprio paese siano corrette e provare di nuovo.
L'installazione del router wireless ADSL Corega è stata completata correttamente. Per informazioni sulle impostazioni avanzate, fare riferimento al manuale completo
(in lingua inglese) presente sul CD.

ESPAÑOL
13
Guía de instalación rápida
1. Instalación y configuración del hardware
Contenido del paquete
Después de desempaquetar cuidadosamente el embalaje de transporte, compruebe el
contenido de la siguiente lista.
1 x Router ADSL
1 x Adaptador de alimentación
1 x CD
1 x Cable de teléfono
1 x Cable Ethernet
1 x Este manual Figura 1. Contenido del paquete
Conectores en el panel posterior
• Antena Hace posible la transmisión y la recepción de datos entre dispositivos inalámbricos.
Asegúrese de que la antena esté orientada hacia arriba
• Reset [Restablecer] Al mantener pulsado este botón durante 3 segundos se restablecen los valores
predeterminados de fábrica en la unidad
• ADSL Este es el puerto de conexión WAN (ADSL) de salida al splitter ADSL
• LAN 1 – 4 Cuatro puertos LAN para ordenadores o impresoras locales
• Power [Alimentación] Toma de entrada para el adaptador externo de alimentación
• Power [Alimentación] Apagado - Alimentación eléctrica no conectada
Verde - Alimentación eléctrica conectada al router
• Status Apagado - Funcionamiento normal
Amarillo – Parpadeando durante el encendido y las descargas de firmware
• 10 Link/Activity Apagado - Puerto no activo
[Conexión/Actividad LAN] Verde - El puerto tiene establecida una conexión válida (10Mbps
(Uno por puerto) Parpadeando - Actividad de datos en el puerto (10Mbps)
• 100 Link/Activity Apagado - Puerto no activo
[Conexión/Actividad LAN] Verde - El puerto tiene establecida una conexión válida (100Mbps)
(Uno por puerto) Parpadeando - Actividad de datos en el puerto (100Mbps)
• Wireless Apagado - Puerto no activo
Verde: Conexión WLAN establecida y lista para ser usada.
Parpadeando - Actividad de datos en el puerto
• ADSL Apagado - Puerto no activo
Verde: Conexión WAN (ADSL) establecida y lista para ser usada.
Parpadeando - Actividad de datos en el puerto
Figura 2. Conexiones e LEDs del router
Power Status
LAN
WirelessADSL
100 10
1
2
3
4
WLBAR-AA
Wireless, ADSL
Broadband
Access
Router
ADSL
RESET
LAN4
LAN3
LAN1
LAN2
POWER

ESPAÑOL
14
2. Instalación
Conecte el router como se indica en la figura.
Figura 3. Instalación del hardware
Conecte la alimentación eléctrica de los dispositivos en la siguiente secuencia:
• Router ADSL
• Ordenador(es)
Nota: El ordenador se tiene que configurar con los siguientes elementos:
• Tarjeta Ethernet de uno de los siguientes tipos:
- 10Base T
- 100Base TX
• Protocolo TCP/IP
• Explorador Web como Microsoft Internet Explorer 4.0 ó posterior.

ESPAÑOL
15
3. Instalación básica y configuración
En este capítulo se explican los procedimientos necesarios para configurar las funciones básicas del router para poder acceder a Internet.
La siguiente información debe facilitarla el ISP:
Nombre de usuario:
Contraseña:
Ahora inicie Internet Explorer y escriba la dirección siguiente:
http://192.168.0.1
Nota! En la mayoría de los casos, el servidor DHCP interno del router asignará automáticamente una dirección IP compatible a cada ordenador. Si no puede
acceder al router, compruebe que el ordenador esté configurado para recibir direcciones IP dinámicas o configure manualmente una dirección IP
compatible.
Desde Windows
Inicio/Configuración/Conexiones de red y de acceso telefónico/Conexión de área local/Propiedades/TCP/IP/Propiedades
Verifique que la opción “Obtener dirección IP automáticamente” esté activada
Entonces aparecerá la siguiente pantalla:
Figura 4. Pantalla de inicio de sesión
Los valores predeterminados de fábrica son:
Nombre de usuario admin
Contraseña password

ESPAÑOL
16
Los parámetros ADSL usados en cada país pueden ser ligeramente diferentes. En el CD están disponibles en forma de archivos de configuración los parámetros de configu-
ración para la mayoría de los países y proveedores de servicios de Internet (ISP). Luego, tendrá que cargar al router la configuración para su país y su ISP.
Seleccione el menú Management settings [Configuración del administrador], y luego elija Config. Desde el menú Config busque el archivo de configuración en el CD y
pulse Restore[Restaurar].
El router guardará automáticamente la configuración y tratará de establecer una conexión con Internet. Si no se establece la conexión, compruebe que el nombre de
usuario y la contraseña sean correctos, y que la configuración para su país es la adecuada y vuelva a intentarlo.
Enhorabuena; ha instalado correctamente su router inalámbrico ADSL Corega. Para obtener información sobre la configuración avanzada, consulte el manual completo en
inglés que se encuentra en el CD.

FRANÇAIS
17
Guide d'installation rapide
1. Installation et configuration du matériel
Contenu du carton
Après avoir déballé avec précaution le contenu du carton d'expédition, vérifiez que vous
disposez bien des éléments répertoriés ci-dessous.
1 x routeur ADSL
1 x adaptateur secteur
1 x CD
1 x câble téléphonique
1 x câble Ethernet
1 x exemplaire de ce manuel
Figure 1. Contenu du carton
Connecteurs du panneau arrière
• Antenne Assure l'émission et la réception des données pour les périphériques sans fil. Vérifiez
que l'antenne est bien tournée vers le haut
• Reset (Réinitialisation) Appuyez sur ce bouton pendant 3 secondes pour réinitialiser l'unité et rétablir ses
paramètres par défaut
• ADSL Il s'agit du port de connexion WAN (ADSL) vers le répartiteur ADSL
• LAN 1 – 4 Quatre ports LAN pour les imprimantes et ordinateurs locaux
• Power (Alimentation) Prise de connexion de l'adaptateur secteur externe
• Power (Alimentation) Éteint - Routeur hors tension
Vert - Routeur sous tension
• Status Éteint - Mode de fonctionnement normal.
Jaune - Clignotant durant la mise sous tension et les téléchargements de
microprogramme
• 10 Link/Activity Éteint - Port inactif
(Liaison LAN/Activité ) Vert - Connexion valide sur le port (10Mbps)
Clignotant - Activité de données sur le port (10Mbps)
• 100 Link/Activity Éteint - Port inactif
(Liaison LAN/Activité ) Vert - Connexion valide sur le port (100Mbps)
Clignotant - Activité de données sur le port (100Mbps)
• Wireless Éteint - Port inactif
Vert - Connexion valide sur le port
Clignotant - Activité de données sur le port
• ADSL Éteint - Port inactif
Vert - Connexion valide sur le port
Clignotant - Activité de données sur le port
Figure 2. connexions et voyants du routeur
Power Status
LAN
WirelessADSL
100 10
1
2
3
4
WLBAR-AA
Wireless, ADSL
Broadband
Access
Router
ADSL
RESET
LAN4
LAN3
LAN1
LAN2
POWER

FRANÇAIS
18
2. Installation
Connectez le routeur comme illustré.
Figure 3. installation du matériel
Mettez les périphériques sous tension dans l'ordre suivant :
• Routeur ADSL
• Ordinateur(s)
Remarque : L'ordinateur doit être équipé des éléments suivants :
• Carte Ethernet prenant en charge soit
- 10Base-T
- 100Base-TX
• Protocole TCP/IP
• Navigateur Web tel que Microsoft Internet Explorer 4.0 ou version plus récente.
This manual suits for next models
1
Table of contents
Languages:
Other Corega Network Router manuals
Popular Network Router manuals by other brands

Rosewill
Rosewill RFS-108P user manual

StarTech.com
StarTech.com DS5107 Spec sheet

D-Link
D-Link DIR-608 user manual

KTI Networks
KTI Networks KGS-0600 user manual

Snell Advanced Media
Snell Advanced Media Vega 200 installation manual

Comcast
Comcast XFINITY SMC-D3GNV Wireless network connection and troubleshooting tips