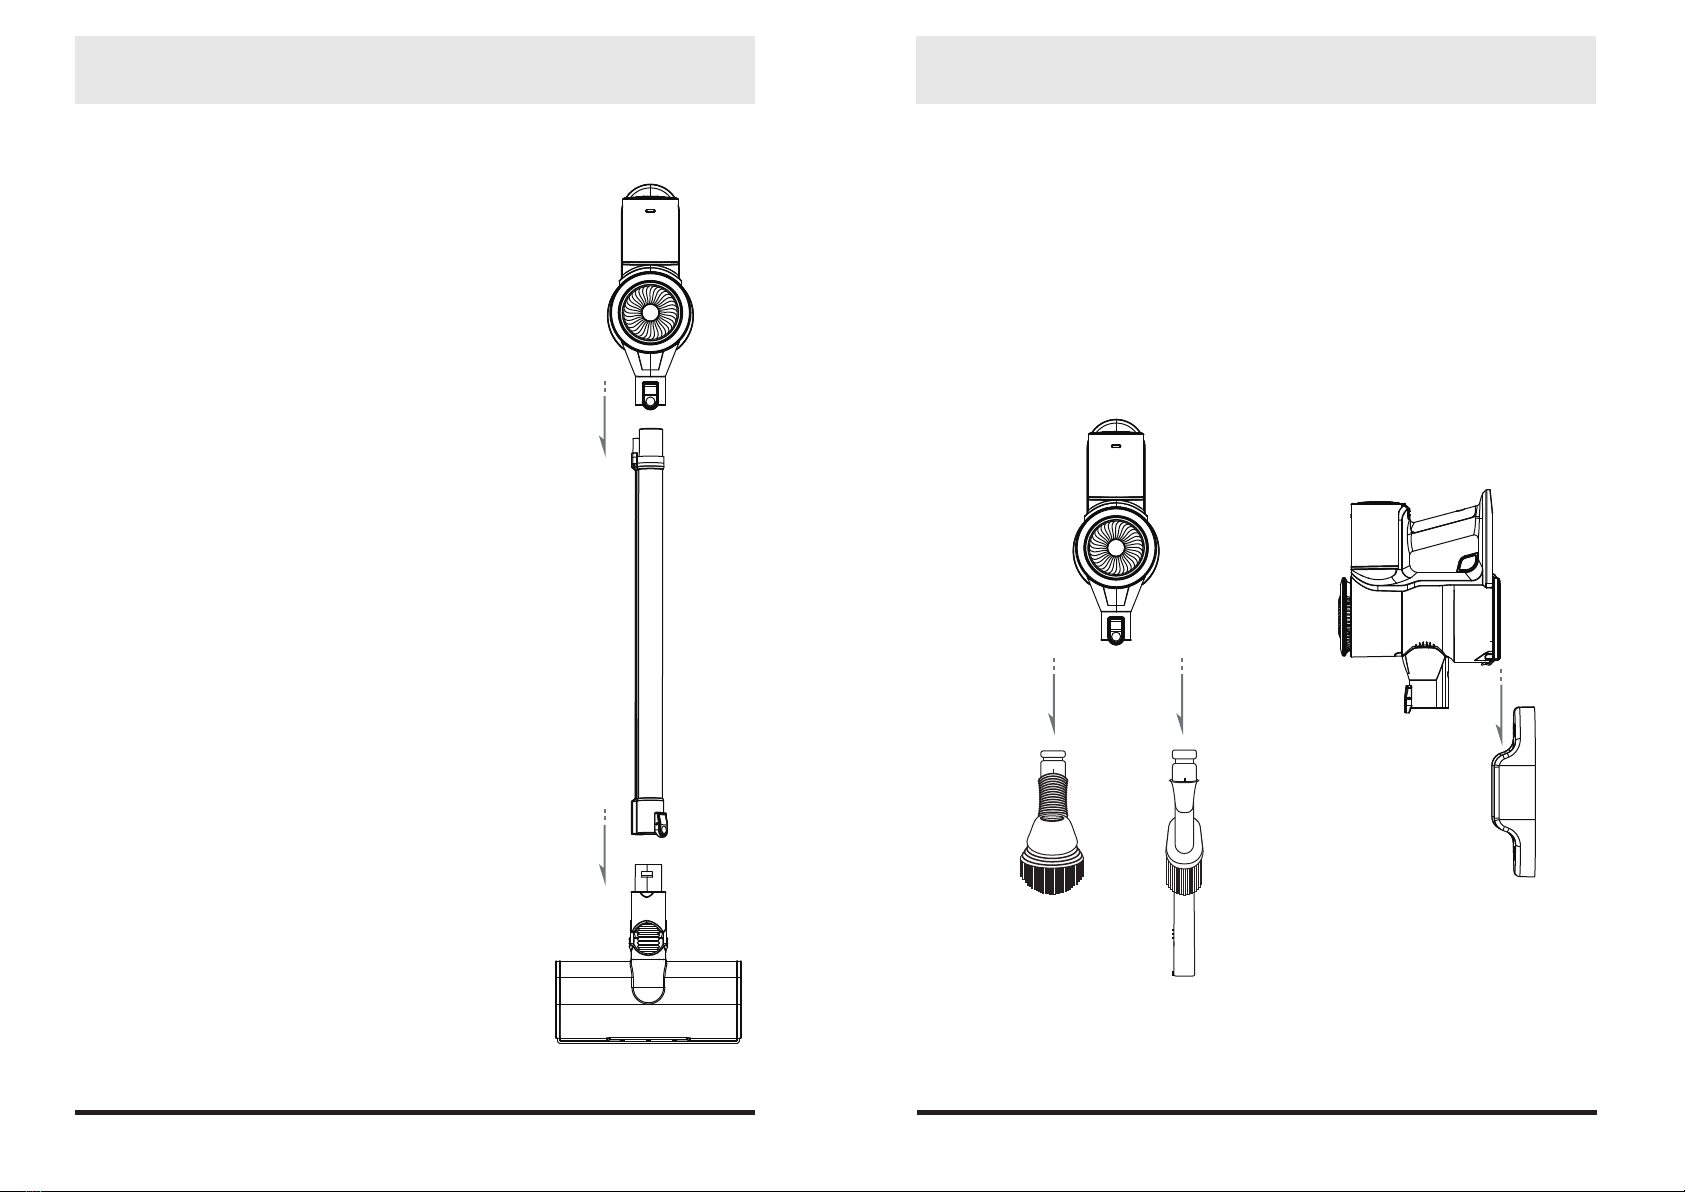
Using the vacuum Using the vacuum
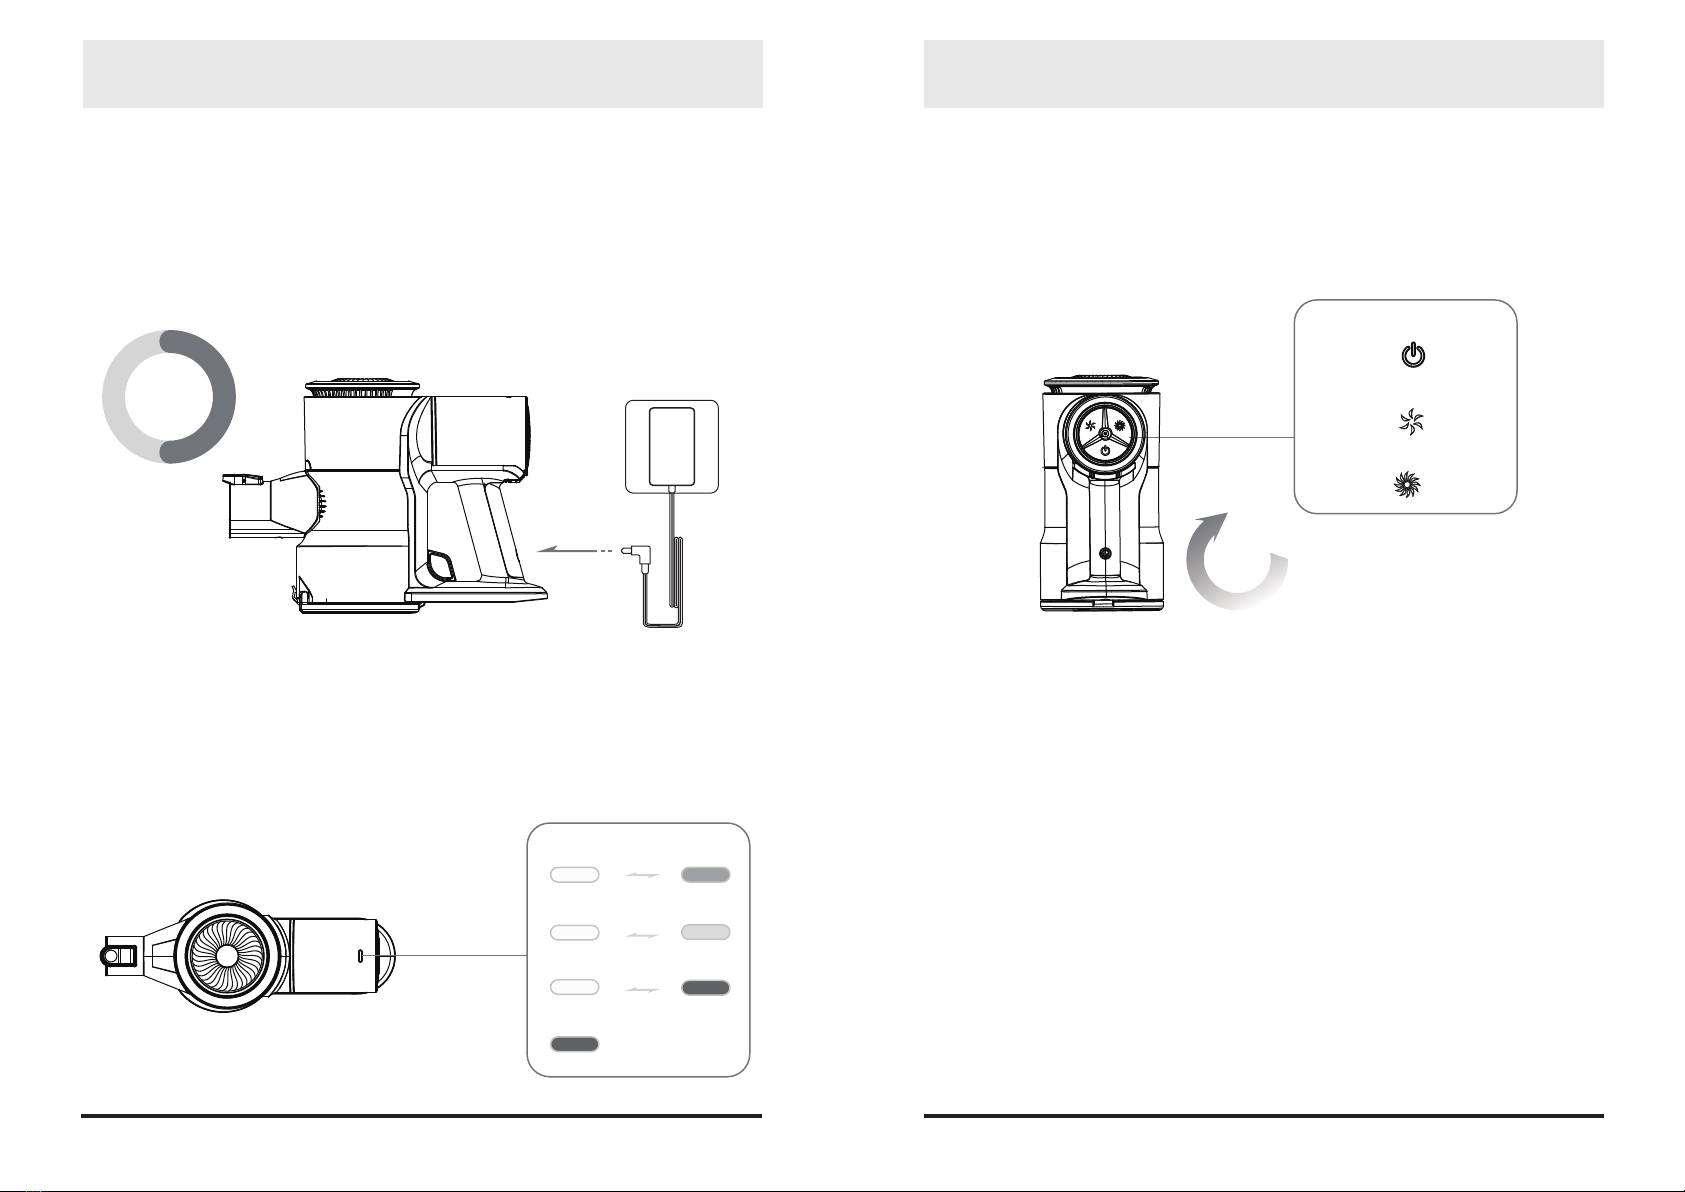
Charging Before
Note: Using this product for the rst time, the battery is not full, and needs to be charged in the
following way. If the charging state is abnormal, the yellow light will always be on.
When the product stops working due to exhausted power, the power indicator light will change from
constant to ashing red, and it will go out in 1 minute. Please charge the product immediately if this
occurs.
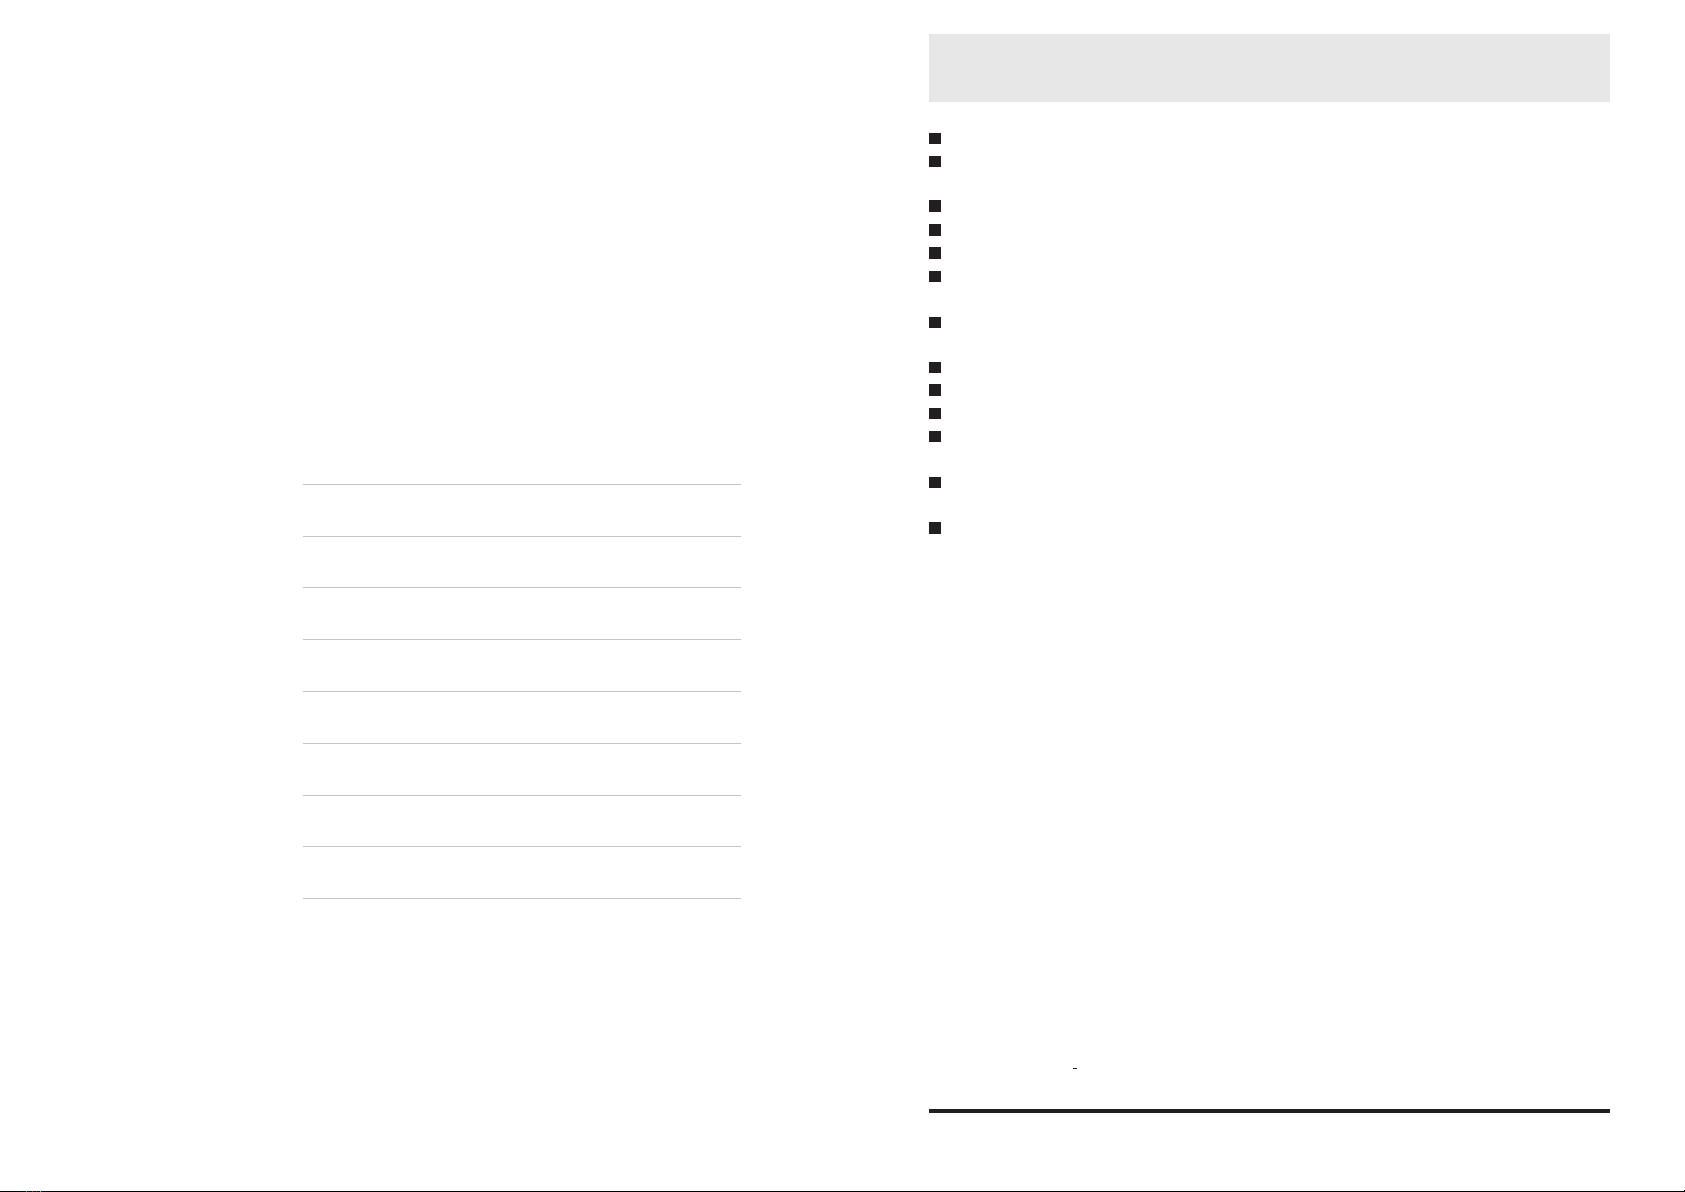
Using the Main Unit
To prevent children from mistakenly turning on the unit, causing fright or injury, it will take no less
than 2 seconds to start the unit by pressing the power switch. The unit can be turned o by a slight
touch on the power switch. After startup, the power can be switched between standard level and
strong level by pressing buttons in accordance.
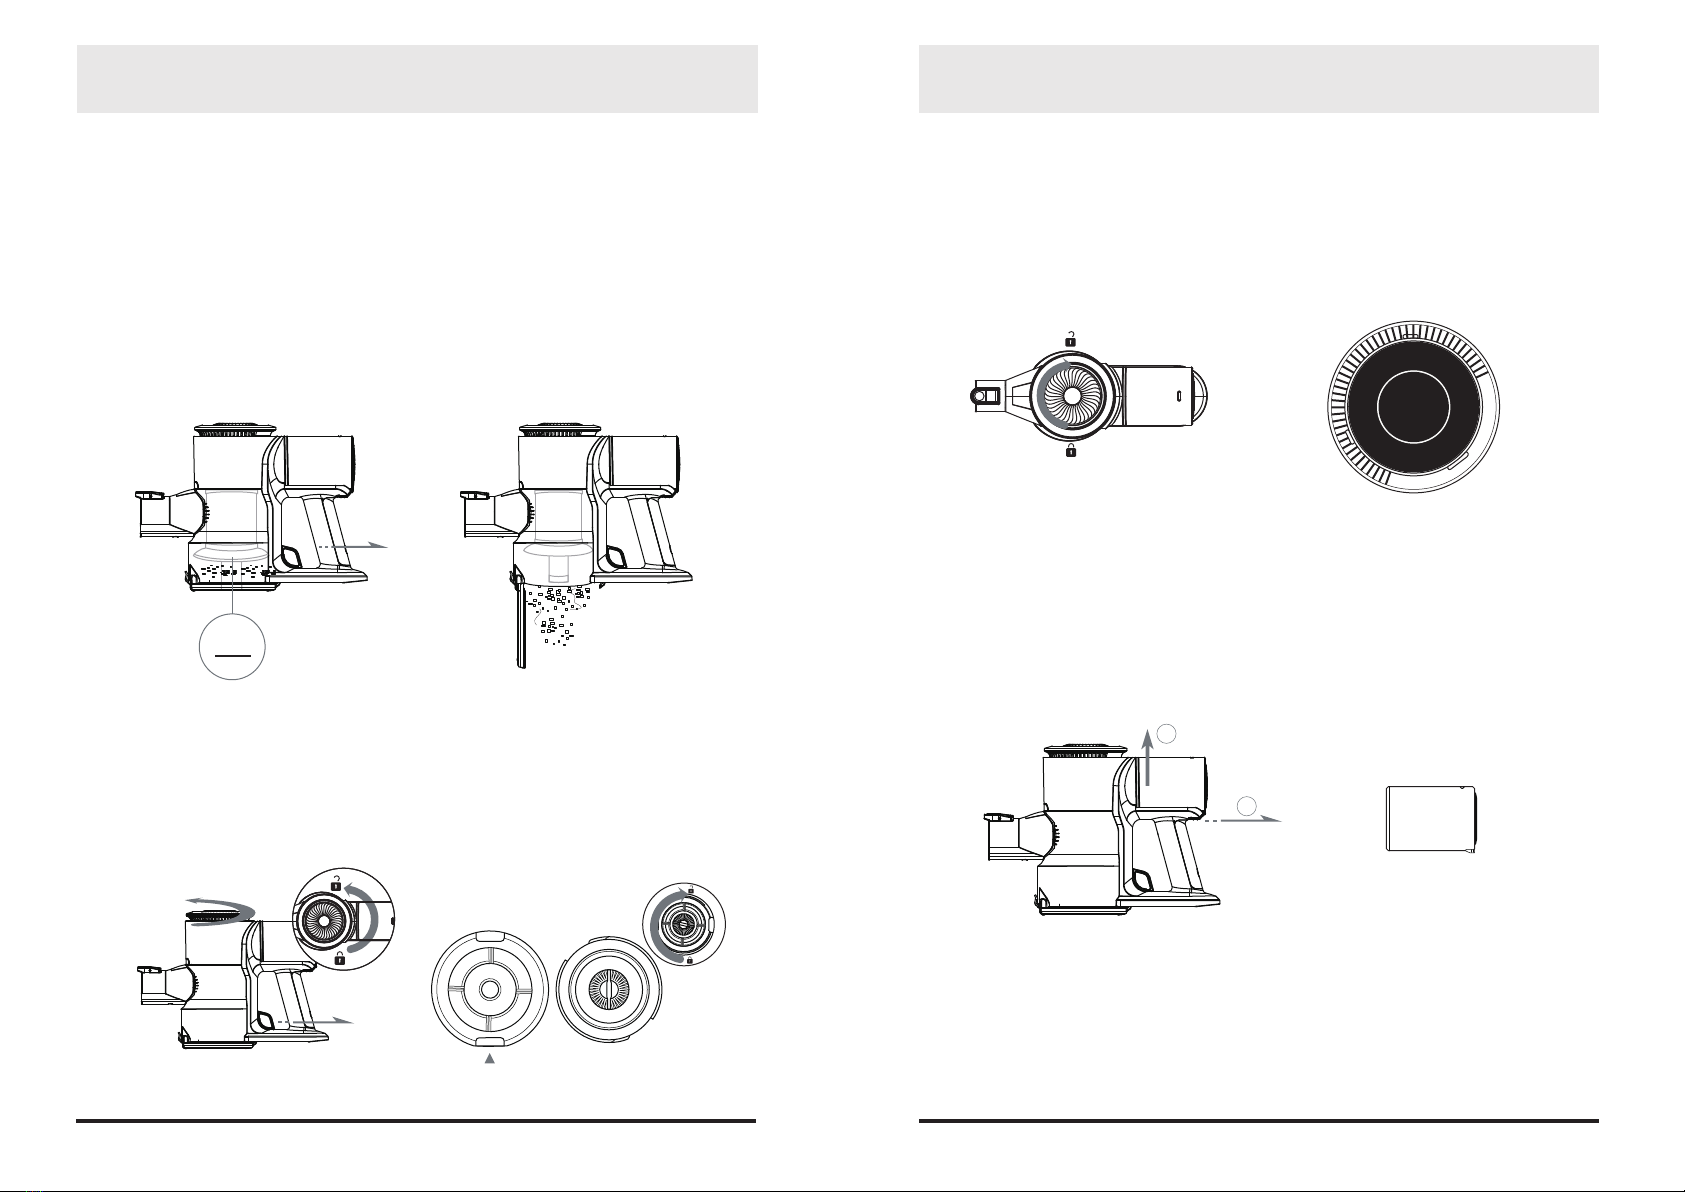
Using the Power Brush
The power brush can be used on short pile carpet, wooden oor and tile.
Note: The power brush motor has anti-blocking function. If the brush roll stops working due to stuck
hair or other items, the brush motor power will be cut o to prevent motor damage.
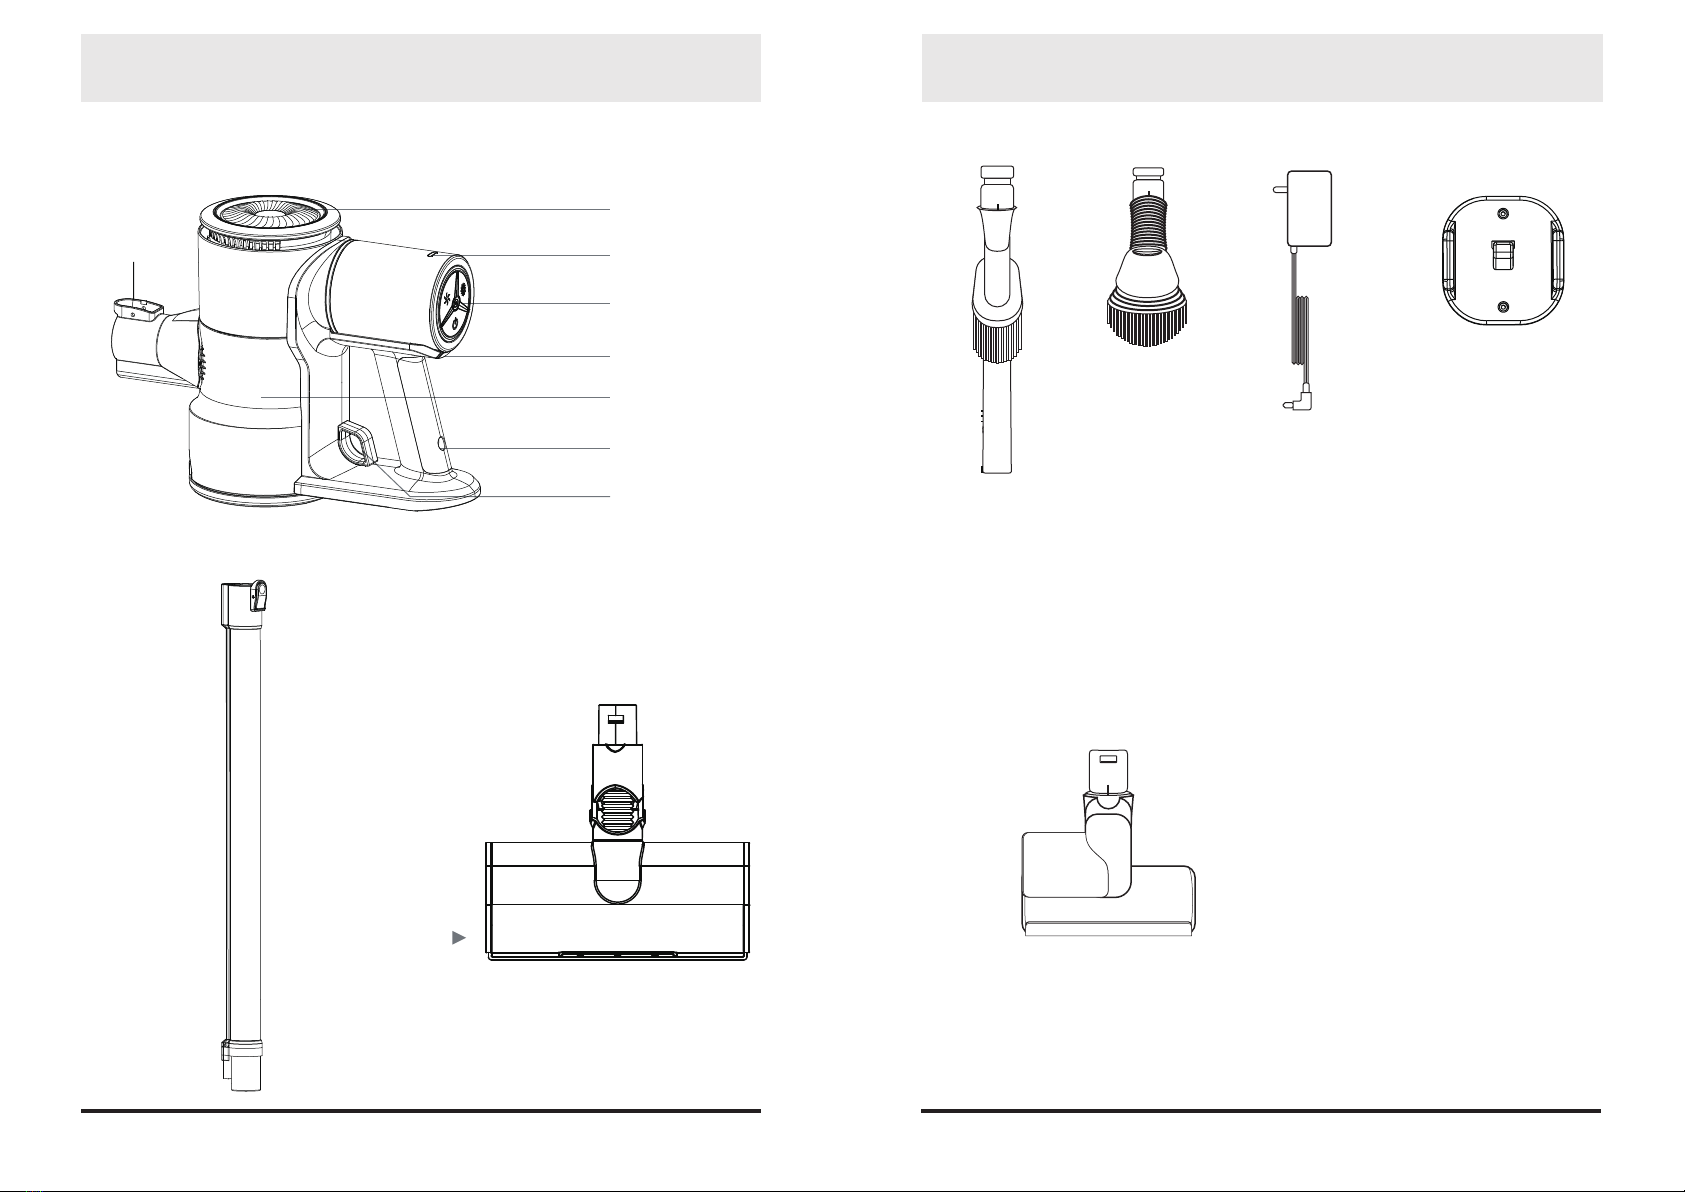
Using accessories
1.2-in-1 crevice nozzle: the soft bristle is adjustable. Suitable for cleaning crevices and corners.
2.Dusting brush: the front head can be rotated at 360 degree. Suitable for cleaning bed, sofa and
curtain.
3.Electrical mite removal brush: the electrical brush roll beats bed and sofa, inhaling mites and dust
hidden deeply under them.
Note: Please make sure the battery is fully charged and then discharged completely before rst use.
This will help improve the battery life.
The product charging time is approximately 2 hours. During the charging process, when the power
drop to less than 15%, it will ashing red light. When it is15% ~50%, it will falshing yellow light. When
50% ~ 99.9%, it will ashing green light . When the battery is fully charged, the power indicator will
constant green light.
Red light ashing – low power
POWER SWITCH
STANDARD LEVEL SWITCH
STRONG LEVEL SWITCH
Yellow light ashing – middle power
Green light ashing – close to full power
Constant green light – full power
2S
≈4h
8 9