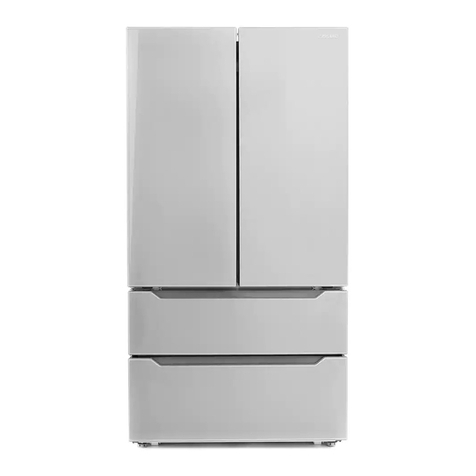
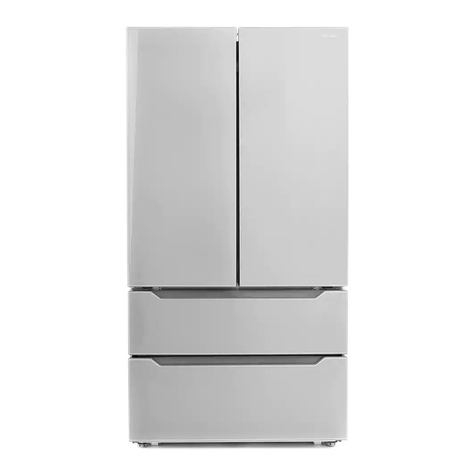
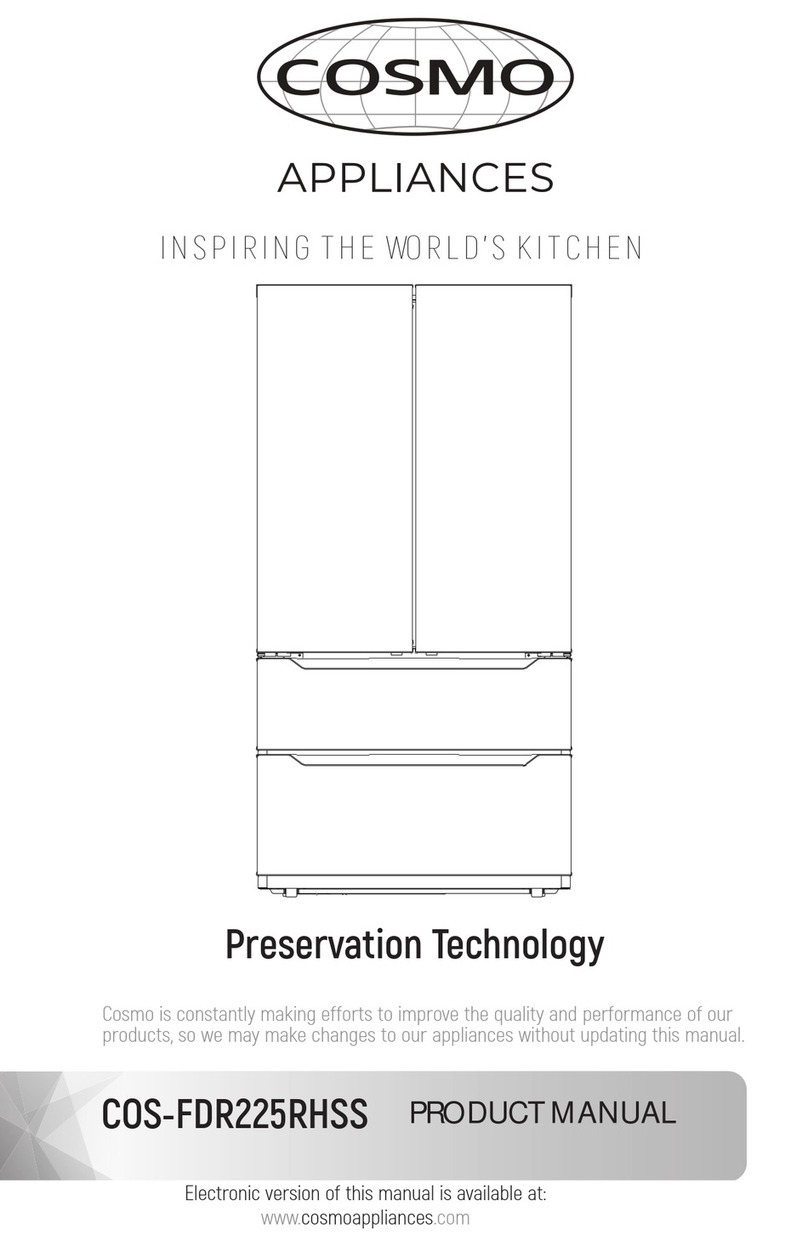
Cosmo COS-FDR223GWSS User manual

Rev.22.09
REFRIGERATOR
COS-FDR223GWSS
OWNER’S MANUAL
READ AND SAVE THESE INSTRUCTIONS.
FOR RESIDENTIAL USE ONLY.
PLEASE LEAVE THESE INSTRUCTIONS WITH THIS UNIT FOR
THE OWNER.
PLEASE RETAIN THESE INSTRUCTIONS FOR FUTURE
REFERENCE.
IMPORTANT:
INSTALLER:
OWNER:
FRENCH DOOR REFRIGERATOR


1
THANK YOU FOR YOUR PURCHASE
Thank you for your purchase. We know that you have many brands and
products to choose from and we are honored to know that you have decided
to take one of our products into your home and hope that you enjoy it.
COSMO Appliances are designed according to the strictest safety and
performance standard for the North American market. We follow the most
advanced manufacturing philosophy. Each appliance leaves the factory after
thorough quality inspection and testing. Our distributors and our service
partners are ready to answer any questions you may have regarding how to
install, use and case for your products. We hope that this manual will help you
learn to use the product in the safest and most effective manner.
Before using this product, please read through this manual carefully.
Keep
this user manual in a safe place for future reference. Please ensure that other
persons using this product are familiar with these instructions as well.
If you have any questions or concerns, please contact the dealer from whom you
purchased the product, or contact our Customer Support at:
1-888-784-3108
Reach us online at:
www.cosmoappliances.com

2
TABLE OF CONTENTS
REFRIGERATOR SAFETY...................................................................................... 3
Important Safety Instructions ................................................................................. 4
PRODUCT OVERVIEW ......................................................................................... 9
INSTALLATION INSTRUCTIONS..........................................................................11
Unpacking the Refrigerator ................................................................................... 12
Choosing the Proper Location ............................................................................... 13
Dimensions and Clearances................................................................................14
Removing/Assembling Handles ............................................................................15
Removing/Assembling Doors and Drawers ........................................................ 17
Connecting to the House Water Line .................................................................. 24
Complete Installation.............................................................................................30
Leveling................................................................................................................... 31
Leveling the Refrigerator Doors .........................................................................31
OPERATION....................................................................................................... 33
Before Use ................................................................................................................ 33
Control Panel ........................................................................................................... 35
Icemaker and Water Dispenser............................................................................ 39
Crispers.......................................................................................................................41
Full-Width Drawer................................................................................................... 42
Refrigerator Shelves ............................................................................................... 42
Door Bins................................................................................................................... 43
MAINTENANCE & CARE .................................................................................... 43
General Cleaning.................................................................................................... 43
Water Filter...............................................................................................................45
Compartment LED Light.........................................................................................49
TROUBLESHOOTING..........................................................................................51
LIMITED WARRANTY .........................................................................................61

3
REFRIGERATOR SAFETY
READ ALL INSTRUCTIONS BEFORE USING THE APPLIANCE
Your safety and the safety of others are very important.
We have provided many important safety messages in this manual and on
your appliance. Always read and obey all safety messages.
This is the safety alert symbol.
This symbol alerts you to potential hazards
that can kill or hurt you and others.
All safety messages will follow the safety alert
symbol and either the word "WARNING" or
"CAUTION." These words mean:
You can be killed or seriously injured if you
don't follow instructions.
WARNING
CAUTION A potentially hazardous situation which, if not
avoided, could result in minor or moderate
injury.
All safety messages will tell you what the potential hazard is, tell you how
to reduce the chance of injury, and tell you what can happen if the
instructions are not followed.
California Proposition 65 Warning
WARNING:
Cancer and Reproductive Harm - www.P65Warnings.ca.gov.

4
IMPORTANT SAFETY INSTRUCTIONS
injury when using your refrigerator, follow these basic
safety precautions:
•This refrigerator must be properly
installed and located in
accordance with the installation
instructions before it is used.
•Unplug the refrigerator before
making repairs or cleaning.
NOTE: Repairs must be
performed by a qualified service
professional.
•Replace all parts and panels
before operating.
•Do not use an extension cord.
•Do not store or use gasoline or
other flammable vapors and
liquids in the vicinity of this or any
other appliance.
•Do not store explosive substances
such as aerosol cans with a
flammable propellant in this
appliance.
•To prevent suffocation and
entrapment hazards to children,
remove the fresh food and
freezer doors from any
refrigerator before disposing of it
or discontinuing its use.
•To avoid serious injury or death,
children should not stand on, or
play in or with the appliance.
•Children and persons with
reduced physical, sensory or
mental capabilities or lack of
experience and knowledge can
use this appliance only if they are
supervised or have been given
instructions on safe use and
understand the hazards involved.
•This appliance is intended to be
used in household and similar
applications such as: staff kitchen
areas in shops, offices and other
working environments; farm
houses; by clients in hotels,
motels, bed & breakfast and
other residential environments;
catering and similar non-retail
applications.
•Do not apply harsh cleaners to
the refrigerator. Certain cleaners
will damage plastic which may
cause parts such as the door or
door handles to detach
unexpectedly.
•Connect to potable water supply
only. A cold water supply is
required for automatic icemaker
operation. The water pressure
must be between 30 - 100 psi
(207 - 700 kPa).
READ AND SAVE THESE INSTRUCTIONS
WARNING To reduce the risk of fire, explosion, electric shock, or

5
IMPORTANT SAFETY INSTRUCTIONS
CAUTION To reduce the risk of injury when using your
refrigerator, follow these basic safety precautions:
•Do not clean glass shelves or
covers with warm water when
they are cold. Glass shelves and
covers may break if exposed to
sudden temperature changes or
impact, such as bumping or
dropping. Tempered glass is
designed to shatter into many
small pieces if it breaks.
•Do not use a hair dryer to dry the
inside of the refrigerator.
•Do not light a candle to remove
odors in the refrigerator.
•Keep fingers out of the "pinch
point" areas; clearances between
the doors and between the doors
and cabinet are necessarily small.
Be careful closing doors when
children are in the area.
•Use caution consuming popsicles
or ice cubes straight from the
freezer as this can cause freezer
burn to the mouth and lips.
•Do not touch the cold surfaces in
the freezer compartment when
hands are damp or wet, skin may
stick to these extremely cold
surfaces.
•Don't store bottled or canned
drinks (especially carbonated
drinks) in the freezer
compartment. Bottles and cans
may explode.
•Do not refreeze frozen foods
which have thawed completely.
•In refrigerators with automatic
icemakers, avoid contact with the
moving parts of the ejector
mechanism, or with the heating
element that releases the cubes.
Do not place fingers or hands on
the automatic ice making
mechanism while the refrigerator
is plugged in.
INSTALLATION
WARNING FIRE AND EXPLOSION HAZARD
Keep flammable materials and vapors, such as gasoline, away from
refrigerator. Failure to do so can result in fire, explosion, or death.
READ AND SAVE THESE INSTRUCTIONS

6
IMPORTANT SAFETY INSTRUCTIONS
CONNECTING ELECTRICITY
WARNING ELECTRICAL SHOCK HAZARD
Plug into a grounded 3-prong outlet.
Do not remove the ground prong.
Do not use an adapter or an extension cord.
Failure to do so can result in death, fire, or electrical shock.
Do not, under any circumstances, cut or remove the third (ground) prong
from the power cord. For personal safety, this appliance must be
properly grounded.
•The power cord of this appliance
is equipped with a 3-prong
(grounding) plug which mates
with a standard 3-prong
(grounding) wall outlet to
minimize the possibility of electric
shock hazard from this appliance.
•Have the wall outlet and circuit
checked by a qualified electrician
to make sure the outlet is
properly grounded.
•Where a standard 2-prong wall
outlet is encountered, it is your
personal responsibility and
obligation to have it replaced
with a properly grounded 3-
prong wall outlet.
•Do not use an adapter.
•The refrigerator should always be
plugged into its own individual
electrical outlet which has a
voltage rating that matches the
rating plate.
•A 110~115 Volt AC, 60 Hz, single
phase, 15- or 20-Amp fused,
grounded electrical supply is
required. This provides the best
performance and also prevents
overloading house wiring circuits
which could cause a fire hazard
from overheated wires.
•Never unplug your refrigerator by
pulling on the power cord.
Always grip plug firmly and pull
straight out from the outlet.
•Immediately discontinue use of a
damaged supply cord. If the
supply cord is damaged, it must
be replaced by a qualified service
professional with an authorized
service part from the
manufacturer.
•When moving the refrigerator
away from the wall, be careful
not to roll over or damage the
power cord.
READ AND SAVE THESE INSTRUCTIONS

7
IMPORTANT SAFETY INSTRUCTIONS
PROPER DISPOSAL OF YOUR OLD REFRIGERATOR
WARNING
WARNING
SUFFOCATION AND ENTRAPMENT HAZARD
Failure to follow these disposal instructions can result in death or serious
injury.
IMPORTANT: Child entrapment and suffocation are not problems of the
past. Junked or abandoned refrigerators are still dangerous even if they
will sit for "just a few days." If you are getting rid of your old refrigerator,
please follow the instructions below to help prevent accidents.
Before You Throw Away Your Old Appliance
•Take off the fresh food and freezer doors.
•Leave the shelves in place so that children may not easily climb inside.
REFRIGERANT AND FOAM DISPOSAL
Dispose of appliance in accordance with Federal and Local Regulations.
Flammable insulation material used requires special disposal of your
appliance. Contact your local authorities for the environmentally safe
disposal of your appliance.
READ AND SAVE THESE INSTRUCTIONS

8
IMPORTANT SAFETY INSTRUCTIONS
FLAMMABLE REFRIGERANT
Check the rating label for refrigerant type. If R600a, follow the warning
instructions below.
WARNING FIRE OR EXPLOSION HAZARD
This appliance contains isobutane refrigerant, also known as R600a, a
natural gas with high environmental compatibility. However, it is also
combustible. Adhere to the warnings below to reduce the risk of injury or
property damage.
•When handling, installing and
operating the appliance, care
should be taken to avoid
damage to the refrigerant
tubing.
•Service shall only be performed
by authorized service personnel.
Use only manufacturer-
authorized service parts.
•Dispose of refrigerator in
accordance with the Federal and
Local Regulations. The flammable
refrigerant and insulation
material used in this product
require special disposal
procedures. Contact your local
authorities for the
environmentally safe disposal of
your refrigerator.
•Keep ventilation openings in the
appliance enclosures or in the
built-in structure clear of
obstruction.
•To remove frost, scrape with a
plastic or wood spatula or
scraper. Do not use an ice pick or
a metal or sharp-edged
instrument as it may puncture the
freezer liner and then the
flammable refrigerant tubing
behind it.
•Do not use electrical appliances
inside the food storage
compartment of the appliance.
•Do not use any electrical device
to defrost your freezer.
READ AND SAVE THESE INSTRUCTIONS

9
PRODUCT OVERVIEW
The images in this guide may be different from the actual components and
accessories, which are subject to change by the manufacturer without prior
notice for product improvement purposes.
EXTERIOR
1. Refrigerator door
2. Water dispenser
3. Handles
4. Freezer door

10
INTERIOR
1. Door bin
2. Door mullion
3. Crisper cover
4. Fruit and vegetables crisper
5. Full-width drawer
6. Icemaker
7. Upper freezer basket
8. Middle freezer tray
9. Basket divider
10. Lower freezer basket
11. Top cover
12. Mullion guide block
13. Control panel and display
14. Water filter
15. Glass shelf
16. Wind channel
17. Refrigerator LED light
18. Freezer LED light
19. Adjustable front feet

11
INSTALLATION INSTRUCTIONS
BEFORE INSTALLING
Please read these instructions completely and carefully.
•IMPORTANT: Observe all governing codes and ordinances. Save these
instructions for local inspector’s use.
•Note to Installer – Be sure to leave these instructions with the Consumer.
•Note to Consumer – Keep these instructions for future reference.
•Proper installation is the responsibility of the installer.
•Product failure due to improper installation is not covered under the
Warranty.
INSTALLATION OVERVIEW
1. Unpacking the Refrigerator
2. Choosing the Proper Location
3. Disassembling/Assembling
4. Connecting the Water Line
5. Leveling and Door Alignment
PARTS SUPPLIED
•Refrigerator door handles (2)
•Freezer drawer handle (1)
•(Optional) Door leveling snap rings (4)
•3mm Allen wrench (1)

12
WARNING EXCESSIVE WEIGHT HAZARD
•Use two or more people to move and install the refrigerator. Failure to
do so can result in back injury or other injury.
•The refrigerator is heavy. Protect the floor when moving the
refrigerator for cleaning or service. Always pull the refrigerator straight
out when moving it. Do not wiggle or walk the refrigerator when trying
to move it, as floor damage could occur.
•The rollers, which are not
casters, should be only used
for forward or backward
movement. Moving the
refrigerator sideways may
damage your floor and the
rollers.
•Remove tape and any temporary labels from your refrigerator before
using. Do not remove any warning labels or the model and serial number
label.
•To remove any remaining tape or glue, rub the area briskly with your
thumb. Tape or glue residue can also be easily removed by rubbing a
small amount of liquid dish soap over the adhesive with your fingers.
Wipe with warm water and dry.
•Do not use sharp instruments, rubbing alcohol, flammable fluids, or
abrasive cleaners to remove tape or glue. These products can damage
the surface of your refrigerator.
•Reinstall or adjust shelves as needed. Refrigerator shelves are installed in
the shipping position. Reinstall shelves according to your individual
storage needs.
UNPACKING THE REFRIGERATOR

13
CHOOSING THE PROPER LOCATION
WATER
The refrigerator must be located where a water supply can be connected for
the water dispenser and the icemaker.
NOTE:
•The water pressure must be 30 - 100 psi or 207 - 700 kPa. If the
refrigerator is installed in an area with low water pressure (below 30
psi or 207 kPa), you can install a booster pump to compensate for the
low pressure.
•Turn the icemaker OFF if the refrigerator will be used before or without
the water line is connected.
ELECTRICITY
Use an individual, grounded outlet: 110 - 115 Volts, 60 Hz, AC, Single Phase
NOTE:
•Do not overload house wiring and cause a fire hazard by plugging in
multiple appliances in the same outlet with the refrigerator.
•To reduce the risk of electric shock, do not install the refrigerator in a
wet or damp area.
•If the voltage fluctuates exceeding the upper limit, A.C. automatic
voltage regulator of more than 350W should be applied to the
refrigerator for safety use.
FLOORING
For proper installation, this refrigerator must be placed on a level surface of
hard material that is the same height as the rest of the flooring. This surface
should be strong enough to support a fully loaded refrigerator. If required,
adjust the leveling legs to compensate for the unevenness of the floor.

14
Item Dimension/Clearance COS-FDR223GWSS
A Depth without Handle 28 3/4" (73.0 cm)
B Width of Case 35 3/4" (90.8 cm)
C Width of Door Frame 36" (91.4 cm)
D Height to Top of Case 68" (172.8 cm)
E Height to Top of Door Hinge 70 1/4" (178.5 cm)
125°
AMBIENT TEMPERATURE
Install this appliance in an area where the temperature is between 50 °F
(10 °C) and 100 °F (38 °C). If the temperature around the appliance is too low
or high, cooling ability may be adversely affected.
Stand your appliance in a dry place to avoid high moisture damage. Keep the
appliance out of direct sunlight, rain or frost. Stand the appliance away from
heat sources such as stoves, fires or heaters.
DIMENSIONS AND CLEARANCES
In order to improve efficiency of the cooling system and save energy, it is
necessary to maintain good ventilation around the appliance for the
dissipation of heat. For this reason, sufficient clear space should be available
around the refrigerator.
Allow at least 2" (5 cm) of clearance from the back of the fridge to the wall, at
least 1/2" (1.2 cm) of clearance from its top, at least 1/2" (1.2 cm) from its side to
the wall, and a clear space in front to allow the doors to open 125°.

15
Item Dimension/Clearance COS-FDR223GWSS
F Back Clearance 2" (5 cm)
G Depth without Door 24" (61.0 cm)
H Depth with Handle 30 3/4" (78.1 cm)
I Depth with Freezer Drawer Fully Open 44 5/16" (112.6 cm)
J Depth with Door Open 90° 43 5/8" (110.8 cm)
K Width with Door Fully Open 60 7/16" (153.5 cm)
REMOVING/ASSEMBLING HANDLES
REFRIGERATOR DOOR AND FREEZER DRAWER HANDLES
Be very careful not to scratch the doors or the drawers if you must remove the
handles. The appearance of the handles may vary from what is shown in the
manual.
Tool Needed
•1/8 in. (3 mm) Allen Wrench (provided)
Removing Handles
1. Loosen the set screws with a 1/8 in. (3 mm) Allen wrench and remove the
handle.
2. If needed, loosen and remove the mounting fasteners that connect the
handle and the refrigerator door (or the freezer drawer).
Set Screws

16
Assembling Handles
1. If needed, reassemble the mounting fasteners on the door (or the
drawer).
2. Partially insert the set screws provided into both ends of the handle.
3. Place the handle on the door (or the drawer) by fitting the handle
footprints over the mounting fasteners and tightening the set screws with
a 1/8 in. (3 mm) Allen wrench.
A. Handle
B. Set screw
C. Mounting fastener

17
REMOVING/ASSEMBLING DOORS AND
DRAWERS
When moving the refrigerator through a narrow opening, removing the doors
and the drawers is preferred. If you must remove the handles, be very careful
not to scratch the doors.
WARNING
•Use two or more people to remove and install the refrigerator doors
and freezer drawer.
•Disconnect the electrical supply to the refrigerator before installing.
•Be careful when handling the hinge and hinge lever.
•Remove food and bins before detaching the doors and drawer.
•Do not hold the handle when removing or replacing the doors and
drawer as the handle may come off.
•Do not sit or stand on the freezer drawer.
Tools Needed
•5/32 in. (4 mm) Allen Wrench
•5/16 in. (8 mm) Wrench
•Phillips screwdriver
REFRIGERATOR DOORS
Removing the Refrigerator Doors
1. With the doors closed, remove the top cover by removing the 3 screws
with a Phillips screwdriver.
Top Cover

18
2. Detach the two connectors at the top of the left door.
-Wire connector: press the top of the connector and separate it from
the other one.
-Water line connector: remove the clip from the water line coupler,
and pull out the water line from the coupler.
3. Remove the upper door hinge of the left door and the right door by
removing the hex screws fixed on the hinges with a 5/16 in. (8 mm) wrench
and a ground screw attached to the hinge with a Phillips screwdriver.
Wire Connector Water Line Connector
Clip
Coupler
Hex Screws
Ground
Screw
Upper
Door Hinge
Table of contents
Other Cosmo Refrigerator manuals
Popular Refrigerator manuals by other brands

Kelvinator
Kelvinator COMMERCIAL FREEZER/REFRIGERATOR GLASS DOOR... Use & care guide
Samsung
Samsung RL34E Series user manual
Maytag
Maytag MBR2556KES - 25.1 cu. Ft. Bottom-Freezer... Repair parts list

Gram
Gram KC 371185 user manual
Frigidaire
Frigidaire FRT15B3J use and care manual

Daewoo
Daewoo RN408N Serie manual
