14 15
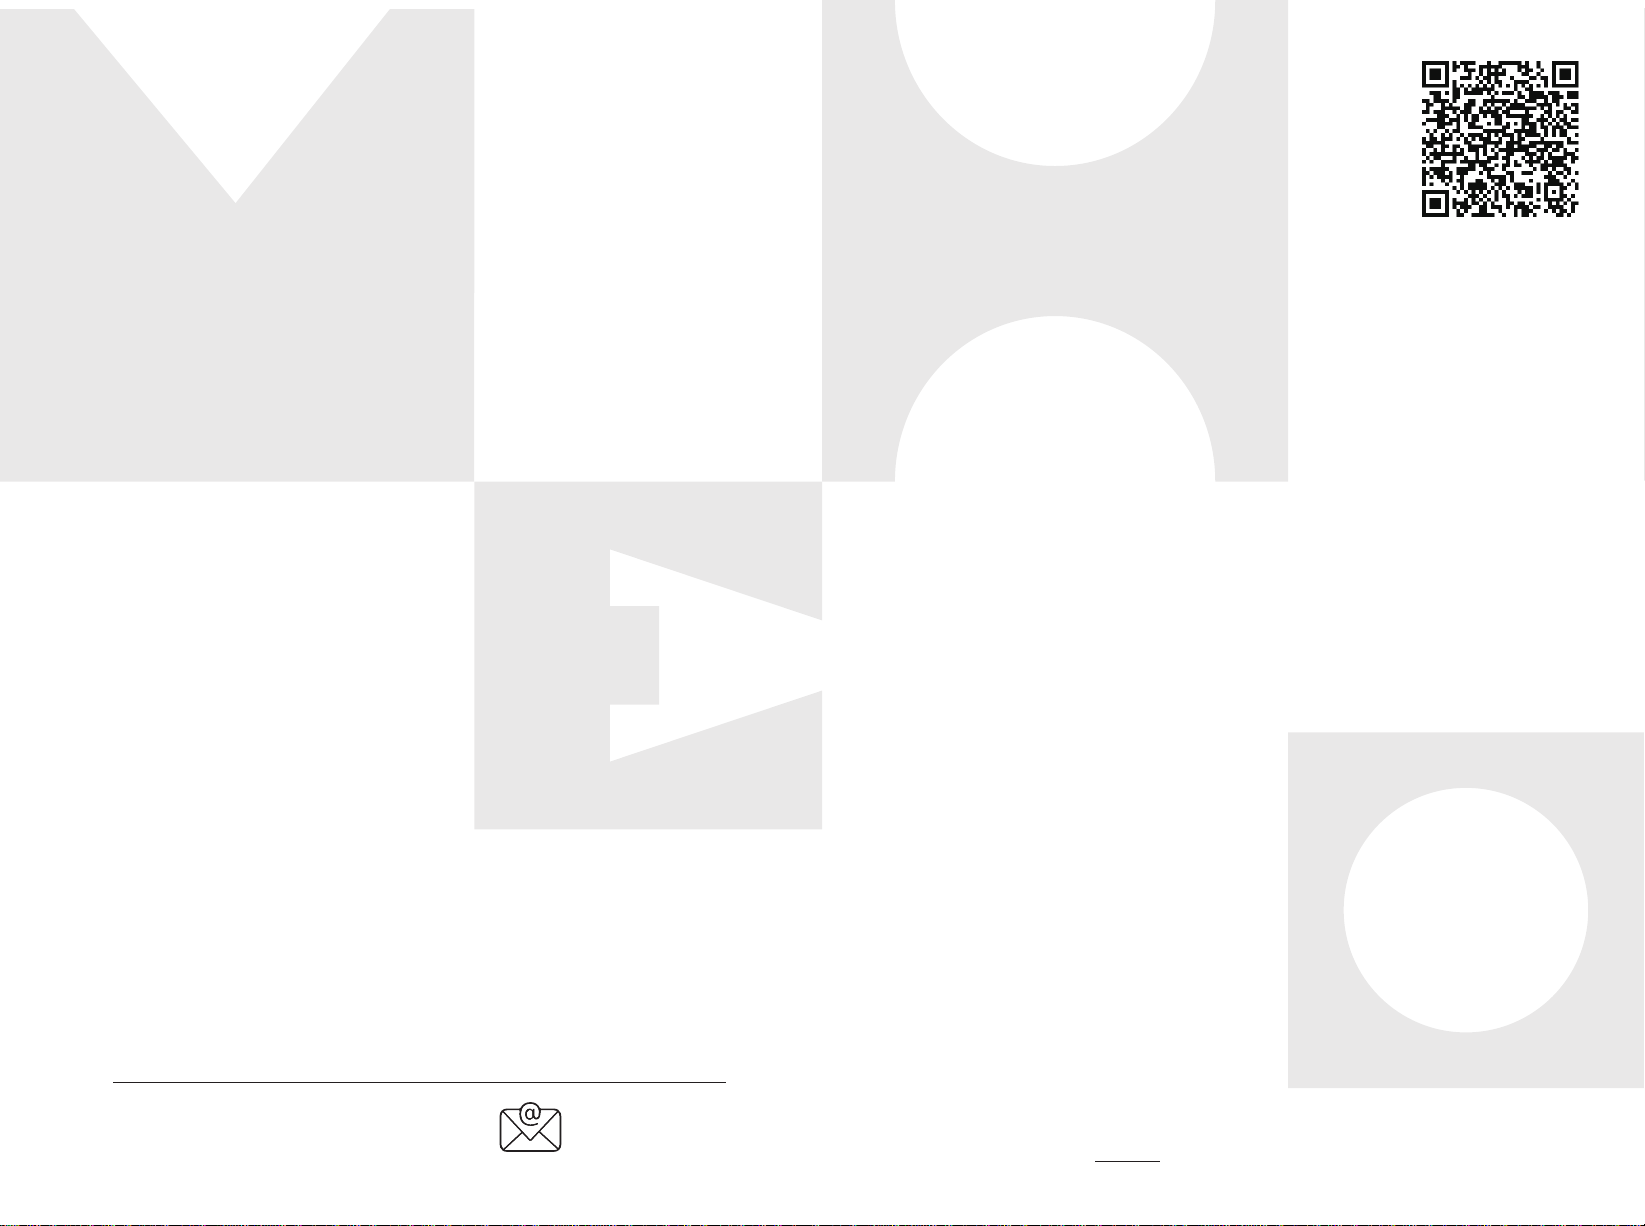
Clavier de piano électronique
Il est fabriqué en imitant le vrai clavier du
piano électronique, et il y a au total 8 touches
disponibles, c'est-à-dire C4, D4, E4, F4, G4,
A4, B4, C5 respectivement.
Levier DJ
Comprend des effets
sonores de 3 guitares
électriques, si vous
l'activez une fois, il jouera
un effet sonore.
Disque DJ
Comprend 4 effets sonores de
scratch DJ. Chaque fois qu'il
tourne, il jouera un effet
sonore de grattage.
Égaliseur de Batterie
(Volume du tambour)
Lorsque la chanson DEMO, le rythme
ou le son de batterie est en cours de
lecture, vous pouvez régler le volume
de batterie de la musique.
2 Touches de
Timbres
● Piano électrique
● Orgue électrique
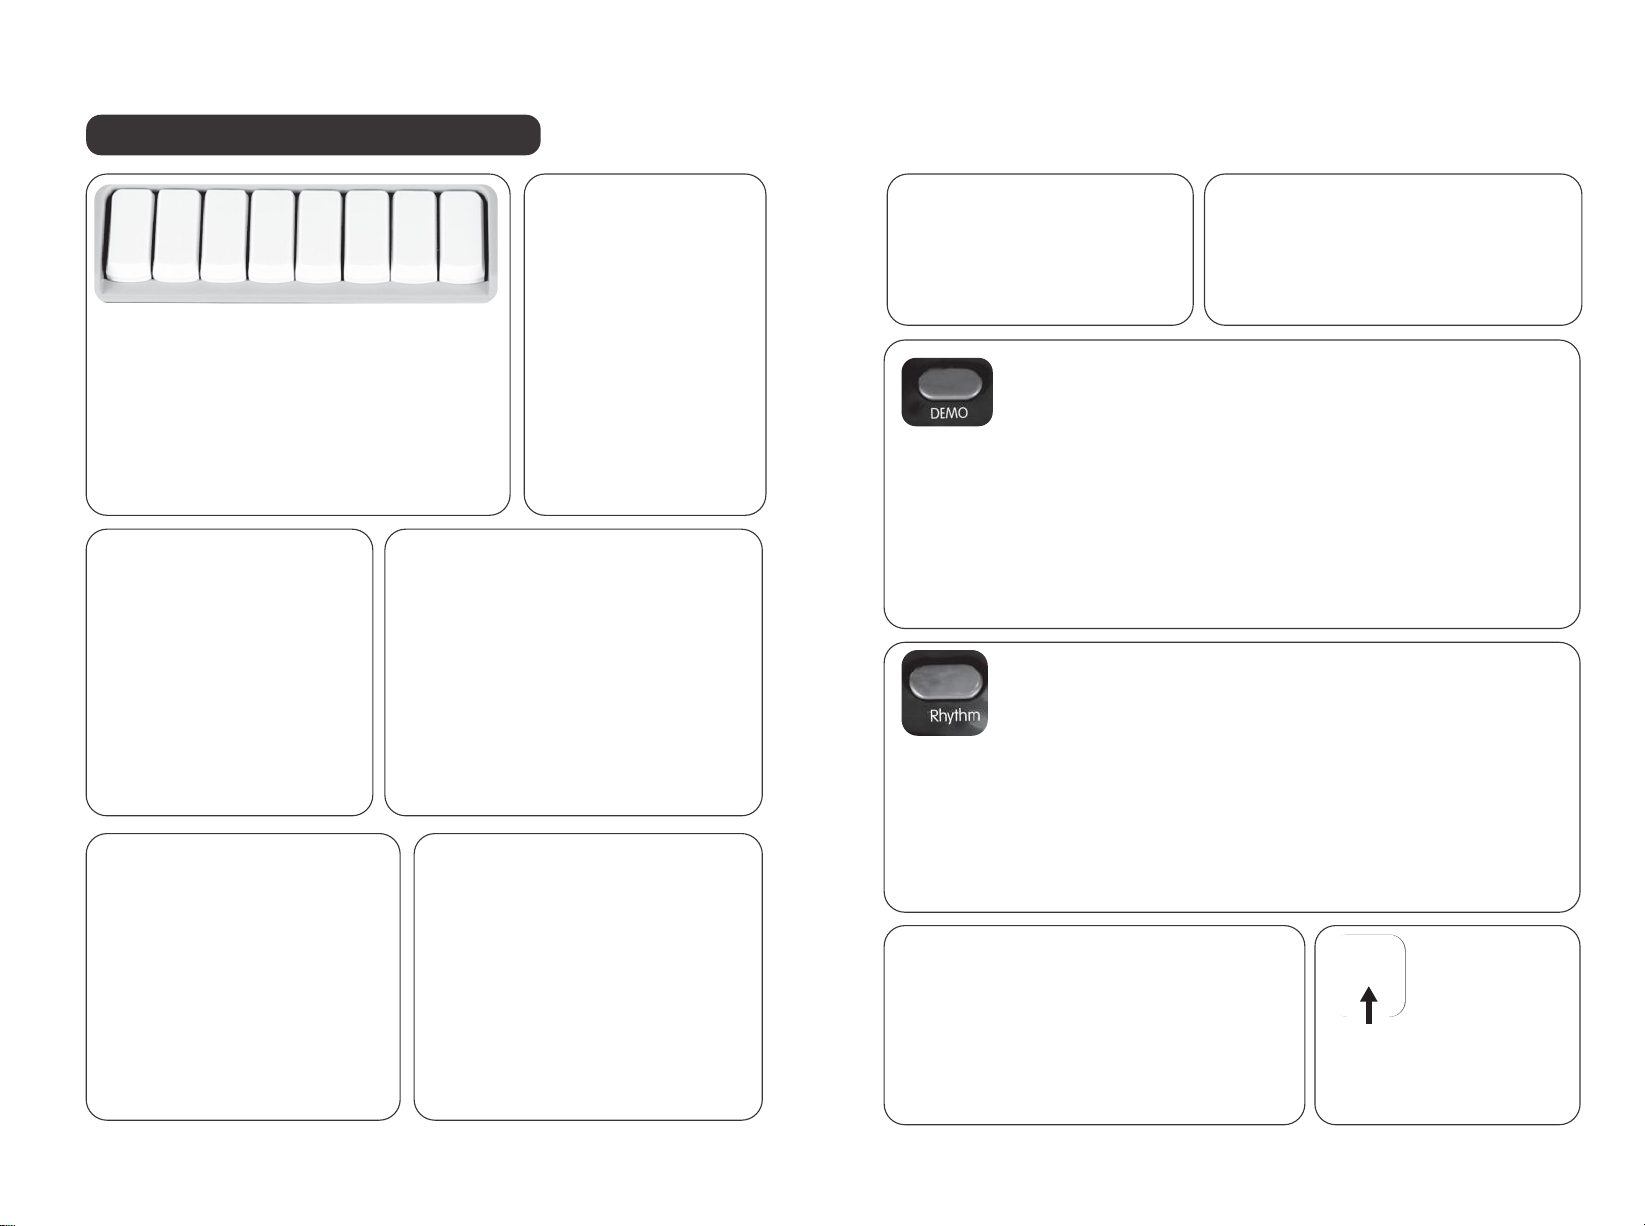
Morceaux DEMO
Touche de chansons DEMO, 8
morceaux de chansons DEMO
sont inclus. Lors de la lecture,
vous pouvez passer à la pièce
suivante.
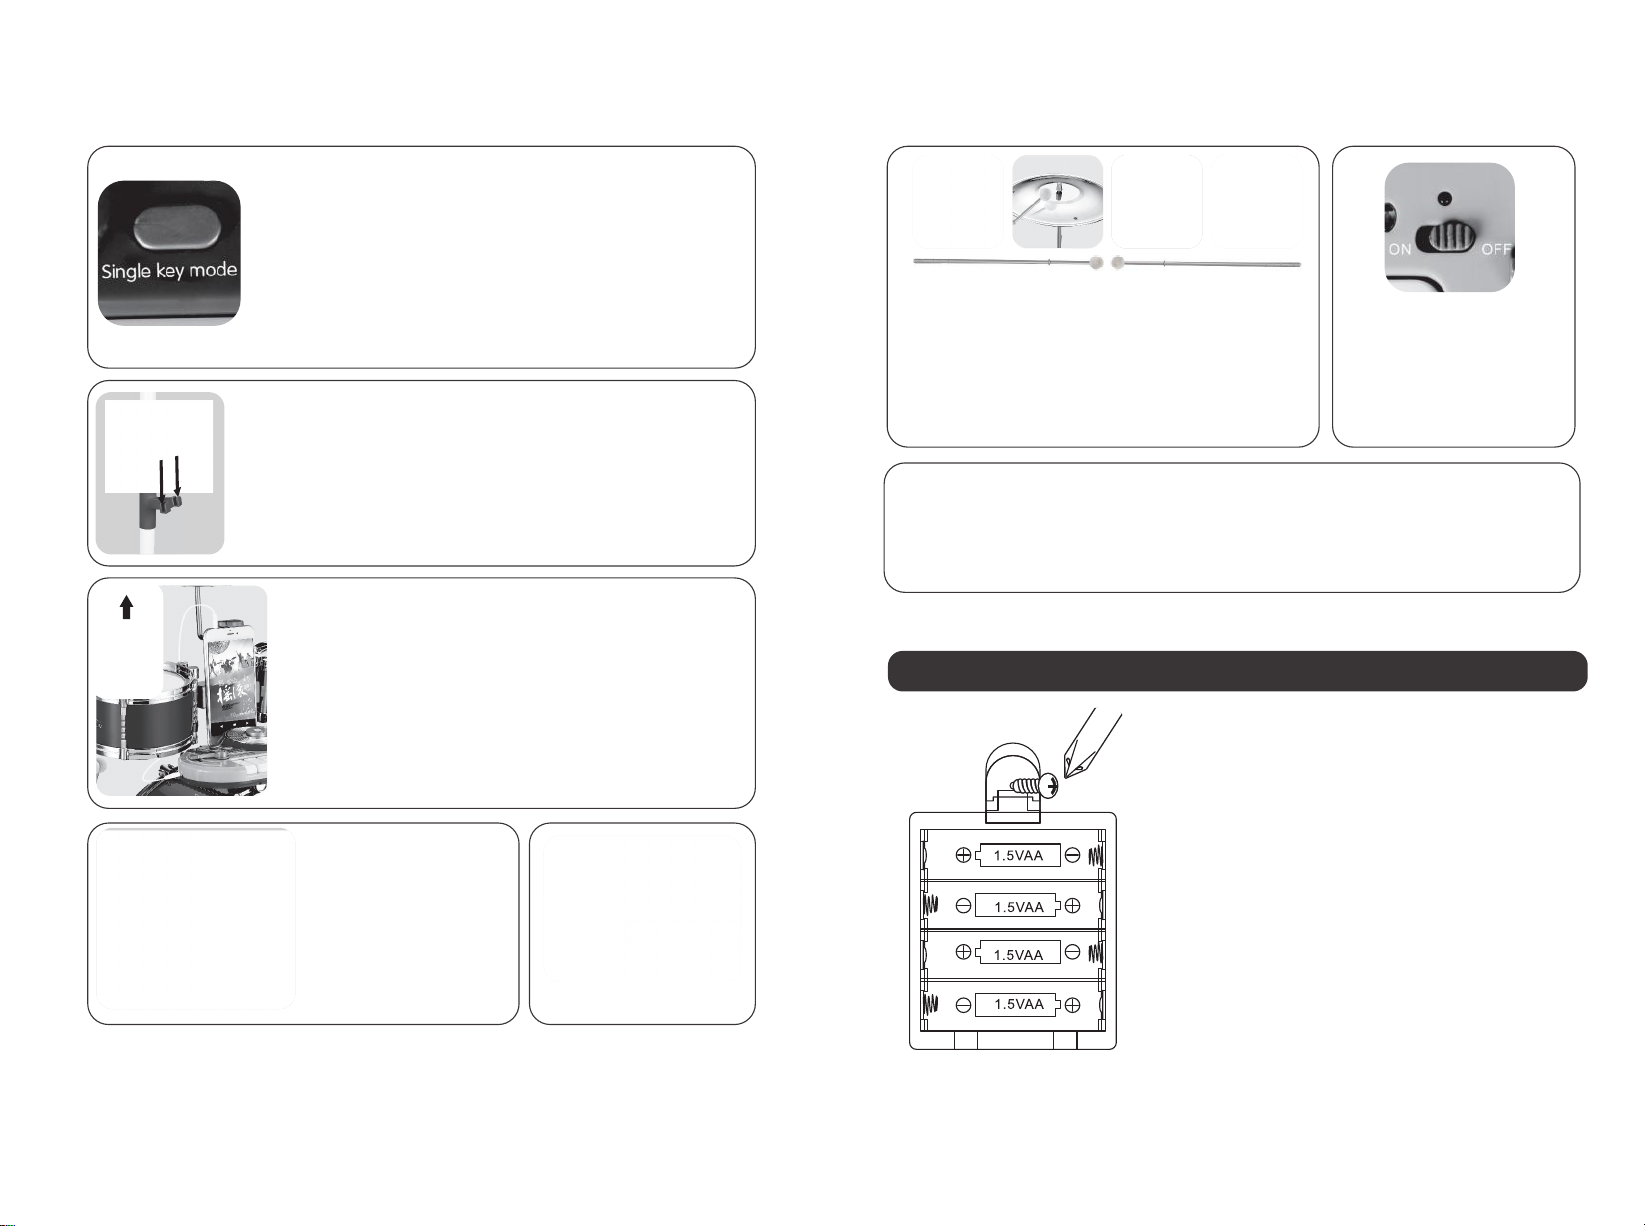
10 Lumières Rythmiques
Allumez le voyant de rythme arrière sur le
tambour Jazz et il clignotera au rythme de
la musique.
ARRÊT
Appuyez sur cette touche
pour arrêter toutes les
actions.
8 Morceaux DEMO :
● Old MacDonald avait une ferme
● Petite étoile scintillante scintillante
● Où sont mes amis
● Tu es mon rayon de soleil
● Hokey Pokey
● Les premiers sourires Vanessa
● Danube bleu
● Danseur de boîte à musique
Égaliseur d'Accords
(Volume d'accord)
Lorsque le morceau ou le rythme
DEMO est en cours de lecture,
vous pouvez régler le volume de
la musique et de l'accord.
Volume +/Volume-
Réglez le volume de l'ensemble du
tambour jazz, au total il y a 10
sections, la valeur par défaut du
volume est la section 8.
Touche de Batterie
Comprend 8 rythmes
de batterie, chaque fois que vous
appuyez sur la touche, il passera au
morceau de batterie suivant.
Rythme
Il comprend 8 rythmes, chaque fois
que vous appuyez dessus, il passera
au rythme suivant.
Touche Rythmique
●Populaire
● Cha-cha
● Samba
● Rocher
● Rock lent
● Valse
● Disque
● Rumba
Explication de la Fonction