manuals.online logo
Brands
  1. Home
  2. •
  3. Brands
  4. •
  5. Craftsman
  6. •
  7. Lawn Mower
  8. •
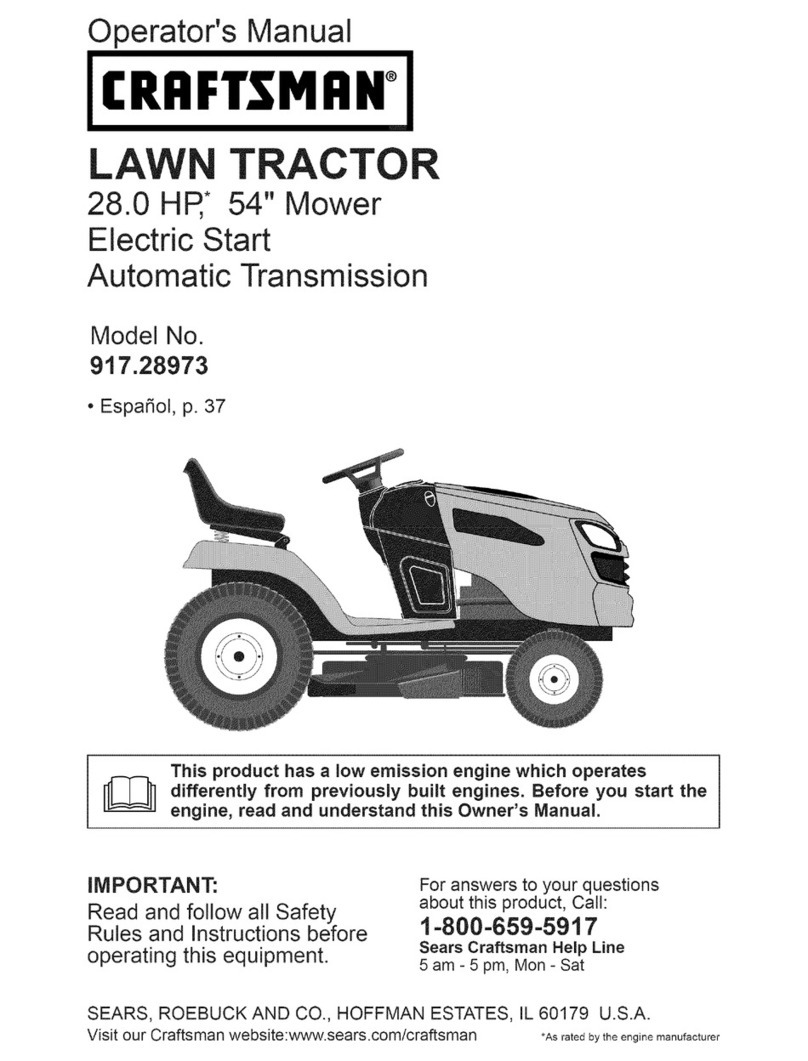
  9. Craftsman 917270841 User manual

Craftsman 917270841 User manual

This manual suits for next models

1

Other Craftsman Lawn Mower manuals

Craftsman 917.377841 User manual

Craftsman

Craftsman 917.377841 User manual

Craftsman SEGADORA 917.274031 User manual

Craftsman

Craftsman SEGADORA 917.274031 User manual

Craftsman 917.254520 User manual

Craftsman

Craftsman 917.254520 User manual

Craftsman 725 series User manual

Craftsman

Craftsman 725 series User manual

Craftsman 917.276211 User manual

Craftsman

Craftsman 917.276211 User manual

Craftsman 917.374094 User manual

Craftsman

Craftsman 917.374094 User manual

Craftsman 917.251471 User manual

Craftsman

Craftsman 917.251471 User manual

Craftsman C459.60310 User manual

Craftsman

Craftsman C459.60310 User manual

Craftsman 917.274961 User manual

Craftsman

Craftsman 917.274961 User manual

Craftsman 917.275222 User manual

Craftsman

Craftsman 917.275222 User manual

Craftsman 917.370731 User manual

Craftsman

Craftsman 917.370731 User manual

Craftsman 917.388840 User manual

Craftsman

Craftsman 917.388840 User manual

Craftsman 917.371663 User manual

Craftsman

Craftsman 917.371663 User manual

Craftsman 27720 User manual

Craftsman

Craftsman 27720 User manual

Craftsman 917.376530 User manual

Craftsman

Craftsman 917.376530 User manual

Craftsman EZ3 917.272050 User manual

Craftsman

Craftsman EZ3 917.272050 User manual

Craftsman EZ3 917.258863 User manual

Craftsman

Craftsman EZ3 917.258863 User manual

Craftsman 917.275022 User manual

Craftsman

Craftsman 917.275022 User manual

Craftsman C459-36024 User manual

Craftsman

Craftsman C459-36024 User manual

Craftsman 917.389890 User manual

Craftsman

Craftsman 917.389890 User manual

Craftsman 154.37837 User manual

Craftsman

Craftsman 154.37837 User manual

Craftsman 3One 917.252531 User manual

Craftsman

Craftsman 3One 917.252531 User manual

Craftsman 247.28905 User manual

Craftsman

Craftsman 247.28905 User manual

Craftsman 917.273663 User manual

Craftsman

Craftsman 917.273663 User manual

Popular Lawn Mower manuals by other brands

Toro 20047 Operator's manual

Toro

Toro 20047 Operator's manual

Toro Greensmaster TriFlex 3300 Operator's manual

Toro

Toro Greensmaster TriFlex 3300 Operator's manual

Global garden products 72 Workshop manual

Global garden products

Global garden products 72 Workshop manual

EINHELL 01045 operating instructions

EINHELL

EINHELL 01045 operating instructions

Toro Greensmaster 3120 Operator's manual

Toro

Toro Greensmaster 3120 Operator's manual

Baroness LM315GC Owner's operating manual

Baroness

Baroness LM315GC Owner's operating manual

GreenWorks Tools 25157 user manual

GreenWorks Tools

GreenWorks Tools 25157 user manual

Etesia MVEHH user manual

Etesia

Etesia MVEHH user manual

Husqvarna LTH125 owner's manual

Husqvarna

Husqvarna LTH125 owner's manual

Gravely 915034 - ZT1640 Owner's/operator's manual

Gravely

Gravely 915034 - ZT1640 Owner's/operator's manual

Jacobsen 63281 Technical manual

Jacobsen

Jacobsen 63281 Technical manual

GreenWorks Pro MO802524 Operator's manual

GreenWorks Pro

GreenWorks Pro MO802524 Operator's manual

Toro TimeMaster 20976 Operator's manual

Toro

Toro TimeMaster 20976 Operator's manual

Deutz-Allis 3000 Series parts manual

Deutz-Allis

Deutz-Allis 3000 Series parts manual

jobmate YT9108 user manual

jobmate

jobmate YT9108 user manual

Yard force GM R40A instructions

Yard force

Yard force GM R40A instructions

Husqvarna R 419TsX AWD Operator's manual

Husqvarna

Husqvarna R 419TsX AWD Operator's manual

STERWINS ELM2-36P-3W.4 Assemby - Use - Maintenance Manual

STERWINS

STERWINS ELM2-36P-3W.4 Assemby - Use - Maintenance Manual

manuals.online logo
manuals.online logoBrands
  • About & Mission
  • Contact us
  • Privacy Policy
  • Terms and Conditions

Copyright 2025 Manuals.Online. All Rights Reserved.

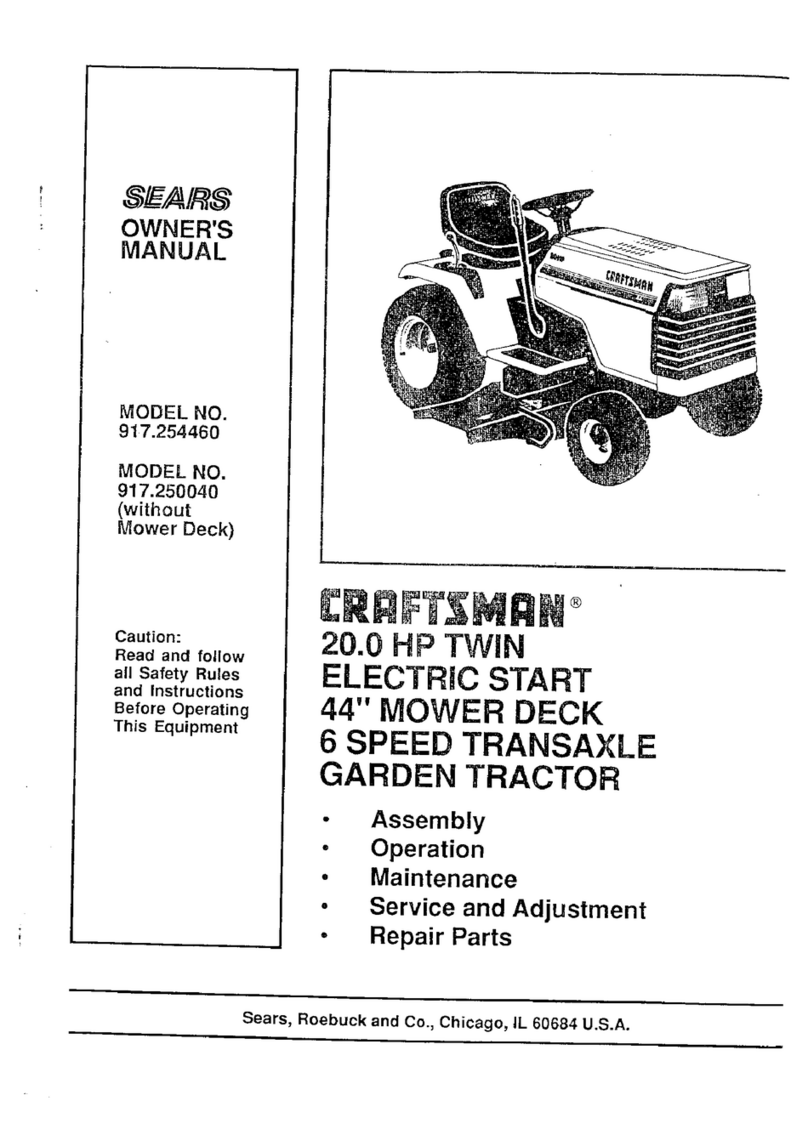
Owner's Manual
16.0 HP
ELECTRIC START
42" MOWER
AUTOMATIC
LAWN TRAOTO
Model No.
917.270841
Safety
Assembly
Operation
o Maintenance
o Repair Parts
CAUTBON:
Read and follow all
Safety Rules and Instructions
before operating this equip-
ment.
For answers to your questions
about this product, Call:
1°800=859=5917
Sears Craftsman Help Line
5 am _5 pro, Mon - Sat
Sears, Roebuck and Co., Hoffman Estates, IL 60179
Warranty ......................................................... 2
Safety Rules .................................................. 2
Product Specifications ............................ 5
Assembly ................................................ 6
Operation ............................................... 11
Maintenance Schedule .......................... 18
Maintenance ............................................ 18
Service and Adjustments ....................... 22
Storage ................................................. 28
Troubleshooting ........................................ 30
Repair Parts ......................................... 34
Parts Ordering ....................... Back Cover
LIMITED TWO YEAR WARRANTY ON CRAFTSMAN RIDING EQUIPMENT
For' two (2) years from the date of purchase, if this Craftsman Riding Equipment is main-
tained, lubricated and tuned up according to the instructions in the owner's manual,
Sears will repair or replace, free of charge, any parts found to be defective in material or
workmanship.
This Warranty does not cover:
o Expendable items which become worn during normal use, such as blades, spark
plugs, air cleaners, belts, etc.
° Tire replacement or repair caused by punctures from outside objects, such as nails,
thorns, stumps, or glass.
° Repairs necessary because of operator abuse, negligence, improper storage or acci-
dent or the failure to maintain the equipment according to the instructions contained in
the owner's rnanual.
o Riding equipment used for commercial or rental purposes,
LIMITED 90 DAY WARRANTY ON BATTERY
For ninety (90) days from date of purchase, if any battery' included with this riding equip-
ment proves defective in material or workmanship and our testing determines the bat-
tery wilt not hold a charge, Sears will replace the battery at no charge. In-home warranty
service on your Craftsman riding equipment is available at no charge for 30 days from
the date of purchase. Please contact your nearest service center. After 30 days from the
date of purchase, warranty service is available by taking your Craftsman riding equip-
ment to your nearest Sears Service Center. (In-home warranty service will still be avail-
able after' 30 days from the date of purchase but a standard trip charge will apply). This
warranty applies only while this product is in the United States_ This Warranty gives you
specific legal rights, and you may also have other rights which may vary from state to
state_
Sears, Roebuck and Co., D/817 WA, Hoffman Estates, IL 60179
GENERAL OPERATgON
oRead, understand, and follow all instruc-
tions in the manual and on the machine
before starting.
°Only allow responsible adults, who are
familiar with the instructions, to operate
the machine.
oClear the area of objects such as rocks,
toys, wire, etc., which could be picked
up and thrown by the blade.
°Be sure the area is clear of other people
before mowing. Stop machine if anyone
enters the area.
2
° Never carry passengers°
,, Do not mow in reverse unless absolute_
ly necessary. Always look down and
behind before and while backing.
o Be aware of the mower discharge direc-
tion and do not point it at anyone_ Do
not operate the mower without either
the entire grass catcher or the guard in
place.
• Slow down before turning
o Never leave a running machine unat-
tended, Always turn off blades, set park-
ing brake, stop engine, and remove
keys before dismounting°
o Turnoffbladeswhen not mowing°
o Stop engine before removing grass
catcher or unclogging chute.
o Mow only in daylight or good artificial
light.
• Do not operate the machine while under
the influence of alcohol or drugs.
o Watch for traffic when operating near or
crossing roadways.
o Use extra care when loading or unload-
ing the machine into a trailer or truck.
SLOPE OPERATION
Slopes are a major factor related to Ioss-_
of-control and tipover accidents, which
can result in severe injury or death° All
slopes require extra caution. If you cannot
back up the slope or if you fee! uneasy on
it, do not mow it.
DO:
o Mow up and down slopes, not across.
° Remove obstacles such as rocks, tree
limbs, etc.
o Watch for hoies, ruts, or bumps. Uneven
terrain could overturn the machine.. Tall
grass can hide obstacles°
o Use slow speed. Choose a tow gear so
that you will not have to stop or shift
while on the slope°
o Follow the manufacturer's recommen-
dations for wheel weights or counter-
weights to improve stability°
o Use extra care with grass catchers or
other attachments These can change
the stability of the machine_
o Keep all movement on the slopes stow
and gradual° Do not make sudden
changes in speed or direction.
o Avoid starting or stopping on a slope. If
tires lose traction, disengage the blades
and proceed slowly straight down the
slope°
DO NOT:
oDo not turn on slopes unless necessary,
and then, turn slowly and gradually
downhill, if possible.
oDo not mow near drop-offs, ditches, or
embankments, The mower could sud-
denly turn over if a wheel is over the
edge of a cliff or ditch, or if an edge
caves ino
°Do not mow on wet grass. Reduced
traction could cause sliding_
oDo not try to stabilize the machine by
putting your foot on the ground.
oDo not use grass catcher on steep
slopes.
CHILDREN
Tragic accidents can occur if the operator
is not alert to the presence of children.
Children are often attracted to the
machine and the mowing activity. Never
assume that children will remain where
you last saw them.
° Keep children out of the mowing area
and under the watchful care of another
responsible adult°
o Be alert and turn machine off if children
enter the area.
o Before and when backing, look behind
and down for small children.
° Never carry children. They may fall off
and be sedously injured or interfere with
safe machine operation.
• Never allow children to operate the
machine.
°Use extra care when approaching blind
corners, shrubs, trees, or other objects
that may obscure vision.
SERVICE
oUse extra care in handling gasoline and
other fuels. They are flammable and
vapors are explosive.
- Use only an approved container.
- Never remove gas cap or add fuel
with the engine running. Allow en-.
gine to cool before refueling. Do not
smoke.
- Never refuel the machine indoors.
Never store the machine or fuel
container inside where there is an
open flame, such as a water heater,,
o Never run a machine inside a closed
area°
o Keep nuts and bolts, especially blade
attachment bolts, tight and keep equip-
ment in good condition.
o Never tamper with safety devices°
Check their proper operation regularly.
o Keep machine free of grass, leaves, or
other debris build-up. Clean oit or fuel
spillage. Allow machine to cool before
storing.
°Stop and inspect the equipment if you
strike an object° Repair, if necessary,
3
o
Never make adjustments or repairs with
the engine running°
Grass catcher components are subject
to wear, damage, and deterioration,
which could expose moving parts or
allow objects to be thrown. Frequently
check components and replace with
manufacturer's recommended parts,
when necessary_
° Mower blades are sharp and can cut.
Wrap the blade(s) or wear gloves, and
use extra caution when servicing them
Check brake operation frequently.
Adjust and service as required.
° Be sure the area is clear of other people
before mowing. Stop machine if anyone
enters the area.
o Never carry passengers_
o Do not mow in reverse unless absolute-
ly necessary. Always look down and
behind before and while backing.
- Never' carry children. They may fall off
and be seriously injured or interfere with
safe machine operation.
o Keep children out of the mowing area
and under the watchful care of another
responsible adult,
o Be alert and turn machine off if children
enter the area.
• Before and when backing, look behind
and down for small children°
° Mow up and down slopes (15 ° Max), not
across°
oRemove obstacles such as rocks, tree
limbs, etc.
° Watch for holes, ruts, or bumps, Uneven
terrain could overturn the machine_ Tall
grass can hide obstacles_
o Use slow speed. Choose a low gear so
that you will not have to stop or shift
while on the slope.
o Avoid starting or stopping on a slope. If
tires lose traction, disengage the blades
and proceed slowly straight down the
slope.
•Do not turn on slopes unless necessary,
and then, turn slowly and gradually
downhill, if possible.
,_kLook for this symbol to point out impor-
tant safety precautions. It means CAU-
TION!!! BECOME AWARE!!! YOUR SAFE-
TY tS INVOLVED.
,_kCAUTtON: In order to prevent acciden-
tal starting when setting up, transporting,
adjusting or making repairs always discon-
nect spark plug wire and place wire where
it cannot contact spark plug.
,_kWARNING: The engine exhaust from
this product contains chemicals known to
the State of California to cause cancer,
birth defects, or other reproductive harm.
z[
PRODUCT SPECiFiCATiONS
GASOLINE 1.25 GALLONS
CAPACITY
AND TYPE: UNLEADED
REGULAR
OIL TYPE
API-SF/SGiSH): SAE 30
(above 32°F)
SAE 5W-30
(below 32°F)
OIL CAPACITY: 30 PINTS
SPARK PLUG: Champion RC12YC
GAP: .030")
GROUND SPEED FORWARD: 0- 5.7
(MPH): REVERSE: 0- 2.7
TIRE PRESSURE: FRONT: t4 PSI
REAR: 12 PSI
CHARGING 3 AMPS BATTERY
SYSTEM: 5 AMPS HEADLIGHTS
BATTERY: AMP/HR: 25
MIN CCA:190
CASE SIZE: U1R
BLADE BOLT 27-35 FT LBS
TORQUE:
CONGRATULATIONS on your purchase
of a Craftsman Tractor. It has been
designed, engineered and manufactured
to give you the best possible dependability
and performance.
Should you experience any problem you
cannot easily remedy, please contact your
nearest Sears Authorized Service Center°
We have competent, well-trained techni-
cians and the proper tools to service or
repair this tractor..
Please read and retain this manual. The
instructions will enable you 'to assemble
and maintain your tractor properly. Always
observe the "SAFETY RULES'L
MAINTENANCE AGREEMENT
A Sears Maintenance Agreement is avail-
able on this product Contact your nearest
Sears store for details..
CUSTOMER RESPONSIBILITIES
= Read and observe the safety rules
o Follow a regular schedule in maintain °
ing, caring for and using your tractor.
o Follow the instructions under "Mainte-
nance" and "Storage" sections of this
owner's manual.
._WARNING: This tractor is equipped
with an internal combustion engine and
should not be used on or near any unim-
proved forest-covered, brush-covered or
grass-covered land unless the engine's
exhaust system is equipped with a spark
arrester meeting applicable local or state
laws (if any).. If a spark arrester is used, it
should be maintained in effective working
order by the operator°
In the state of California the above is
required by law (Section 4442 of the
California Public Resources Code). Other
states may have similar laws.. Federal
laws apply on federal lands.. A spark
arrester for the muffler is available through
your nearest Sears Authorized Service
Center (See REPAIR PARTS section of
this manual)°
(1) Large Fiat Washer
(1) Hex Bolt
3/8-16 x 1
(1) Lockwasher
3/8
(1) Hex Bolt
5/16-18× 1-1/4 (1) Locknut
5/16-18
(1) Shoulder Bolt
5/16-18
(1) Washer
17/32 x 1-3/16 x 12 Gauge
(1) Knob
(2) Hex Bo!ts !/4-20 ×&_4
@_ (2) Washers
/32 x5/8 x !8 Gauge
(2) Hex Nuts i14-20
(2) Lock Washers 1/4
6
PARTS BAG CONTENTS SHOWN FULL SiZE
(2) Screws _ (2) Lock
#10 x 5/8 L_._ Washers #10
(2) Weld Nuts
#10 (2) Washers
3/16 x 3/4 x 16 Gauge
Parts packet separately in carton
Seat
Video
Cassette
St_rmgWhe_ Parts Bag
Steering ,
Boot
Manual
Parts Bag contents not shown full size
(2) Latch Hook
Assemblies
Steering Wheel
Adapter
Slope Sheet
Steering
Wheel Insert
(2) Keys
Steering =
Extension
Shaft
o
Your new tractor has been assembled at the factory with exception of those parts left
unassembled for shipping purposes. To ensure safe and proper operation of your tractor
all parts and hardware you assemble must be tightened securely. Use the correct tools
as necessary to insure proper tightness. Review the video cassette before you begin.
TOOLS REQUIIRED FOR
ASSEMBLY
A socket wrench set will make assembly
easier. Standard wrench sizes you need
are listed below.
(1) 9/16" wrench
(2) 7/16" wrenches
(2) 1/2" wrench
(1) 3/4" wrench
(1) Utility knife
(1)Pliers
(1) 3/4" Socket wi
drive rachet
(1) Phillips Screw-
driver
(1) Tire pressure
gauge
When right or left hand is mentioned in
this manual, it means, from your point of
view, when you are in the operating posi-
tion (seated behind the steering wheel).
TO REMOVE TRACTOR FROM
CARTON
o Assemble large flat washer, 3/8 lock
washer, 3/8 hex bolt and tighten securely.
, Snap steering wheel insert into center
of steering wheel.
o Remove protective materials from trac-
tor hood and grill°
IMPORTANT: Check for' and remove any
staples in skid that may puncture tires
where tractor is to roll off skid°
Insert
UNPACK CARTON
o Remove all accessible loose parts and
parts boxes from shipping carton (See
page 6).
o Cut, from top to bottom, along lines on
all four corners of shipping carton, and
lay panels flat.
o Check forany additional loose parts or
boxes and remove.
BEFORE ROLLBNG TRACTOR OFF
SKSD
ATTACH STEERING WHEEL
ASSEMBLE EXTENSION SHAFT AND
BOOT
o Slide extension shaft onto lower steer-
ing shaft. Align mounting holes in exten-
sion and lower shafts and install 5/16
hex bolt and locknuL Tighten securely.
IMPORTANT: Tighten bolt and nut secure-
ly to 18-22 ft. Ibs. torque.
o Place tabs of steering boot over tab
slots in dash and push down to secure.
INSTALL STEERING WHEEL
o Position front wheels of the tractor' so
they are pointing straight forward.
Slide steering wheel _dapter onto steer-
ing shaft extension°
o Position steering wheel so cross bars
are horizontal (left to right) and slide
inside boot and onto adapter:
Wheel _Boot
/_,/_ Adapter
Extension __
Shaft5/16 L__/5/1 Bolt6 Hex
.,'-'- __..,'.,.
Lower Steering. ,_.€_...._,_ "-"_'_--,
Shaft , '"',
,,,
t_ t.1 t
TO ROLL TRACTOR OFF SKID (See
Operation section for location and
function of controls)
oPress liftlever plunger and raise attach-
ment liftlever to its highest position,
oRelease parking brake by depressing
clutch!brake pedal.
oPlace freewheel control in freewheeling
position to disengage transmission (See
"TO TRANSPORT" in the Operation
section of this manual),
• Rotl tractor forward off skid,
=Remove banding holdingdischarge
guard up against tractor'.
8
HOW TO SET UP YOUR TRACTOR
CONNECT BATTERY
,_kCAUTION: Do not short battery termi-
nals by allowing a wrench or any other
object to contact both terminals at the
same time. Before connecting battery, re-
move metal bracelets, wristwatch bands,
rings, etc. Positive terminal must be con-
nected first to prevent sparking from acci-
dental grounding.
• Remove cardboard packing from seat
pan and lift seat pan to raised position.
° Open battery box door and remove pro-
tective plastic°
• Remove terminal protective caps and
discard.
°If this batter,! is put into service after
month and year indicated on label (label
located between terminals) charge bat-
tery for minimum of one hour at 6-10
amps.
° First connect RED battery cable to posi-
tive (+) terminal with hex bolt, flat wash-
er, lock washer and hex nut as shown.
Tighten securely_
• Connect BLACK grounding cable to
negative (-) terminal with remaining hex
bolt, flat washer, lock washer and hex
nut. Tighten securely.
o Close battery box door.
Open battery box door for:
o Inspection for secure connections
(to tighten hardware),
° inspection for corrosion
o Testing battery,
• Jumping (if required).
• Periodic charging.
Positive Discard Terminal
(Red) Cable Proctective Caps
Lock Washer
Flat VVasher
Hex Hex Bolt
Negative
(Black)
Battery
Door
iNSTALL SEAT
Adjust seat before tightening adjustment
knob.
o Remove cardboard packing on seat pan.
o Place seat on seat pan and assemble
shoulder bolt. Tighten shoulder bolt
securely.
o Assemble adjustment knob and flat
washer loosely. Do not tighten.
Lower seat into operating position and
sit on seat.
• Slide seat until a comfortable position is
reached which allows you to press
clutch/brake pedal all the way down.
° Get off seat without moving its adjusted
position.
o Raise seat and tighten adjustment knob
securely,
Seat Pan
Shoulder !
Bolt
Seat
@
_ Fiat Washer
Adjustment Knob
CHECK TIRE PRESSURE
The tires on your tractor were overinflated
at the factory for shipping purposes,
Correct tire pressure is important for best
cutting performance°
oReduce tire pressure to PSi shown in
=PRODUCT SPECIFICATIONS" on page
5 of this manual.
CHECK DECK LEVELNESS
For best cutting results, mower housing
should be properly leveled° See "TO
LEVEL MOWER HOUSING" in the Service
and Adjustments section of this manual.
CHECK FOR PROPER POSITION OF
ALL BELTS
See the figuresthat are shown for replac-
ing motion and mower blade drive belts in
the Service and Adjustments sectoin of
thismanual. Verifythat the belts are muted
correctly°
9
CHECK BRAKE SYSTEM
After you learn how to operate your trac-
tor,check to see that the brake is propedy
adjusted. See =TOADJUST BRAKE" in
the Service and Adjustments section of
this manual.
iNSTALL MULCHER PLATE
oInstall two latch hooksto rnulcher plate
using screw, washer, lock washer, and
weld nut as shown.
NOTE: Pre-assemble weld nut to latch
hook by insertingweld nut from the top
with hook pointing down.
,, Tighten hardware securely.
oRaise and holddeflector shield in up-
rightposition.
°Place front of muicher plate over front of
mower deck opening and slide into
place, as shown.
=Hook front latch into hole onfront of
mower deck°
°Hook rear latch into hole on back of
mower deck.
_CAUTION: Do not remove discharge
guard from mower_Raise and holdguard
when attaching mulcher plate and allow it
to rest on plate while in operation.
WeldNutFrom HookPoints
TheTop Down
Lock
Weld Washer
Latch Latch
Hook
Washer
Mulcher
Plate
Deflector
Shield
Nut
Lock Washer
Washer
Screw
_Latch
Hooks
TO CONVERT TO BAGGING OR
DISCHARGING
Simply remove mulcher plate and store in
asafe place. Your mower is now ready for
discharging or installation of optional
grass catcher accessory.
NOTE: It isnot necessary to change
blades. The mutcher blades are designed
for discharging and bagging also.
CHECKLIST
PLEASE REVIEW THE FOLLOWING
CHECKLIST:
All assembly instructions have been
completed.
No remaining loose parts in carton.
e/ Battery is properly prepared and
charged. (Minimum 1 hour at 6 arnps)
_' Seat is adjusted comfortably and
tightened securely.
_' All tires are propedy inflated. (For
shipping purposes, the tires were
overinflated at the factory).
v' Be sure mower deck is properly levele_
side-to-side!front..to-rear for best
cutting results. (Tires must be properl_
inflated for leveling).
e/ Check mower and drive belts. Be sure
they are routed properly around pulley
and inside all belt keepers.
_' Check wiring. See that al! connections
are still secure and wires are properly
clamped.
Before driving tractor, be sure free-
wheel control is in drive position.
WHILE LEARNING HOW TO USE YOUP
TRACTOR, PAY EXTRA ATTENTION TC
THE FOLLOWING IMPORTANT ITEMS:
,/ Engine oil is at proper level.
,/ Fuel tank is filled with fresh, cl"ean,
regular unleaded gasoline.
v" Become familiar with all controls - thei
location and function. Operate them
before you start the engine.
,/ Be sure brake system is in safe opera
ing condition.
,/ It is important to purge the transmis-
sion before operating your tractor for
the first time. Follow proper starting
and transmission Purging instructions
(See =TO START ENGINE" and
"PURGE TRANSMISSION" in the Op.
eration section of this manual).
i0