Craycle Hobby Ranger Mini User manual

© 2021 Craycle Hobby. Copies allowed for personal use only. Not for commercial use.
www.craycle.com
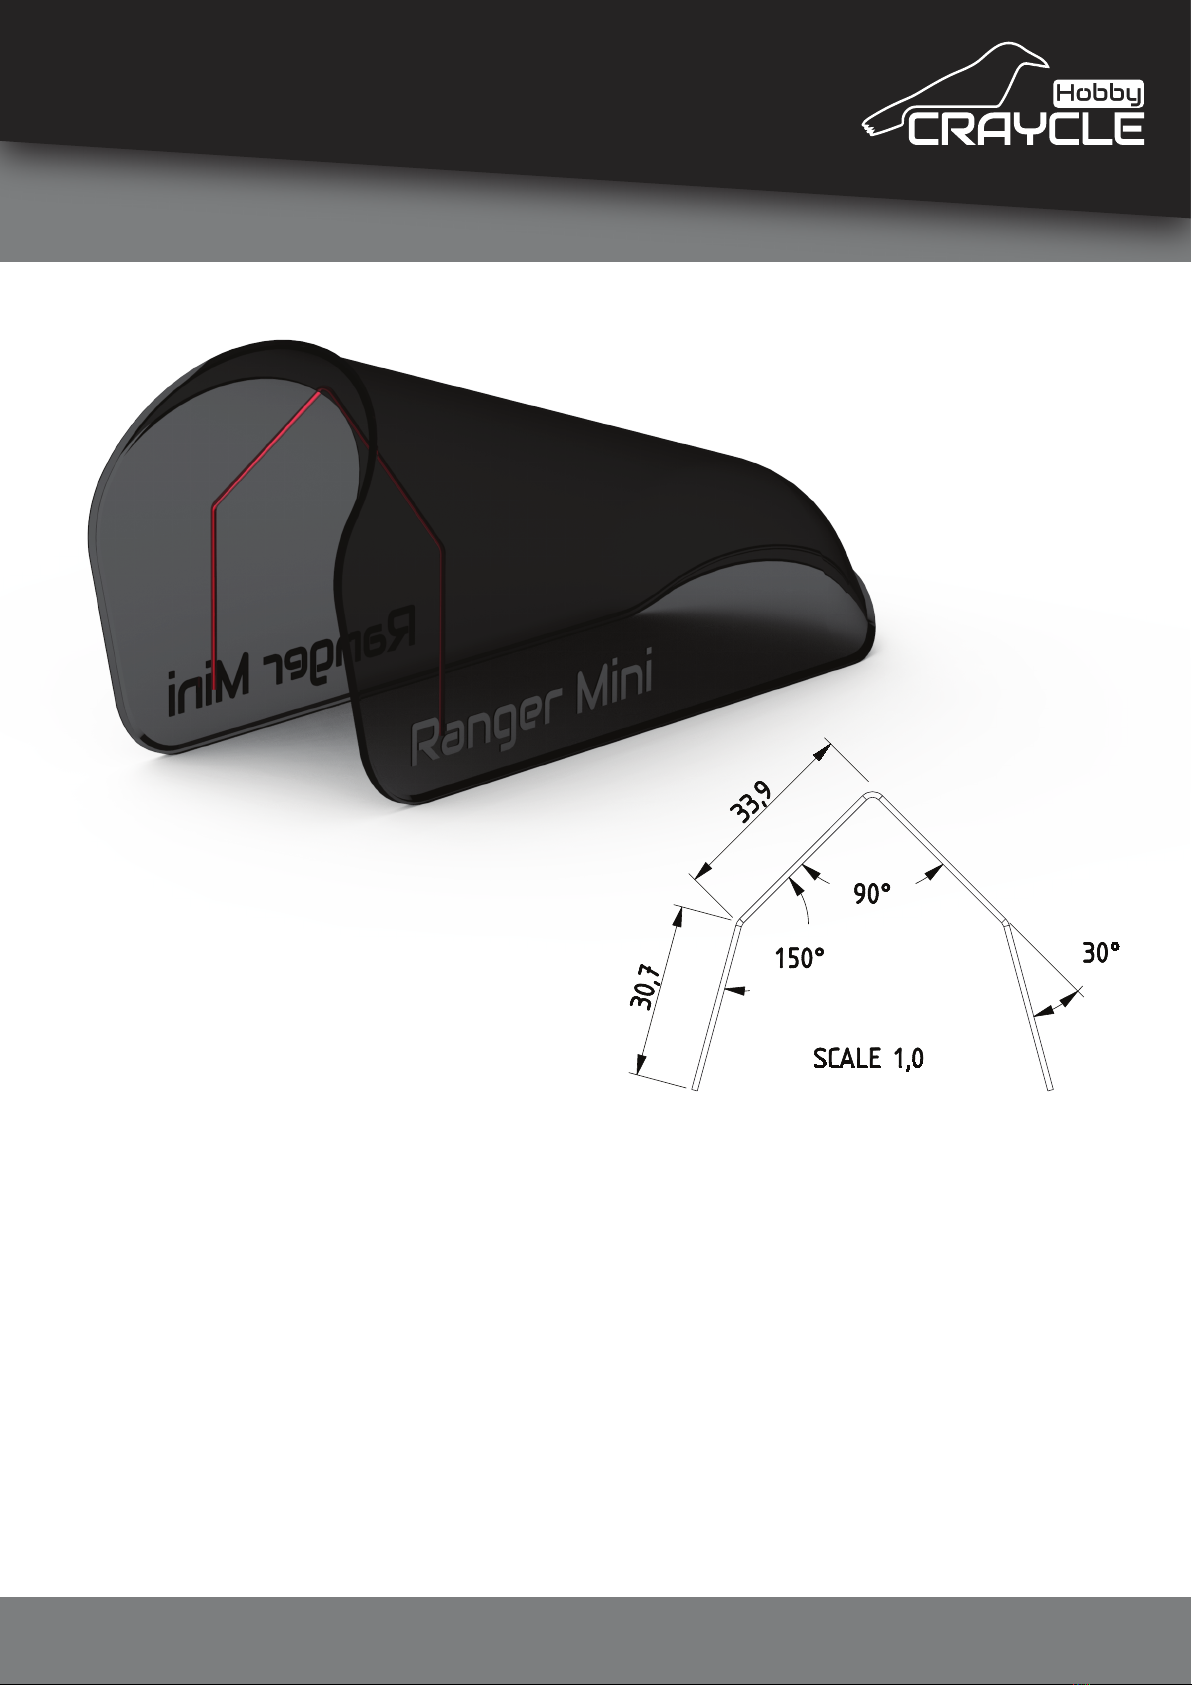
Ranger Mini
User Guide
Designed By: Cemal ÖZÇELİK
Version: 1.0
Date: 30.07.2021
Recommended Setup
Motor
Propeller
ESC
Servo
Battery
Any FPV system if you like to use.
: 2204 2300 kv
: 5x3 - 5x2
: 20 amp
: 2 X 9 gram
: 800-1500 mAh 2s-3s
General Specifications
Length
Wingspan
Print Weight
Flying Weight
Wing Area
Wing Loading
24.2 in
31.5 in
8.3 oz.
15.8 oz.
186.6 in2
14.2 oz/ft2
: 615 mm
: 800 mm
: 235 gram
: 450 gram
: 12.04 dm2
: 37.5 g/dm2
Maker Skill
Pilot Skill

© 2021 Craycle Hobby. Copies allowed for personal use only. Not for commercial use.
Part List
www.craycle.com
Part NameQuantityNumber
r_fs11
r_fs22
1
1
1
1
1
1
1
1
1
1
1
1
1
1
2
1
1
1
1
2
1
2
r_fs33
r_wing1_l4
r_wing2_l5
r_wing3_l6
r_wing1_r7
r_wing2_r8
r_wing3_r9
r_canopy10
r_tail11
Part NameQuantityNumber
r_asm_parts12
spinner_113
spinner_214
9g servo15
2204 2300Kv Motor16
5x3 Propeller17
20A ESC18
Ø8x275mm Pipe19
550mm Servo Wire
800-1500mah Lipo
20
21
5x45mm O-ring
Landing Wire Front
Landing Wire Back
22
123
124
RANGER MINI PART LIST
9
8
7
12
4
10
21
12
23
12
11
11
12
12
19
12
12
11
5
6
2
3
1
14
13
12

© 2021 Craycle Hobby. Copies allowed for personal use only. Not for commercial use.
Assembly
www.craycle.com
STEP 1
Assemble "r_fs1", "r_fs2" and “r_fs3” using CA glue. You should
place 4 pieces of “pim parts (in asm_parts)” into the centering
holes to facilitate assembly.
Make sure the pieces fit well. If you are using CA accelerator,
you should spray on one side and wait for accelerator to dry for
20 seconds and then you can apply the glue on other side and
assemble the pieces.
Note: Avoid excessive use of glue.
1

© 2021 Craycle Hobby. Copies allowed for personal use only. Not for commercial use.
Assembly
www.craycle.com
STEP 2
Assemble elevator right and left pieces using CA glue. You
should place 2 pieces of “pim parts (from the asm_parts)” into
the centering holes to facilitate assembly.
Make sure the pieces fitting well on every step.
If you are using CA accelerator, you should spray on one side
and wait to dry accelerator for 20 seconds and then you can
apply the glue onto other side and assemble the pieces same
as fuselage.
2

© 2021 Craycle Hobby. Copies allowed for personal use only. Not for commercial use.
Assembly
www.craycle.com
STEP 3
Now you can release the flaps from the elevator by
breaking it’s tiny connections.
Reassemble the flaps using the flexible hinge pieces you
prepared. Then you can stick the control horn to the flap.
The template for the hinge is as follows. Also there is CA Hinge
Maker tool for free in the Model Library.
3

© 2021 Craycle Hobby. Copies allowed for personal use only. Not for commercial use.
Assembly
www.craycle.com
STEP 4
Do the same process as elevator and prepare the rudder’s flap
and then you can stick the rudder to the elevator.
4

© 2021 Craycle Hobby. Copies allowed for personal use only. Not for commercial use.
Assembly
www.craycle.com
STEP 5
Prepare and assemble the pieces of "r_wing2_l" and
"r_wing3_l". Apply the same process for the right wing.
Assemble the pieces of "r_wing1_l", "r_wing1_r" and
“wign support part (from the asm_parts)” together.
Assemble the parts on a flat table surface. So you can be sure
the wing and flaps are sticking in a straight line.
Make sure you use enough CA glue for this step!
Note: Avoid excessive use of glue.
5

© 2021 Craycle Hobby. Copies allowed for personal use only. Not for commercial use.
Assembly
www.craycle.com
STEP 6
Now you can assemble the right and left wing with the central
part.
Don't worry about the Dihedral Angle, wing support part will
guide the assembly for the necessary wing angle.
Be sure to test fit all the parts before applying the CA glue.
You can stick a piece of tape to the entire leading edge for
extra durability.
6

© 2021 Craycle Hobby. Copies allowed for personal use only. Not for commercial use.
Assembly
www.craycle.com
STEP 7
1-Insert the carbon pipe all the way into the fuselage and stick it.
2-Insert the wire holder (from the asm_parts) to the pipe.
3-Install the tail wing all the way to the carbon pipe and stick it.
4-Insert the wing mounting bracket (Red part) inside the fuse-
lage where the wing is going to be assembled and then stick it
into the fuselage with CA glue. In this step be careful for the
alignment of the mounting holes.
5-You can stick the m4 nut to the wing mounting bracket with
CA glue carefully before previus step.
6-Now you can assembly the wing to the fuselage with one
M4x25 imbus screw.
7

© 2021 Craycle Hobby. Copies allowed for personal use only. Not for commercial use.
Assembly
www.craycle.com
7- While sticking the tail wing to the carbon pipe, you can use
the tail mounting stand (from the asm_parts) for the perfect
position of the elevator.
8- Sit the fuselage on a flat table and stick the mounting stand
at a suitable location on the table with double-sided tape. Be
sure the elevator, fuselage bottom and table surface parallel
together.
8

© 2021 Craycle Hobby. Copies allowed for personal use only. Not for commercial use.
Assembly
www.craycle.com
STEP 8
Remove the wing to work easy on the next steps.
Now you can install all your electronics; install your Motor, ESC,
Lipo Battery, Servos and Ø1 mm Push Rods (Music Wire).
You will need to drill the fuselage from the marked points with
push rod wire from the back of the fuselage for the push rods.
Check your servo direcions on the transmitter. Setup your
EXPO and Level settings.
Flaps should move 6 mm down and 9 mm up on the elevator
and 9 mm equal right and left on the rudder for the first flight.
The 40% EXPO setting is good for easy control on all directions.
9

© 2021 Craycle Hobby. Copies allowed for personal use only. Not for commercial use.
Assembly
www.craycle.com
STEP 9
Prepare the landing gears using
these drawings.
Drawings are 1:1 scale in this page. So
you can print this page as %100 scale
and use as a template.
You will need Ø1.5 mm and Ø1.0 mm
music or spring wire.
Be careful in this step and use strong
bending tools.
10

© 2021 Craycle Hobby. Copies allowed for personal use only. Not for commercial use.
Assembly
www.craycle.com
STEP 10
Your Ranger Mini is almost Ready to Fly!
You can insert the wheels to the bended wire and then you
can install the landing gears to the place under the fuselage
and tail.
You will need 2 X 45x5 mm O-ring and 1 X 15x2 mm O-ring as
O-ring Wheels’ tires.
11
© 2021 Craycle Hobby. Copies allowed for personal use only. Not for commercial use.
Assembly
www.craycle.com
STEP 11
Prepare the canopy spring using these drawings.
Drawings are 1:1 scale in this page. So you can print this page
as %100 scale and use as a template.
You will need Ø1 mm music or spring wire.
Place the wire you prepared on the inside, approximately as in
the photo, and fix it with CA glue only at the ends. The wire
should be stretching the canopy outward at its ends. This is
going to fit the canopy to the fuselage strongly.
12

© 2021 Craycle Hobby. Copies allowed for personal use only. Not for commercial use.
Assembly
www.craycle.com
STEP 12
Assemble the wing to the fuselage. Install your canopy and
check if everything is right.
Set the Center of Gravity from the marked line under the wing
(37,5 mm behind from the leading edge).
Take your time and do the right on every step. Be in a ventilat-
ed environment or work outside when using CA glue and ac-
celerator.
Your Ranger Mini is Ready to Fly!
Take your maiden flight with an experienced person.
13

© 2021 Craycle Hobby. Copies allowed for personal use only. Not for commercial use.
Print Guide
www.craycle.com
You will need a printer which has a bed size at least 180x180x180.
We have optimazed the Ranger Mini for normal PLA but if you
can use the LW-PLA it’s going to be better.
There is settings table on the last page for all of the parts and
we have prepared the necessary .curaprofile files for you. You
will need to use both of them.
First of all you need to have the CURA slicer program. When
you open the program, you can find your own printer from the
list but you should define your own printer with the custom
option. Custom option is always works properly.
Open the Add Printer window, select Custom FFF printer, set
your printer name and click to the add button for the next step
1

© 2021 Craycle Hobby. Copies allowed for personal use only. Not for commercial use.
Print Guide
www.craycle.com
This step, you have to set your printer x, y, z dimensions. If your
printer has a heated bed then you must activate/choose this
setting. (Heated bed is necessary for the wall print.).
Nozzle size has to be 0,4 mm for the model printing process. If
you have a different size nozzle then you have to change it with
a 0,4 mm nozzle. “Compatible material diameter” is related to
your printer, this is the filament daimeter.
2

© 2021 Craycle Hobby. Copies allowed for personal use only. Not for commercial use.
Print Guide
www.craycle.com
Click the next button, your printer settings are ready!
Next step is importing the “craycle.curaprofile”. Follow the
instructions.
Setting - Printer - Manage Printers => Click to the
Profiles on the left.
You can see your custom and default profiles in this panel. We
have prepared the best print settings for the RC Model
printing process and you will use these settings but you will
need to check some settings.
Click to the “Import” button and go to the next step.
3

© 2021 Craycle Hobby. Copies allowed for personal use only. Not for commercial use.
Print Guide
www.craycle.com
Select to the “crayce.curaprofile” and click to the open button.
Now you have the craycle profile!
4

© 2021 Craycle Hobby. Copies allowed for personal use only. Not for commercial use.
Print Guide
www.craycle.com
The settings you should set according to your printer:
- Material Settings.
Printing Temperature
Buildplate Temperature
Flow (wall flow is important!)
- Travel Settings.
Retraction distance
Retraction speed
These settings are related to your printer and your filament
brand. You should print a test part (any part from the stl files). If
you can print a test part of sufficient quality and the correct
weight, you are ready to print the other parts.
Note: 0,2 mm layer height is the best settings for the
Print Quality/Printing Time. You should follow the table on the
last page.
5
Table of contents
Other Craycle Hobby Toy manuals


Popular Toy manuals by other brands


V-tech
V-tech Winnie the Pooh product manual

PLAYTIVE JUNIOR
PLAYTIVE JUNIOR 293419 Instructions for use

V-tech
V-tech CAR-BOAD RACERS CONNECTORS AND TRACK STANDS instruction manual

LaserPegs
LaserPegs 9010 SEA Model instructions

Hot Wheels
Hot Wheels COLOSSAL CRASH GFH87 instructions

V-tech
V-tech MobiGo Game Storage instructions


