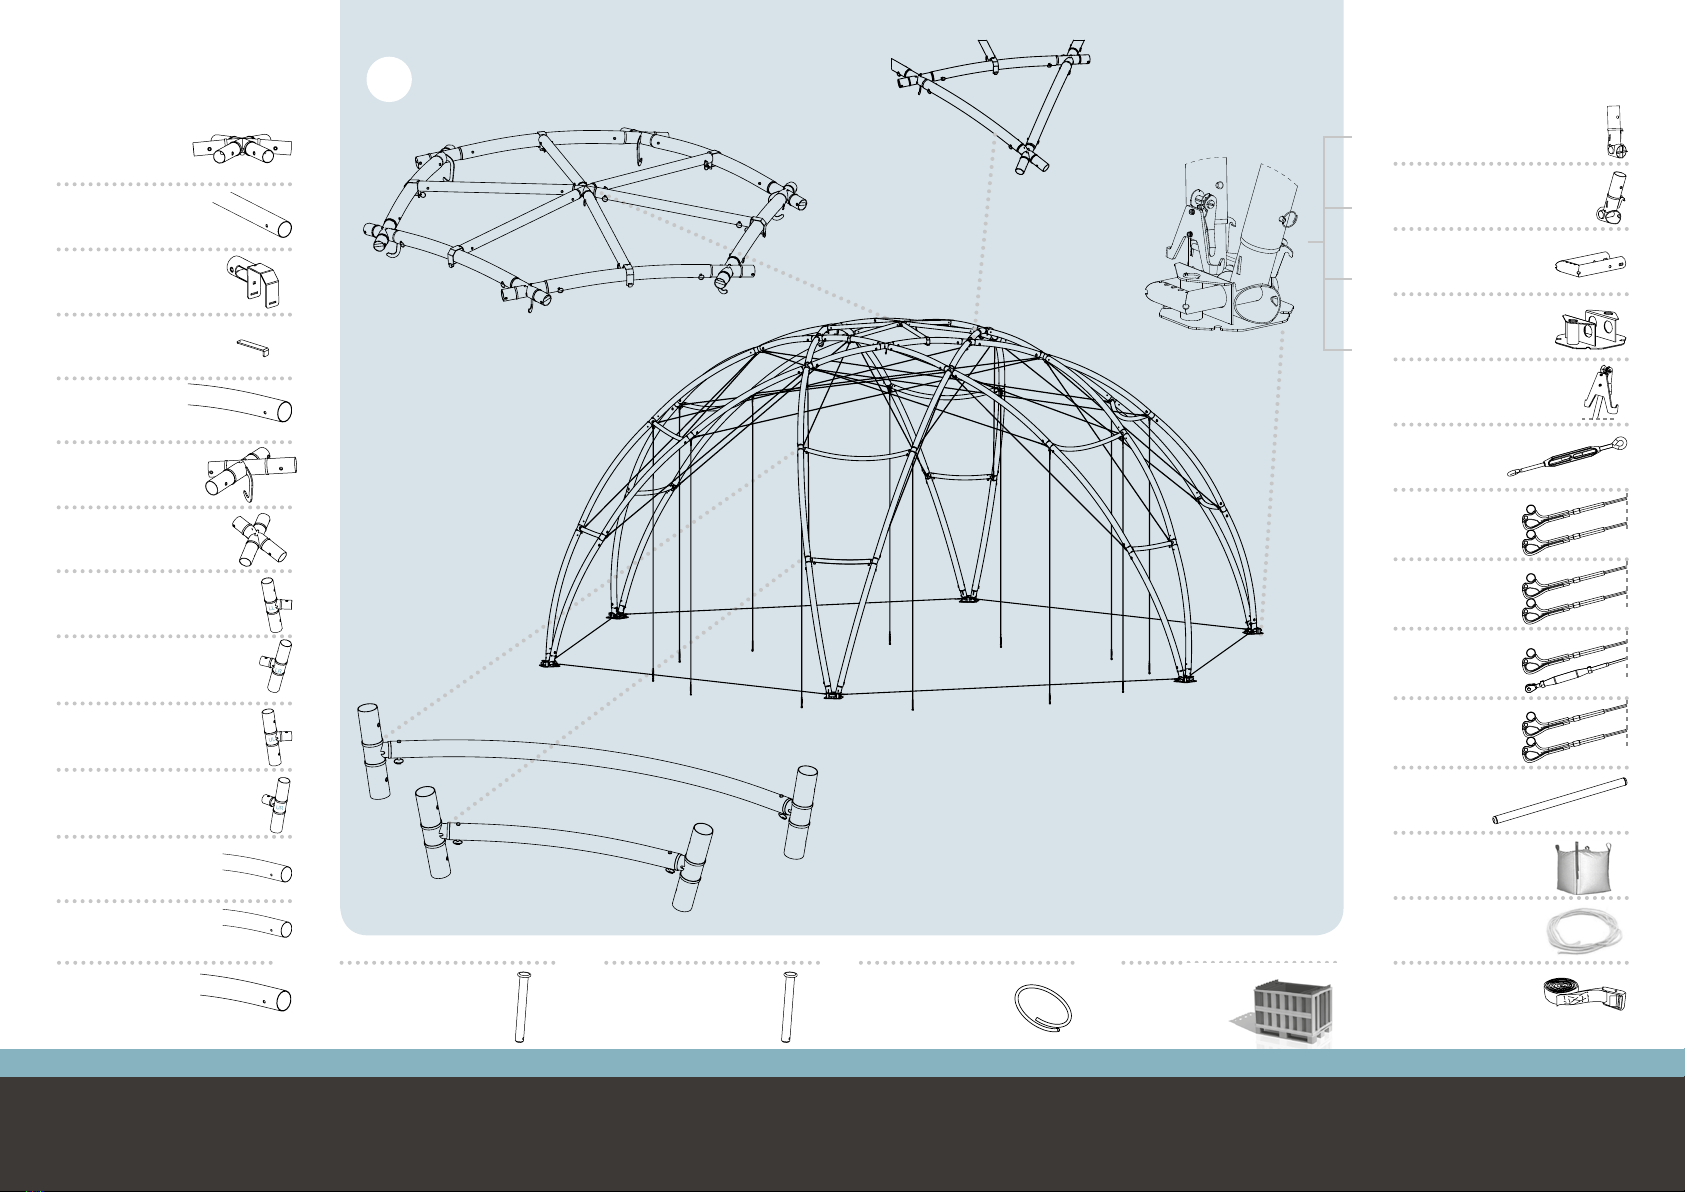
11 | 3210 | 32
Hexadome M
Building instructions
www.creative-products.nl
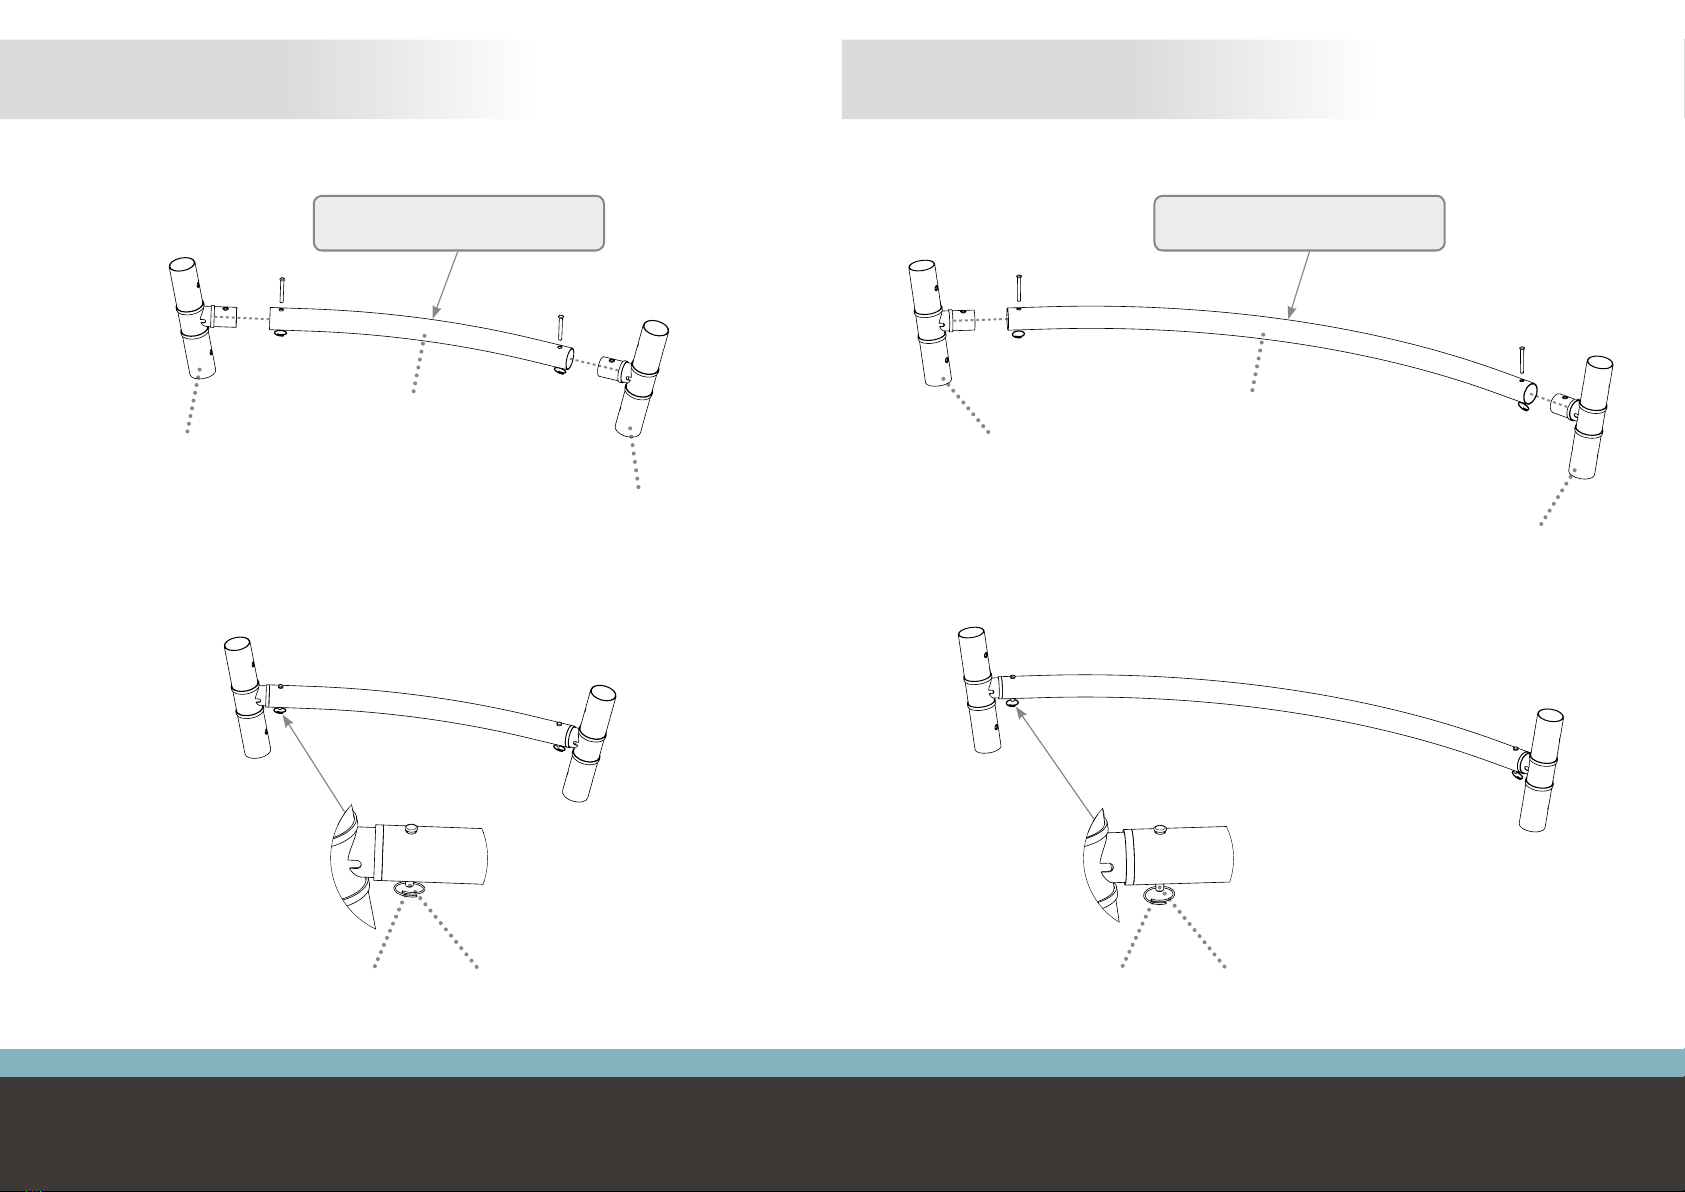
Hexadome M
Building instructions
www.creative-products.nl
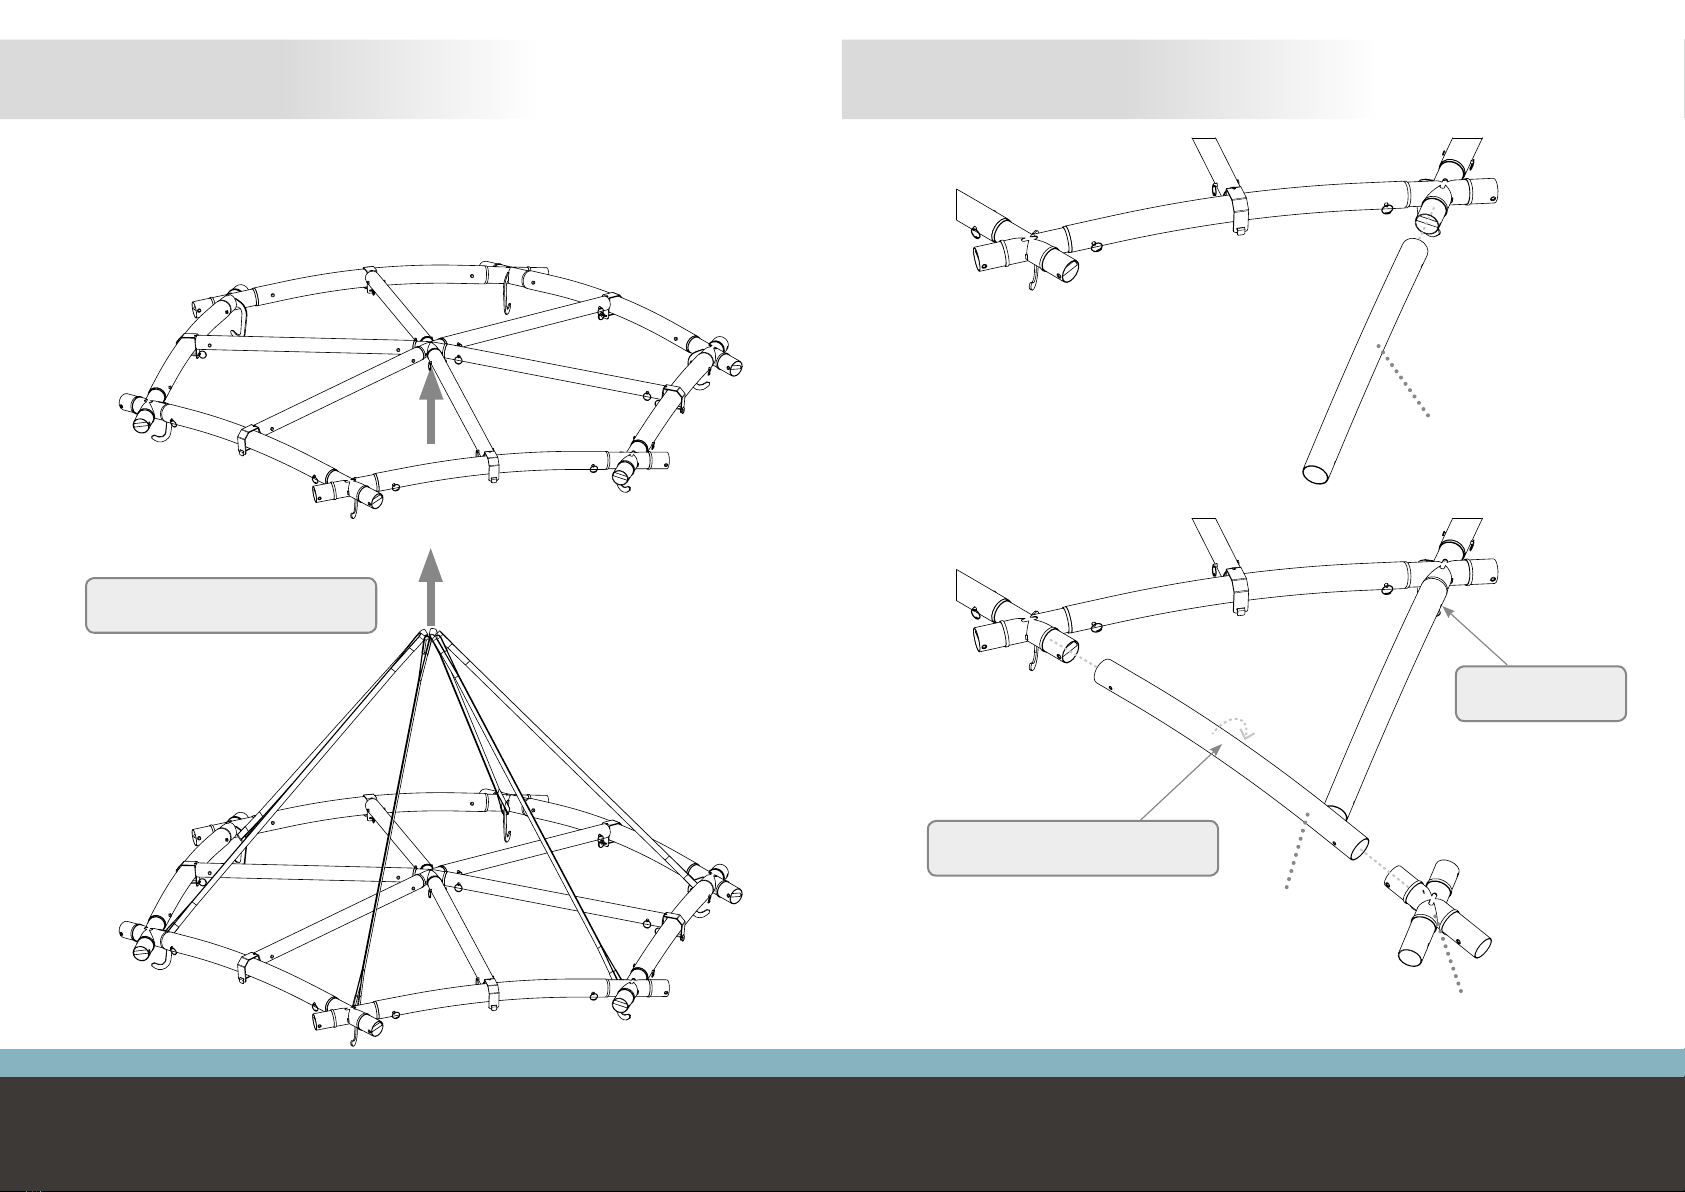
! Note: this lifting methode
requires more height for building
LIFTING
While building, the structure has to be lifted multiple times so that the assembly can easily be done on oor
level. The structure is designed for two lifting methods:
1. Lifting from below (for example with a traverse lift) by using the subframe. Requirements lifting device:
• minimum lifting height: 6,5 meter
• minimum save working load: 500kg (without suspended loads)
2. Lifted from the top (for example with a crane ) by using lifting slings (2 meter, 1000 KG) and the hook of the
X-connectors
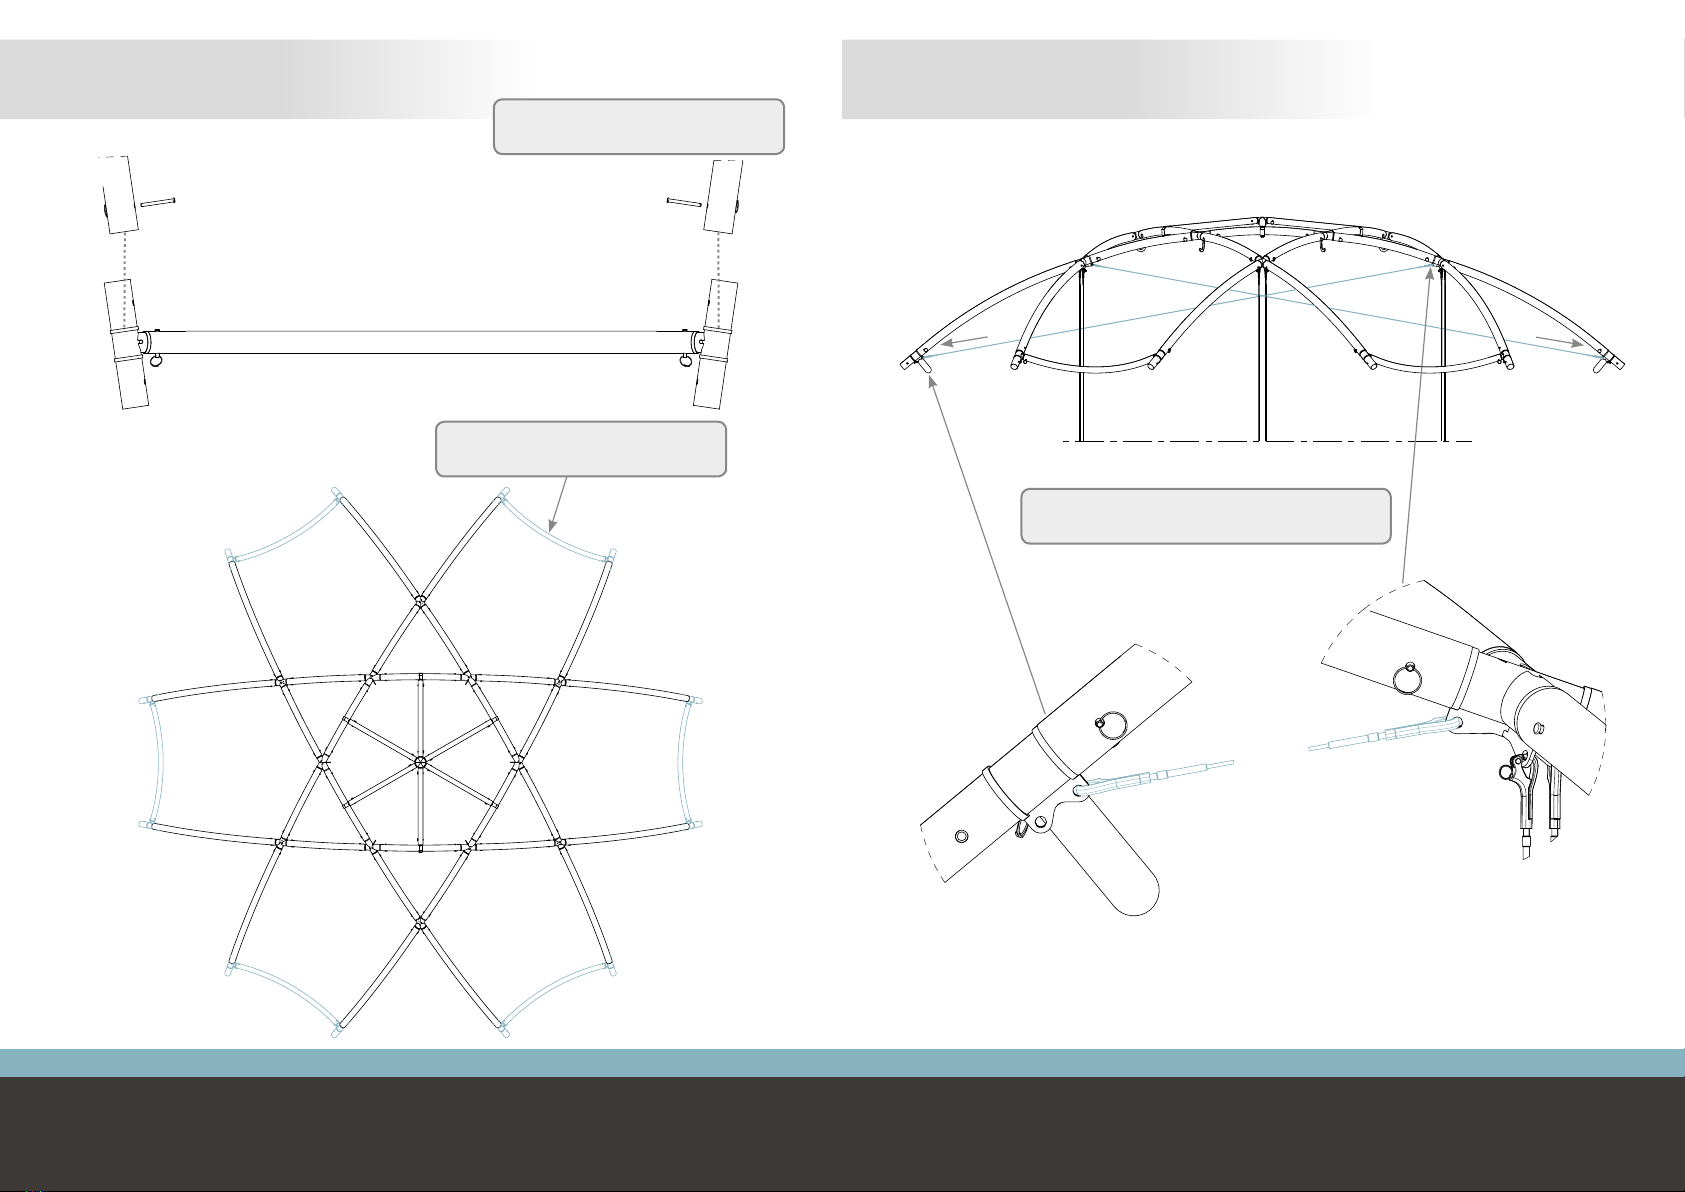
Assemble the remaining upper main proles and Lower X-connectors
STEP 6
Upper main prole
CS-0460
Lower X-connector
CS-0467
Upper main prole
CS-0460
!
!
Rotate prole clockwise to
create space for assembly
Do not secure yet