Creek Audio CD43 User manual

Creek CD43
CCoommppaaccttDDiissccPPllaayyeerr
OOppeerraattiinngg
IInnssttrruuccttiioonnss

This CD player is designed to operate on 220-240
Volts 50Hz AC or 110-120 Volts 60 Hz AC.
Normally the equipment is supplied with a mains
lead with a fitted 3 pin plug suitable for the country
it is to be used in. If the plug needs to be
changed, please follow the instructions below.
PLUG FITTING INSTRUCTIONS
The wires in the mains lead are coloured in
accordance with the following code:
Blue - Neutral
Brown - Live
Green / Yellow - Earth
In the UK the wires must be connected to the
terminals in the plug as follows:
Blue - N or Black
Brown - L or Red
Green / Yellow - E or Earth
NOTE
1. If a 13-amp plug is used, in the UK it must be
fitted with a 3 Amp fuse.
2. If a 3-pin plug with earthing contact is used,
the Green/Yellow wire must be connected to
the E terminal.
3. As with all electrical equipment, it is
recommended that the mains plug is
removed from the wall socket when not in
use.
TO ACHIEVE MAXIMUM PERFORMANCE
FROM YOUR CD PLAYER:
1. Install the equipment in a location which is
relatively free of moisture and dust, and
which is well ventilated.
2. Avoid installing the equipment in a location
exposed to direct sunlight or extreme heat
(such as above a heater or radiator).
3. The equipment may not be able to perform at
its best in an extremely cold or hot
environment. Do not attempt to use below
41oF/5oC or above 95oF/35oC.
4. Always handle discs with clean hands.
Avoid using scratched discs..
5. Keep this manual in a safe place for future
reference.
6. Do not attempt to clean the CD player or CD
discs with chemical solvents, as this may
cause irreparable damage. Use a clean, dry
cloth, or specially designed cleaning
materials for discs.
7. If the CD player malfunctions, do not open
the unit and attempt to repair it yourself.
This is a highly technical product and
requires specialist service - return it to your
dealer.
8. Use batteries (2 x AA/MN 1500) of the same
type in the remote control handset. The use
of odd or different type cells will affect its
performance.
2
CD43 Compact Disc Player
N
L
E
Brown to
Live
Blue to
Neutral
Plug
CONGRATULATIONS ON YOUR PURCHASE
Your new CD 43 Compact Disc Player is designed to provide maximum enjoyment and years of trouble free
service. If this is your first CD player, you will find the compact disc system a major step forward in the
science of audio technology. By employing the most sophisticated digital and optical technologies, the
compact disc not only offers the ultimate in sound reproduction, it also provides operating features which have
never been seen before in audio equipment designed for home, such as fast access to any track on the disc, very
simple programming and armchair control.
Please read this manual thoroughly. It will explain the features and operation of your CD Player and help to
ensure a trouble free installation. Please unpack your CD Player carefully. We recommend that you save the
carton and packing material, as they will be helpful should you ever need to move your unit or return it for service.
Your CD Player is designed to work in a horizontal position and it is important to allow at least two inches of
space behind the unit for adequate ventilation and for the cables. To avoid damage, never place the unit near
radiators, in front of heating vents, in direct sunlight or in an excessively humid or dusty location.
UK ONLY: FOR ADDED SAFETY, WHEN CONNECTING
THE AC MAINS LEAD TO A 3 PIN PLUG USE A 3A FUSE
APPROVED BY ASTA TO BS1362 - WITH ASA MARK
SAFETY INFORMATION

3
CD43 Compact Disc Player
NOTE
The equipment has been tested and found to comply with the limits for a Class B digital device, pursuant to
Part 15 of the FCC Rules. These limits are designed to provide reasonable protection against harmful
interference in residential installations. This equipment generates and can radiate radio frequency energy
and if not installed and used in accordance with the instructions may cause interference to radio
communications. However, there is no guarantee that interference will not occur in some instances. If this
product causes interference to radio or television reception, which can be determined by turning the
equipment off and on, try to correct this by one or more of the following measures:
Reorient or relocate the receiving antenna.
Increase the separation between the equipment and the radio or TV receiver.
Connect the equipment into a mains outlet on a circuit different from that to which the receiver
is connected.
Consult the dealer or an experienced radio/TV technician.
SAFETY WARNINGS
CAUTION!
Invisible laser radiation
when top cover is
removed.
Note: The specification and
design are subject to change for
improvements without notice.
CAUTION
PERFORMING
ADJUSTMENTS OR
PROCEDURES OTHER
THAN THOSE SPECIFIED
HERE MAY RESULT IN
HAZARDOUS EXPOSURE.
THE CD PLAYER SHOULD
NOT BE REPAIRED BY
ANYONE EXCEPT
QUALIFIED SERVICE
PERSONNEL.
OTHER FEATURES
1. Infra-red remote control.
2. High precision 24 bit, ∆Σ digital to
analogue conversion.
3. 128 Fs filter.
4. 3-beam optical laser pick up.
5. 16 program memory.
6. LCD display - back lit green.
7. Shuffle function (random selection).
8. Repeat facility.
9. Intro scan facility.
10. Auto space facility.
SPECIFICATION
Power requirements AC 220-240 V 50 Hz
Power Fuse rating T 250 mA
or: AC 110-120 V 60 Hz
T 500 mA
Power consumption 15 Watts max
Frequency response 1 Hz - 20 kHz ± 0.5 dB
Output level 2.2 V RMS at 1kHz
Output impedance 600 ΩΩ,,min load 10 kΩΩ
Laser type Semiconductor ALGaAs
Wavelength 790 nm ± 25 nm
Light output (cw) 0.18 mW typical
Signal to noise ratio better than 96 dB
Dynamic range better than 100 dB
Number of channels 2
Total harmonic distortion Less than 0.01% at 1 kHz
Dimensions 420 x 70 x 280 mm
Class 1 Laser Product

CAUTION
uBefore connecting or disconnecting a unit
from your audio system, make sure that
you switch off the power to each
component.
uEnsure that you make the correct
connections, paying attention to the L(left
channel) and R(right channel) marks. Plug
in the cable securely. Loose connections
will result in unsatisfactory sound
reproduction or noise problems.
uIf this unit interferes with the tuner, switch it
off during tuner operation.
1. LINE OUT SOCKETS
Connect one end of the interconnect cable
to the unit's AUDIO OUTPUT sockets and
the other end to the sockets labelled CD or
AUX, or to other line inputs on the
amplifier. Do not connect it to the
amplifier's PHONO input if a phono adaptor
is installed.
2. DIGITAL OUTPUT
This output enables you to connect the CD
player to a stand-alone D to A converter in
order to change the signal into a stereo
analogue one. The digital output of the
CD43 can be accessed via the co-axial
SPDIF socket or an optional optical TORX
connector on the rear panel. The optical
TORX connector is not fitted as standard
and may be fitted to special order.
3. AC POWER SOCKET, IEC TYPE
220V-240 V AC or 110V-120 V AC
4. AC POWER CORD
After completing the installation and all
connections, make sure that the POWER
switch on the front panel of the unit is set to
OFF. Then plug the power cord into a live
AC outlet.
4
CD43 Compact Disc Player
CONNECTING THE COMPACT DISC PLAYER
Integrated stereo amplifier
WARNING
UNAUTHORISED RECORDING OF COPYRIGHT MATERIAL MAY VIOLATE APPLICABLE COPYRIGHT LAWS.
THE DISTRIBUTOR ASSUMES NO RESPONSIBILITY FOR THE UNAUTHORISED DUPLICATION, USE OR OTHER ACTS,
WHICH INFRINGE UPON THE RIGHTS OF COPYRIGHT OWNERS.
Audio
Output
Digital
Output
Co-Ax
AC Mains
Input
CD Player

5
CD43 Compact Disc Player
MAIN UNIT
1. POWER on/off switch
2. Disc Tray
3. OPEN/CLOSE button
4. PLAY button
5. STOP button
6. PAUSE button
7. SKIP BACK button
8. SKIP FORWARD button
9. SCAN BACK button
10. SCAN FORWARD button
11. REPEAT button
12. RANDOM button
EXPLANATION OF CONTROLS
DISPLAY WINDOW
A. CAROUSEL TRACK display
B. TRACK NUMBER display
C. REMAINING TIME indicator
D. PLAYING TIME display
E. RANDOM play indicator
F. PAUSE indicator
G. PLAY indicator
H. INTRO indicator
I&M. REPEAT A ↔↔B indicator
J&M. REPEAT ALL indicator
K&M. REPEAT ONE TRACK indicator
L. AUTO SPACE indicator
M. REPEAT indicator
N. PROGRAM indicator
P. MEMORY indicator
1
2 3 6 9 10 11
4 5 7 8 12
A B
12
4
3
5
6
7
89
12
13
14
15 16 ... ...
MEM
PROG
AB E
F
C D
GHJK IL
N
P
M

6
CD43 Compact Disc Player
EXPLANATION OF CONTROLS
REMOTE CONTROL UNIT
A. OPEN/CLOSE button
B. SEARCH and buttons
C. SKIP and buttons
D. PAUSE button
E. STOP button
F. NUMERICAL track selection buttons
G. PROGRAM button
H. PLAY button
I. RANDOM play button
J. AUTO SPACE button
K. INTRO button
L. REMAIN button
M. REPEAT A ↔↔B button
N. REPEAT button REPEAT
A ↔↔B
REMAIN
INTRO
SPACE
RANDOM
PROG
1 2 3 4
5 6 7 8
910 +10
PROG PLAY PAUSE STOP
SPACE SKIP
INTRO REMAIN SEARCH
A B REPEAT
OPEN
CLOSE
GG
HH
II
JJ
KK
LL
MM
NN
FF
EE
DD
CC
BB
AA

COMPACT DISCS
HANDLING THE DISCS
This unit has been designed to play Compact
Discs bearing the identification logo shown
below. DVD discs cannot be played.
uAlways place the CD in the disc tray with
the label facing up. CDs can only be
played on one side.
uTo remove a CD from its storage case,
press down on the centre of the case and
lift the disc out, holding it carefully by the
edges.
uFingerprints and dust should be carefully
wiped off the CD's signal surface (glossy
side) with a soft dry cloth. Unlike a
conventional record, the CD has no
grooves to collect dust and microscopic
debris, so gently wiping it with a soft dry
cloth should remove most particles.
uWipe the disc in a straight motion from the
inside out. Small dust particles and stains
will have absolutely no effect on
reproduction quality.
uNever use chemicals such as record
sprays, antistatic sprays or fluids, benzine
or thinners to clean a compact disc. Such
chemicals would irreparably damage the
surface.
uStore the discs in their cases when not in
use to avoid serious scratches which could
cause the laser pickup to skip.
uDo not expose the discs to direct sunlight,
high humidity, or high temperatures for
extended periods. Long exposure to high
temperatures can warp the discs.
uDo not stick paper or write anything with a
ballpoint pen on the disc surface.
LOADING DISCS
1. Press the POWER switch. (If the disc tray is
already open, it will close automatically)
2. Press the OPEN/CLOSE button. The disc
tray will open. If the disc tray gets jammed
while opening, it will stop and close
automatically.
3. When the disc tray has opened fully,
remove a normal size (12 cm) disc from its
case and place it carefully in the tray with
the label facing up. To play an 8 cm single
place it in the inner groove of the tray with
the label facing up.
NOTE: Only load one disc at a time. The
side opposite the label is the signal side.
Handle the disc carefully to avoid leaving
fingerprints on its surface.
4. To close the disc tray, press the
OPEN/CLOSE button again or gently push
the tray in.
7
CD43 Compact Disc Player
CD disc
Label surface
Disc tray
Play Stop
Open Pause
8 cm CD disc
Label surface
Disc tray
Play Stop
Open Pause
Normal size CD (12cm)
CD Single (8cm)

When the tray with a correctly loaded disc
is fully closed, the disc will start turning
automatically and the total number of
tracks will be read. The disc will then stop
and the TRACK NUMBER display will
change from 00 to the total number of
tracks on the disc. The CAROUSEL track
indicator will light up and the TIME display
will show the total playing time of the disc
in minutes and seconds. The CD player will
be set to standby mode.
NOTE: If after you load the disc you press the
PLAY button to close the tray, the disc will
automatically start playing from the
beginning of track one. If you close the
tray by pressing the PAUSE button, the CD
player will go to track one and pause.
REMOVING THE DISC
The disc tray can be opened at any time by
pressing the OPEN/CLOSE button.
Remove the disc only after the tray has
fully opened.
CAUTION
uDo not put anything except a Compact Disc
into the tray. Foreign objects can damage
the mechanism.
uDo not force the tray by hand during the
opening and closing operations.
uTo avoid dirt and dust entering the
mechanism, keep the disc tray closed
when the CD player is not in use.
uNever load two discs into the disc tray.
8
CD43 Compact Disc Player
OPERATION
This section describes the CD player's controls
in the order in which you would normally use
them. Follow the instructions step-by-step and
you will easily master the operation of the unit.
When the disc is loaded correctly the
following information will be displayed:
For example:
- There are 10 tracks on the disc.
- The disc has a total playing time of 45
minutes and 36 seconds. The CD player
will be set to standby mode.
NOTES:
If you get a message DISC on the display
when the disc tray is fully closed, this
means that the disc is improperly loaded
(most likely upside down). To check, open
the disc tray again and reload the disc
correctly.
If the disc tray gets jammed while closing,
the tray will stop and open automatically. If
this happens check the disc tray and reload
the disc correctly.
NORMAL DISC PLAY
Before playing a disc, check the player's
cable connections.
1. Switch on the amplifier and set its input
selector to the correct position for disc play.
Adjust the volume control to a minimum.
2. Press the POWER switch on.
3. Press the OPEN/CLOSE button to open the
disc tray and load the disc.
4. Press the OPEN/CLOSE button again to
close the disc tray.
5. Press the PLAY button, the PLAY symbol
will appear on the display. The disc will
start playing from the beginning of the first
track. You may also go straight to a
specific track by using one of the SKIP
buttons or . In this case the disc
will start playing the selected track when
the PLAY button is pressed.
6. At the end of the last track the CD will
return to standby mode.
NOTES:
If the CD is deeply scratched or too dirty,
disc play may not start. If an improperly
centered disc is played, noise will be heard
in the mechanism. Avoid using such discs.
Some discs of poor manufacture may not
be readable or may skip, check another
disc should this occur.
12
4
3
5
6
7
89
12
13
14
15 16

NORMAL OPERATION
uPOWER ON
When switching on the power, the TRACK
display will show 00 for 5 seconds.
If there is no disc, the display will show
DISC.
If there is a disc, the display will show the
total number of tracks and total playing
time.
uINSERTING A DISC
Press the OPEN/CLOSE button, the disc
tray will open and the display will show
OPEN.
Insert the disc and press the OPEN/CLOSE
button again to close the tray.
The disc will start spinning and the total
number of tracks will be read. The disc will
then stop and the display will show the total
NUMBER OF TRACKS and the total
PLAYING TIME.
uTO PLAY A DISC
Press the PLAY button. The disc will start
playing.
The display will show the TRACK number
01, the PLAY symbol and the elapsed TIME
of the track being played.
The CAROUSEL indicator will show the total
number of tracks on the disc and the
symbol for track 1 will start flashing.
uTO STOP DISC PLAY
Press the STOP button. The disc will stop
playing, the PLAY symbol will disappear
and the TRACK display will show the total
number of tracks. The TIME indicator will
show the total playing time.
uTO PAUSE THE DISC PLAY
Press the PAUSE button. The disc will stop
playing at the current play position and the
PAUSE symbol will be displayed. The track
number on the CAROUSEL display will
continue flashing.
Press the PAUSE button again or press
PLAY to resume disc play. The PAUSE
symbol will disappear.
9
CD43 Compact Disc Player
12
4
3
5
6
7
89
12
13
14
15 16
12
4
3
5
6
7
89
12
13
14
15 16
12
4
3
5
6
7
89
12
13
14
15 16
12
4
3
5
6
7
89
12
13
14
15 16
4
3
5
6
7
89
12
13
14
15

TO LISTEN TO A DESIRED TRACK
Press the or button to select a
desired track. The track number of the
selected track will be shown on the TRACK
display.
uSKIP FORWARD TO THE NEXT TRACK
To skip ahead to the beginning of track 5,
for example, while track 4 is playing, follow
the steps below:
Press the button once.
The CD player will skip ahead to the next
track each time the button is pressed.
Continuously pressing the button
makes the CD player skip ahead through
the disc, track by track, until you reach the
desired place. The CD player can be
advanced to the last track in this way.
When the last track is reached, the CD
player will not advance any further by
pressing the button, instead the last
track will start playing.
uSKIP BACK TO THE PREVIOUS TRACK
To skip to the beginning of track 3, for
example, while track 4 is playing, follow the
steps below:
Press the button twice.
10
CD43 Compact Disc Player
Track 4 Track 5
Track 3 Track 4
4
5
6
7
89
12
13
14
15
5
6
7
89
12
13
14
15
5
6
7
89
12
13
14
15
4
5
6
7
89
12
13
14
15
4
5
6
7
89
12
13
14
15
4
3
5
6
7
89
12
13
14
15
4
3
5
6
7
89
12
13
14
15
The player will skip to the beginning of
the current track.
Press the button again.
The player will skip to the beginning of
the previous track.
Disc play will start from track 3.
The player will skip to the beginning of
the next track.
Disc play will start with track 5.

uTO SEARCH QUICKLY FOR A
PARTICULAR POINT OF A TRACK
During PLAY mode press the or
button to move fast-forward or fast-
reverse to a particular point of a track.
During PLAY mode
When or button is pressed,
the sound will be muted to about 1/4 of
the normal volume level during the
fast-forward or fast-reverse operation.
During PAUSE mode
No sound will be heard during the
search operation.
uINTRO
(Remote control only)
The INTRO feature allows you to listen to
the first ten seconds of each track in turn
so you can evaluate a disc or choose your
preferred track.
1. Press the INTRO button, the INTRO and
PLAY messages will appear on the display.
2. You can listen to the beginning of each
track during RANDOM and REPEAT ALL
functions.
To clear the INTRO function press the
INTRO button again.
3. Listen to the beginning of the selected
tracks during a PROGRAM function.
PROGRAMMED DISC PLAY
(Remote control only)
This feature allows you to play tracks in your
preferred sequence.
It is not possible to program the CD player
while the disc is playing. Press the STOP
button first, then enter a program.
uENTERING A PROGRAM
1. Press the PROG button, the MEMORY
indicator will illuminate, the TRACK display
will show 00, and the TIME display will
show P:01.
2. Select a track number using the or
buttons. Press the PROG button
again. The first selected track is now stored
in the program memory.
The TRACK display will show 00, and the
TIME display will now show P:02.
Select the next track number using the
or buttons. Press the PROG button -
the second choice is now stored in the
memory.
3. Repeat the steps above until all the desired
tracks are programmed in the memory.
EXAMPLE
To play track 3, track 5 and track 8 in
sequence:
Enter the first choice by selecting track
3 with the button.
Press the PROG button to store the
first choice.
11
CD43 Compact Disc Player
1
4
3
5
6
7
89
12
13
14
MEM
12
4
3
5
6
7
89
12
13
14
15 16
4
5
6
7
89
12
13
14
4
3
5
6
7
8
PROG
1
4
3
5
6
7
89
12
13
14
MEM
1
4
3
5
6
MEM

Enter the second choice - track 5 using
the button. Press the PROG
button to store the second choice.
Enter the third choice - track 8 using
the button. Press the PROG
button to store the third choice.
Press the PLAY button. The first
programmed track will start playing.
uLISTENING TO A PROGRAMMED
SEQUENCE
1. Press the PLAY button. The PLAY symbol
will be displayed.
2. The disc will start playing the first
programmed track.
NOTE: When playing a programmed
sequence, after each track the number of
tracks displayed on the TRACK CAROUSEL
will automatically decrease.
uCHANGING THE PROGRAM
1. Press the STOP button if the disc is playing.
2. Press the PROG button. All of the track
numbers stored in the memory will be
displayed on the TRACK CAROUSEL .
You can modify the program by entering
new track numbers.
uCLEARING THE MEMORY
1. Press the STOP button if the disc is playing.
2. Press the OPEN/CLOSE button. This will
clear the memory and the player will
remain in standby mode.
NOTE: The memory will be cleared when
the power is switched off.
REPEAT DISC PLAY
Use the REPEAT button to repeat the disc play
of a track, all tracks on the disc, or a
programmed sequence of tracks.
uREPEAT ONE TRACK
Make sure that the PROGRAM function
has not been selected.
1. Press the REPEAT button once and the
REPEAT 1 message will appear.
2. Select the desired track using the or
buttons. The track number will appear
on the TRACK display.
3. Press the PLAY button. The PLAY symbol
will be displayed and the selected track will
start playing.
4. At the end of the track the CD player will
automatically return back to its beginning.
The repeat play will continue until the STOP
button is pressed.
5. If the REPEAT button is pressed twice, the
REPEAT 1 message will disappear and
repeat play will end. Normal play will
resume.
uREPEAT ALL TRACKS ON THE DISC
Make sure that the PROGRAM function
has not been selected.
1. Press the REPEAT button twice and the
REPEAT ALL message will appear.
2. Press the PLAY button. The PLAY symbol
will be displayed and the disc will start
playing.
12
CD43 Compact Disc Player
1
4
3
5
6
7
8
MEM
1
4
3
5
6
7
89
MEM
5
6
7
89
12
13
14
15
4
3
5
6
7
8
PROG

3. At the end the last track the CD player will
automatically return to the beginning of the
first track. The repeat play will continue
until the STOP button is pressed.
4. If the REPEAT button is pressed once, the
REPEAT ALL message will disappear and
the repeat play will end. Normal play will
continue from that point.
uREPEAT A PROGRAMMED
SEQUENCE OF TRACKS
1. Enter a program.
2. Press the REPEAT button twice and the
REPEAT ALL message will appear.
3. Press the PLAY button, the PLAY symbol
will be displayed.
4. All programmed tracks will be played in
order until the STOP button is pressed.
5. If the REPEAT button is pressed once more,
the REPEAT ALL message will disappear
and the repeat play will end. The normal
program function will resume.
uA ↔↔B DISC PLAY
(Remote control only)
Use to repeatedly play a portion of the disc,
from point Ato point B.
1. Press the PLAY button.
Press the A ↔↔B button at the starting
point of your selection. The REPEAT A ↔↔B
message will appear (with the letter B
flashing ) and point Awill be stored in the
memory.
2. Press the A ↔↔B button again. The letter B
will stop flashing and point Bwill be stored
in the memory. The segment between A ↔↔
B will be repeatedly played.
3. To clear REPEAT A ↔↔B, press the A ↔↔B
button or the REPEAT button once.
uRANDOM PLAY
Use this feature to play tracks on a disc in
a random order.
1. Press the RANDOM button.
2. Press the PLAY button. This symbol
will appear while the player is shuffling the
selection.
3. A track will be randomly selected and the
disc will start playing.
NOTE:
If the RANDOM button is pressed during
play, the random play will start at the end of
that track.
uAUTO SPACE
(Remote control only)
A 4 second space between each selection
enables you to locate selections when
using a tape deck for recording.
1. Press the PLAY button for disc play.
2. Press the SPACE button for inserting a 4
second gap between selections. The
SPACE message will be displayed.
13
CD43 Compact Disc Player
12
4
3
5
6
7
89
12
13
14
15 16 ... ...
12
4
3
5
6
7
89
12
13
14
15 16 A B
12
4
3
5
6
7
89
12
13
14
15 16 12
4
3
5
6
7
89
12
13
14
15 16 A B
12
4
3
5
6
7
89
12
13
14
15 16
4
3
5
6
7
89
12
13
14
15

uNUMERICAL KEYS ON THE
REMOTE CONTROL
To save time tracks can be chosen by
pressing any numerical keys.
1. For tracks 1 to 10:
If you want to listen to track 4 for example,
press the No 4 button. The TRACK
indicator will show 4, and the PLAY symbol
will appear on the display.
14
CD43 Compact Disc Player
4
5
6
7
89
12
13
14
CHECK THE DISK REMAINING TIME
(Remote control only)
During normal disc play, when the REMAIN
button on the Remote control is pressed,
the REMAIN symbol will light up and the
remaining playing time of the track will be
displayed.
When the REMAIN button is pressed for
the third time, the TIME indicator will return
to the elapsed time of the track being
played and the REMAIN indicator will
disappear.
5
6
7
89
12
13
14
15
5
6
7
89
12
13
14
15
3. To clear AUTO SPACE press the SPACE
button again, the SPACE message will
disappear.
NOTE:
A 4 second space will not be entered at the
beginning of the first track.
Pressing the REMAIN button twice will
display the remaining playing time of the
disc, and the REMAIN indicator will stay
illuminated.
Track 4 will start playing.
4
5
6
7
89
12
13
14
12
4
3
5
6
7
89
12
13
14
15 16
12
4
3
5
6
7
89
12
13
14
15 16
12
4
3
5
6
7
89
12
13
14
15 16
then press the No 4 button. The track
number will change to 14 and the PLAY
symbol will appear on the display.
Track 14 will start playing.
2. For more than 10 tracks:
If you want to listen to track 14, press the
+10 button,

TROUBLESHOOTING GUIDE
If you have followed the instructions, and are having difficulty operating your compact disc player,
please use the simple guide below to help you solve the problem. Here we have listed the most
common hiccups experienced by the users, which we hope will be of some help.
Locate the SYMPTOM in table below and then check the corresponding POSSIBLE CAUSE and
CORRECTIVE ACTION to remedy the problem.
CD43 Compact Disc Player
SYMPTOM
No power when the
power switch is ON.
Disc play does not
start.
No sound.
Sound skips.
Programmed
sequence will not play.
Humming noise.
Remote handset will
not function.
POSSIBLE CAUSE
Poor power plug connection at the
AC outlet.
Fuse in the mains plug has blown.
The disc is loaded upside down.
The disc is too dirty.
A DVD is being used.
Improper output cable connections.
Improper amplifier operation.
Damaged, faulty or dirty disc.
The CD player is subject to
vibrations or physical shock.
The CD player is in the normal
disc play mode.
Loose cable connections.
Batteries low.
CORRECTIVE ACTION
Insert the power plug firmly into the AC
outlet.
Replace the fuse in the mains plug.
Reload the disc with the label side up.
Clean the disc.
Replace the DVD with a CD disc.
Connect the output cable properly.
Make sure that the amplifier controls are
set properly.
Clean or replace with a new disc.
Change the location of the player.
Press the STOP button and then program
the tracks.
Make sure that all audio plugs are
connected firmly.
Replace the batteries.
15

2 Bellevue Road, Friern Barnet,
London N11 3ER, England
Tel: 00 44 + (0)181-361 4133
Fax: 00 44 + (0)181-361 4136
Internet: www.creekaudio.co.uk
Creek Audio Limited
reserves the rights to
modify or change the
specification of its
products without notice.
Table of contents
Other Creek Audio CD Player manuals
Creek Audio
Creek Audio Destiny 2 User manual
Creek Audio
Creek Audio VOYAGE CD User manual
Creek Audio
Creek Audio 4040 User manual
Creek Audio
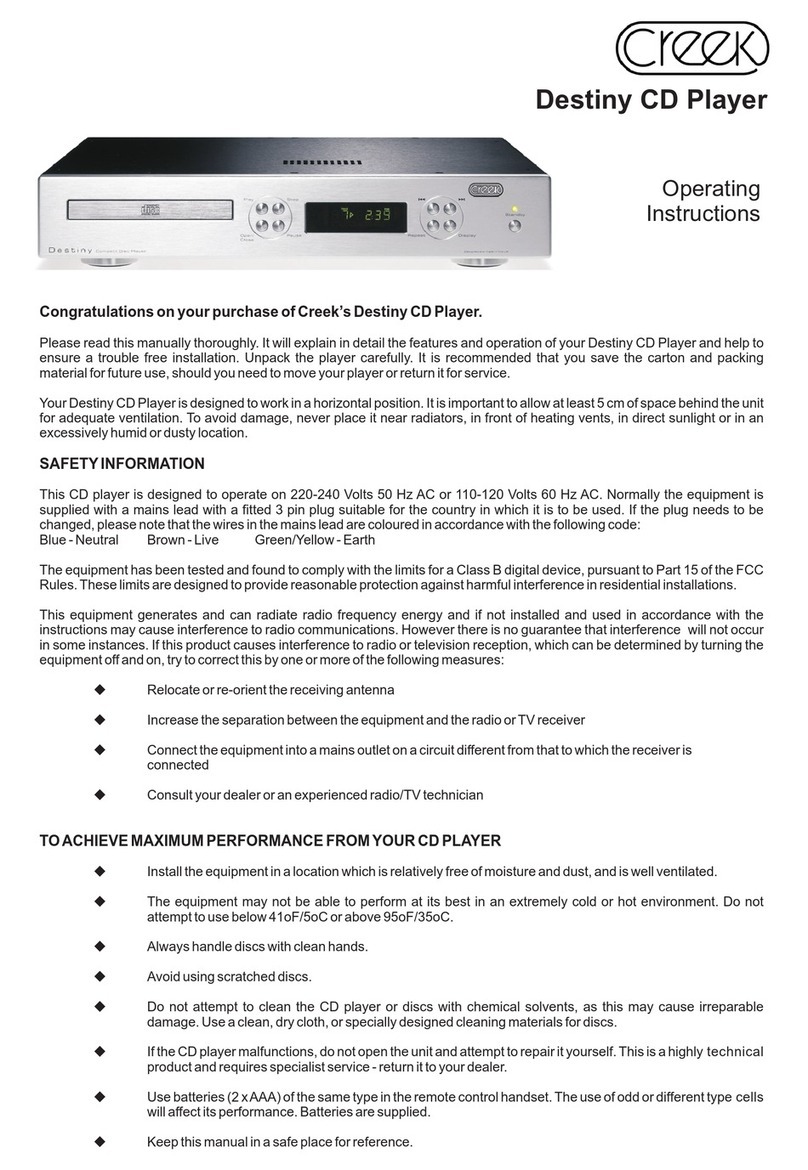
Creek Audio Destiny User manual
Creek Audio
Creek Audio EVOLUTION 50CD User manual

Creek Audio
Creek Audio EVOLUTION 50CD User manual
Creek Audio
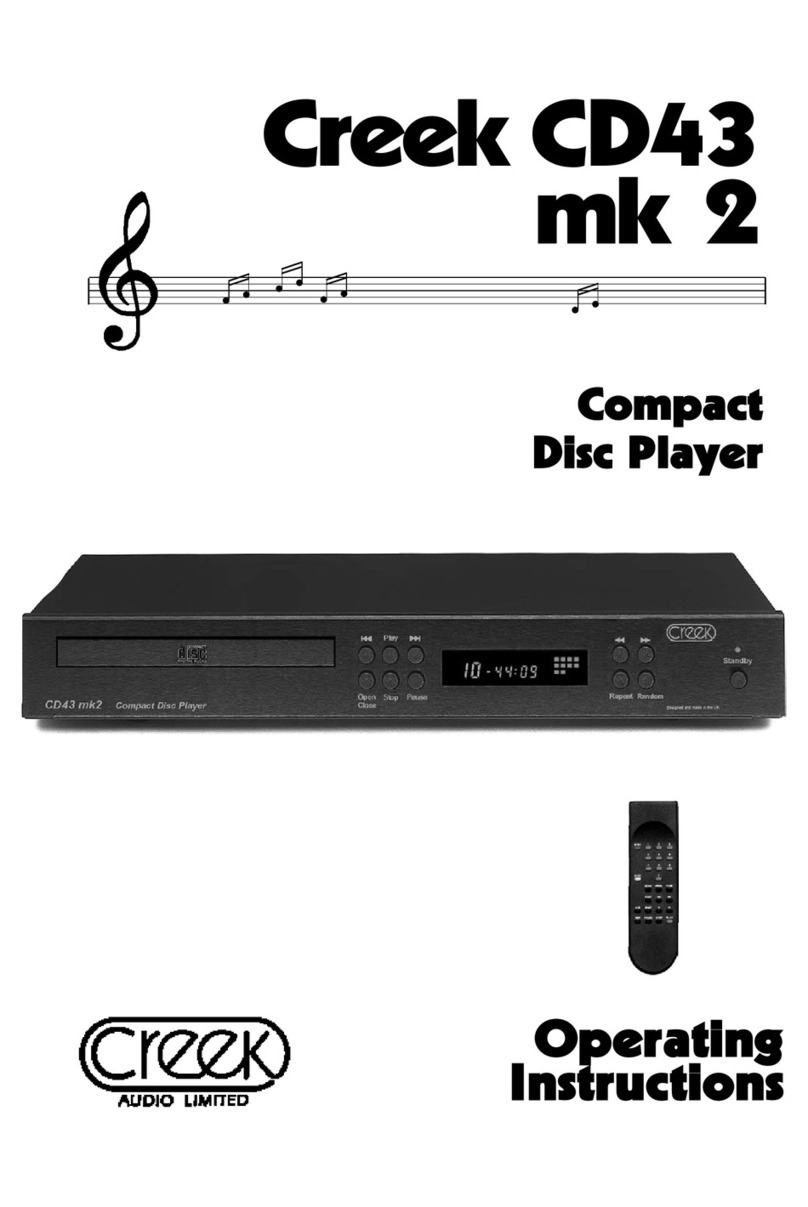
Creek Audio CD43 mk 2 User manual

Creek Audio
Creek Audio EVO User manual
Creek Audio
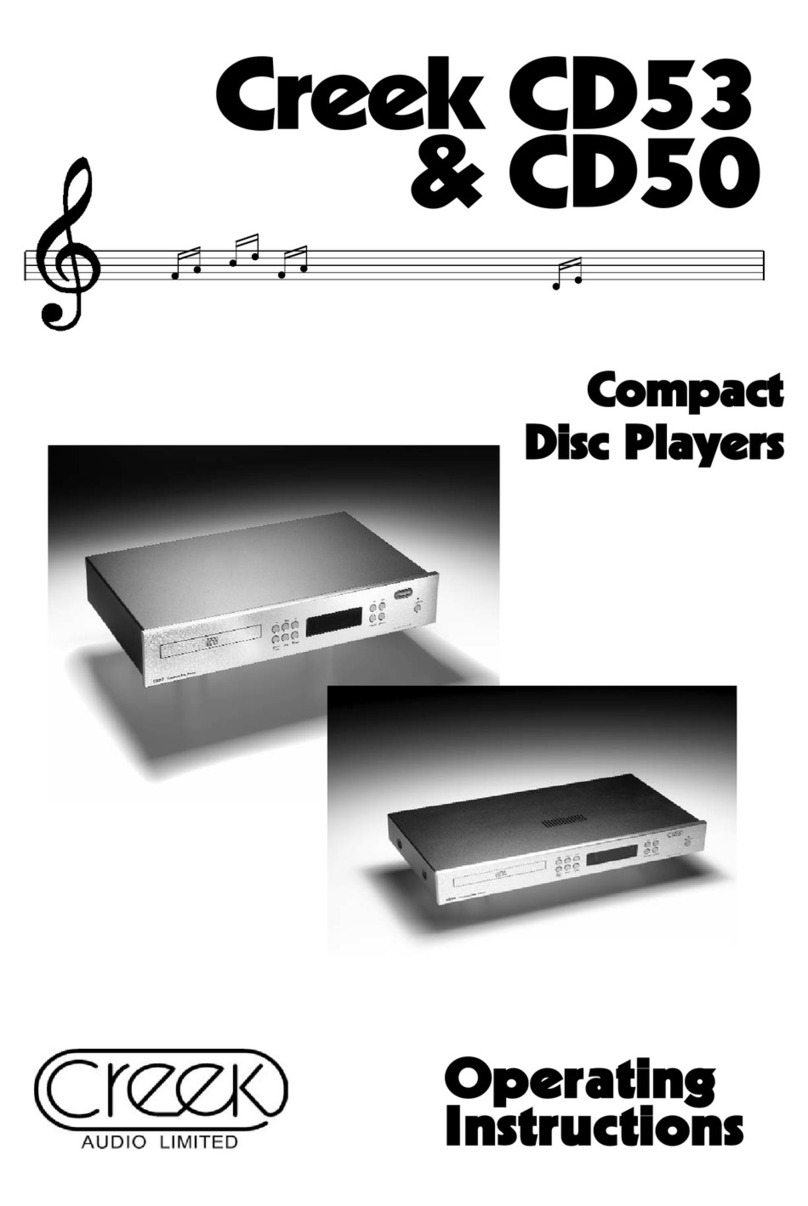
Creek Audio CD50 User manual
Creek Audio
Creek Audio CD50 mk2 User manual
