Creo Medical SCOPE-CLEANER SC10 User manual

TD-03 SCOPE-CLEANER
Revision
Page
GA_SCOPE_CLEANER_EN_2023-03-03
4
1 of 33
Operating Instructions
SCOPE-CLEANER SC10
Pump for flushing and blowing out flexible endoscopes
Update 03.03.2023 Rev.4

TD-03 SCOPE-CLEANER
Revision
Page
GA_SCOPE_CLEANER_EN_2023-03-03
4
2 of 33

TD-03 SCOPE-CLEANER
Revision
Page
GA_SCOPE_CLEANER_EN_2023-03-03
4
3 of 33
Read the operating instructions before using the equipment for the first time.
Store the operating instructions near thedevice sothat all users have access to the instructions
at all times.
These Operating Instructions apply to the following products:
SCOPE-CLEANER SC10 flushing pump REF: 7000-S10
The SCOPE-CLEANER is a Class I / Rule 13 active medical device as defined in Annex IV of
Council Regulation (EU) 2017/745. A Declaration of Conformity can be provided on request.
Standard and optional accessories
Use of the SCOPE-CLEANER SC10 in accordance with the intendedpurpose requires special-
purpose accessories that are listed under Point 3 and in Appendix II to these Operating
Instructions.
All national laws and regulations applicable in the country of use as amended from time to
time must be observed and applied.
This pictograph refers to important, safety related information
CREO MEDICAL GmbH
Hans-Böckler-Straße 29
40764 Langenfeld –Germany
Tel. +49 (0) 2173 20047-0
Fax. +49 (0) 2173 20047-40
E-Mail info.de@creomedical.de
Web www.creomedical.com

TD-03 SCOPE-CLEANER
Revision
Page
GA_SCOPE_CLEANER_EN_2023-03-03
4
4 of 33
Table of Contents
1Intended purpose and patient safety.......................................................................... 6
1.1 Contraindications .................................................................................................... 6
1.2 Important notice when using this equipment ........................................................ 6
1.3 Liability & disclaimer............................................................................................... 7
2Safety instructions ...................................................................................................... 7
2.1 Authorised service technicians.............................................................................. 7
2.2 Instruction of staff ................................................................................................... 7
2.3 Functional test......................................................................................................... 7
2.4 Hazards and risks of a general nature.................................................................... 7
2.4.1 Unauthorised opening of the device................................................................... 7
2.4.2 Penetration of liquids .......................................................................................... 7
2.4.3 Operation in explosion-proof areas.................................................................... 7
2.4.4 Use of inappropriate accessories....................................................................... 7
2.4.5 Faulty fuses.......................................................................................................... 8
2.4.6 Faulty device........................................................................................................ 8
2.4.7 Setting up the device........................................................................................... 8
2.5 Instructions on operation........................................................................................ 8
2.6 Instructions relating to cleaning agents and disinfectants .................................. 8
2.7 Instructions on using the printer............................................................................ 9
2.8 Instructions on maintenance .................................................................................. 9
2.9 Tube connections.................................................................................................... 9
3Standard scope of delivery........................................................................................10
3.1 Components............................................................................................................10
3.2 Returning the device ..............................................................................................10
4Device overview..........................................................................................................11
5Operating the SCOPE-CLEANER SC10 flushing pump............................................12
5.1 Instructions for manual reprocessing...................................................................12
5.2 Connecting an endoscope .....................................................................................12
5.3 Rinsing with the SCOPE-CLEANER SC10.............................................................13
5.4 Draining off the disinfection solution....................................................................15
5.5 Rinsing with neutralisation fluid............................................................................15
5.6 Blowing out.............................................................................................................16
6 Cleaning and disinfecting the SCOPE-CLEANER SC10 flushing pump .................17
6.1 SCOPE-CLEANER...................................................................................................17
6.1.1 Place of use.........................................................................................................17
6.1.2 Storage and transport.........................................................................................17
6.1.3 Preparation..........................................................................................................17
6.1.4 Manual cleaning and disinfection......................................................................17
6.1.4.1 Equipment required............................................................................................17

TD-03 SCOPE-CLEANER
Revision
Page
GA_SCOPE_CLEANER_EN_2023-03-03
4
5 of 33
6.1.4.2 Procedure............................................................................................................17
6.1.5 Maintenance, inspection and testing.................................................................17
6.1.6 Packaging............................................................................................................17
6.1.7 Storage ................................................................................................................18
6.2 Cleaning and disinfecting the tube sets................................................................18
6.2.1 At the place of use..............................................................................................18
6.2.2 Storage and transport.........................................................................................18
6.2.3 Preparation..........................................................................................................18
6.2.4 Pretreatment........................................................................................................18
6.2.5 Manual cleaning..................................................................................................18
6.2.6 Manual disinfection.............................................................................................19
6.2.7 Automated cleaning and disinfection (AER).....................................................19
6.2.8 Maintenance, inspection and testing.................................................................20
6.2.9 Sterilising ............................................................................................................20
6.2.9.1 Packaging............................................................................................................20
6.2.9.2 Sterilisation.........................................................................................................20
6.2.10 Storage ................................................................................................................21
6.3 Additional information............................................................................................21
7Maintenance................................................................................................................21
7.1 Repairs ....................................................................................................................21
7.2 Responsibilities......................................................................................................21
8Troubleshooting .........................................................................................................22
9Final disposal..............................................................................................................22
10 Technical specifications.........................................................................................23
11 EMC conditions.......................................................................................................24
A: Connecting Olympus endoscopes............................................................................25
B: Connecting Fujifilm endoscopes...............................................................................26
C: Connecting Pentax endoscopes................................................................................27
D: Connecting Huger endoscopes.................................................................................28
Appendix II: Accessories for SCOPE-CLEANER SC10....................................................29
Appendix III: Replacement parts for SCOPE-CLEANER SC10 flushing pump...............30
Appendix IV: Recommendations for preventing contamination through infection.......31
SERVICE LOGBOOK..........................................................................................................32
Reporting............................................................................................................................33
Certificates..........................................................................................................................33

TD-03 SCOPE-CLEANER
Revision
Page
GA_SCOPE_CLEANER_EN_2023-03-03
4
6 of 33
1 Intended purpose and patient safety
The SCOPE-CLEANER SC10 flushing pump is a simple flushing pump and is used to flush
and blow out medical products, especially flexible endoscopes made by various
manufacturers, with liquids such as cleaning agents or disinfectants.
The SCOPE-CLEANER SC10 can be applied in a manual process with device support
(flushing pump), in which cleaning and disinfection are carried out on the contaminated side
and the final flush on the clean side.
The SCOPE-CLEANER SC10 device should only be operated in accordance with its intended
purpose in the manner described in this manual.
The SCOPE-CLEANER SC10 can be used to rinse the following endoscopes:
1.) All watertight endoscopes made by
OLYMPUS, FUJIFILM, PENTAX, STORZ and HUGER
In order to guarantee your own safety and ensure the full functionality of the SCOPE-
CLEANER, please make sure you read the safety instructions carefully.
1.1 Contraindications
Use the SCOPE-CLEANER SC10 flushing pump only for its intended purpose. Do not use
the SCOPE-CLEANER SC10 in the following cases:
- For flushing endoscopes if no information regarding their suitability for reprocessing
with the SCOPE-CLEANER SC10 is available.
- If the endoscope has more than four channels.
- If the endoscopes are to be used for examinations in zones that are not microbially
colonised.
If in doubt, please contact the manufacturer of the endoscopes and Creo Medical GmbH.
1.2 Important notice when using this equipment
Read the operating instructions before using the SCOPE-CLEANER SC10 for the first time
and familiarise yourself with the functions and mode of operation of the device and
accessories.
Failure to comply with these operating instructions may result in injury to patients, users and
maintenance personnel, and may also result in damage to the device or endoscope, or the
device and endoscope may stop working completely.
The SCOPE-CLEANER SC10 must only be operated by staff that meet the requirements in
terms of factual knowledge prescribed in the German regulations governing the installation,
operation, use and maintenance of medical devices (MPBetreibV) and have been instructed
and trained in safe use of the device.
The quality of the processing procedure is to be subjected to regular microbiological checks
(MPBetreibV) Hygienic & microbiological checks are an integral component of the hygiene
schedule (Sec. 36, IfSG (Law on Protection against Infection) –Infection systems)
The SCOPE-CLEANER SC10 is classified as a manual process with device support (flushing
pump), in which cleaning and disinfection must be carried out on the contaminated side and
the final flush on the clean side. The SCOPE-CLEANER SC10 is not a device for mechanical
reprocessing in the sense of the recommendations by the Robert Koch Institute (RKI), nor is
it a disinfection device in the sense of EU Directive 93/42/EEC.

TD-03 SCOPE-CLEANER
Revision
Page
GA_SCOPE_CLEANER_EN_2023-03-03
4
7 of 33
1.3 Liability & disclaimer
Creo Medical GmbH is not liable for any damage, direct or consequential, which occurs under
the following conditions:
- If the device or accessories are operated, reprocessed or maintained inappropriately
- If the instructions and specifications set out in these Operating Instructions are not
observed
- If repairs, adjustments or modifications to the device or accessories have been carried
out by unauthorised persons
- If the device has been opened by unauthorised persons
- If the prescribed inspection and maintenance intervals are not observed.
2 Safety instructions
2.1 Authorised service technicians
Only service technicians certified by Creo Medical GmbH are authorised to carry out repairs,
adjustments or modifications to the device and accessories. Authorised service technicians
are trained and certified exclusively by Creo Medical GmbH.
2.2 Instruction of staff
On-site training is provided by Creo Medical GmbH or a person authorised by us.
2.3 Functional test
Before using the SCOPE-CLEANER SC10, check the equipment to ensure all components
are in place and that the device is working properly. Before using the device for the first time
and after repairs have been carried out, always check that the equipment has been installed
properly. The manner of operation is explained in Chapter 5 under ‘Operating the SC10
SCOPE-CLEANER’.
2.4 Hazards and risks of a general nature
In the event there is serious risk of danger, disconnect the device from the power
supply immediately (pull out the plug).
Then call the service technician to remedy the fault and recommission the device.
2.4.1 Unauthorised opening of the device
Live components become exposed when the device is open and can cause electric shocks if
touched. Never open the device yourself. The device may only be opened by an authorised
Creo Medical GmbH service technician.
2.4.2 Penetration of liquids
Liquid entering the device may prevent the device from working properly and/or present the
risk of electric shock. Fluids should therefore never be permitted to enter the device. Always
avoid placing fluids in the vicinity of the electrical components.
Do not operate if liquid has penetrated the device.
2.4.3 Operation in explosion-proof areas
The device is not explosion-proof. Operation in areas with explosive gases can lead to severe
damage and cause serious injury.
2.4.4 Use of inappropriate accessories
The use of inappropriate accessories can cause the device to operate incorrectly, which may
result in injury to patients, users, third parties and service technicians. Use only accessories
specified for operation with the SCOPE-CLEANER SC10 (refer to Appendix II).

TD-03 SCOPE-CLEANER
Revision
Page
GA_SCOPE_CLEANER_EN_2023-03-03
4
8 of 33
2.4.5 Faulty fuses
When replacing a faulty fuse, please ensure the new fuse corresponds with the specifications
displayed on the device or set out in these Operating Instructions.
The use ofthe wrong fuses cancause the device to function incorrectly andmay result in injury
to users and others.
2.4.6 Faulty device
It is generally dangerous to operate a faulty device. Do not operate the device if you suspect
it to be faulty or if it is known to be faulty. Make sure the device cannot be operated until
checked by an authorised technician.
2.4.7 Setting up the device
When installing the device, ensure the ambient conditions listed below are complied with.
- Use in closed rooms
- Degree of contamination 2 (minor, normal contamination that may become
conductive due to occasional dew formation or hand-transmitted sweat).
- The device must never be used in explosive atmospheres.
- 10° C to 35° C ambient temperature
- Air humidity max. 70%
- Operation up to an altitude of 2.000 metres (metres above sea level)
- This device must be installed and operated in accordance with the electromagnetic
compatibility (EMC) instructions contained in this manual.
- Portable and mobile high-frequency (HF) communication equipment (e.g. mobile
phones) may affect the way the device functions.
- The device may not be used stacked together with or beside other devices.
2.5 Instructions on operation
Only endoscopes which have been properly checked for leaks in accordance with their
manufacturer's instructions may be flushed with the SCOPE-CLEANER SC10.
If a leakage tester is used, observe both the instructions issued by the manufacturer of the
endoscope and those issued by the manufacturer of the leakage tester when performing the
leakage test. The testing requirements are contained in the appropriate Operating Instructions.
Appendix I shows how various endoscope models are connected to the SCOPE-CLEANER
SC10.
When reprocessing flexible endoscopes, observe thegeneral requirementsrelating to handling
endoscopes that are applicable to endoscopy wards.
- ‘Hygiene requirements when reprocessing medical equipment.’
- Hygiene requirements when processing flexible endoscopes and additional
instruments used in endoscopy.
- ‘Hygiene requirements as applied to the design and construction of endoscopy
instruments in endoscopy units’.
- Organic substances
- Regulations relating to suppliers of medical products
2.6 Instructions relating to cleaning agents and disinfectants
Please refer to the operating instructions supplied with your endoscope for information on
cleaning agents and disinfectants which are compatible and approved for use with
endoscopes.
If you intend to use a cleaning agent or disinfectant which is not expressly recommended for
use by the endoscope manufacturer, pleaseobtain written evidence of compatibility from either

TD-03 SCOPE-CLEANER
Revision
Page
GA_SCOPE_CLEANER_EN_2023-03-03
4
9 of 33
the endoscope producer or the disinfectant manufacturer. Instructions issued by the
manufacturer of the endoscope on material compatibility must be followed exactly.
When disinfecting endoscopes, use only disinfectants whose germicidal, fungicidal,
mycogermicidal and virucidal effectiveness have been verified. Disinfectants certified to be in
accordance with DIN EN standards for disinfecting medical implements and/or in accordance
with the standard methods published by DGHM/VAH are considered to be suitable. Efficacy in
destroying viruses must be separately demonstrated. Observe the recommendations issued
by RKI on the testing and declaring the effectiveness of disinfectants in combating viruses.
Observe the instructions issued by the manufacturers of the chemicals and endoscopes (e.g.
regarding effective range of application, concentrations to be used).
The disinfectant should be changed according to the manufacturer’s instructions or sooner if
there is visible contamination.
2.7 Instructions on using the printer
Suitable printers are available from Creo Medical GmbH as optional accessories.
The printer has its own power supply.
In order to ensure proper functioning of the printer, it must not be switched on until after the
SCOPE-CLEANER SC10. has been started.
There are pictographs in the paper compartment of the printer to explain how to insert paper.
Only use paper that is suitable for use with this printer. Further details are available in
Appendix II.
2.8 Instructions on maintenance
The prescribed regular services are essential to ensure that this device works correctly. If
these regular services are not performed, the warranty on the parts to be serviced will lapse.
Our prescribed maintenance interval is 12 months.
2.9 Tube connections
Both the tubes inside the device and the connection tubes must be replaced once a year.
TD-03 SCOPE-CLEANER
Revision
Page
GA_SCOPE_CLEANER_EN_2023-03-03
4
10 of 33
3 Standard scope of delivery
Check the device and accessories immediately upon delivery to ensure all components are
included and look for any visible external damage.
3.1 Components
1.)
SCOPE-CLEANER SC10
Spare part no. 7000-S10
2.)
Shrouded mains cable with earthed plug
Spare part no.
3.)
Set of tubes
Spare part no. 7501-NS0 FUJIFILM and
OLYMPUS
Spare part no. 7501-NS1 PENTAX
Spare part no. 7501-NS2 HUGER
4.)
Operating Instructions
3.2 Returning the device
If you need to return the device, please use the original packaging. We will not accept
responsibility for damage incurred during transport as a result of inappropriate packaging.

TD-03 SCOPE-CLEANER
Revision
Page
GA_SCOPE_CLEANER_EN_2023-03-03
4
11 of 33
4 Device overview
Fig. 01 Overview of the device, front
Fig. 02 Overview of the device, rear
Mains switch: (OFF) 0 - (ON) 1
Display (total and residual time)
Button for starting the flushing process
Button for switching channel monitoring ON and OFF
CPC coupling for attaching the suction tube
Luer lock for attaching the pressure tubes
Timer selector 0-60 minutes
Opening for adjusting pressure monitors
Port for connecting log printer
Shrouded 3-pin plug: Only connect the device to a power supply
conforming with the details given on the rating plate

TD-03 SCOPE-CLEANER
Revision
Page
GA_SCOPE_CLEANER_EN_2023-03-03
4
12 of 33
5 Operating the SCOPE-CLEANER SC10 flushing pump
5.1 Instructions for manual reprocessing
Use of manual disinfection systems assumes the following conditions are adhered to:
- The device is used in accordance with the written standard instructions applicable to
manual disinfection processes
- All the cleaning and agents and disinfectants used, as well as the processes used to
apply them, must be suitable and material-compatible (in line with their manufacturers'
instructions)
- Implementation must be validated.
If reprocessing is done manually, the Operator must demonstrate in writing that both
subprocesses, i.e. cleaning and disinfection, are performed to an equivalent standard.
Evidence of the equivalence of the method must be demonstrated by the following criteria:
- Comprehensive instructions from the manufacturer regarding manual disinfection in
accordance with DIN ISO EN 17664.
- Use of a CE certified implement disinfection solution with a suitable range of
applicability
- Objective evidence by the Operator of the effectiveness of the disinfection process, in
the case of medical devices classified in risk class ‘semicritical B’.
Any work involving contact with disinfection solutions as defined in the biological substances
regulations (German enactment of EU Directive 2000/54/EC) must take account of all personal
protection measures. Protective clothing must always be worn when performing the
procedures described below. Because the air in the reprocessing room may contain a high
level of disinfectant fumes, there must be adequate ventilation or air extraction.
- Robert Koch Institute: Hygiene requirements when processing flexible
endoscopes and additional instruments used in endoscopy.
- Employees' safety organisations: Organic substances
- Regulations on the use of medical equipment
- Only use cleaning and disinfecting agents approved by the endoscope
manufacturer.
- If you use different cleaning agents or disinfectants, you must check that they are
compatible before you use them.
- Clean the endoscope in accordance with the instructions provided by the
manufacturer of the endoscope before it is flushed with cleaning agent or disinfectant,
i.e. all channels must be free of any blockages.
5.2 Connecting an endoscope
1. Attach the biopsy channel tube (green), which is connected to the biopsy channel
adapter for the biopsy channel, to the left-hand Luer lock connection (‘Biopsy
channel’, green)
2. Attach the suction channel tube (red), which is fitted to the suction port of the
endoscope, to the middle Luer lock connection (‘Suction channel’, red)
3. Connect the air/flush channel tube (blue) to the air channel on the endoscope body
(for Olympus and Fuji) and twist to the right-hand Luer lock connection (‘Air/water
channel’, blue). Close off the suction and air/water valve and, if the device is an

TD-03 SCOPE-CLEANER
Revision
Page
GA_SCOPE_CLEANER_EN_2023-03-03
4
13 of 33
Olympus CF device, also close off the water bottle port and CO2 gas port.
4. Connect the jet channel tube (white) to the jet channel connection on the endoscope
and twist to the right-hand Luer lock connection (‘Water/jet channel’, white).
Your endoscope is now connected and ready for flushing with liquid (cleaning agent or
disinfectant).
Bronchoscopes (not cystoscopes) can also be flushed with the SCOPE-CLEANER SC10 by
connecting the existing channels as described above using suitable adapters. Please put any
unused tubes connected to the SCOPE-CLEANER SC10 into the reprocessing tray. Under
no circumstances should unused outlets of the SCOPE-CLEANER SC10 be closed off.
Please remember:
Before using disinfectant, blow out any remaining residues of cleaning fluid from the
endoscope channels to prevent the disinfectant becoming diluted.
5.3 Rinsing with the SCOPE-CLEANER SC10
Check that the mains electricity supply is correctly connected.
•
•Set the mains switch to ON (I).
•Switch ON channel monitoring ‘Pressure
monitoring’.
Press ‘Pressure monitoring’, when ‘AUTO’is
selected, the green ON/OFF LED will light up.
•
TD-03 SCOPE-CLEANER
Revision
Page
GA_SCOPE_CLEANER_EN_2023-03-03
4
14 of 33
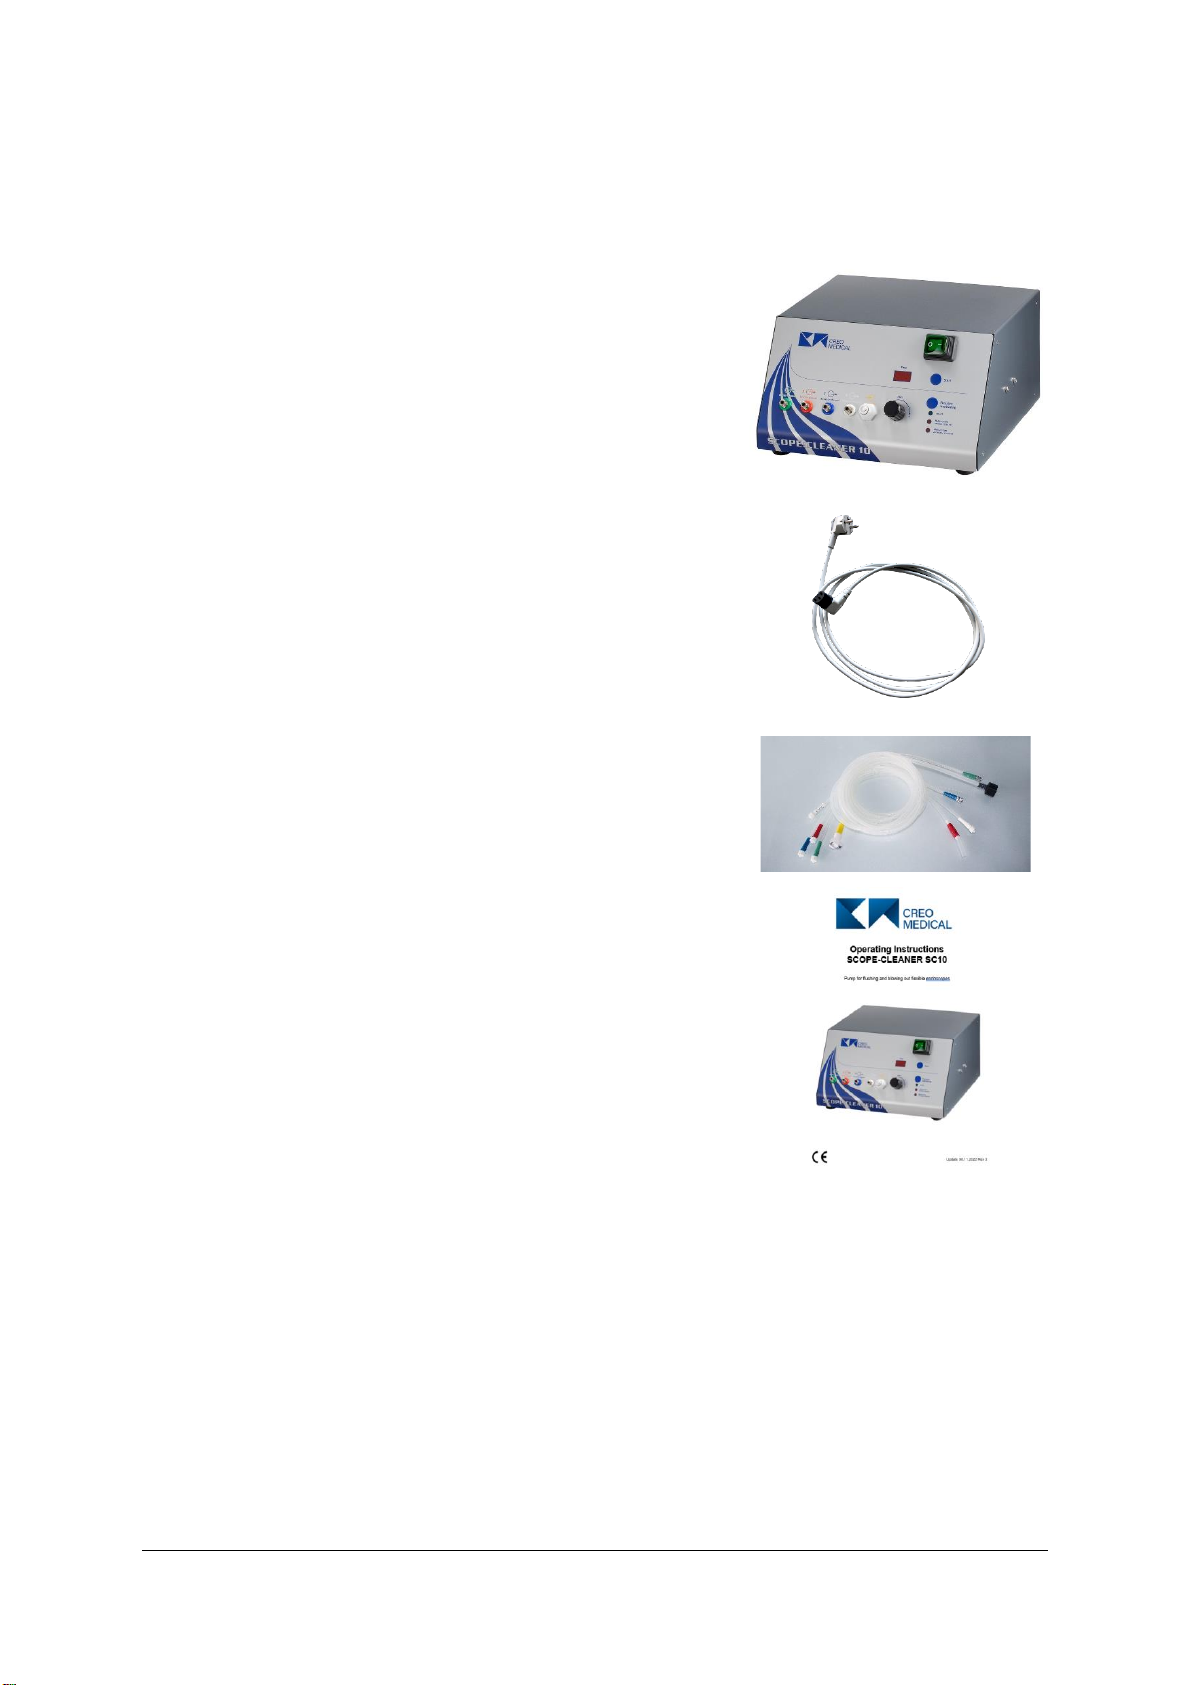
•Set timerto the required disinfection time.
(Depending on the disinfection solution and its
concentration).
The display will show the total running time
•Press ‘START’.
The suction tube draws in disinfection solution
via 4 channel pumps and this is forced through
the endoscope.
The air escapes via the distal tip of the
endoscope, i.e. all the channels are free.
No air bubbles must escape from other places,
e.g. on the handle or from the connection tubes.
If you see bubbles, set the mains switch to
‘OFF’(0) and check the endoscope.
•
When the flushing process with disinfection solution has completed, an acoustic signal is
heard.
If, despite thorough precleaning, a channel is still blocked, i.e. if the malfunction indicator for
the Air/water or Suction channel does not automatically disappear:
Follow the instructions in this order:
1. Set the mains switch to ‘0’(OFF).
All the tubes are filled with disinfection solution and the blocked tube is under
pressure.
2. Pinch the tube just behind the endoscope connection and remove the tube carefully.
3. Insert the tube in the disinfection solution and gradually let go.
4. Do the same to the other tubes.
5. Now clear the blockage e.g. with the cleaning brush.
TD-03 SCOPE-CLEANER
Revision
Page
GA_SCOPE_CLEANER_EN_2023-03-03
4
15 of 33
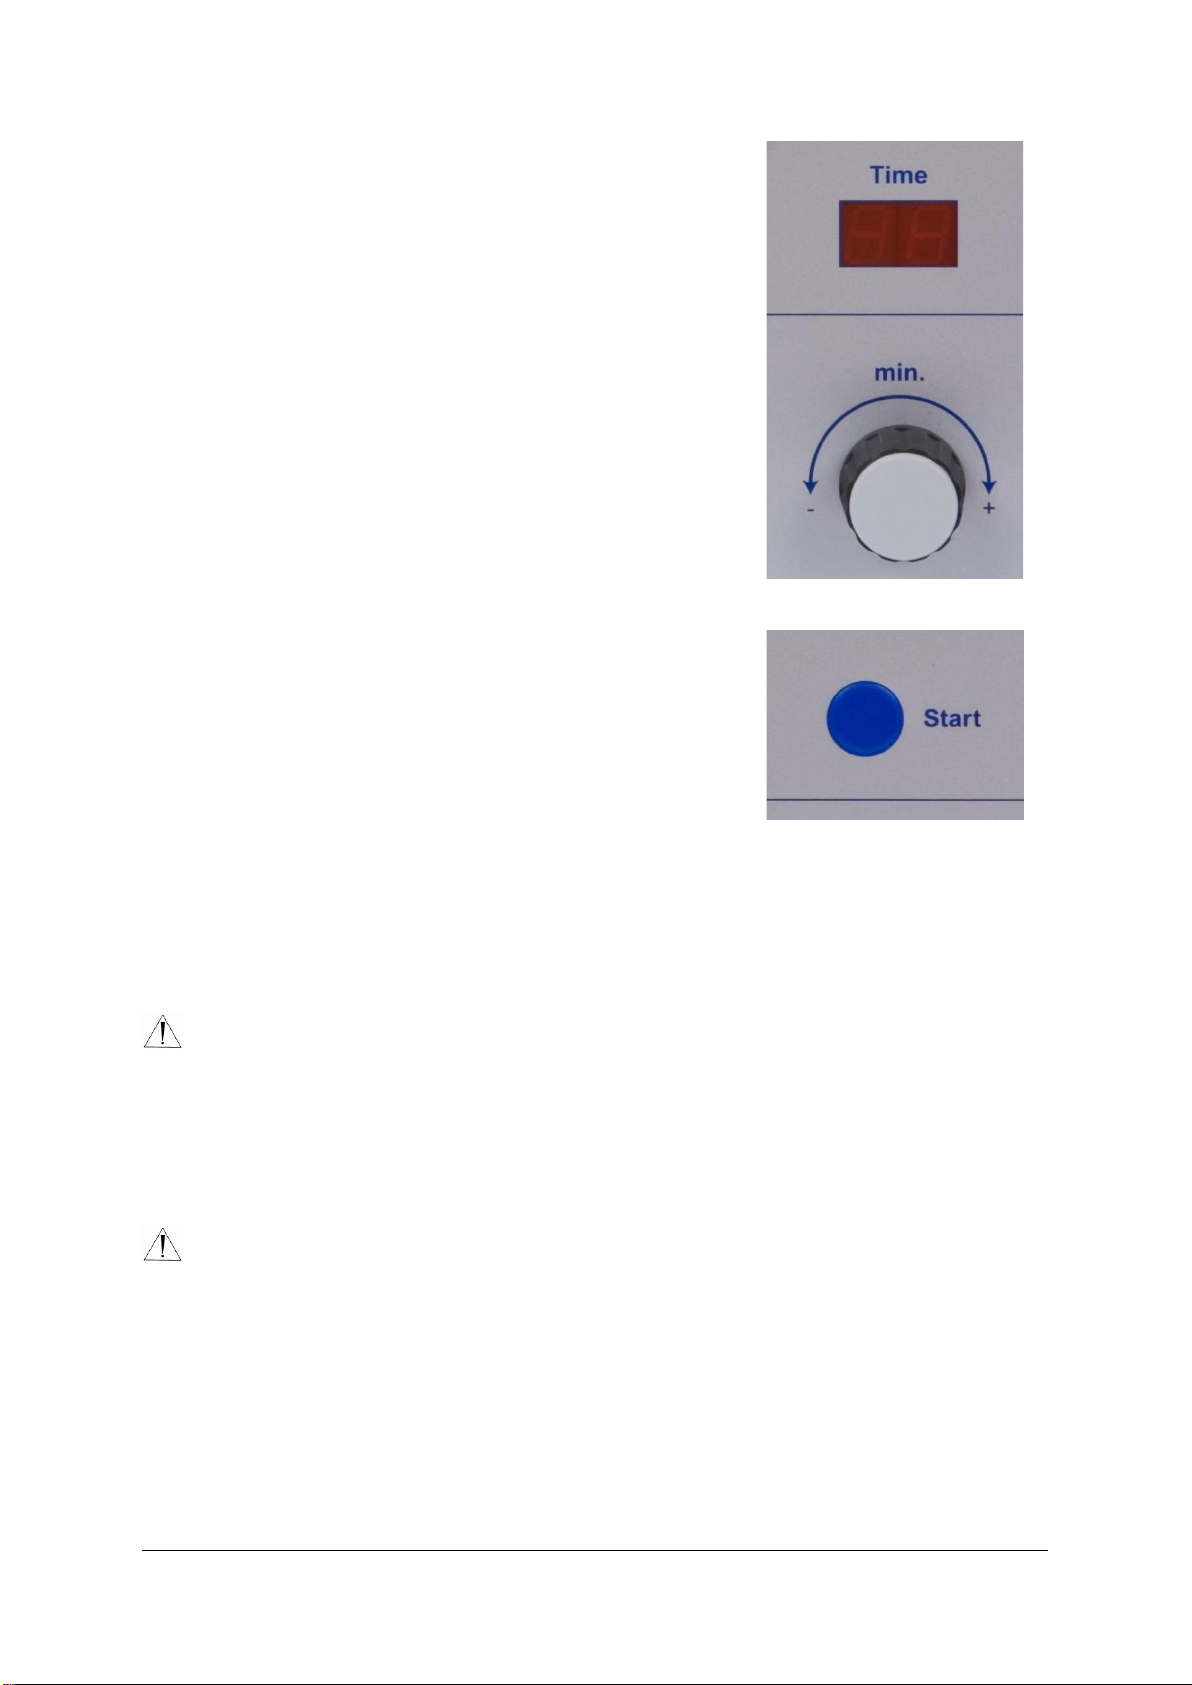
5.4 Draining off the disinfection solution
After the flushing period has expired, remove the suction tube from the disinfection solution.
•
•Set the timer to 3 minutes, press ‘START’.
•The pumps will suck in air and, after a brief
delay, there will be air bubbles at the distal tip.
5.5 Rinsing with neutralisation fluid
•Place the endoscope in the water-filled tank.
•Place the suction tube in the tank and set the
timer to 5 minutes, press ‘START’.
TD-03 SCOPE-CLEANER
Revision
Page
GA_SCOPE_CLEANER_EN_2023-03-03
4
16 of 33
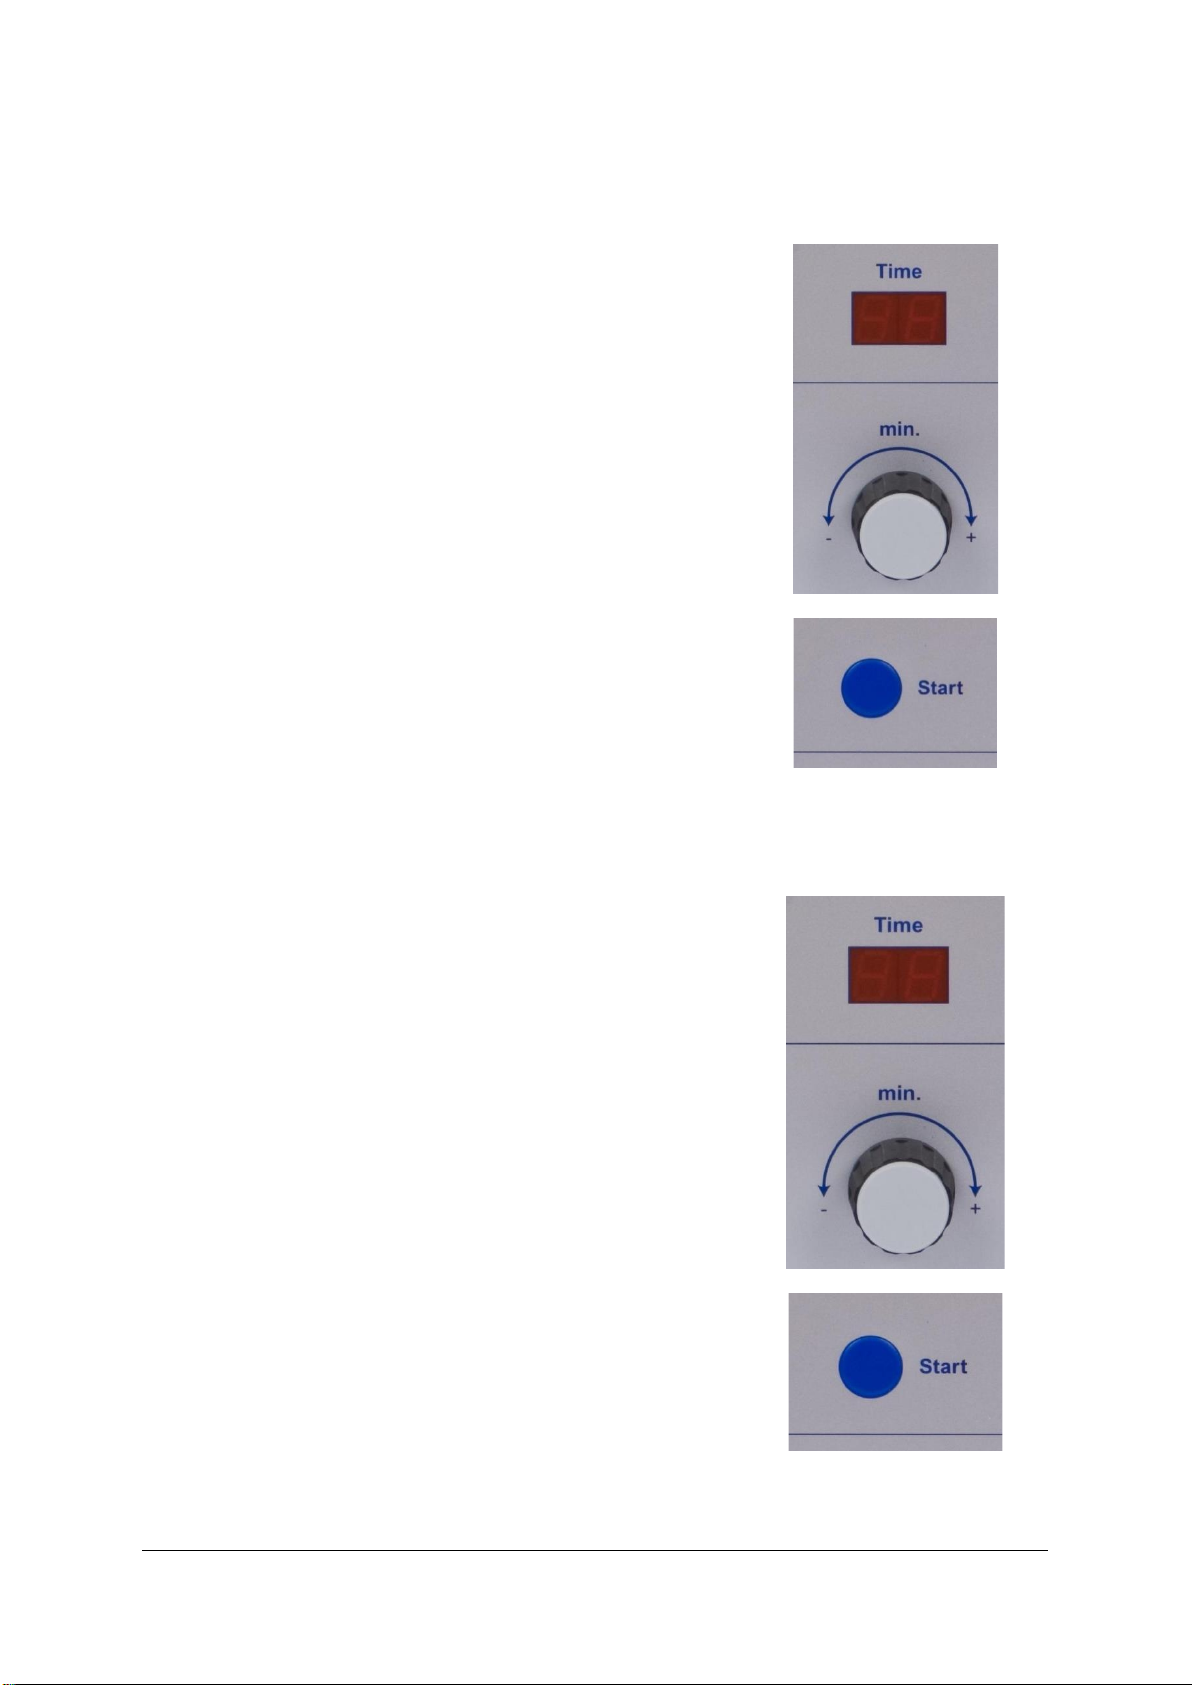
5.6 Blowing out
Remove the endoscope from the tank.
•
•Set the timer to 5-10 minutes (depending on the
effective length of the endoscope), press
‘START’.
•Switch off the device, set the mains switch to
‘OFF (0)’.
Because the control head contains cavities (depending on the model) there may be residual
fluid in the suction and air/water valve.
Hold the control head in such a way that the valves are facing down, then remove the valve
plugs and lightly shake the control head.
Refit the suction and air/water valve.

TD-03 SCOPE-CLEANER
Revision
Page
GA_SCOPE_CLEANER_EN_2023-03-03
4
17 of 33
6 Cleaning and disinfecting the SCOPE-CLEANER SC10 flushing pump
If the SCOPE-CLEANER SC10 has not been used for more than 24 hours, or if no
disinfectant was used during the last operation (e.g. flushing only with enzyme cleaner), self-
disinfection must be carried out by pumping disinfectant through the SCOPE-CLEANER
SC10 for the duration specified by the manufacturer of the disinfectant. The connecting
hoses must remain attached to the SCOPE-CLEANER SC10, and the free ends must be in
the tray.
Only validated processes may be used for the reprocessing of medical devices.
6.1 SCOPE-CLEANER
6.1.1 Place of use
Unplug the device and remove the accessories used (e.g. set of tubes, blowgun)
6.1.2 Storage and transport
When transported outside the room in a closed container.
We recommend reprocessing medical devices as soon as possible, at the latest within 2
hours of use.
6.1.3 Preparation
Wear personal protective equipment (solid gloves, water-repellent protective coat, face mask
or goggles and mask).
6.1.4 Manual cleaning and disinfection
6.1.4.1Equipment required
Non-protein-fixing VAH-listed (VAH = Association for Applied Hygiene) instrument
disinfectant based on quaternary compounds, acetals and aldehydes (e.g. Beta Guard RFU
wipes, Dr Deppe GmbH)
6.1.4.2Procedure
1) Take a disinfection wipe and wipe the surfaces of the device thoroughly.
2) Ensure that all surfaces, grooves and indentations in the device are wiped and
thoroughly moistened during the cleaning process.
3) To clean the ventilation grille, wipe it thoroughly on the outside, then fold the
disinfection wipe and clean all the gaps between the individual louvres.
4) Check the areas for cleanliness and, if contamination is still visible, repeat the above
steps.
5) To disinfect the surfaces, take a further disinfection wipe and wipe the surfaces of the
device thoroughly.
6) Ensure that all surfaces, grooves and indentations in the device are wiped and
thoroughly moistened during the disinfection process.
7) To disinfect the ventilation grille, wipe it thoroughly on the outside, then fold the
disinfection wipe and clean all the gaps between the individual louvres.
8) Allow the disinfectant to soak in for the time specified by the disinfectant
manufacturer (e.g. Beta Guard RFU wipes require five minutes).
9) Allow the device to dry off.
6.1.5 Maintenance, inspection and testing
We recommend annual maintenance of such devices by Creo Medical GmbH or a person
authorised by us.
6.1.6 Packaging
No special requirements.

TD-03 SCOPE-CLEANER
Revision
Page
GA_SCOPE_CLEANER_EN_2023-03-03
4
18 of 33
6.1.7 Storage
Store the device in a dust-protected, cool, dark and dry place, the storage time must be in
accordance with the specifications of the user.
6.2 Cleaning and disinfecting the tube sets
Note
Special attention is required when cleaning lumened instruments. Machine cleaning and
disinfection require a special load carrier with cavity flushing, e.g. load carrier for
microinvasive instruments (MIC trolleys). The configuration of these load carriers varies
depending on the manufacturer. The cleaning performance depends on the configuration and
adaptability of the instrumentation on the load carrier and must be verified by validation of the
processes.
Suitable disinfection solutions for reprocessing are aldehydic and peracetic acid solutions.
If correctly handled without contamination of the adapters and tubes, the tube set should be
reprocessed every four weeks.
6.2.1 At the place of use
Depending on the set of tubes: Disconnect the sterile gas strainer from the tubes.
6.2.2 Storage and transport
It is recommended to transport the contaminated tube sets in a closed container.
6.2.3 Preparation
Wear personal protective equipment (solid gloves, water-repellent protective coat, face mask
or goggles and mask).
6.2.4 Pretreatment
Equipment required: mains water / running water (20 ± 2 °C, at least drinking water quality),
20 ml syringe (e.g. B. Braun #4606205V), tub for mains water.
1) Place the tube system in a tub of water (at least drinking water quality) for at least five
minutes. Fill the lumens of the tubes with water using a 20 ml syringe and ensure the
tubes are free of air bubbles.
2) Remove the tubing system from the water and remove any residue from the lumen
using an air-filled 20 ml syringe.
6.2.5 Manual cleaning
Note: Carry out manual pretreatment before subjecting the tube system to full manual
cleaning (see Pretreatment).
Equipment required: multi-stage enzymatic cleaner (InstruZym, by Dr Deppe GmbH,
#600001) mains water / running water (20 ± 2 °C, at least drinking water quality), cleaning
brush (the following have been validated: Interlock #26024, brush head diameter: 2.5 mm,
brush head length: 15 mm, overall length: 2.300 mm, Interlock #26090, brush head diameter:
2.5 mm, brush head length: 15 mm, overall length: 2.300 mm), 20 ml syringe (e.g. B. Braun
#4606205V), tub for mains water.
3) Prepare the cleaning solution according to the manufacturer's instructions (e.g.
InstruZym 3%, temperature between 35 °C and 45 °C).
4) Carry out all further cleaning steps with the items fully immersed in the liquid to
prevent splashing of contaminated liquid.
5) Immerse the tube set completely in the cleaning solution.

TD-03 SCOPE-CLEANER
Revision
Page
GA_SCOPE_CLEANER_EN_2023-03-03
4
19 of 33
6) Brush the hard-to-reach areas where it is not possible to assess the cleaning effect
visually with a soft cleaning brush.
7) Then brush the lumens of the tubing system by pushing the brush completely through
the lumen and then pull the brush through at the end of the tubes. Remove
contaminations from the brush head. Repeat the step once more.
8) Fill the lumens of the tubes with cleaning solution using a 20 ml syringe and ensure
the tubes are free of air bubbles.
9) Allow a total exposure time in the cleaning solution of at least five minutes (a period
of five minutes has been validated).
10)Remove the tube system from the cleaning solution and remove any residues of
cleaning solution from the lumens using an air-filled 20 ml syringe.
11)Place the tube system in a tub of water (at least drinking water quality) for at least
one minute (a period of one minute has been validated). Rinse the lumens with a 20
ml syringe at least once to remove the residue of the cleaning solution completely.
Check the tube set for cleanliness and, if contamination is still visible, repeat the above
manual cleaning steps.
6.2.6 Manual disinfection
Equipment required: non-protein-fixing VAH-listed (VAH = Association for Applied Hygiene)
instrument disinfectant based on quaternary compounds, acetals and aldehydes (e.g.
InstruPlus viruguard, Dr Deppe GmbH #600052) preferably demineralised water (deionised
water, according to KRINKO / BfArM recommendation free of facultatively pathogenic
microorganisms), 20 ml syringes (e.g. B. Braun #4606205V), tub for disinfectant, tub for
deionised water, lint-free cloth, medical-grade compressed air (in accordance with the
European Pharmacopoeia).
1) Prepare the disinfectant solution according to the manufacturer's instructions
(InstruPlus viruguard 5%).
2) Immerse the tube set completely in the disinfection solution.
3) Fill the lumens of the tubes with disinfection solution using a 20 ml syringe and
ensure the tubes are free of air bubbles.
4) The soak phase in the disinfectant solution according to the manufacturer of the
disinfectant (InstruPlus viruguard 5%): 15 minutes)
5) Remove the tube system from the disinfection solution and remove any residues of
disinfection solution from the lumens using an air-filled syringe.
6) Place the tube set in a tub of deionised water for at least one minute. Rinse the
lumens with a 20 ml syringe at least once to remove any residues of the disinfection
solution completely.
7) Wipe with a lint-free disposable cloth and dry the lumens with medical-grade
compressed air.
6.2.7 Automated cleaning and disinfection (AER)
Note: Carry out manual pretreatment before subjecting the tube system to full automated
cleaning (see Pretreatment).
Equipment required: automated endoscope reprocessor (AER) according to DIN EN ISO
15883-1+2 with a thermal programme (temperature 90 °C to 95 °C), mild alkaline cleaner
(LabomatMA , Dr Deppe GmbH #600032), neutralising (LabomatKS, Dr Deppe GmbH
#600021), medical-grade compressed air (according to European Pharmacopoeia).
1) Place the tube set in a suitable mesh basket or place it on the load carrier in such a
way that all the inner and outer surfaces of the tubes can be cleaned and disinfected.
2) The tube set must be connected to the load carrier (e.g. MIC trolley) or to a manifold
(manifolds have been validated) for rinsing by means of adapters in order to flush the
inner lumens. Check that the adapters are firmly attached before starting the device
and at the end of the process.

TD-03 SCOPE-CLEANER
Revision
Page
GA_SCOPE_CLEANER_EN_2023-03-03
4
20 of 33
3) Close the AER and start the programme, refer to the table below for the programme
sequence:
Prog. step
Water
Dosage
Time
Temperature
Prerinse
Cold
water
5 min.
Dosage for
cleaner
According to
manufacturer
According to
manufacturer
Cleaning
Demin.
water
10 min.
55 °C
Dosage for
Rinse aid
According to
manufacturer
According to
manufacturer
Rinsing
Demin.
water
2 min.
Disinfecting
Demin.
water
3 min.
A0 value >3000¹
(e.g. 90 °C, 5 min.)
Drying
15 min.
Up to 121 °C
¹ Within the range of their authorisation, local authorities may adopt other rules
(parameters for effective disinfection).
4) At the end of the programme, remove the tube set.
5) Check that the set is dry and, if necessary, dry using medical-grade compressed air
6) After removal from the AER, the items must be examined by means of a visual
inspection to ensure they are clean. If contamination is still visible, clean the tube set
manually. After this manual cleaning operation, the tubes must then be reprocessed
again in an automated process.
6.2.8 Maintenance, inspection and testing
1) The tube set must be visually checked for cleanliness, intactness and operability, if
necessary by means of an illuminated magnifier (3 - 6 dioptres).
2) Then check the tube set for function, damage and wear.
Note: Never use products with kinks, cracks, holes or similar impairments.
6.2.9 Sterilising
6.2.9.1Packaging
Equipment required: film-and-paper packaging (the following have been validated: steriCLIN,
art. no. 3FKFS230112 and 3FKFS230114), sealing device (HAWO, type 880 DC-V has been
validated).
1) A suitable method (sterile barrier system) must be used to pack the tube set.
Packaging according to DIN EN ISO 11607 (single) or DIN 58953-9 (sets).
Individually: a sterile barrier system (foil-and-paper packaging has been validated) according
to DIN EN ISO 11607 must be used, which has been approved by the manufacturer for
steam sterilisation. Tube sets can be packaged singly or in pairs. The packaging must be
large enough to ensure that the sealing seam is not under tension (validation involved double
packaging, in foil-and-paper packaging).
Note: after heat-sealing, check visually that the sealing seam does not have any defects. In
the event of any defects, the packaging must be opened and the tubing set repacked and
resealed.
6.2.9.2Sterilisation
Equipment required: steriliser according to DIN EN 285 or small steam steriliser according to
DIN 13060, type B method.
Table of contents
Popular Water Pump manuals by other brands

GORMAN-RUPP
GORMAN-RUPP PAH SERIES Installation, operation, and maintenance manual with parts list

XTline
XTline XT121200 user manual

Grundfos
Grundfos UP 10-16 PM instructions

SAMES KREMLIN
SAMES KREMLIN REXSON SH715 user manual

Jandy
Jandy JCP Series Installation and operation manual

Crivit
Crivit FLOOR PUMP instruction manual

Calpeda
Calpeda MXS Original operating instructions

Stairs
Stairs ST SERIES Installation and operating instructions

Smiths Medical
Smiths Medical CADD-Prizm PCS II Technical manual

ROSSMONT
ROSSMONT MOVER M SERIES instructions

TapFlo
TapFlo sanitary T Series Instructions for installation, operation and maintenance

POMPE ROTOMEC
POMPE ROTOMEC KS Series Use and maintenance manual


