Supplemental Guide – DOC. 7109B BPC-HPLIR: onCue IR Learner & Programmer •3
Standard Operations
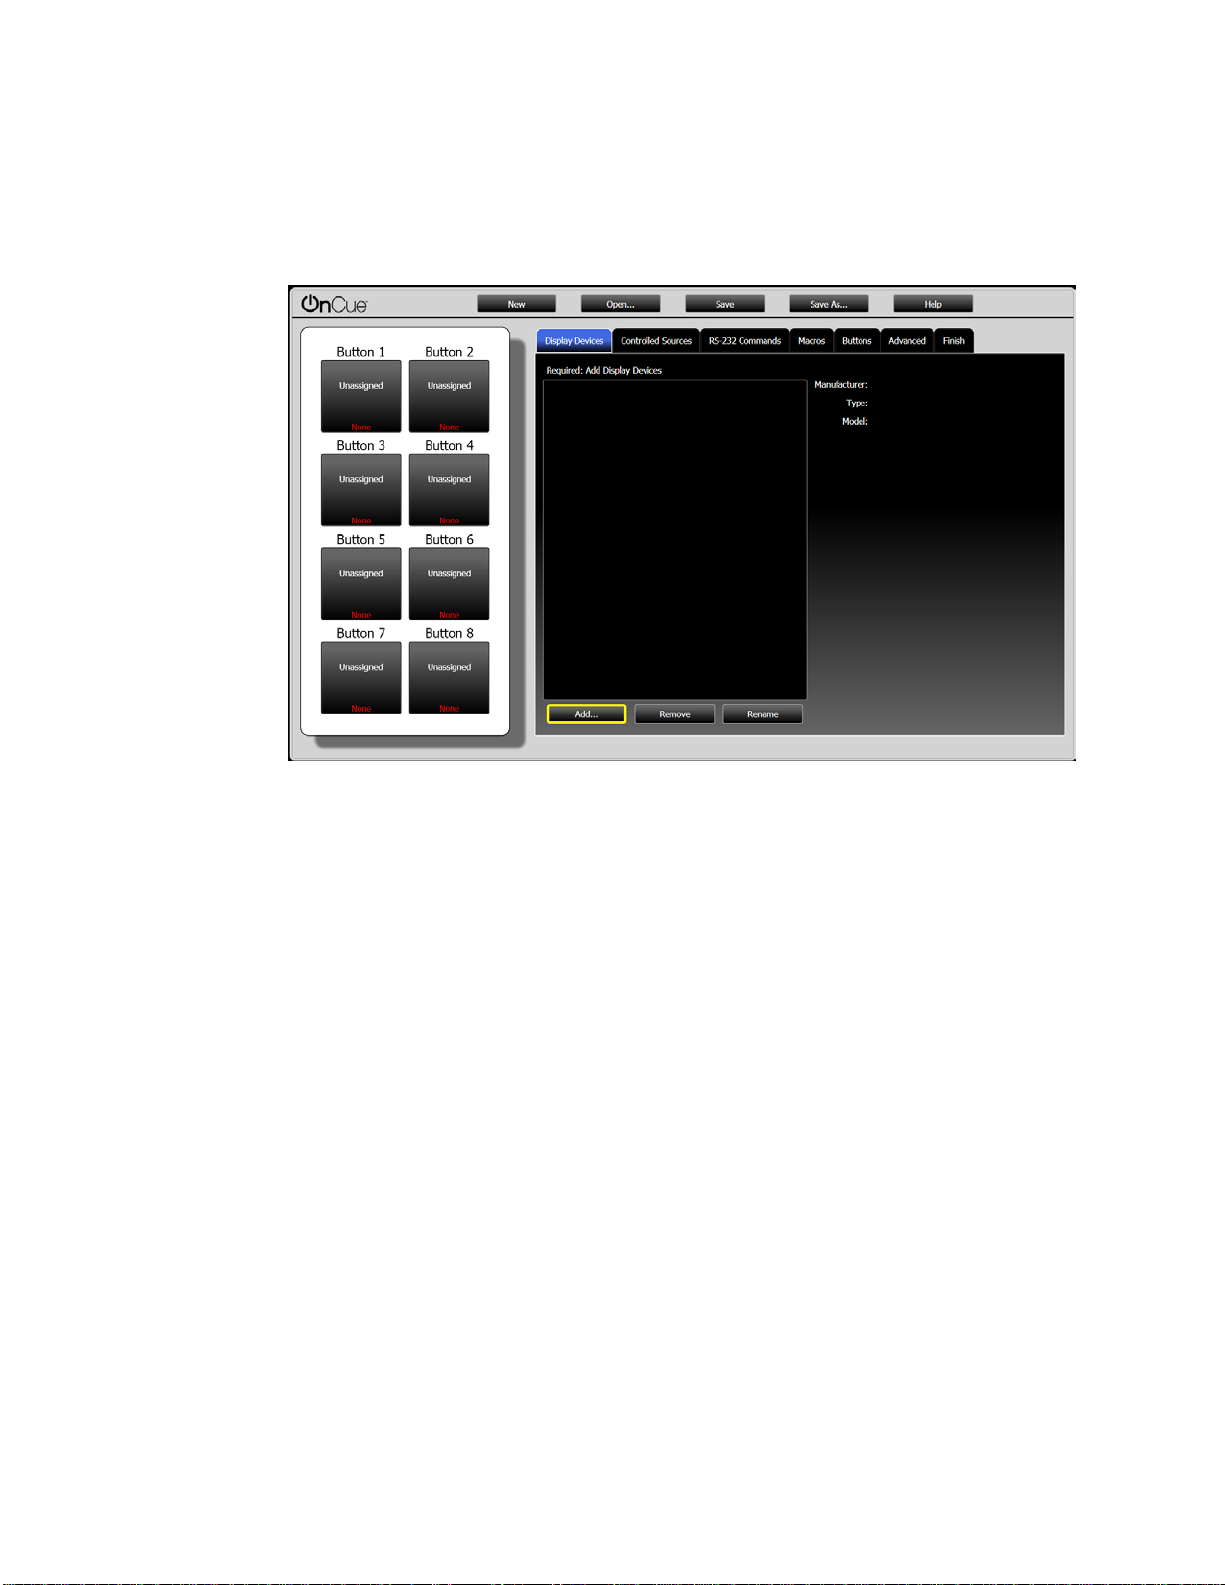
Create New IR Files
1. Select File > New.
2. Click Device Description, and then enter details about the device to be controlled
in the respective fields.
3. Click Remote Buttons to configure buttons and corresponding standard
commands. This list of buttons will be based on the device entered in step two.
Learn Remote Button Functions
1. Position the BPC-HPLIR and IR remote as shown below.
Positioning the BPC-HPLIR and IR remote
NOTE: The components should be positioned close to each other on a level
surface and should not move.
2. Click Remote Buttons in the Device Learner tool.
3. On the remote buttons table, either click the desired button (to multiselect, press
the Ctrl or Shift key) and click Learn, or click Learn All to learn all the buttons in
the table.
4. Following the prompts given by the “Learn IR” dialog box, press the specified
button on the remote for about one second.
NOTE: Depending on the function, the button may need to be pressed and
released twice. If the button is multicode, press and release the button multiple
times.
5. Press and release the button as prompted until the button is learned. The dialog
box shows a green circle icon next to the button name when the button is learned.
6. If learning multiple or all buttons, click Next to continue to the next button. Buttons
can be skipped or cycled between by clicking Next and Previous.
7. Click Close when all buttons have been learned. Repeat the above steps for any
additional buttons that need to be learned.
8. Once finished, select File > Save to save the file to the user database.