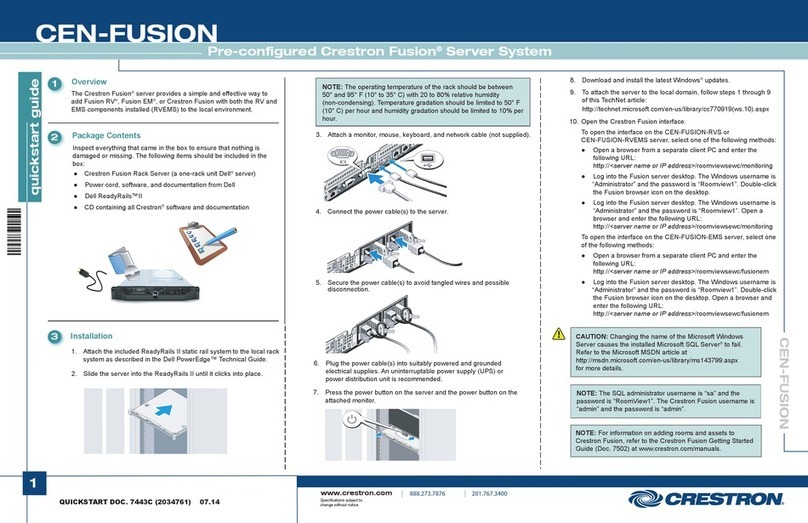
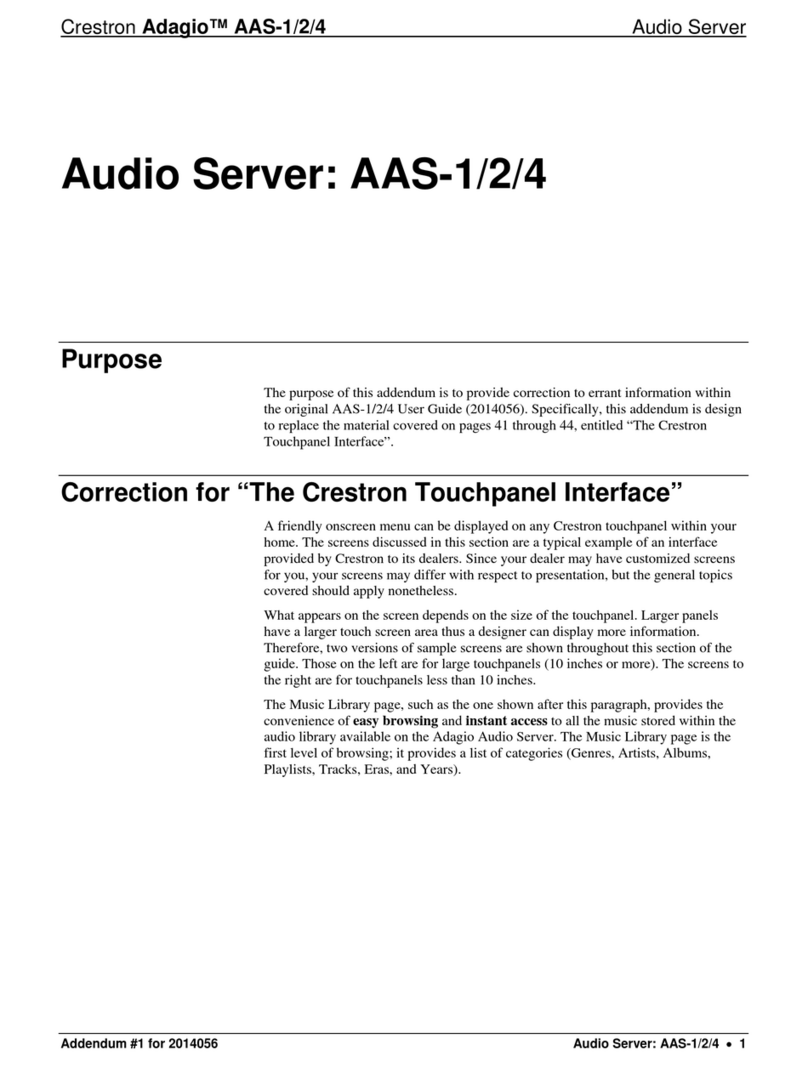
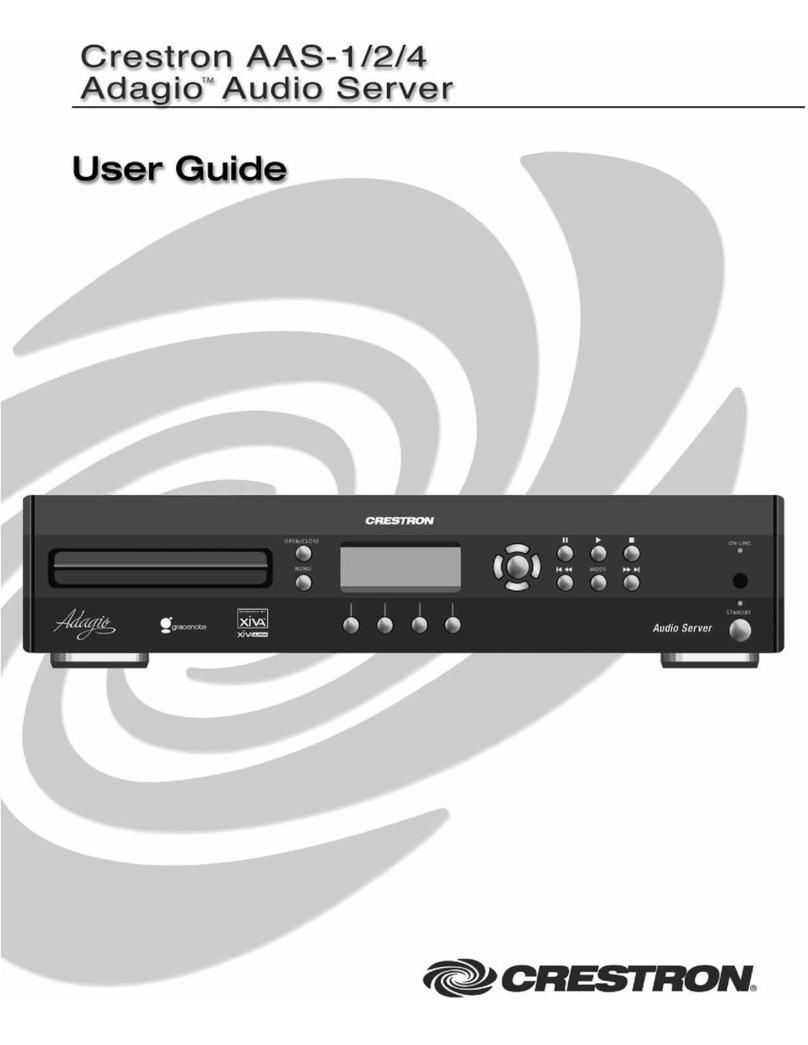
Crestron Adagio AAS-1 User manual

Crestron Adagio®AAS-1/2/4
Audio Server
Operations Guide

This document was prepared and written by the Technical Documentation department at:
Crestron Electronics, Inc.
15 Volvo Drive
Rockleigh, NJ 07647
1-888-CRESTRON
Important Safety Instructions
• Read these instructions.
• Keep these instructions.
• Heed all warnings.
• Follow all instructions.
• Do not use this apparatus near water.
• Clean only with dry cloth.
• Do not block any ventilation openings. Install in accordance with
the manufacturer’s instructions.
• Do not install near any heat sources such as radiators, heat
registers, stoves, or other apparatus (including amplifiers) that
produce heat.
• Do not defeat the safety purpose of the polarized or grounding-type
plug. A polarized plug has two blades with one wider than the
other. A grounding-type plug has two blades and a third grounding
prong. The wide blade or the third prong are provided for your
safety. If the provided plug does not fit into your outlet, consult an
electrician for replacement of the obsolete outlet.
• Protect the power cord from being walked on or pinched
particularly at plugs, convenience receptacles, and the point where
they exit from the apparatus.
• Only use attachments/accessories specified by the manufacturer.
• Unplug this apparatus during lightning storms or when unused for
long periods of time.
• Refer all servicing to qualified service personnel. Servicing is
required when the apparatus has been damaged in any way, such as
power-supply cord or plug is damaged, liquid has been spilled or
objects have fallen into the apparatus, the apparatus has been
exposed to rain or moisture, does not operate normally, or has been
dropped.
• Disconnect power prior to connecting or disconnecting equipment.
• Do not install in direct sunlight.
• The apparatus must be installed in a way that the power cord can be
removed either from the wall outlet or from the device itself in
order to disconnect the mains power.
• Prevent foreign objects from entering the device.
WARNING:
TO REDUCE THE RISK OF FIRE OR ELECTRIC SHOCK,
DO NOT EXPOSE THIS APPARATUS TO RAIN OR
MOISTURE. THE APPARATUS SHALL NOT BE
EXPOSED TO DRIPPING OR SPLASHING. OBJECTS
FILLED WITH LIQUIDS, SUCH AS VASES, SHOULD
NOT BE PLACED ON THE APPARATUS.
WARNING:
TO PREVENT ELECTRIC SHOCK, DO NOT REMOVE
COVER. THERE ARE NO USER SERVICEABLE PARTS
INSIDE. ONLY QUALIFIED SERVICE PERSONNEL
SHOULD PERFORM SERVICE.
The lightning flash with arrowhead symbol, within an
equilateral triangle, is intended to alert the user to the
presence of uninsulated “dangerous voltage” within the
product’s enclosure that may be of sufficient magnitude to
constitute a risk of electric shock to persons.
The exclamation point within an equilateral triangle is
intended to alert the user to the presence of important
operating and maintenance (servicing) instructions in the
literature accompanying the appliance.
WARNING:
THIS IS AN APPARATUS WITH CLASS I
CONSTRUCTION. IT SHALL BE CONNECTED TO AN
ELECTRICAL OUTLET WITH AN EARTHING GROUND
TERMINAL.
IMPORTANT:
The AAS can be used with Class 2 output wiring.
All brand names, product names and trademarks are the property of their respective owners.
©2008 Crestron Electronics, Inc.
Crestron Adagio®AAS-1/2/4 Audio Server
Operations Guide – DOC. 6465B Contents •i
Contents
Audio Server: Adagio®AAS-1/2/4 1
Introduction ...............................................................................................................................1
Features and Functions................................................................................................1
Applications.................................................................................................................3
Specifications ..............................................................................................................3
Physical Description....................................................................................................4
Industry Compliance ...................................................................................................9
Setup ........................................................................................................................................10
Network Wiring.........................................................................................................10
Installation.................................................................................................................10
Hardware Hookup ..................................................................................................... 10
NAS Installation ........................................................................................................ 11
Programming Software............................................................................................................12
Earliest Version Software Requirements for the PC .................................................12
Programming with Crestron SystemBuilder.............................................................. 12
Programming with SIMPL Windows ........................................................................12
Example Program ......................................................................................................14
Uploading and Upgrading........................................................................................................ 15
Establishing Communication.....................................................................................15
Programs and Firmware ............................................................................................ 16
Operation .................................................................................................................................17
Problem Solving ......................................................................................................................18
Troubleshooting......................................................................................................... 18
Reference Documents................................................................................................18
Further Inquiries ........................................................................................................19
Future Updates .......................................................................................................... 19
Return and Warranty Policies ..................................................................................................20
Merchandise Returns / Repair Service ...................................................................... 20
CRESTRON Limited Warranty.................................................................................20


Crestron Adagio®AAS-1/2/4 Audio Server
Operations Guide – DOC. 6465B Audio Server: Adagio®AAS-1/2/4 •1
Audio Server: Adagio®AAS-1/2/4
Introduction
The AAS-1, AAS-2-80, AAS-2, and AAS-4 are functionally identical. For simplicity
within this guide, AAS is used except where noted.
Models
DESCRIPTION MODEL NUMBER
One stereo output, 80Gb hard drive. AAS-1
Two Stereo outputs, 80Gb hard drive. AAS-2-80
Two Stereo outputs, 160Gb hard drive AAS-2
Four stereo outputs, 250Gb hard drive. AAS-4
Features and Functions
•
High-performance digital audio server
• Choice of 80GB, 160GB or 250GB capacity
• Supports WMA, MP3 up to 320k and uncompressed WAV formats
• Multi-zone outputs — up to four discrete analog outputs
• Audiophile quality — high-end Wolfson Delta-Sigma 24-bit DACs
on a dedicated audio board
• Lossless optical and coaxial digital outputs
• Digital and analog inputs — record to hard disk from vinyl records,
tapes and radio.
• Access on screen menu (OSM) control screens and view cover art on
any video display, Crestron®touchpanel or Flash-enabled Web
browser
• Access the music library from or any device running Windows
Media®Player, Apple iTunes®, or other media player compliant
application
• Transfer PC files easily using AAS as a network drive
• Ethernet and IR controllable
• Plug and play integration with Adagio systems
• Optional Network Attached Storage (NAS).

Audio Server Crestron Adagio®AAS-1/2/4
2 •Audio Server: Adagio®AAS-1/2/4 Operations Guide – DOC. 6465B
NOTE: Further information can be found in the Crestron Adagio Audio Server User
Guide (Part Number 2014056).
As the centerpiece for any home audio system, the Adagio Audio Server (AAS)
provides an easy, powerful way to store and enjoy your complete music collection,
with the ability to instantly access any album or track from touchpanels, keypads and
computers throughout the home.
Instant Access
The AAS Audio Server is a hard disk based audio system which can store many
hundreds of hours of music, all with the convenience of instant access from its front
panel, from a computer, or from Crestron touchpanels and keypads. Whether you
select a track by title, album, artist, or genre, the AAS locates it instantly and plays it
at your command. And with hard disks up to 250GB, plus the added storage of the
Network Attached Storage option, many thousands of hours worth of music can be
stored.
On-Screen Menu
Browsing through albums and tracks, ripping CDs, and organizing a complete music
library is fun and easy using the onscreen menu (OSM). Displayed on a video or
SVGA monitor, the OSM shows full album, track, and artist names as well as album
cover art, letting you manage and play the entire music library using the front panel
controls or IR remote. The same OSM can be viewed and navigated using any
computer Web browser (Macromedia®Flash®required), or even a Crestron
touchpanel as part of a complete control system.
Easy Loading
Loading an entire CD collection onto the AAS is easy. Just place a CD into the disk
tray, and the AAS rips it to digital in less time than it would take to play it. Then, the
AAS automatically connects to the Gracenote CDDB Music Recognition Service via
the built-in modem or Ethernet connection, downloading all of the information and
cover art graphics for that CD. This information can also be entered manually,
building a complete database for the entire music library.
Custom Playlists
The AAS lets you organize and control your music collection the way you want it.
Using playlists, the AAS can be customized to suit the individual tastes of each
family member, with the ability to compile different playlists for different moods and
occasions. At any time, just select a playlist and let the AAS be the DJ, serving up a
perfect mix of music from the list of tracks that you specified.
Multi-Zone Outputs
With up to four stereo outputs, the AAS is a vital component of any multi-room
audio distribution system. The discrete outputs allow up to four different tracks to
play in four different rooms at once. Professional quality features ensure exceptional
audio quality in every room.
Plug-and-Play Integration
The AAS affords easy plug-and-play setup as part of a complete Adagio system.
Without any programming, Adagio delivers full access and control of the AAS from
every room in the house. The AAS can also be integrated with other systems, with
control provided via Ethernet or IR.

Crestron Adagio®AAS-1/2/4 Audio Server
Operations Guide – DOC. 6465B Audio Server: Adagio®AAS-1/2/4 •3
Computer Access
The AAS even lets you listen to your music directly on any computer and transfer
tracks to portable devices using applications such as Windows Media®Player or
Apple®iTunes®. Connected to your home LAN, the AAS simply behaves as a
network drive allowing for easy file management.
Applications
The following diagram shows how an Adagio home entertainment system, using out-
of-the-box functionality, might be configured to include the AAS.
Adagio System Showing the AAS in a Typical Application
Specifications
Specifications for the AAS are listed in the following table.
AAS Specifications
SPECIFICATION DETAILS
Operating System Microsoft®Windows®XP Embedded
Ethernet 10/100BaseT, static IP or DHCP/DNS
Encoding
Formats MP3, WMA, WAV (uncompressed)
MP3 Bit Rates 128k – 320k, or variable
Audio (Analog)
D-A Conversion Wolfson Delta-Sigma 24-bit
Frequency Response 20Hz to 20kHz ±0.5dB typical
S/N Ratio 100dB at 1kHz A-weighted
Dynamic Range >96dB
THD (Total Harmonic Distortion) 0.003% at 1kHz typical
Channel Separation 110dB at 1kHz typical
Power Requirements
60 Watts, 100-240V AC @ 50/60Hz*
(Continued on following page)

Audio Server Crestron Adagio®AAS-1/2/4
4 •Audio Server: Adagio®AAS-1/2/4 Operations Guide – DOC. 6465B
AAS Specifications (Continued)
SPECIFICATION DETAILS
Environmental
Temperature 50° to 104°F (10° to 40°C)
Humidity 10% to 90% RH (non-condensing)
Enclosure Black metal, extruded aluminum faceplate
Dimensions
Height: 3.93 in (9.98 cm)
Width: 17.20 in (43.69 cm)
Depth: 14.49 in (36.08 cm)
Weight 18.74 lbs (8.5 kg)
* Uninterruptible power supply recommended, Crestron CEN-UPS1250 or similar.
NOTE: Cable connections can extend the overall depth of the AAS by
approximately two to three inches.
Physical Description
This section provides information on the connections, controls, and indicators
available on your AAS.
AAS Physical View (Front)
AAS Physical View (Rear)

Crestron Adagio®AAS-1/2/4 Audio Server
Operations Guide – DOC. 6465B Audio Server: Adagio®AAS-1/2/4 •5
AAS Overall Dimensions
10
12
11
9
8
7
6
5
4
3
2
1
3.93 in
(9.98 cm)
17.20 in
(43.69 cm)
14.49 in
(36.08 cm)
13
14
16 17 18 19 20 21 22 23
15
NOTE: Cable connections can extend the overall depth of the AAS by
approximately two to three inches.
Connectors, Controls and Indicators
# CONNECTORS,
CONTROLS, &
INDICATORS
DESCRIPTION
1 CD TRAY Plays and copies CDs.
2 OPEN/CLOSE Pushbutton, opens and closes CD tray.
3 MENU Pushbutton, selects menu items.
4 LCD Display Green LCD, 4 lines by 20 characters,
adjustable LED backlight.
5 Softkeys (4) LCD-driven pushbuttons.
6 Navigation (4) Cursor buttons and (1) Select button for
menu navigation and selection.
7 Transport
(5) buttons for PLAY, PAUSE, STOP,
RWD/SKIP BACK, FFWD/SKIP AHEAD.
(Continued on following page)

Audio Server Crestron Adagio®AAS-1/2/4
6 •Audio Server: Adagio®AAS-1/2/4 Operations Guide – DOC. 6465B
Connectors, Controls and Indicators (Continued)
# CONNECTORS,
CONTROLS, &
INDICATORS
DESCRIPTION
8 MODE Mode selection button.
9 ON-LINE LED Indicates modem activity (the modem is not
currently supported).
10 Remote Sensor Receives IR signals transmitted by the
remote control unit1.
11 STANDBY LED Indicates unit is in standby mode.
12 STANDBY Standby/Off/On button.
13 COMPUTER
Pin 1
Pin 9
(1) DB9 female, bi-directional RS-232
computer console port. 115.2k baud
maximum (not currently supported).
14 USB
(2) USB Type A female, USB 1.1 ports for
mouse, keyboard and storage devices (not
currently supported).
15 IR IN (1) 3.5 mm TRS mini-phone jack2
16 LAN
GREEN
LED
YELLOW
LED
PIN 8 PIN 1
(1) 8-wire RJ-45 with two LED indicators;
10BaseT/100BaseTX Ethernet port;
Green LED indicates link status;
Yellow LED indicates Ethernet activity.
PIN SIGNAL PIN SIGNAL
1 TX + 5 N/C
2 TX - 6 RC -
3 RC+ 7 N/C
4 N/C 8 N/C
17 MODEM
4-pin RJ-11 56kb/s female modem port (not
currently supported).
(Continued on following page)

Crestron Adagio®AAS-1/2/4 Audio Server
Operations Guide – DOC. 6465B Audio Server: Adagio®AAS-1/2/4 •7
Connectors, Controls and Indicators (Continued)
# CONNECTORS,
CONTROLS, &
INDICATORS
DESCRIPTION
18 RGBHV OUT
DB15HD female, RGB display output;
Format: RGBHV;
Resolution: SVGA 800 x 600 pixels;
Output Voltage: 0.75 Vp-p nominal;
H and V Sync: 5.0 Vp-p nominal;
Output Impedance: 75 ohms (R/G/B), 100
ohms (H/V)
Pin 1 Red Video
Pin 2 Green Video
Pin 3 Blue Video
Pin 4 Reserved
Pin 5 Ground
Pin 6 Red Ground
Pin 7 Green Ground
Pin 8 Blue Ground
Pin 9 No Connect
Pin 10 Ground
Pin 11 No Connect
Pin 12 No Connect
Pin 13 Horizontal Sync
Pin 14 Vertical Sync
Pin 15 No Connect
19 VIDEO and S-VIDEO
OUT
12
34
S-VIDEO
VIDEO
(1) 4-pin mini DIN female, S-video (Y/C)
input
Input impedance: 75 Ω
Maximum input: level: 1 Vp-p
Signal sensing on Y.
S-video DIN connector pin assignments
PIN DESCRIPTION
1 Luminance Ground
2 Chrominance Ground
3 Luminance
4 Chrominance
20 DIGITAL AUDIO
(2) JIS F05 female (TOSLINK) optical fiber
connectors;
S/PDIF optical digital audio input and output;
Input Sample Rate Conversion: 32, 44.1, or
48 kHz supported
(2) RCA female, S/PDIF coaxial digital audio
input and output;
Input Sample Rate Conversion: 32, 44.1, or
48 kHz supported;
Maximum Input/Output Level: 0.5 Vp-p;
Input/Output Impedance: 75 ohms
(Continued on following page)

Audio Server Crestron Adagio®AAS-1/2/4
8 •Audio Server: Adagio®AAS-1/2/4 Operations Guide – DOC. 6465B
Connectors, Controls and Indicators (Continued)
# CONNECTORS,
CONTROLS, &
INDICATORS
DESCRIPTION
21 ANALOG AUDIO IN
Two RCA jacks are used to connect
unbalanced left and right line-level audio.
Maximum Input Level: 2 Vrms;
Input Impedance: 10k ohms.
(not currently supported)
22 ANALOG AUDIO OUT
(2, 4 or 8) RCA female providing (1, 2 or 4
depending upon model) unbalanced stereo
line-level audio outputs;
Output Level: 2 Vrms;
Output Impedance: 600 ohms
23 100 – 240V ~2.4A 50/60
Hz
(MAIN POWER INPUT)
(1) IEC Socket and fuse holder;
Mates with removable power cord, included
1. Refer to Crestron Adagio Audio Server User Guide (Part Number 2014056) for details on the remote
control.
2. IR IN accepts remote control information from other devices such as the Crestron PRO2 control
system.

Crestron Adagio®AAS-1/2/4 Audio Server
Operations Guide – DOC. 6465B Audio Server: Adagio®AAS-1/2/4 •9
Industry Compliance
This product is listed to applicable UL Standards and requirements by Underwriters
Laboratories Inc.
(E250305)
As of the date of manufacture, the AAS has been tested and found to comply with
specifications for CE marking and standards per EMC and Radiocommunications
Compliance Labeling.
NOTE: This device complies with part 15 of the FCC rules. Operation is subject to
the following two conditions: (1) this device may not cause harmful interference, and
(2) this device must accept any interference received, including interference that may
cause undesired operation.
This equipment has been tested and found to comply with the limits for a Class B
digital device, pursuant to part 15 of the FCC Rules. These limits are designed to
provide reasonable protection against harmful interference in a residential
installation. This equipment generates, uses and can radiate radio frequency energy
and, if not installed and used in accordance with the instructions, may cause harmful
interference to radio communications. However, there is no guarantee that
interference will not occur in a particular installation. If this equipment does cause
harmful interference to radio or television reception, which can be determined by
turning the equipment off and on, the user is encouraged to try to correct the
interference by one or more of the following measures:
Reorient or relocate the receiving antenna.
Increase the separation between the equipment and receiver.
Connect the equipment into an outlet on a circuit different from that to
which the receiver is connected.
Consult the dealer or an experienced radio/TV technician for help.

Audio Server Crestron Adagio®AAS-1/2/4
10 •Audio Server: Adagio®AAS-1/2/4 Operations Guide – DOC. 6465B
Setup
Network Wiring
Unlike other Crestron network devices, the AAS does not use Cresnetfor
communications between the device and the control system. The AAS requires the
use of a high-speed Ethernet connection for control system communications.
For information on connecting Ethernet devices in a Crestron system, refer to the
latest version of the Crestron e-ControlReference Guide (Doc. 6052), which is
available for download from the Crestron website (www.crestron.com/manuals).
Installation
CAUTION: The AAS cannot be mounted at an angle. Damage to the internal hard
drive and CD player may result. The unit must be installed on a level, vibration-free
surface.
Hardware Hookup
Ventilation The AAS should be used in a well-ventilated area. The venting holes should not be
obstructed under any circumstances.
To prevent overheating, do not operate this product in an area that exceeds the
environmental temperature range listed in the table of specifications. Consideration
must be given if installed in an enclosed assembly since the operating ambient
temperature of that environment may be greater than the room ambient. Contact with
thermal insulating materials should be avoided on all sides of the unit.
Connect the Device Make the necessary connections as called out in the illustration that follows this
paragraph. Apply power after all connections have been made.
Hardware Connections for the AAS
LAN:
FOR NETWORK
CONNECTION
OPTIONAL
RGBHV OUT:
FOR VIDEO
DISPLAY
OPTIONAL VIDEO OUT:
FOR VIDEO DISPLAY
DIGITAL AUDIO:
OPTIONAL TO
DIGITAL DEVICES
AND MEDIA
ANALOG AUDIO OUT:
AUDIO OUTPUTS FOR
UP TO FOUR AREAS
POWER:
100VAC - 240VAC

Crestron Adagio®AAS-1/2/4 Audio Server
Operations Guide – DOC. 6465B Audio Server: Adagio®AAS-1/2/4 •11
NAS Installation
An optional Network Attached Storage (NAS) device can be purchased for the AAS.
This consists of any device such as a hard drive, server or RAID array (Redundant
Array of Independent Drives) attached to your network.
Currently the following devices are supported as NAS storage for the AAS:
• Infrant ReadyNAS products
• Devices using Windows Storage Server 2003 such as Dell–Power Edge
Line and Iomega–StorCenter Pro Server (selected models)
NOTE: Please refer to the Crestron website for updated information on
compatibility.
To set up a NAS storage device on your AAS, proceed as described below:
1. Download and install the latest firmware for your AAS. Refer to the
Crestron Adagio Audio Server User Guide (Part Number 2014056) for
more information.
2. Navigate through the AAS’ web browser to the Set Up menu. Select
the new Optional Features choice installed by the new firmware.
3. Select Network Storage.
4. Select Enable.
5. When you are prompted to enter an activation code, call Crestron
customer support. Refer to “Further Inquiries” on page 19.
To configure the network storage settings for the NAS device:
1. Navigate to Set Up on the AAS web browser.
2. Select Network Storage Settings.
3. Select Edit and then Enable.
4. In the resulting menu fill out the following fields:
• Network Storage: Select Enable.
• Network Location: Enter the network path to the NAS array
(\\nasdevice\NasShare). May require IP address.
• User Name: Enter an appropriate username.
• Password: Enter an appropriate password.
• Domain: Enter an appropriate domain.
5. Select Save. A warning will display that you should make a back up
before switching to the NAS array to prevent any potential data loss.
6. Select Yes and enter ResetMyMusic when prompted for a password.
NOTE: If you select or enter the wrong path or IP address in the Network Location
field you will receive an error stating that the AAS could not connect to the NAS
array. If the shared folder specified in the Network Location field is not empty, an
error stating that will display.

Audio Server Crestron Adagio®AAS-1/2/4
12 •Audio Server: Adagio®AAS-1/2/4 Operations Guide – DOC. 6465B
Programming Software
Have a question or comment about Crestron software?
Answers to frequently asked questions (FAQs) can be viewed in the Online Help
section of the Crestron website. To post a question or view questions you have
submitted to Crestron’s True Blue Support, log in at http://support.crestron.com.
First-time users will need to establish a user account.
Earliest Version Software Requirements for the PC
NOTE: Crestron recommends that you use the latest software to take advantage of
the most recently released features. The latest software is available from the Crestron
website.
Crestron has developed an assortment of Windows-based software tools to develop
an Adagio system. For the minimum recommended software versions, visit the
Version Tracker page of the Crestron website (www.crestron.com/versiontracker).
Programming with Crestron SystemBuilder
The easiest method of programming, but does not offer as much flexibility as SIMPL
Windows. For additional details, download SystemBuilder from the Crestron website
and examine the extensive help file.
Programming with SIMPL Windows
SIMPL Windows is Crestron’s premier software for programming Crestron control
systems. It is organized into two separate, but equally important “Managers”.
Configuration Manager Configuration Manager is the view where programmers “build” a Crestron control
system by selecting hardware from the Device Library.
• To incorporate the AAS into the system, drag the AAS symbol from the
Ethernet Control Modules | Ethernet Audio Modules folder of the Device
Library and drop it in the System Views.
NOTE: It is suggested that you use the SIMPL windows example program referred
to in the following section.

Crestron Adagio®AAS-1/2/4 Audio Server
Operations Guide – DOC. 6465B Audio Server: Adagio®AAS-1/2/4 •13
Locating the AAS in the Device Library
• The system tree of the control system displays the device in the appropriate
slot with the IP ID (03) assigned to it by SIMPL as shown in the following
illustration.
C2I-AdgenetNet Device, Slot 11
• Additional AASs are assigned different Net ID numbers as they are added.
• If necessary, double click a device to open the “Device Settings” window
and change the IP ID, as shown in the following figure.

Audio Server Crestron Adagio®AAS-1/2/4
14 •Audio Server: Adagio®AAS-1/2/4 Operations Guide – DOC. 6465B
“AAS-1/2/4 Device Settings” Window
• The IP ID specified in the SIMPL Windows program must match the IP ID
of each unit.
Programming Manager Programming Manager is the view where programmers "program" a Crestron control
system by assigning signals to symbols. The symbol can be viewed by double
clicking on the icon or dragging it into Detail View. A description for each signal in
the symbol is described in the SIMPL Windows help file (F1).
Example Program
An example program for the AAS is available from the “Example Program” section
of the Crestron website (http://www.crestron.com/exampleprograms).

Crestron Adagio®AAS-1/2/4 Audio Server
Operations Guide – DOC. 6465B Audio Server: Adagio®AAS-1/2/4 •15
Uploading and Upgrading
Crestron recommends using the latest programming software and that each device
contains the latest firmware to take advantage of the most recently released features.
However, before attempting to upload or upgrade it is necessary to establish
communication. Once communication has been established, files (for example,
programs or firmware) can be transferred to the control system (and/or device).
Finally, program checks can be performed (such as changing the device ID or
creating an IP table) to ensure proper functioning.
Establishing Communication
Access the AAS’ web interface by typing the IP address of the AAS into the location
or address field of your web browser. This is the only supported method of
communication for uploading/upgrading firmware and software.
NOTE: Required for operation with the web interface.
Ethernet Communication
• Establish Ethernet communication between AAS and PC.
• If connecting through a hub or router, use CAT5 straight through cables
with 8-pin RJ-45 connectors. Alternatively, use a CAT5 crossover cable to
connect the two LAN ports directly, without using a hub.
• Use the web interface to ensure your network settings (Menu | Setup |
Network Settings) are set to Ethernet for Internet Access and Static for
Ethernet Mode.
NOTE: The remote control can also be used to access these settings. Refer to the
Crestron Adagio Audio Server User Guide (Part Number 2014056) for details.
• Enter the IP address and Subnet mask of the AAS (Menu | Setup | Static
Ethernet Settings).
• Ensure that the Software Update settings are correct (Menu | Setup |
Software Update Settings), that they point to “adagio.crestron.com” as the
server and that they list the correct user name, password and domain.
NOTE: Only local updates require a username and password. Web updates require
only the correct hostname.
NOTE: DHCP can also be used to set up Ethernet communications.

Audio Server Crestron Adagio®AAS-1/2/4
16 •Audio Server: Adagio®AAS-1/2/4 Operations Guide – DOC. 6465B
Programs and Firmware
Program or firmware files may be distributed from programmers to installers or from
Crestron to dealers. Firmware upgrades are available from the Crestron website as
new features are developed after product releases.
SIMPL Windows If a SIMPL Windows program is provided, it can be uploaded to the control system
using your web browser.
Firmware
Check the Crestron website to find the latest firmware. (New users may be required
to register to obtain access to certain areas of the site, including the FTP site.)
Upgrade AAS firmware via the front panel. Refer to “Online Updates” in the
Crestron Adagio Audio Server User Guide (Part Number 2014056) for the
procedure.
Other manuals for Adagio AAS-1
3
This manual suits for next models
2
Table of contents
Other Crestron Server manuals

Crestron
Crestron CEN-RVS-R210 User manual

Crestron
Crestron CEN-iServer User manual

Crestron
Crestron Adagio AAS-4 User manual

Crestron
Crestron Adagio AAS-1 User manual

Crestron
Crestron Adagio AAS-1 User manual

Crestron
Crestron Adagio AAS-1 User manual

Crestron
Crestron CEN-Fusion User manual

Crestron
Crestron FlipTop FT2 Series User manual