RV BLIND SPOT DETECTION SYSTEM: For Motorhomes | 1
English Installation Guide
1. THE RV BLIND SPOT DETECTION SYSTEM DOES NOT REPLACE ANY FUNCTIONS DRIVERS SHALL ORDI-
NARILY PERFORM IN DRIVING A MOTOR VEHICLE, NOR DOES IT DECREASE THE NEED FOR DRIVERS TO
STAY VIGILANT AND ALERT IN ALL DRIVING CONDITIONS, TO OBEY ALL THE SAFE DRIVING STANDARDS,
PRACTICES,TRAFFIC RULES AND REGULATIONS.
2. CUB DOES NOT GUARANTEE 100% ACCURACY IN THE DETECTION OF VEHICLES OR PEDESTRIANS, AND
THEREFORE DOES NOT GUARANTEE THE PERFORMANCE OF ANY RELATED AUDIO OR VISUAL WARNING
SIGNALS. FURTHERMORE, ROAD, WEATHER AND OTHER CONDITIONS MAY ADVERSELY AFFECT THE VEHI-
CLE’S BLIND SPOT DETECTION SYSTEM RECOGNITION AND RESPONSE CAPABILITIES.
3. CAREFULLY READ THIS INSTALLATION GUIDE AND ITS IMPORTANT SAFETY INSTRUCTIONS AND WARN-
INGS PRIOR TO INSTALLING OR USING THE RV BSD SYSTEM.
4. IT IS RECOMMENDED THATTHE INSTALLATION BE CARRIED OUT BY QUALIFIED PERSONNEL.
Do not pull the connectors with exces-
sive force.
Do not pull the harness with excessive
force.
Fasten all connectors and terminals
securely.
Stress relieve harnesses and secure
properly.
1. WARNING
Wear proper protective gear
Deburr edges and use grommets
Use appropriate torque to fasten
1. WARNING 1
2. SYSTEM CONTENTS 2
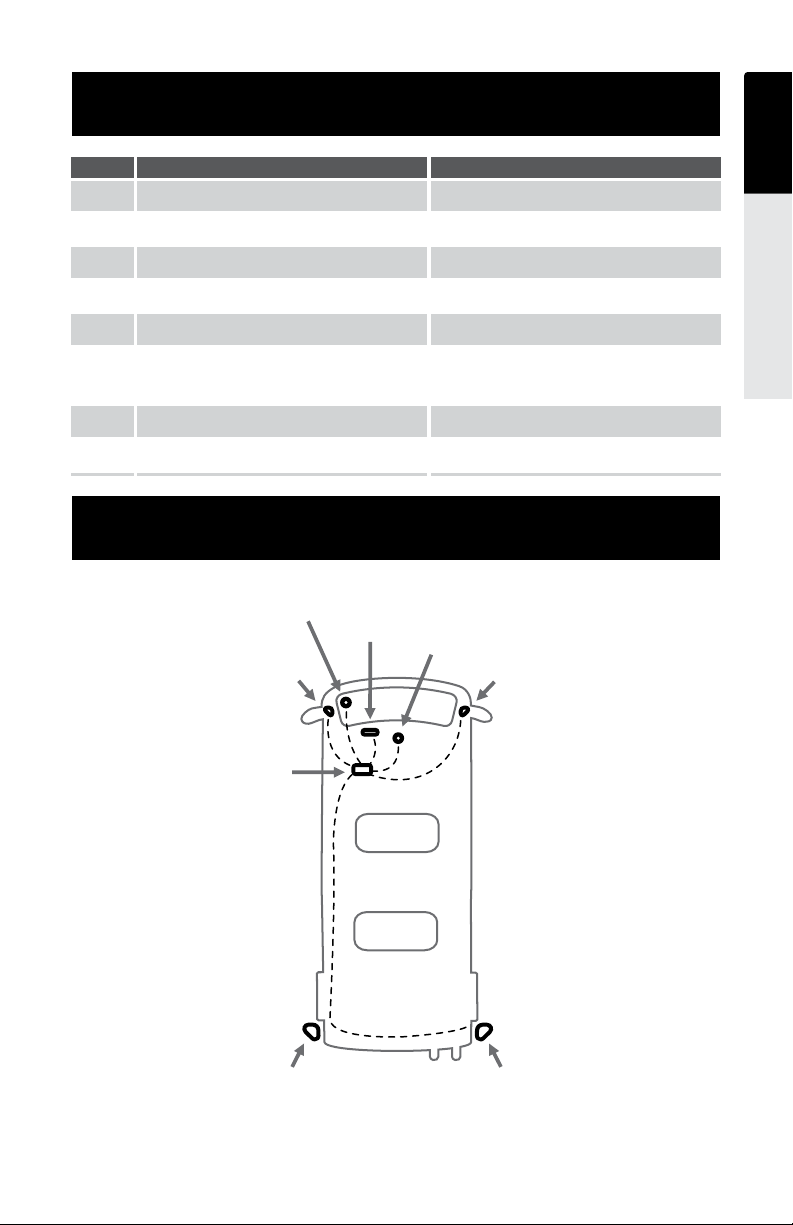
4. SYSTEM LAYOUT 3
5. INSTALLATION 4
5.1 TOOLS REQUIRED 4
5.2 SYSTEM BLOCK 4
6. ERROR DIAGNOSTICS 8
3. SYSTEM SPECIFICATIONS 3
5.3 INSTALLATION 5
7. TROUBLESHOOTING 9
lb-ft