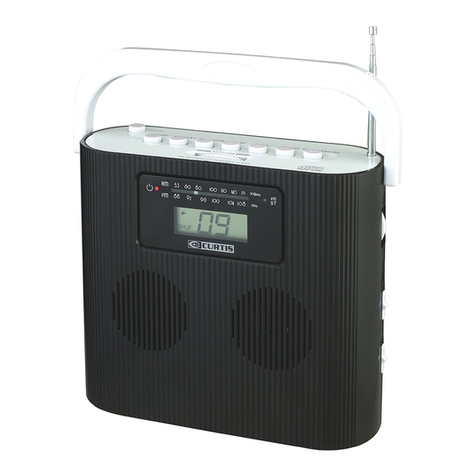
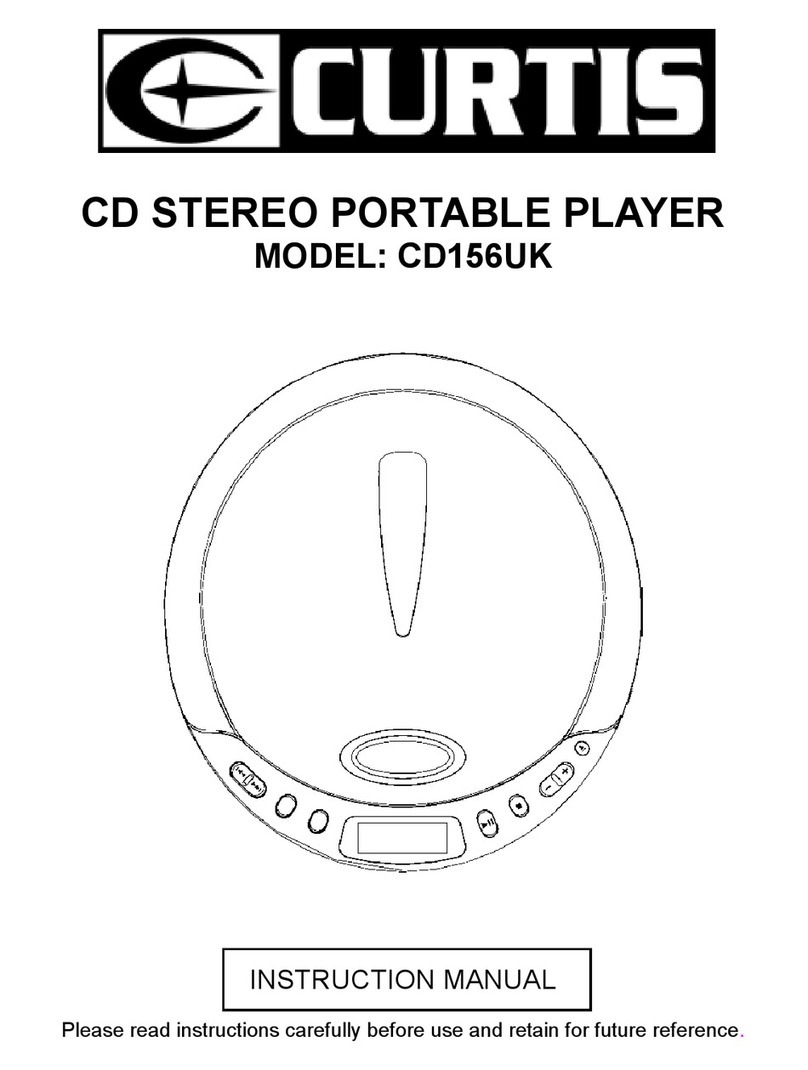
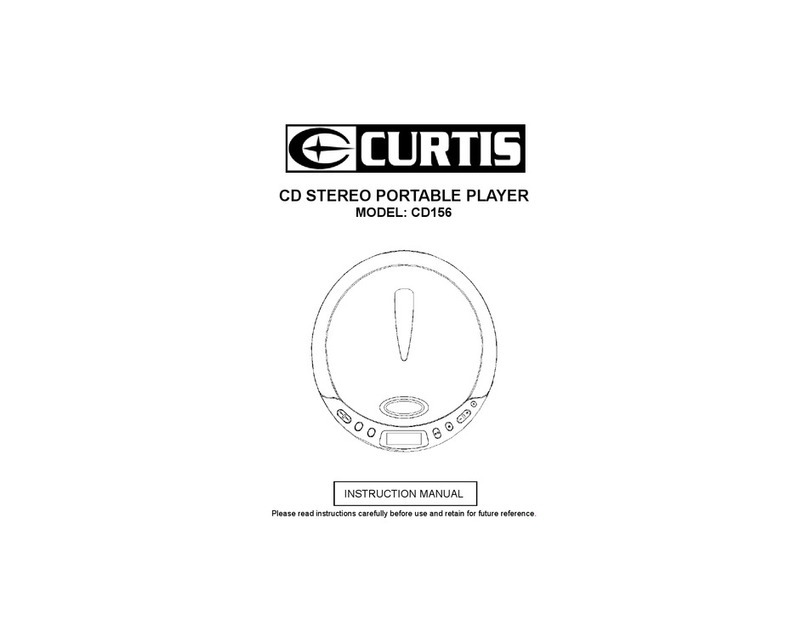
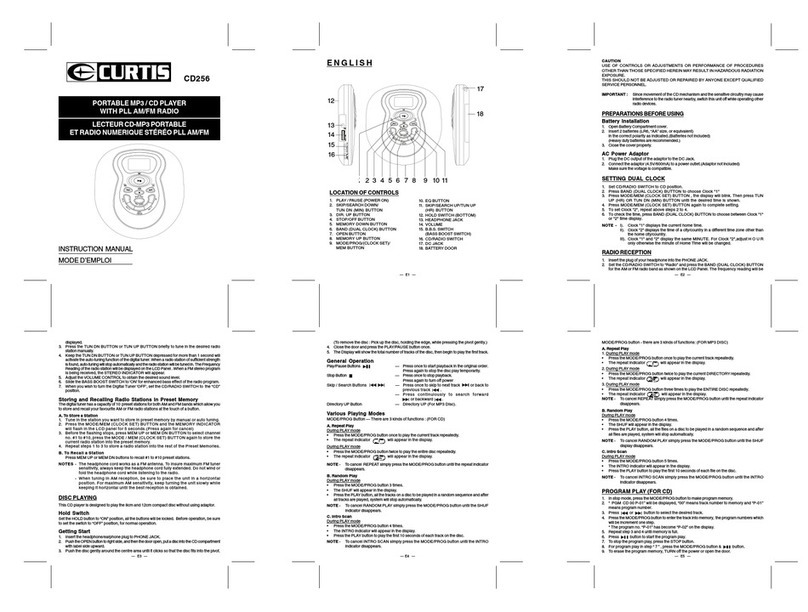
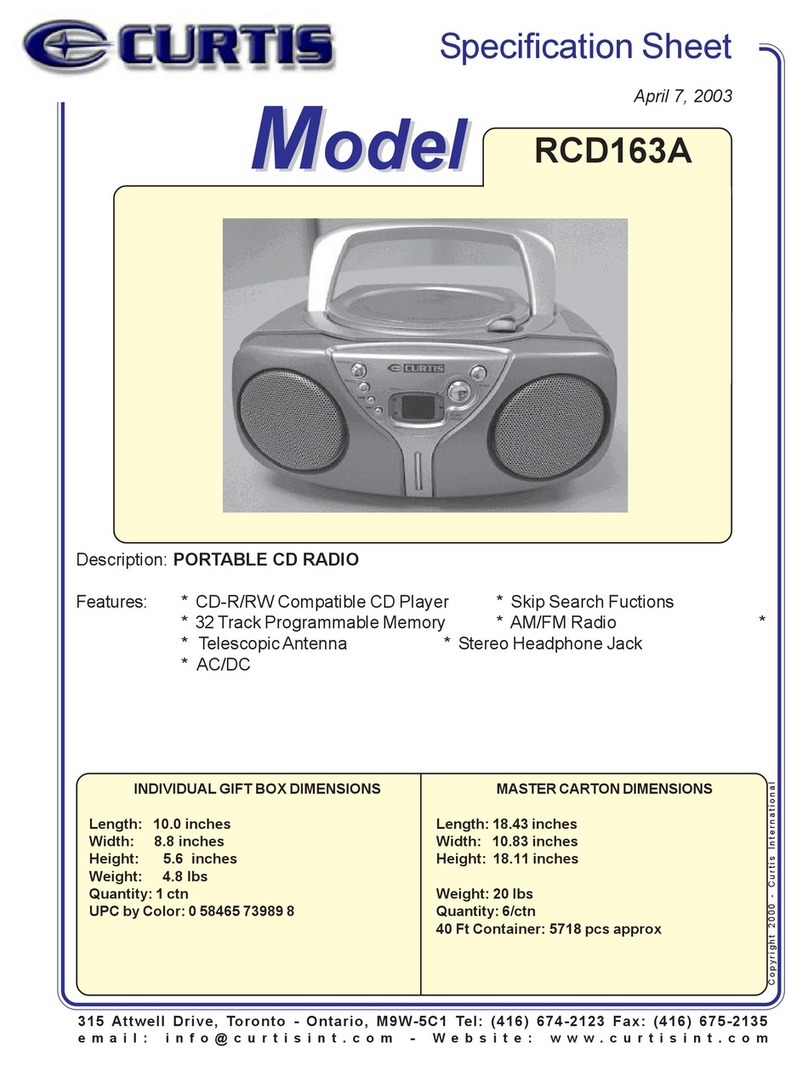
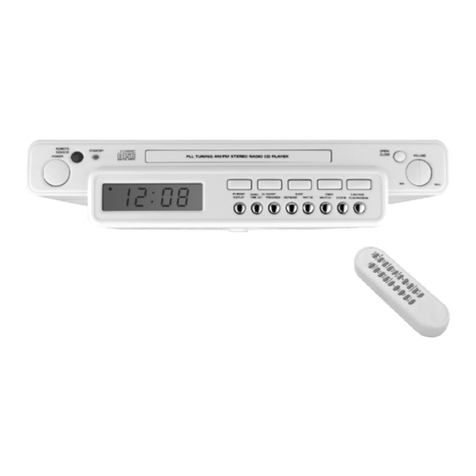
Curtis CD149 User manual

— FRENCH -6 —
DIAGNOTICDESPANNES
Nettoyage du disque
Siundisqueestsale,nettoyez-leà l’aide d’un chiffon.Essuyezle disque de l’intérieurvers
l’extérieur.
Remarque :N’utilisez pas de solvantstels que le benzène, lesdiluants ou tous autres
produitsde nettoyageousprays anti-statiquesdisponiblesdans lecommerce destinés aux
disquesanalogues.
** Si vous rencontrez des difficultés lors de l’utilisation de ce lecteur CD, veuillez
vousréférer au tableau ci-dessous avant de prendre contact avec votre revendeur.
Encas de difficultés
Symptômes Points à vérifier
Lelecteur nefonctionne pas • Le disque est inséré à l’envers.
•Le disque n’estpascorrectement positionné
surl’axe.
•Le disqueestsale ou défectueux.
•La tête de lectureestsale.
•Le couvercle du lecteurCDn’est pas fermé.
•Il y a de lacondensation dans le lecteur CD.
Laissez-lese réchauffer àtempérature
ambiantependant60 minutes.
•L’alimentation AC à laquelleestbranché
l’adaptateur estcoupée.
•L’appareil s’estéteintautomatiquement,
appuyezsur la touchePLAYpourle rallumer.
•Les piles sont usées.
•Le bouton HOLD (verrouillage) est sur la
positionON, mettez-le en positionOFF.
Aucunson danslesécouteurs • La fichedes écouteurs n’estpascorrectement
branchéeà la prise CASQUE.
•La fiche des écouteursest branchée à la prise
desortie.
Aucunson lorsque l’appareil •Lebranchementestmauvais.
estbranché àunamplificateur • L’alimentationàl’amplificateur externe estcoupée.
externe
Sonpar intermittence •Ledisque estsaleou défectueux.
•La tête de lectureestsale.
•Le lecteur est sujetà des vibrations ou deschocs
excessifs.
•Les piles sont usées.
•Les écouteurs sontmal branchés.
LECTEUR CD PORTABLE
MANUELD’INSTRUCTIONS
CD149
— FRENCH-5 —
ENTRETIEN
Nettoyage de la tête de lecture
Sila tête delectureest sale, nettoyez-laàl’aide d’un gazdépoussiérant. Faites attention de
nepas rayer lasurfacede la tête delecture
Nettoyage du boîtier
Nettoyezde temps en temps leboîtier à l’aide d’un chiffon secet doux. Humidifiez
légèrementvotre chiffon avecde l’eau ou unproduit détergent léger pourenlever les tâches
plusrésistantes. N’utilisez jamais de benzène,d’alcoolou de solvants car ils pourraient
détériorerla finition du boîtier.
CARACTERISTIQUES
Alimentation: DC 4,5V externe et pilesdutype “AA” 1,5V x 2,
UM-3, HP-7, R6
Dimensions : 146mm (L) x 146mm (D) x 27mm (H)
**Pour des raisons d’améliorationstechniques,les caractéristiques et designsontsujets à
desmodifications sanspréavis.**

— FRENCH-2 — — FRENCH-3 — — FRENCH-4 —
Différents modes de lecture
ToucheMODE —Il existe 3 typesde fonctions :
A.Lecture en boucle
Enmode LECTURE
• Appuyezune fois surlatouche MODE pour écouterun titre en boucle.
• L’indicateurde lecture en boucles’affiche à l’écran.
Enmode LECTURE
• Appuyezdeux fois surla touche MODE pourécouter en boucle toutle disque.
• L’indicateurde lecture en boucles’affiche à l’écran.
REMARQUE– Pour annuler la LECTURE EN BOUCLE, appuyezsurla touche MODE
jusqu’àce que l’indicateurdelecture en boucle disparaisse.
B. Lecture des Introductions
Enmode STOP
• Appuyeztrois fois sur la toucheSTOP.
• L’indicateurINTRO s’affiche sur l’écran.
• Appuyezsur la touchePLAY (Lecture)pourécouter les 10premièressecondes de
chaqueplagedudisque.
REMARQUE- Pour annuler la lecturedesintroductions, appuyez sur la touche MODE
jusqu’àce que l’indicateur INTRO disparaisse.
C.Lecture aléatoire
Enmode STOP
• Appuyezquatre fois sur latouche MODE.
• L’indicateurSHUF s’affiche à l’écran.
• Appuyezsur la touchePLAY(Lecture) pourécouter au hasardlesplages du disque.
REMARQUE- Pour annuler la lecture aléatoire,appuyezsur la touche MODE jusqu’à ce
quel’indicateur SHUF disparaisse.
Lecture programmée
1. Appuyez surla touchePROG lorsquel’appareil esten modeSTOP jusqu’àce que PGM
s’affichesur l’écran.
*L’indicateurPGMs’affiche sur l’écran.
2. Appuyezsurlestouches ou poursélectionner la plage souhaitée.
3. Appuyez sur la touche PROG pour mémoriser la plage. Le numéro du programme
s’affiche.
4. Répétezlesétapes 2 et 3 pourprogrammerl’ordre de la lecturedestitres. Vous pouvez
programmer.
5. Appuyezsurlatouche pour commencer la lecture du programme.
6. Poureffacerleprogramme,appuyezsurlatoucheSTOPpourmettrel’appareil hors
tension.
PREPARATIONS AVANT L’UTILISATION
Mise en place des piles
1. Ouvrezlecouvercle du compartiment des piles.
2. Insérezdeuxpiles (LR6, type “AA”, ouéquivalent)
enrespectant les polaritésindiquées . (Il est recommandé d’utiliser des pilesgrande
capacité.)
3. Refermezcorrectementle couvercle.
LECTURED’UN DISQUE
Celecteur CD est conçu pour la lecturededisques compacts de 8 et 12 cm sansutiliser
d’adaptateur.
Mise en marche
1. Insérez la fiche du casque / écouteurs dans la PRISE CASQUE.
2. Poussez le bouton OPEN vers la droite pour ouvrir le couvercle du lecteur CD.
Placez un disque, étiquette vers le haut, dans le compartiment de CD.
3. Encliquetez le disque sur l’axe en appuyant légèrement sur la partie centrale du
CD.
(Pour enlever le disque : soulevez le disque en le tenant par les bords tout en
appuyant avec précaution sur l’axe.)
4. Refermez le couvercle et appuyez une fois sur la touche PLAY/PAUSE (Lecture/
Pause).
5. L’écran digital indique le nombre total de plages sur le disque, puis la lecture du
premier disque commence.
Fonctionnement général
ToucheLecture/Pause Appuyez une fois pour écouter le disque
dansl’ordre original.
Appuyezune nouvelle fois pour arrêter
temporairementla lecture.
ToucheArrêt Appuyez unefoispour arrêter la lecture.
Appuyezunenouvellefoispourmettre
l’appareilhorstension.
TouchesSaut /Avance– Arrière Appuyez une fois sur la touche pour
passerà la plage suivanteou sur la touche
pour revenir à la plage précédente.
Appuyezen continu surlatouche pour
avancervotre recherche de plages ou sur
pour revenir en arrière.
COMMANDES
1. PROG (PROGRAMME)
2. SAUT / RETOUR
3. SAUT / AVANCE
4. LECTURE / PAUSE (MISE EN MARCHE)
5. STOP / ARRET (ARRET)
6. MODE
7. VOLUME
8. BOUTON BBS (AMPLIFICATION DES
BASSES FREQUENCES)
9. PRISE CASQUE
10. BOUTON D’OUVERTURE
11. PRISE DC
12. COMPARTIMENT DE PILES
123 4 5 6
7
8
9
10
11
12
ATTENTION
TOUTES UTILISATION DES COMMANDES, DES REGLAGES OU DE LA
PERFORMANCEAUTRES QUE CELLES SPECIFIEES DANS CE MANUEL PEUVENT
ENTRAINERDES RISQUES D’IRRADIATION.
CETAPPAREIL DOIT ETRE REGLE OU REPAREPARUNE PERSONNE QUALIFIEE
UNIQUEMENT.
•Weak batteries.
Troubleshooting Guide
Problem
No sound from Earphones
No sound when played through
an external amplifier
Intermittent Sound
•Earphones' plug is not firmly inserted into the Phones socket.
•Connection is incorrect.
•Dirty or defective disc.
•Dirty pick up lens.
•The player is subject to excessive vibration or shock.
•Low battery power.
•Poor Earphone connection.
•Power to an external amplifier not switched on.
•Earphones have been inserted into the line out socket.
Player fails to function •The disc may be inserted upside down.
•The disc not mounted correctly on the chuck.
•Dirty or a defective disc.
•Dirty pick up lens.
•Player lid notclosed.
•AC Power to an adaptor switched off.
•Hold switches at ON position, switch to OFF position.
•Auto power off has occurred, press PLAY button to restore power.
•Moisture condensation, allow the player to warm up to room
temperature for 60 minutes.
Points to check
—ENGLISH -6 —
TROUBLE SHOOTING GUIDE
Cleaning the Disc
When a disc becomes dirty, clean it with a cleaning cloth. Wipe the disc from the
center out.
Note - Do not use solvents such as benzine, thinner, commercially available
cleaners or anti-static spray intended for analogue discs.
** Should you experience difficulties in the use of this player please refer to
the following chart before contacting your dealer or the place of purchase.
PORTABLE COMPACT DISC PLAYER
INSTRUCTION MANUAL
CD149
MAINTENANCE
Cleaning the Lens
Ifthe lens becomes dusty,clean it with camera lens blower. Becareful notto scratch the
surfaceof the lens.
Cleaning the Cabinet
Fromtime to time, clean the cabinet with asoftdry cloth. For more stubborn stains, slightly
moistenthe cloth with water or a mild detergent solution. Never use benzene,alcohol or
othersolventsastheymaydamagethefinishofthecabinet.
SPECIFICATIONS
Power : DC 4.5V external and size “AA”batteries 1.5V x 2, UM-3,
HP-7, R6
Dimensions : 146mm(W) x 146mm(D) x 27mm(H)
** For improvement purposes, specification and design are subject to change without
notice. **
—ENGLISH -5 —

—ENGLISH-2 — — ENGLISH-4 —
PREPARATIONS BEFOREUSING
Battery Installation
1. OpenBatteryCompartment cover.
2. Insert 2 batteries (LR6, “AA”size, or equivalent)
inthe correct polarity as indicated.(Batteries not included)
(Heavyduty batteries are recommended.)
3. Closethe cover properly.
AC Power Adaptor
1. Plugthe DC output of the adaptor to the DC Jack.
2. Connecttheadaptor(4.5V/500mA) to a power outlet. (Adaptor not included)
Makesure the voltage is compatible.
DISC PLAYING
This CD player is designed to play the 8cm and 12cm compact disc without using
adaptor.
Getting Start
1. Insert the headphone/earphone plug to PHONE JACK.
2. Push the OPEN switch to right side, and then the door open, put a disc into the
CD compartment with label side upward.
3. Push the disc gently around the centre area until it clicks so that the disc fits
into the pivot.
(To remove the disc : Pick up the disc, holding the edge, while pressing the
pivot gently.)
4. Close the door and press the PLAY/PAUSE button once.
5. The Display will show the total number of tracks of the disc, then begin to play
the first track.
General Operation
Play/Pause Buttons —Press once to start playback in the original
order.
Press again to stop the disc play
temporarily.
Stop Button —Press once to stop playback.
Press again to turn off power.
Skip / Search Buttons —Press once to skip to next track or
back to previous track .
—Press continuiously to search forward
or backward .
Various Playing Modes
MODE Button —There are 3 kind of function :
A. Repeat Play
During PLAY mode
•Press the MODE button once to play single track repeatedly.
•The repeat indicator will appear in the display.
During PLAY mode
•Press the MODE button twice to play the entire disc repeatedly.
•The repeat indicator will appear in the display.
NOTE - To cancel REPEAT simply press the MODE button until the repeat indicator
disappears.
B. Intro Scan
In STOP mode
•Press the MODE button three times.
•The INTRO indicator will appear in the display.
•Press the PLAY button to play the first 10 seconds of each track on the disc.
NOTE - To cancel INTRO SCAN simply press the MODE button until the INTRO
indicator disappears.
C. Random Play
In STOP mode
•Press the MODE button four times.
•The SHUF indicator will appear in the display.
•Press the PLAY button, all the tracks on a disc to be played in a random sequence.
NOTE - To cancel RANDOM PLAY simply press the MODE button until the SHUF
indicator disappears.
Program Play
1. Press the PROG button when the unit is in the stop mode until PGM show on the
display.
* The PGM indicator will appears on the display.
2. Press or to select the desired track.
3. Press the PROG button to enter the track into memory. The program numbers
which will be increment one step.
4. Repeat step 2 and 3 to program the order of more tracks can be programmed into
memory.
5. Press to start the program play.
6. To erase the program, simply press the STOP button to turn the power off.
—ENGLISH-3 —
ALL
LOCATION OF CONTROLS
1. PROG (PROGRAM)
2. SKIP / SEARCH DOWN
3. SKIP / SEARCH UP
4. PLAY / PAUSE (POWER ON)
5. STOP / OFF (POWER OFF)
6. MODE
7. VOLUME
8. B.B.S. BUTTON (BASS BOOST BUTTON)
9. HEADPHONE JACK
10. OPEN BUTTON
11. DC JACK
12. BATTERY COMPARTMENT
CAUTION
USE OF CONTROLS OR ADJUSTMENTS OR PERFORMANCE OF PROCEDURES
OTHERTHAN THOSE SPECIFIED HEREIN MAYRESULTIN HAZARDOUS RADIATION
EXPOSURE.
THISSHOULD NOT BE ADJUSTED OR REPAIREDBY ANYONE EXCEPT QUALIFIED
SERVICEPERSONNEL.
123 4 5 6
7
8
9
10
11
12
Table of contents
Languages:
Other Curtis CD Player manuals

Curtis
Curtis CD255 User manual

Curtis
Curtis RCD824 User manual

Curtis
Curtis RS57A User manual

Curtis
Curtis CDMP366 User manual

Curtis
Curtis CD150 User manual

Curtis
Curtis RCD 310 User manual

Curtis
Curtis CD 290 User manual

Curtis
Curtis RCD252 User manual

Curtis
Curtis CD182 User manual

Curtis
Curtis CDMP364 User manual

Curtis
Curtis Shelf System RCD 897 User manual

Curtis
Curtis CD266 User manual

Curtis
Curtis CD181 User manual

Curtis
Curtis RCD224 User manual

Curtis
Curtis RCD951 User manual

Curtis
Curtis CD156 User manual

Curtis
Curtis Curtis CD149 CD149 CD149 User manual

Curtis
Curtis RCD252 User manual

Curtis
Curtis CD194 User manual

Curtis
Curtis CD084B User manual