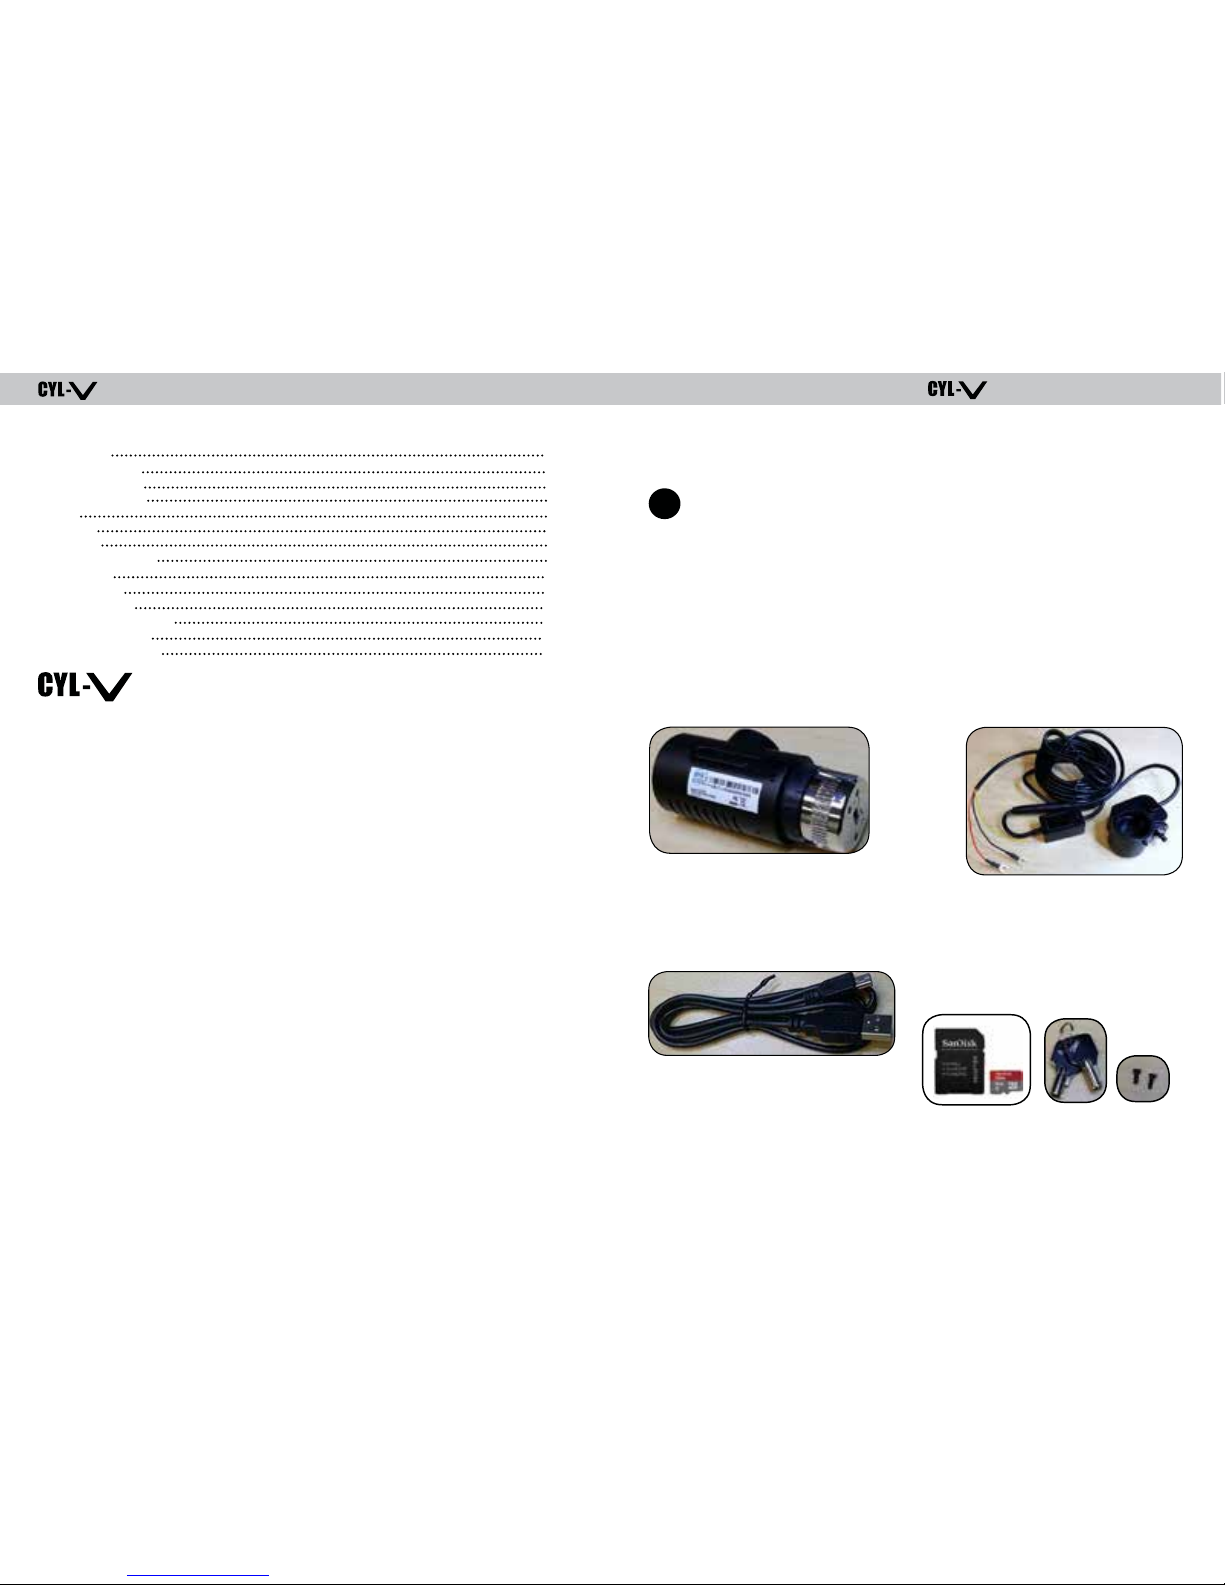
Automotive HD Video Recorder Automotive HD Video Recorder
WIRING
IMPORTANT NOTE FOR INSTALLER
The CYL-V Power Module contains three wires
red, black, and yellow. The yellow wire is
intended to trigger Parking Surveillance by
sensing the moment when the driver shuts
the ignition. Parking Surveillance provides
recording at lower frame rate for a
pre-selected time period. Parking Surveillance
options are noted in the Configuration menu.
In situations where a manager chooses not
to utilize this option, it is still recommended
to wire the system properly, and use the
Configuration choices to disable the option
within the software.
Installers should make certain that the yellow
wire is secured to the vehicle fuse block at a
terminal which will be at a zero-voltage state
when the vehicle ignition key is OFF. A typical
location on a fuse block would be the ACC
port for cigarette-lighter power. Zero-voltage
state should be verified using a voltmeter
prior to installation.
CYL-V’s power module includes an internal circuit to protect against high current or voltage
spikes. We do, however, recommend that a professional installer provide an Add-A-Circuit
Fuse Holder, or similar type of Fuse Holder, with a 2A fuse for additional protection. Please
refer to the vehicle manual and fuse block schematic to identify appropriate fuse holders and
best locations for CYL-V power/ignition/ground wire connection points.
Two Add-A-Fuse Holders Assembled
on CYL-V Power and Ignition Wires
Add-A-Circuit Fuse Holder Assembly & Parts (Example Photos)
ATM Add-A-Fuse- Kit ATC Fuse Tap
Fuse Tap Kit for ATO Fuses ATM Mini Fuse Tap
6
MOUNTING
1. Determine CYL-V Recorder location on windshield. Typically
the Recorder is mounted behind and slightly below the mirror.
Different vehicle/windshield \ combinations allow many other
acceptable mounting locations (see alternate CYL-V location at
left). The goal is always to minimize forward-viewing obstruction
while enabling optimal recorded images. CYL-V Recorder should
be level both vertically and horizontally.
2. Clean the windshield glass with commercial glass cleaner.
Make sure that the recorder key lock is in the unlocked
position. Peel off the adhesive pad, mount the Bracket/Recorder
assembly onto the windshield at the selected location and then
carefully press the assembly onto the windshield, holding it in
place with pressure for one minute.
3. While pressing and holding the position adjustment button,
rotate the recorder within the bracket to make sure that the
camera lens is facing straight.
4. Turn the vehicle ignition on, Red LED will come on, indicating
Power to recorder. After a moment, same LED will turn green,
indicating active recording.
5. Allow Recorder to run for five minutes. Turn the vehicle ignition
off and confirm the LED is off, indicating that no power is going
to the Recorder. Note: Recorder is preconfigured at the factory
without parking mode.
6. Remove camera from bracket and connect the USB cable to
PC or laptop, review video to confirm camera views.
7. If you configured your CYL-V to activate parking surveillance
mode:
a. After ignition is turned off, a Green LED will stay on to
indicate parking surveillance is on.
b. Green LED will shut off when parking surveillance mode
times out.
8. Upon verification of camera position and angle, return
the Recorder to vehicle, reinsert the Recorder into the
Mounting Bracket. Lock the Recorder into place, and tighten
the Lock Screw. This will maintain the camera angle for later
Recorder removals and re-mounting.
Adjust Camera Lens for
Best Viewing Angle
Press & Lock the Push Lock
Tighten Set Screw
IMPORTANT: Installation should only be done when windshield is at room temperature.
Allow 2-4 hours for adhesive bond to cure properly before operating vehicle.
7