D'KOCINA BCIAISB53 User manual

COOKER HOOD
INSTRUCTION MANUAL
BCIAISB53

User Instruction
Note: Please read the instructions before installation.
Your cooker hood is for domestic use only, not suitable for barbecue and
other commercial use.
Any installation work must be carried out by a qualified electrician or
qualified installer.
The cooker hood and the aluminium filters should be cleaned regularly to
maintain in good working condition.
Before cleaning, always ensure that you have switched off your cooker
hood.
Clean the cooker hood as shown in the instruction manual.
Do not dry your cooker hood over fire.
If there is any fault with your cooker hood, please call the service
department appointed by agent for servicing.

Installation
1. The ceiling must can bear at least 120kgs weight,
and the thickness of the ceiling must be ≧30MM,
drill 1*170mm round hole in the ceiling.
2. According to the hanging board, drill 12 holes in
the ceiling, see pic 2, 12pcs of ST6*40mm big flat
screws will be used to fix the hanging board on
the ceiling, and then 8pcs of M4*10 screws and
M4 nut with gasket will be used to connect the angle iron into the hanging
board, see pic 1, calculated the length of the angle iron, and 16pcs M4*10
big flat screws and M4 nut with gasket will be used to connect the angle
iron and another angle iron ( the overlap length of angle iron can not less
100MM)
3. Let the one side of the extensible pipe go outside through the hole of
170MM, see pic 3.
4. 4pcs ST4*8 big flat screws will be used to connect the internal chimney
into the hanging board, then put one the external chimney, two hooks will
be used to put up the external chimney in order to the next installation,
see pic 4.
5. Hold up the hood, 16pcs M4*10 big flat screws will be used to connect the
hood body into angle iron, see pic 6.

6. Put the extensible pipe on the outlet; after ensure all the things ok, put
down the hook, take from the external chimney, all the installation is
finished, see pic7& 8.
Pic 5 Pic 6 Pic 7
NOTICE OF INSTALLATION
1. Before installation, please ensure the area is clean to avoid suction of
the remaining bits of broken wood and dust.
2. It cannot share the same air ventilation tube with other appliance such
as gas tube, warmer tube, and hot wind tube.
3. The bending of ventilation tube should be120°, parallel or above the
start point and should be connected to the external wall.
4. After installation, make sure that the extractor is level to avoid grease
collection at one end.
SAFETY WARNING
Never let the children operate the machine
The cooker hood is for home use only, not suitable for barbecue, Roast
shop and other commercial purpose.
Please ask the technical person to do the assembling.

The cooker hood and its filter mesh should be clean regularly in order
to keep in good working order.
Before cleaning, please switch the power off at the main supply.
Clean the cooker hood according to the instruction manual and keep
the cooker hood from the danger of burning.
If there is any fault with the appliance, please call the service
department to arrange a service engineer.
Speed adjustment .See pictures
LCD Electronic button
Pic 10
1. Plug the hood; LCD will display 24-hour system with blue backlight.
Backlight will be extinguished after 30 seconds without any operation.
2. Press “ ” button once; lights will be on and LCD will show “ ”. Press
“ ” button again; lights will be off and “ ” on LCD will disappear.
3. Press “ ” button once; the hood works at LOW speed and LCD will
show “ ” and “ ” button will be on. Press “ ” button again; the hood
works at MEDIUM speed. Press “ ” button one more time; the hood
works at HIGH speed. Press “ ” button again; the hood works at LOW
speed again and it repeat. While pressing “ ” button; the “ ” button is
always on. If you want to stop the hood now; press the “ ” button once.
4. When the hood is not working; press “ ” button once. The hood will work
at the speed it works last time and LCD will show “ ”. Press “ ” button
again; the hood stop working and “ ” will disappear from LCD.

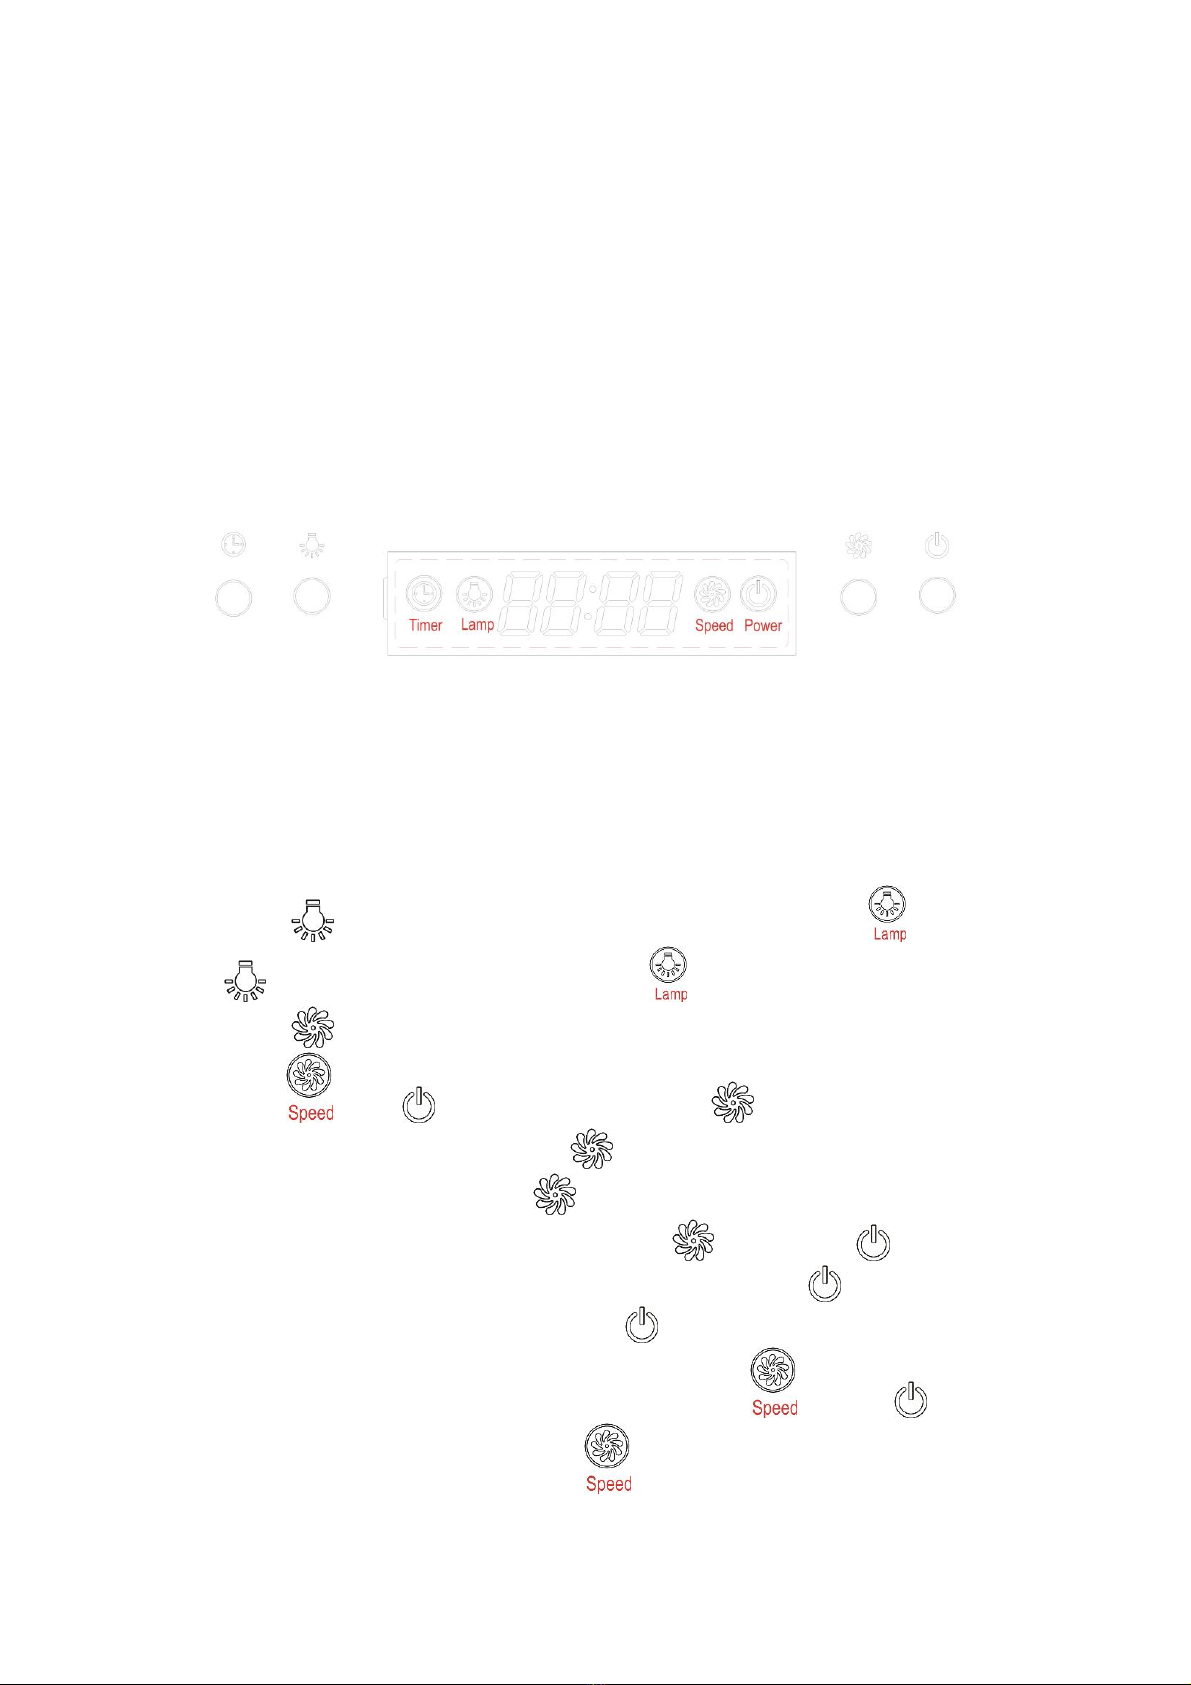
5. When both “ ” button and “ ” button don’t work; “ ” button is used
for time-setting. Press “ ” button for 2 to 3 seconds; will be
shown on LCD and flashes; which represents hour. Press “ ” button
once the number adds by 01. Continue pressing “ ” button; it will
display from 13;14… until 23. When LCD shows 23; it doesn’t work by
pressing “ ” button. Press “ ” button once; the number reduces by
01. When LCD shows 00; it doesn’t work by pressing “ ” button. After
setting hour; you can start setting minute by pressing “ ” button again.
on LCD flashes; which represents minutes. Press “ ” button once
the number adds by 01. Continue pressing “ ” button; it will display from
01;02… until 59. When LCD shows 59; it doesn’t work by pressing “ ”
button. Press “ ” button once; the number reduces by 01. When LCD
shows 00; it doesn’t work by pressing “ ” button. After setting hour and
minute; press “ ” to confirm.
When “ ” button doesn’t work; “ ” button is used for delay timer
function. Delay timer function allows you to set the hoods automatically
power off according to the delay timer you set from 1 minute to 60
minutes. Press “ ” button once; it enters for delay timer setting and LCD
shows . Press “ ” button once the number adds by 01.
Continue pressing “ ” button; it will display from ;
; … until Press “ ” button once; the
number reduces by 01. After setting delay timer you want; press “ ”
button to confirm. If you set delay timer as 05:00; the LCD display will
show from 05:00; 04:59… until 00:01 00:00. When LCD shows 00:00; the
hood will automatically power off and LCD display will only show 24-hour
system with blue backlight. After 30 seconds without operation; blue
backlight will disappear. But please note the Lamp is not under control of
delay timer. Next time; if you want to use delay timer function and you

press “ ” button without any change on time. The hood will automatically
count time down from your previous setting after 5 seconds.
MAINTENANCE
The cleaning of the carbon grease filter mesh
The filter mesh is made of high-density stainless steel. Please do not use the
corrosive detergent on it. Keeping this filter clean will keep the appliance
running correctly. Please strictly follow the guidelines below.
Method 1: Put the mesh into 40-50 c clean water, pour on detergent, and soak
for 2-3 mins. Wear gloves and clean with a soft brush. Please do not apply too
much pressure, as the mesh is delicate and will damage easy.
Method 2: If instructed to do so, it can be put into a dishwasher, set the
temperature at around 60 degrees.
Notice of cleaning cooker hood
A. To protect the main body from corrosion over a long period of time, the
cooker hood should be cleaned with hot water plus non corrosive
detergent every two months.
B. Please do not use abrasive detergent for it will damage the body.

C. Keep the motor and other spare parts free from water, as this will
cause damage to the appliance.
D. Before cleaning the appliance please remember to cut off power
E. The carbon filter shouldn’t be exposed to heat.
F. Please don’t tear open the fixed bar around the carbon filter
G. If the plug or cord is damaged, please replace it with special soft cord.
Table of contents
Other D'KOCINA Ventilation Hood manuals
Popular Ventilation Hood manuals by other brands

Bosch
Bosch DHU626ML Operating and installation instructions

ELICA
ELICA CHROME EDS IX/A/85 installation guide

Bosch
Bosch DWP94 Series User manual and installation instructions

GE
GE Monogram ZVC48LSS Dimensions and specifications

Bertazzoni
Bertazzoni KGI90CONXA Use and maintenance instructions

Wolf
Wolf IH4227 Specifications

privileg
privileg SY-3388A5IS-E22-C55-L54-900 user manual

Faber
Faber TENDER installation instructions

Teka
Teka DVN 67050 TTC BK user manual

Greenheck
Greenheck Vektor-M Compact ERS Installation, operation and maintenance manual

Ikon
Ikon IK20 instruction manual

Thermador
Thermador VCI2REM installation manual