DIR-822 Quick Installation Guide
Obtaining P Address Automatically
in OS Windows 7
1. Click the Start button and proceed to the Control Panel window.
2. Select the Net ork and Sharing Center section. (If the Control Panel
has the category view (the Category value is selected from the Vie by
drop-down list in the top right corner of the window), choose the Vie
net ork status and tasks line under the Net ork and Internet
section.)
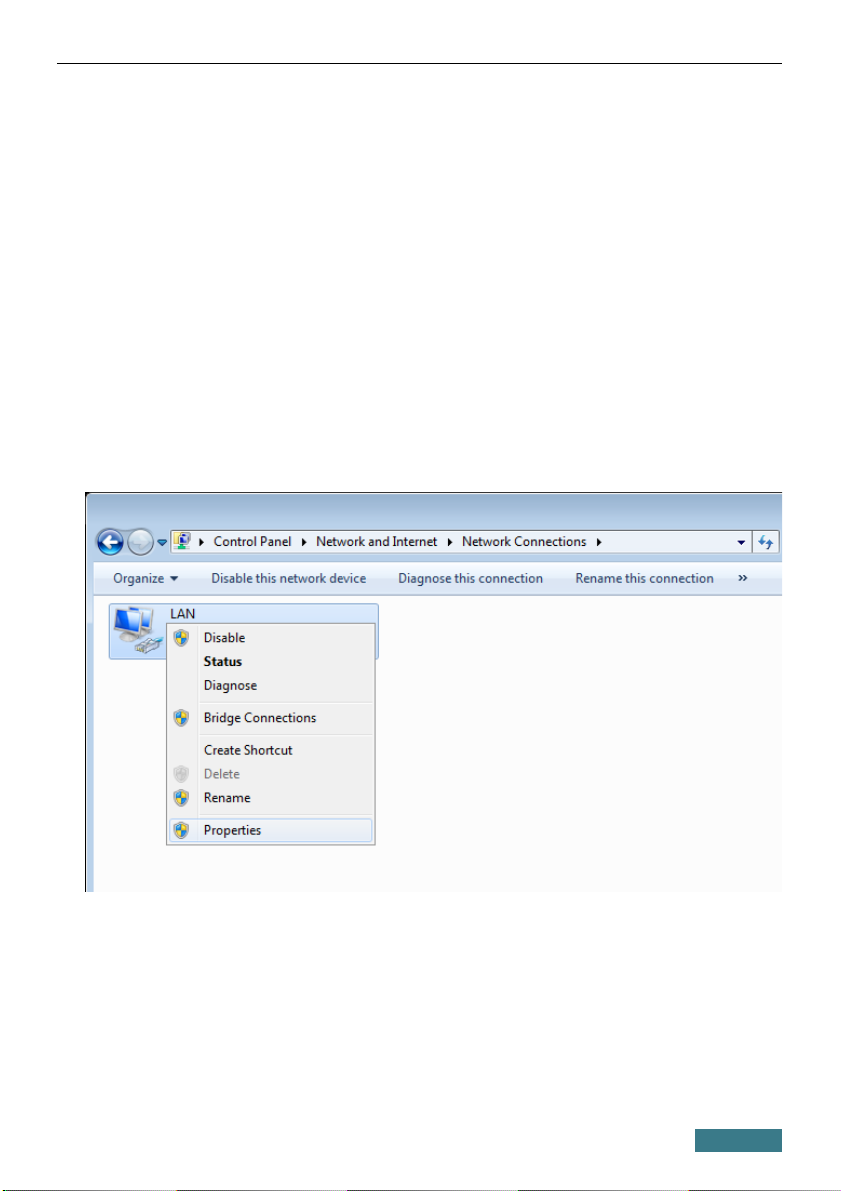
3. In the menu located on the left part of the window, select the Change
adapter settings line.
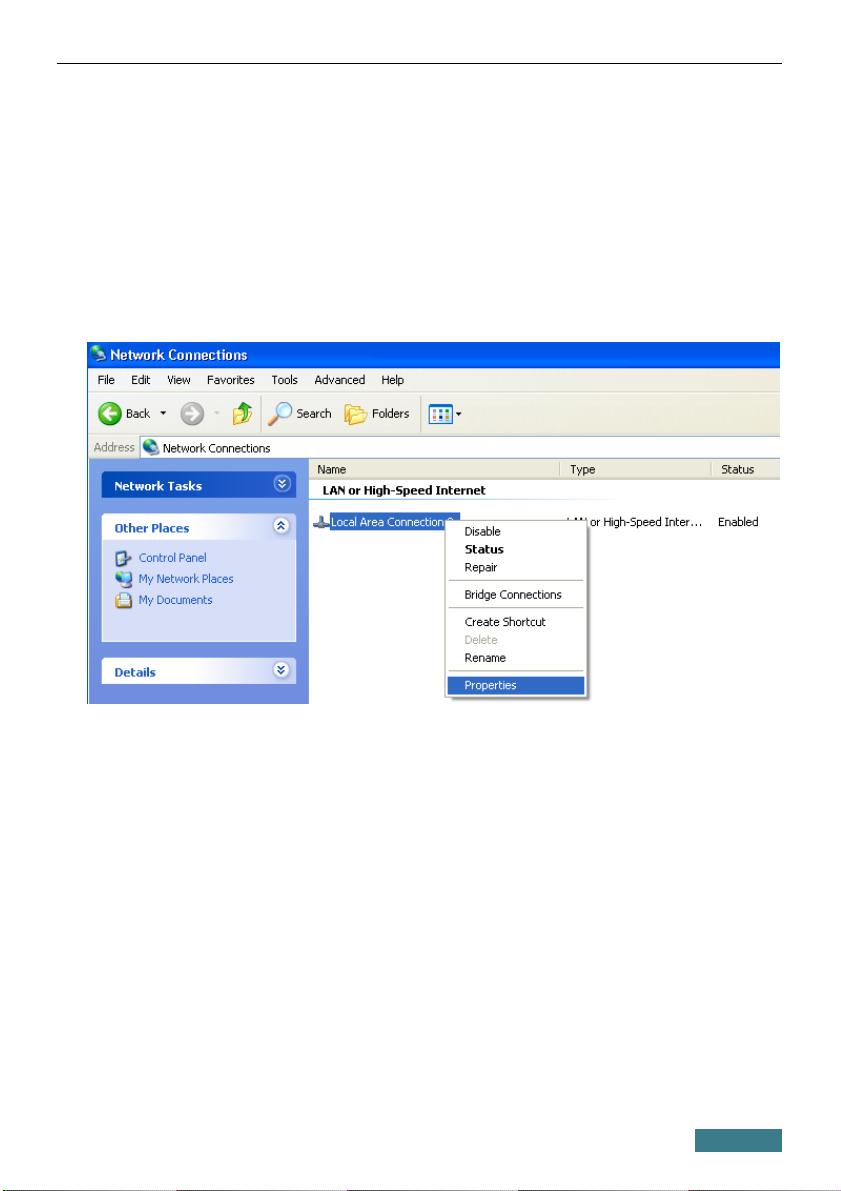
4. In the opened window, right-click the relevant Local Area Connection
icon and select the Properties line in the menu displayed.
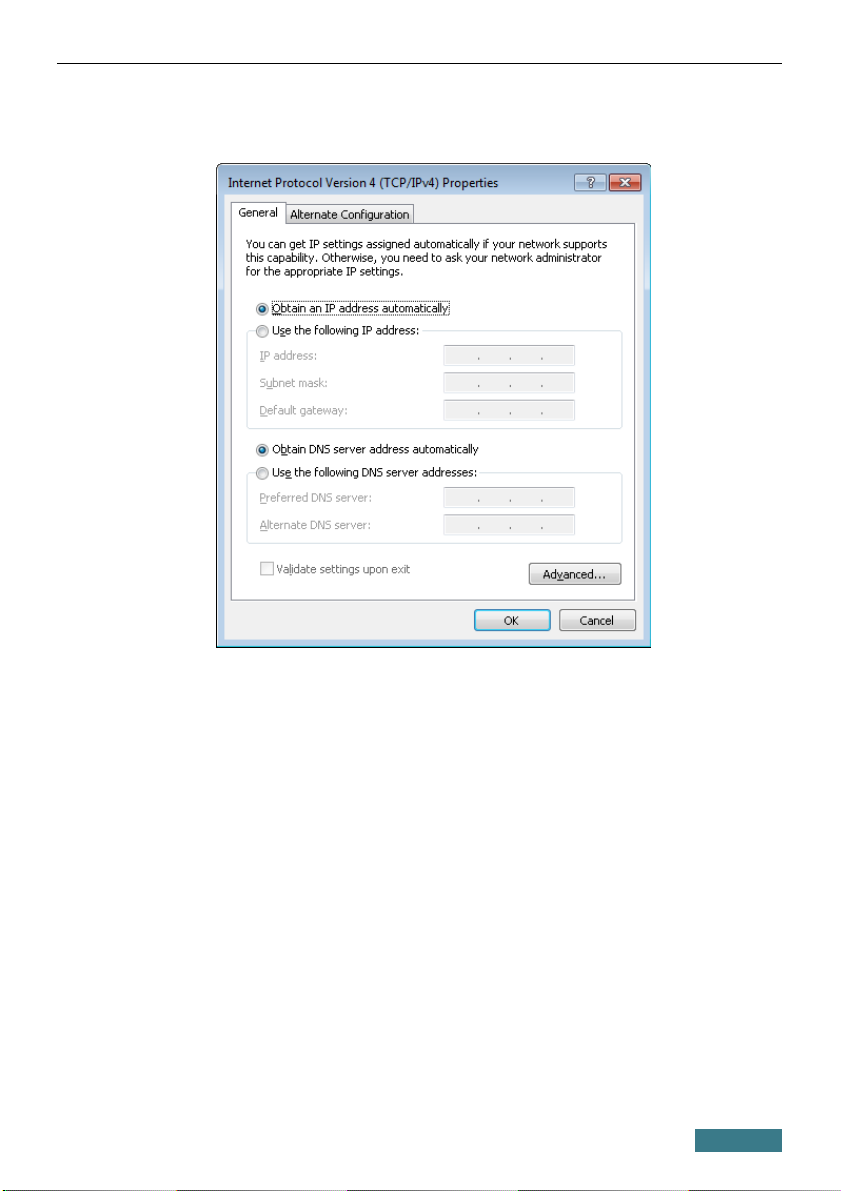
5. In the Local Area Connection Properties window, on the
Net orking tab, select the Internet Protocol Version 4 (TCP/IPv4)
line. Click the Properties button.
8