TABLE
OF
CONTENTS
Important
Safety
INStructions
oo...
ee
eee
reer
eeeeeeeeeeenenenaes
1
Installation
Instructions...
eens
eeeeeeseeeseeeseseseneeaes
7-8
Design
Specifications
0.0.0.0...
eee
eeeeeeeeneeeteneeenenenees
2-3
Verifying
the
Package
Contents
0.00...
tte
eeeeeeeeeeeees
7
Product
DIMENSIONS...
cece
cecccec
cence
en
tttttttttesasanaeaeas
2-3
Removing
the
Drawer
00...
ccecccecccscn
cn
cnstststesesaeaeeeseseeees
7
Installation
Specifications...
eee
ee
eeeeeeeteseneseneneeees
4-6 Installing
the
Chassis...
cece
ccceceecee
cece
seeeeeeeeeeeeeeeeeenene
ees
7
Installation
Planning...
ccecececesnsssssesesesaseseseeeeeeeeeeeess
4-5
Re-Installing
the
Drawer
oo...
ccccccccccecestetstte
ease
saeeeeeseeees
8
Power
Supply
Requirements
«0.0.0...
c
te
seeeeeeaeeeeeeeeeeens
6
Verifying
Operation
00
cccccecccececs
ct
ctttststesesaaaeaeaeanes
8
Installing
the
Support
Platform
in
the
Cabinet...
6
Installation
Checklist
0.0.
ccceccceenetse
se
eeseeeeeeeeeeeeeeeeeeeeeeee
8
IMPORTANT:
®
INSTALLER:
In
the
interest
of
safety,
read
these
installation
instructions
completely
before
you
begin
the
installation
process.
Leave
these
installation
instructions
with
the
homeowner.
®
HOMEOWNER:
Keep
these
installation
instructions
for
future
reference.
Save
them
for
the
local
electrical
inspector’s
use.
CUSTOMER
SERVICE
INFORMATION
Any
questions
or
problems
with
this
installation
should
be
directed
to
your
Dacor
dealer
or
the
Dacor
Customer
Service
Team.
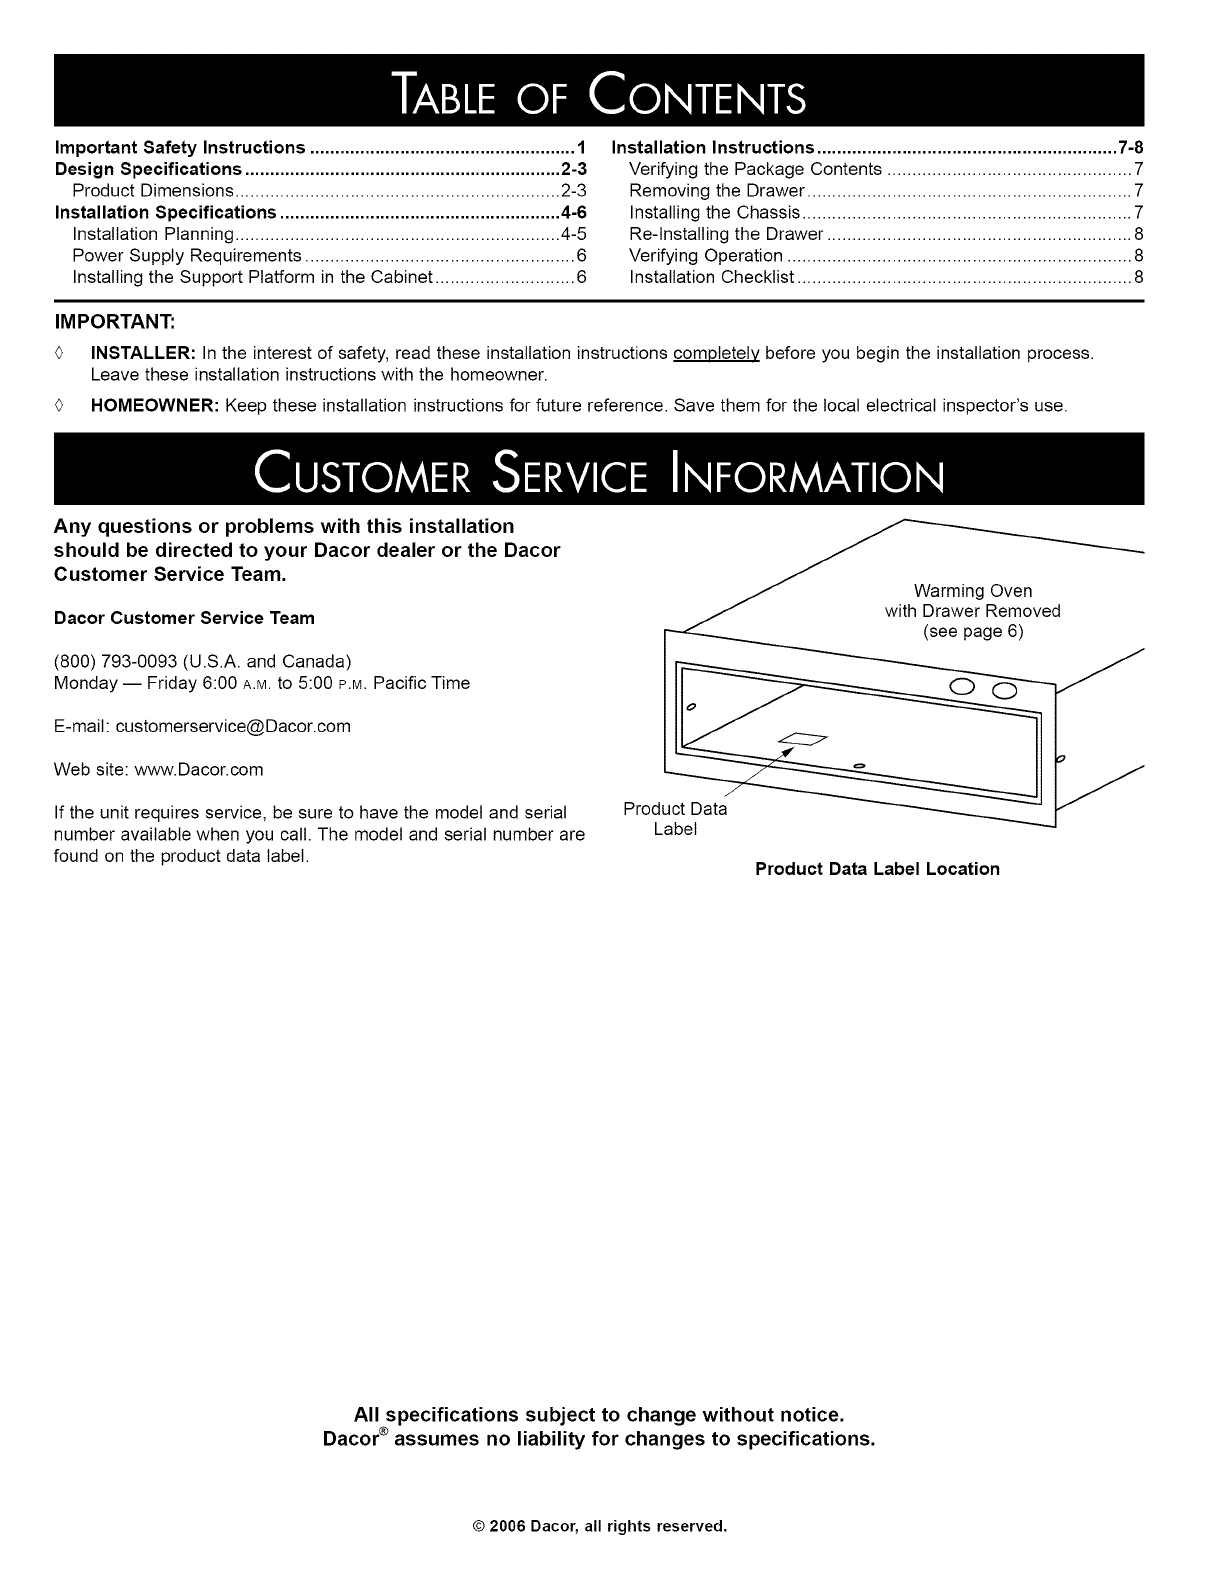
Warming
Oven
with
Drawer
Removed
(see
page
6)
Dacor
Customer
Service
Team
(800)
793-0093
(U.S.A.
and
Canada)
Monday
—
Friday
6:00
a.m.
to
5:00
p.m.
Pacific
Time
E-mail:
Web
site:
www.Dacor.com
If
the
unit
requires
service,
be
sure
to
have
the
model
and
serial
Product
Data
number
available
when
you
call.
The
model
and
serial
number
are
Label
found
on
the
product
data
label.
Product
Data
Label
Location
All
specifications
subject
to
change
without
notice.
Dacor®
assumes
no
liability
for
changes
to
specifications.
©
2006
Dacor,
all
rights
reserved.


