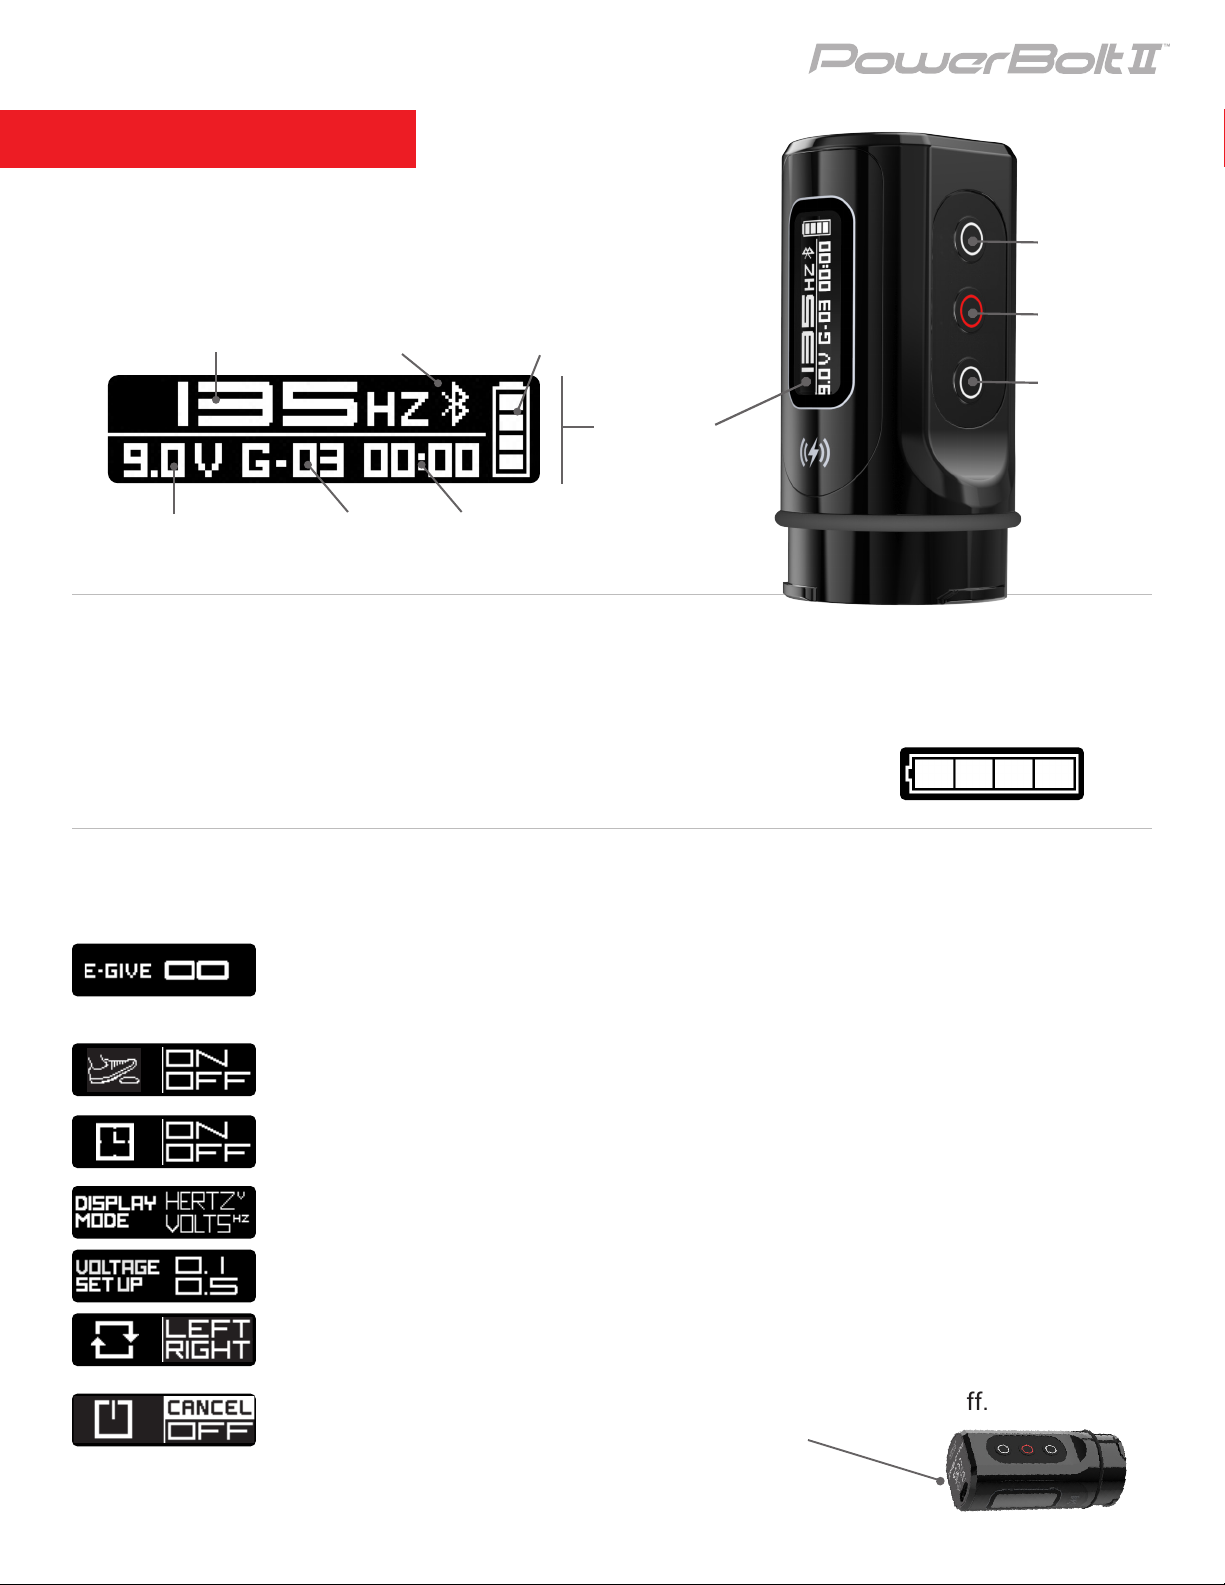
DARKLAB PowerBolt II User manual

USER MANUAL
USB-C Battery
2022

INDEX
Safety Notice
Intro
Overview
Features
Detaching the PowerBolt II
Additional Information
& Troubleshooting
3
4
5
6
7
8

3
USER MANUAL
CLASS III SYMBOL
A Class III appliance is designed to be supplied from a separate/safety
extra-low voltage (SELV) power source. The voltage from a SELV supply is
low enough that, under normal conditions, a person can safely come into
contact, without the risk of electrical shock. The extra safety features built
into Class I and Class II appliances are, therefore, not required. For medical
devices, compliance with Class III is not considered sufcient protection,
and further, more-stringent regulations apply to such equipment.
TECHNICAL DATA
SAFETY NOTICE
This device is only for use by trained tattoo artists and not for use by children or persons of reduced physical, sensory
or mental capabilities.
BARRIER PROTECTING YOUR MACHINE
We strongly suggest the use of barrier products to protect your machine. For a visual demonstration
of barrier protection methods, please visit our FK Irons YouTube channel.
Operating Voltage: 4-12V DC
Current: UP TO 1.0A
Ambient Temperature: +10 to +35 °C
Relative Humidity: 30 to 75%
Dimensions (Ø X L): H72 x W30 X L27mm
Weight: Approx. 85g (3oz)
Charging Port: USB-C

4
USER MANUAL
POWERBOLT II INTRO
THE POWERBOLT II
Now with easy-to-read, digital display and Bluetooth connectivity.

5
USER MANUAL
Compact Battery Housing
USB-C Port
Display Screen
Control Buttons
SPECIFICATIONS
• Output Voltage: 4-12V
• Increment/decrement voltage interval: 0.5 or 0.1V*
• Maximum output current: 1A
• Charger Input: USB-C
• Size: H72mm x W30mm x L27mm
• Weight: 30g (1oz)
• Battery Life: ~ 6-10 Hours
(based on operating parameters)
Dynamic Power Path Management
USB-C Li-ion Battery
OVERVIEW
30mm
58mm
Bluetooth Enabled:
Pair with Darklab app

6
USER MANUAL
eGive: Use the up and down buttons to select level. Level 0 = disabled,
Level 1 = Hard, Level 2 = Medium and Level 3 = Soft. When changing eGive
please allow machine to nish sensing needle before using.
Footswitch: On/Off select with Up/Down buttons. The Killswitch will remain
connected until user disconnects it in the PowerBolt II menu.
Timer: Start/Stop select with Up/Down buttons. The timer is 0-24 Hrs in
one minute intervals, once timer is stopped it resets back to zero.
Display: Use Up/Down buttons to select Voltage or Hertz as main power display.
Voltage: Use Up/Down buttons to select increments of 0.1 or 0.5 Volts.
Screen Orientation: Use Up/Down buttons to select left or right hand operation.
Battery Disconnect: Use Up/Down buttons to select Cancel/Off.
To reactivate PowerBolt II, plug into any USB-C
FEATURES
THE POWERBOLT II
OLED Display
Main Power Display
(Hertz or Volts)
Battery charge
Indicator
Bluetooth
Indicator
Secondary Power
Display (Hertz or Volts)
eGive Level Timer
Voltage Up
Power Button
Voltage Down
Battery Charge: 4 bars = 100%, 3 bars = 75%, 2 bars = 50% and 1 bar = 25%.
Single bar will blink to indicate when there is aproximately 5 minutes left of operation.
Note: Screen will switch to sleep mode after 15 seconds when machine not in use.
Press the power button to wake.
Charging: When USB-C is plugged in, screen mode will show battery charging.
For best results, use provided charging cable.
Device Reset: Hold the Up and Down buttons at the same time.
Modes Menu: Hold the power button (center button) for 3 seconds to display built-in menu.
Keep holding power button to cycle through menus. Release to stay on a chosen screen.

7
USER MANUAL
Power Button
DETACHING THE POWERBOLT II
The PowerBolt II is compatible
with the Flux Max, Flux, FluxS
and the EXO. To detach your
PowerBolt II, ensure you have
a rm grip on the body of the
Flux or EXO and Grip. Turn the
PowerBolt II counter-clockwise
and pull out. To attach the
PowerBolt II, push in while
twisting clockwise. Ensure
lock mechanism moves freely.
PowerBolt II must sit correctly
to ensure power electric leads
align correctly. Avoid contact
with the PowerBolt II leads while
recharging or servicing.
Turn power off before removing
battery from machine.
Get a rm grip and turn the body
as shown with the Grip.
Twist the PowerBolt II
as shown and remove.
Flux MAX shown in demostration image.
Compatible with the Flux, Flux S, Flux MAX and EXO.
FluxFlux Max EXO

8
USER MANUAL
CONNECTING YOUR BATTERY
HOW TO
CHARGE
YOUR
MACHINE
Insert the provided USB-C cable
into the back of the PowerBolt
and connect to a Hover or
power socket. Make sure the
cable is properly seated and is
fully inserted into PowerBolt.
The PowerBolt is not designed
to operate while plugged in.
Plug the USB-C cord into
the PowerBolt connector. Best connection Improper connection
1
The USB-C connection is
intended only for charging your
PowerBolt.PowerBolt can be
recharged while not attached
to the Flux. If connecting to a
Hover, the charge speed will be
up to 1.0 A.

9
USER MANUAL
VOLTAGE PARAMETERS
While voltage is a parameter that will vary from artist to artist, the PowerBolt II has been tested
to operate at a minimum voltage of 4 Volts to a maximum voltage of 12 Volts.
Depending on the type of needle conguration, or brand you use, feel free to adjust the voltage to
obtain the desired performance.
WARRANTY
Darklab warrants that the device will perform efciently when used as intended. Should this product
prove to be defective due to manufacturing issues, Darklab will repair/replace the device free of charge.
This warranty will be void if the device shows signs of having been tampered, disassembled, handled
roughly, dropped, overexposed to moisture or damage resulting in compromised functionality.
HANDY TIPS
The following tips will help you get the most out of your PowerBolt II and avoid potential issues:
• Do not exceed the suggested voltage
• Use only FDA-approved cold sterilization solutions for disinfection
• NOT AUTOCLAVABLE
ADDITIONAL INFORMATION
TROUBLESHOOTING
1.- Machine Manufacturer
FK Irons: 1771 NW 79th Avenue, Doral, Florida 33126
2.- Servicing Your Machine
As for any mechanical device, FK Irons strongly suggests that you service your device once a
year to ensure all working parts are working as expected. This ensures the optimal condition of
all working parts, including internal machine clean up and fresh lubrication. Routine servicing will
ensure that your machine remains functioning as intended. Service is subject to fees.
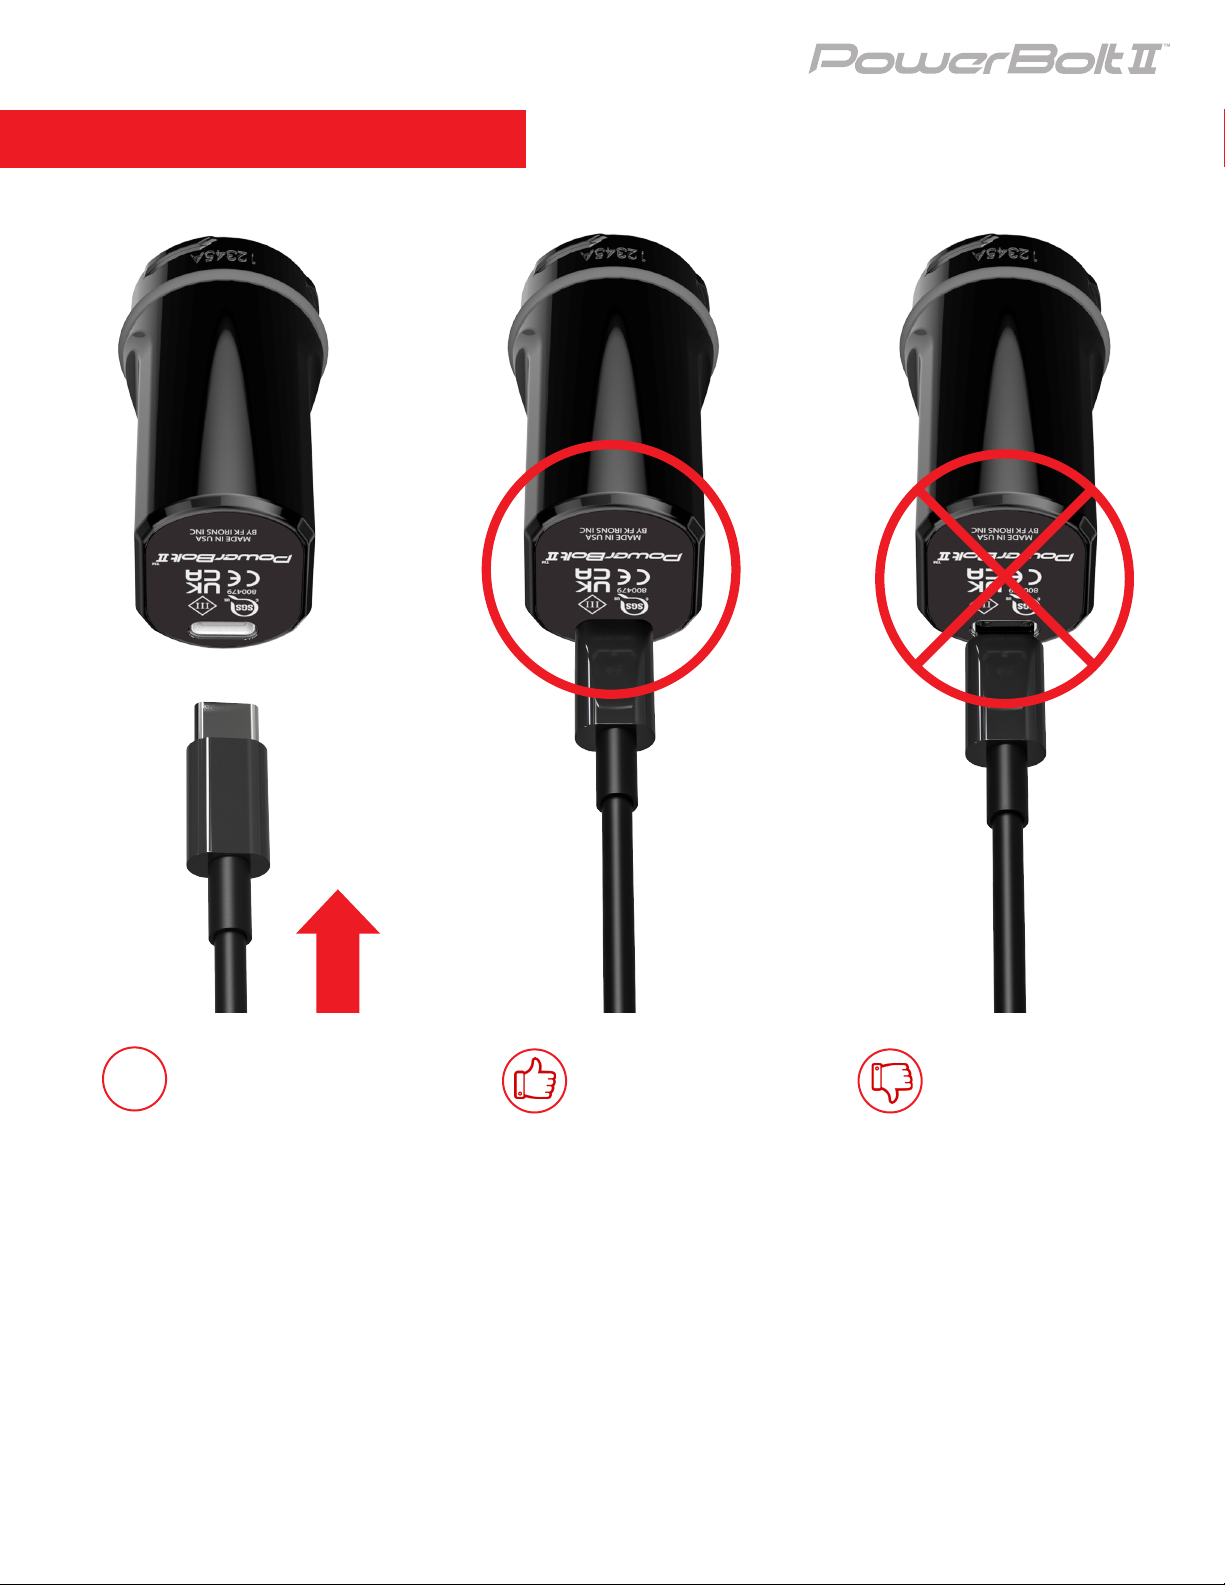
3.- Warning
Disconnect machine from any power source before making any adjustments.
For additional tips and tutorials, please visit Youtube.com/FKirons
Table of contents
Other DARKLAB Camera Accessories manuals