1. Turn off your system.
2. Remove the cover of your system
3. Remove the inside slot cover of an available PCI-Express on you system motherboard
4. Install the eSATA_PCIe(2) host adapter into the open PCI-express slot, secure the host adapter by tighten
the PCI bracket to system frame
5. Replace the cover of your system.
Install the SATA drives or SATA devices
The eSATA_PCIe(2) host adapter supports up to Two SATA devices or port multipliers. For optimal performance,
install SATA drives of the same model and capacity, this allows the logical disk to function best as a single drive
(RAID 0, RAID 1 or RAID 5 mode)
Install external devices on the eSATA_PCIe(2)
1. Attach one end of Serial ATA data cable to each Serial SATA device, example SATA HDD.
2. Then attach the other end of the cables to the eSATA connectors on the eSATA_PCIe(2)
3. Power on the external SATA device
4. Boot up the system
5. Depend with your OS; your external SATA may able to hot plug to your system.
Install the Driver
The procedure in this section assume the Windows and MAC operating system has been installed on your computer
Microsoft Windows 2003 Server and Windows XP
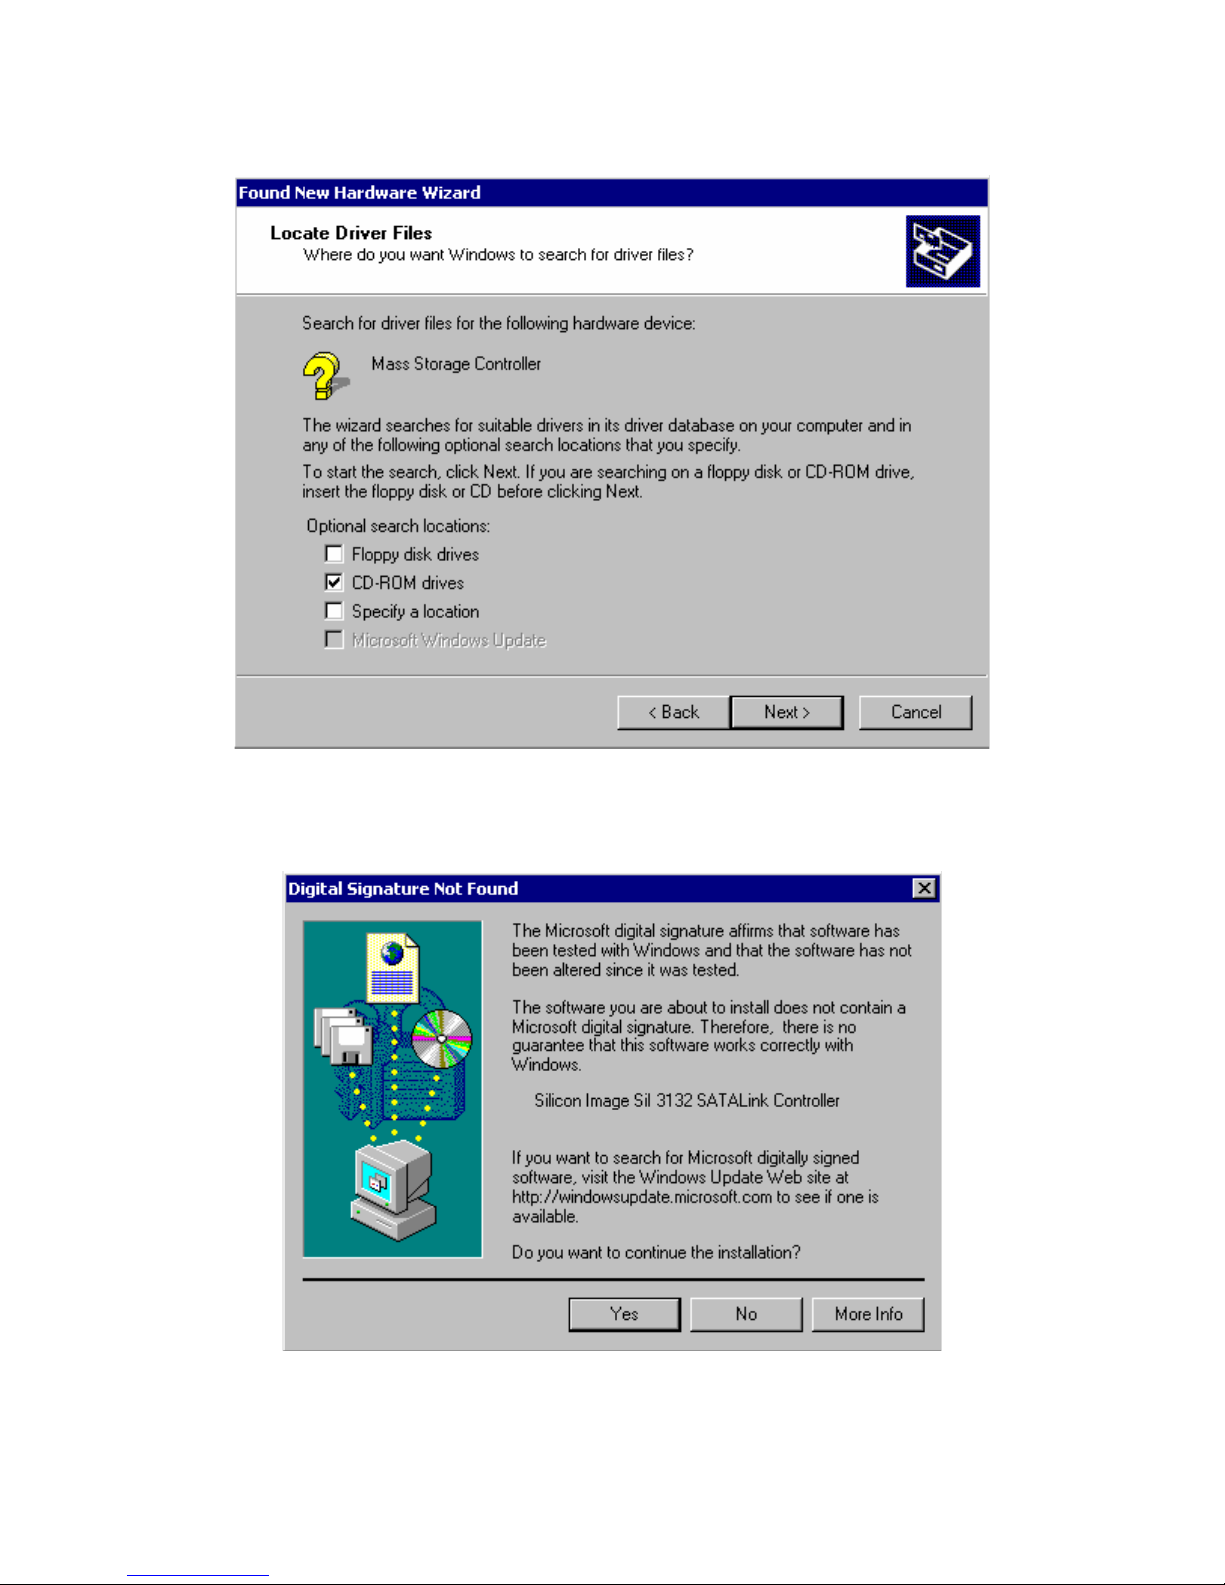
After you install the eSATA_PCIe(2) and the external devices then power on your computer system, the
Found New Hardware Wizard will open.
1. Insert the eSATA_PCIe(2) CD-ROM media
2. Select Install the software automatically (Recommenced) and click Next.