Datcon DT1400 Series User manual

DT1400 xx xx
Limit switch
Operating Instructions

DT1400 xx xx
2 20170920-V0
Contents
1. About this document .....................................................4
1.1. Function ................................................................................... 4
1.2. Target group............................................................................. 4
1.3. Symbolism used....................................................................... 4
2. For your safety ...............................................................5
2.1. Authorized personnel ............................................................... 5
2.2. Appropriate use........................................................................ 5
2.3. Warning about misuse ............................................................. 5
2.4. General safety instructions....................................................... 5
2.5. CE conformity........................................................................... 5
2.6. Environmental instructions ....................................................... 5
3. Product description .......................................................6
3.1. Delivery configuration............................................................... 6
3.2. Type designation...................................................................... 6
3.3. Operating principle ................................................................... 6
3.4. Adjustment ............................................................................... 7
3.5. Display, indicators .................................................................... 8
3.6. Storage and transport .............................................................. 8
4. Mounting.........................................................................9
4.1. General instructions ................................................................. 9
4.2. Main dimensions of the instrument .......................................... 9
4.3. Mounting ................................................................................ 10
5. Connecting ...................................................................11
5.1. Preparing the connection ....................................................... 11
5.2. Connecting the power supply and the input signal................. 12
5.3. Connecting the Rel 1, 2 limit relay outputs............................. 13
5.4. Connecting the Rel 3, 4 limit relay outputs (option) ............... 14
5.5. Connecting the analogue output (option)............................... 15
5.6. Connecting the transmitter power supply (option).................. 16
6. Display and manual controls ......................................17
6.1. The first start-up ..................................................................... 17
6.2. Characters and mnemonics appearing on the display ........... 18
6.3. Manual controls, display, indicators ....................................... 21

DT1400 xx xx
20170920-V0 3
7. Setting-up .....................................................................24
7.1. Typing the code (password) in ............................................... 24
7.2. The menu structure ................................................................ 26
7.3. Display brightness (01. menu item)........................................ 27
7.4. Input selection (02. menu item).............................................. 28
7.5. Decimal point position (03. menu item).................................. 30
7.6. Low value of scale (04. menu item) ....................................... 31
7.7. High value of scale (05. menu item)....................................... 33
7.8. Enable / disable displaying the leader zeros (06. menu item) 35
7.9. Rounding displayed value (07. menu item)............................ 37
7.10. The number of averaged measurements (08. menu item)... 38
7.11. Display refresh time (09. menu item) ................................... 40
7.12. Setting limit outputs (10., 11., 12., 13. menu item)............... 41
7.13. Limit output state display mode (14. menu item) ................. 47
7.14. Clear minimum and maximum values (15. menu item)........ 49
7.15. Analoge output signal setting (16. menu item)..................... 50
7.16. Assignment analog output low (start) value to display value
(scaling) (17. menu item) .............................................................. 51
7.17. Assignment analog output high (end) value to display value
(scaling) (18. menu item) .............................................................. 53
7.18. Tests (19. menu item) .......................................................... 55
7.19. Changing the user code (20. menu item)............................. 58
7.20. Changing the supervisor code (21. menu item) ................... 60
7.21. Resetting the default settings (22. menu item)..................... 62
8. Fault rectification .........................................................63
8.1. Fault finding............................................................................ 63
8.2. Repairing................................................................................ 63
9. Dismounting .................................................................64
9.1. Dismounting procedure .......................................................... 64
9.2. Disposal ................................................................................. 64
10. Appendix.....................................................................65
10.1. Technical specifications ....................................................... 65
10.2. Application example ............................................................. 68

DT1400 xx xx
4 20170920-V0
1. About this document
1.1. Function
This operating instructions manual has all the information
you need for quick set-up and safe operation of
DT1400 xx xx.
Please read this manual before you start setup.
1.2. Target group
This operating instructions manual is directed to trained
personnel. The contents of this manual should be made
available to these personnel and put into practice by them.
1.3. Symbolism used
Information, tip, note
This symbol indicates helpful additional information.
Caution, warning, danger
This symbol informs you of a dangerous situation that could
occur. Ignoring this cautionary note can impair the person
and/or the instrument.
•List
The dot set in front indicates a list with no implied sequence.
1
Sequence
Numbers set in front indicate successive steps in a
procedure.
/
Parting
Parting set in between the elements of a list.
It’s meaning: only one element can be choosen from the list.

DT1400 xx xx
20170920-V0 5
2. For your safety
2.1. Authorized personnel
All operations described in this operating instructions
manual must be carried out only by trained and authorized
specialist personnel. For safety and warranty reasons, any
internal work on the instruments must be carried out only by
DATCON personnel.
2.2. Appropriate use
The DT1400 xx xx Limit switch enable process variable 0-20
mA, 4-20 mA, 0-10 V, 0-5 V, 2-10 V to be displayed in
engineering units on the control panel.
Detailed information on the application range of the
instrument is available in chapter „Product description”.
2.3. Warning about misuse
Inappropriate or incorrect use of the instrument can give rise
to application-specific hazards, or damage to system
components through incorrect mounting or adjustment.
2.4. General safety instructions
The DT1400 xx xx is a high-tech instrument requiring the
strict observance of standard regulations and guidelines.
The user must take note of the safety instructions in this
operating instructions manual, the country-specific
installation standard as well as all prevailing safety
regulations and accident prevention rules.
2.5. CE conformity
A DT1400 xx xx is in conformity with the provisions of the
following standards:
EN 61326-1:2007 (EMC)
EN 61010-1:2001 (Safety)
2.6. Environmental instructions
Protection of the environment is one of our most important
duties. Please take note of the instructions written in the
following chapters:
•Chapter 3.4. Storage and transport
•Chapter 9.2. Disposal

DT1400 xx xx
6 20170920-V0
3. Product description
3.1. Delivery configuration
Delivered items The scope of delivery encompasses:
•DT1400 xx xx
•documentation:
this operating instructions manual
warranty
3.2. Type designation
3.3. Operating principle
Area of application The DT1400 xx xx Limit switch compares the 0-20 mA,
4-20 mA, 0-10 V, 0-5 V, 2-10 V input signal with the set
values. When the input signal exceed one of the set values
the instrument activates the corresponding SPDT relay
contact. The DT1400 xx xx is also a process indicator and
enable linear process variable to be displayed in
engineering units on its 5 digit LED display.
The instrument is available with the following output options
(2 limit-relays are standard, beyond that only one option can
be installed at the same time):
•+ 2 normally open relay contacts (SPST) for limit switching
or for simple control tasks. (In this case 4 limit-relay
contacts are in the instrument.)
•4-20 mA / 0-20 mA galvanic isolated scaleable analogue
output. The output can be active (A) or passive (P).
•15 VDC, 30 mA, galvanic isolated power supply for two
wire 4-20 mA transmitter.

DT1400 xx xx
20170920-V0 7
Oparating principle
The input current or voltage to be measured is led to the 22
bit A/D converter through a protection and signal condition
circuit.
The digital output signal of the A/D converter is processed
by a microcontroller.
The microcontroller drives the 5 digit LED display,
processes the front panel membrane keypad, drives the
limit relays, the analogue output.
Easy on-site configuration through the front panel
membrane keypad is a major advantage of the
microcontroller-based technology. The configuration
parameters: input signal selection, signal filtering, display
scaling, decimal point position, display refresh rate, limit
modes, limit values, etc. are stored in EEPROM. The
settings are protected by a two-level password against
unauthorized manipulation.
Power supply The instrument has two power supply version:
DT1400 xx xx:
18-40 V DC / 14-29 V AC, 3 VA / 3.5 W
DT1400 xx xx PS:
140-250 V AC / 180-250 V DC, 3 VA / 3.5 W
3.4. Adjustment
The DT1400 xx xx can be adjusted through the
3 button front panel keypad. All configuration parameters
are stored in the instrument EEPROM for unlimited time,
even when the supply voltage beeng switched off.
The instrument doesn’t need any internal adjustment.

DT1400 xx xx
8 20170920-V0
3.5. Display, indicators
The following figure shows the front panel of the instrument:
1. „Rel1” yellow indicator for indicating that limit output 1 is
in “on-state” (LIMIT1).
„Rel2” yellow indicator for indicating that limit output 2 is in
“on-state” (LIMIT2).
„Rel3” yellow indicator for indicating that limit output 3 is in
“on-state” (LIMIT3).
„Rel4” yellow indicator for indicating that limit output 4 is in
“on-state” (LIMIT4).
2. 5 digit 7 segment LED for displaying the measured value
and the mnemonic messages.
3.6. Storage and transport
This instrument should be stored and transport in places
whose climatic conditions are in accordance with Chapter
10.1. Technical specifications, as described under the
title: Environmental conditions.
The packaging of DT1400 xx xx consist of enviroment-
friendly, recyclable cardboard is used to protect the
instrument against the impacts of normal stresses occurring
during transportation. The corrugated cardboard box is
made from environment-friendly, recyclable paper. The
inner protective material is nylon, which should be disposed
of via specialised recycling companies.

DT1400 xx xx
20170920-V0 9
4. Mounting
4.1. General instructions
The instrument should be installed in a cabinet with
sufficient IP protection, where the operating conditions are
in accordance with chapter 10.1. Technical specification,
as described under the title: Operating conditions.
Mounting position
The instruments are designed in housing for mounting on
TS-35 rail.
The instruments should be mounted in vertical position
(horizontal rail position).
Horizontal mounting may cause overheating and damage of
the instrument.
4.2. Main dimensions of the instrument

DT1400 xx xx
10 20170920-V0
4.3. Mounting
The following figure shows the mounting procedures (fixing
on the rail):
Mounting on the rail
The mounting doesn’t need any tool.
1. Tilt the instrument according to the figure; put the
instrument’s mounting hole onto the upper edge of the rail
(figure step 1.).
2. Push the instrument’s bottom onto the bottom edge of the
rail (figure step 2.), you will hear the fixing assembly
closing.
3. Check the hold of the fixing by moving the instrument
firmly.

DT1400 xx xx
20170920-V0 11
5. Connecting
5.1. Preparing the connection
Always observe the following safety instructions:
• Connect or disconnect only in the complete absence of
line voltage
• Take note the data concerning on the
overcurrent protection in installation.
• Use only a screwdriver with appropriate head
Select connecting
cable
Preparing cables
Take note the suitability of the connecting cable
(wire cross-section, insulation, etc.).
You may use either solid conductor or flexible conductor.
In case of using flexible conductor use crimped wire end.
In case of mains connection the wire cross-section should
be 1.0 mm2(min.).
It’s an important rule that the power cables and signal
cables should lead on a separate way.
Prepare the cable for the connection.
Strip approx. 8 mm insulation.
In case of using flexible cable, use crimped wire end.

DT1400 xx xx
12 20170920-V0
5.2. Connecting the power supply and the input signal
The following figure shows the wiring plan, connecting the
DT1400 xx xx to the power supply and to the input signal:
Wiring plan, connecting
the instrument to the
power supply and to the
input signal
(see also “Application
example”)
In case of DC supply the
polarity is indifferent
Be careful the polarity of
the cables
1. Loosen terminal screws.
2. Insert the wire ends into the open terminals according to
the wiring plan.
3. Screw the terminal in.
4. Check the hold of the wires in terminals by pulling on
them firmly.

DT1400 xx xx
20170920-V0 13
5.3. Connecting the Rel 1, 2 limit relay outputs
The following figure shows the wiring plan, connecting the
limit relay outputs:
Wiring plan, connecting
the Rel 1, 2 limit relay
outputs
(see also “Application
example”)
1. Loosen terminal screws.
2. Insert the wire ends into the open terminals according to
the wiring plan.
3. Screw the terminal in.
4. Check the hold of the wires in terminals by pulling on
them firmly.

DT1400 xx xx
14 20170920-V0
5.4. Connecting the Rel 3, 4 limit relay outputs (option)
The following figure shows the wiring plan, connecting the
optional limit relay outputs:
Wiring plan, connecting
the Rel 3, 4 limit relay
outputs
(see also “Application
example”)
1. Loosen terminal screws.
2. Insert the wire ends into the open terminals according to
the wiring plan.
3. Screw the terminal in.
4. Check the hold of the wires in terminals by pulling on
them firmly.

DT1400 xx xx
20170920-V0 15
5.5. Connecting the analogue output (option)
The following figure shows the wiring plan, connecting
analogue output in case of
active (DT1400 RL2 IA, DT1400 RL2 IA PS) or
passive (DT1400 RL2 IP, DT1400 RL2 IP PS) output:
Wiring plan, connecting
the analogue output
(see also “Application
example”)
Be careful the polarity of
the cables.
1. Loosen terminal screws.
2. Insert the wire ends into the open terminals according to
the wiring plan.
3. Screw the terminal in.
4. Check the hold of the wires in terminals by pulling on
them firmly.

DT1400 xx xx
16 20170920-V0
5.6. Connecting the transmitter power supply (option)
The following figure shows the wiring plan, connecting
transmitter power supply (DT1400 RL2 TS,
DT1400 RL2 TS PS):
Wiring plan, connecting
the transmitter power
supply
(see also “Application
example”)
Be careful the polarity of
the cables.
1. Loosen terminal screws.
2. Insert the wire ends into the open terminals according to
the wiring plan.
3. Screw the terminal in.
4. Check the hold of the wires in terminals by pulling on
them firmly.
Checking the
connections
Check if the cables are connected properly (have you
connected all the cables, have you connected to the right
place, do not the cable-ends touch each other).
Put the instrument
under supply voltage
Put the instrument under supply voltage
After you have completed the connections, put the
instrument under supply voltage. If the supply connection is
correct the display gives light.

DT1400 xx xx
20170920-V0 17
6. Display and manual controls
6.1. The first start-up
The display
The display is indicated by the arrow (1)
The factory default setting is:
Selected input signal: 4-20 mA
Scaling: 4 mA ÷ 0%
20 mA ÷ 100%
When the input current is 12 mA, you can see .
on the display.
In the case of an error
message
If anything else appears on the display instead of the scaled
input signal (e.g. a message with blinking letters), then it is
an error message of the instrument.
In order to define the error more accurately, please go to
Chapter 6.2..

DT1400 xx xx
18 20170920-V0
6.2. Characters and mnemonics appearing on the
display
DT1400 xx xx has a 7-segment type display. It means that
maximum 7 bars are used to form each characters. The
numbers can be read easily, some of the letters, marks
however, looks unusual:
= 1, = 2, = 3, = 4, = 5,
= 6, = 7, = 8, = 9, = 0
= A, = B, = C, = D, = E, = F, = G,
= H,= I, = J, = K, = L, = M, = N,
= O, = P, = Q, = R, = S, = T, = U,
= V, = W, = X, = Y, = Z
All mnemonics (code words, 5 digit length max.) presented
on the display comes from English expressions in
abbreviated form.
The following part gives a list of the possible mnemonics
and their meaning. The left-side column shows the
characters appearing on the display. The right-side column
gives first the meaning, then the full English word in
brackets and, after the hyphen, and explanation may be
given.
Login text
DT - Datcon instrument
1400 - Type of the instrument
Two limit relay output
Passive analogue option is installed
Active analogue option is installed
Transmitter power supply option is installed
Four limit relay output option is installed

DT1400 xx xx
20170920-V0 19
Error messages
Low (Error: LOW Input signal)
Reason of error: the input signal is under of the measuring
range. For example: the selected input mode is 4-20 mA
and the input signal is 0 mA.
A/D underflow (Error: AD Underflow)
Reason of error: input signal is under of the measuring
range.
A/D overflow (Error: A/D Overflow)
Reason of error: input signal is over of the measuring range.
Display under (Underflow)
Reason of error: value to be displayed is < -9999.
Display overflow (Overflow)
Reason of error: value to be displayed is > 99999.
Missing Minimum-maximum values
(Error: Missing Minimum-Maximum)
Saving the last settings was not successful (Error: Save)
Scaling error (Scale)
Reason of error: the given physical value is not correct.
Messages of critical
errors
In case of a critical error call manufacturer sertvice
department!
A/D converter error (Service: ADC)
EEPROM error (Service: EEPROM)
Calibration error (Service: Calibration)
Factory calibration is damaged.
Analogue output calibration error (Service: Analog
Calibration)
Factory calibration is damaged.
Factory settings (Service: Factory Settings)
Data stored in EEPROM are damaged (factory calibration
also).

DT1400 xx xx
20 20170920-V0
During code writing
Code? (Code) - type in the code!
Bad code (Bad Code)
A User login took place (User)
A Supervisor login took place (Supervisor)
During setting
The typed number is lower than allowed (Low Limit)
The typed number is higher than allowed (High Limit)
Low numeric value not possible to display
High numeric value not possible to display
Re-type it please (Re-type)
Automatic escaping (Auto Escape)-over 4 minutes
Exit from the setting (Exit)
Calculations is in progress, please wait (Busy)
The requested operation has been completed (Ready)
Error (Error)
The saving settings is in progress (Save)
No, I don’t want this menu item (No)
Yes, the menu can be started (Yes)
Minimum-maximum
value display (▲button)
Minimum value (Minimum)
Maximum value (Maximum)
Firmware version (Firmware)
Limit display
All limit outputs are switched off
The limit output No.1 and No.2 are switched on
The limit output No.2 and No.4 are switched on
All limit outputs are switched on
This manual suits for next models
6
Table of contents
Popular Switch manuals by other brands

D-Link
D-Link DES-3250TG user guide
HP
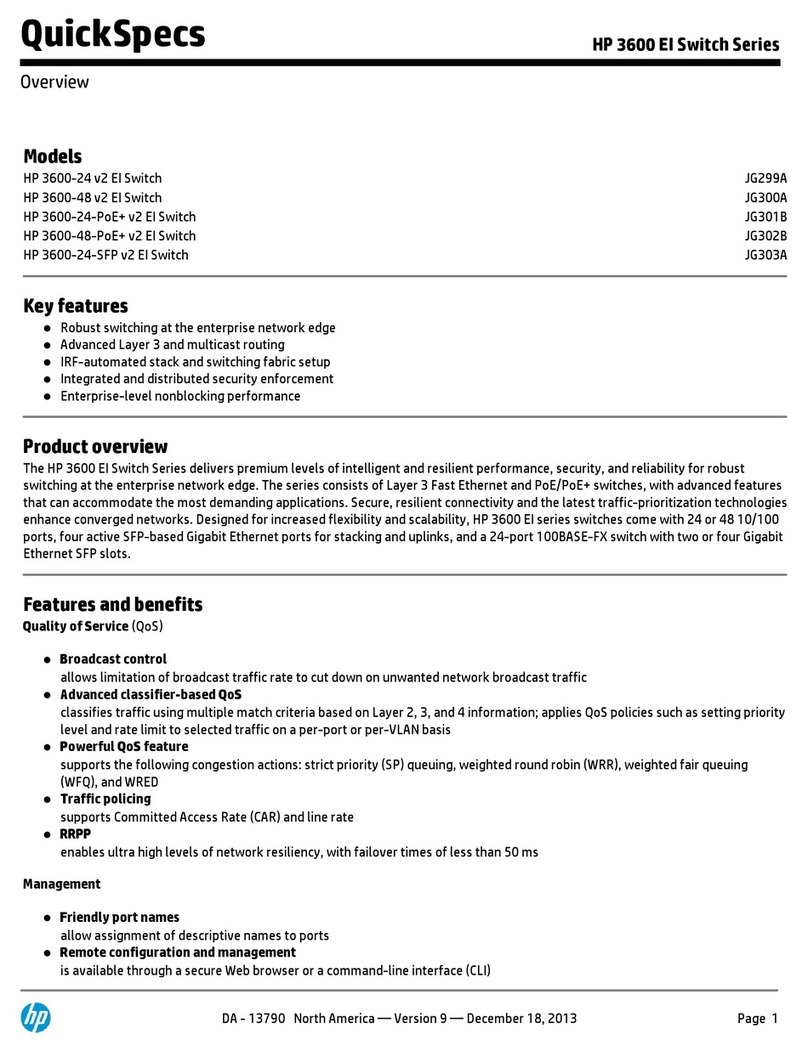
HP 3600 EI series Specifications
CTC Union
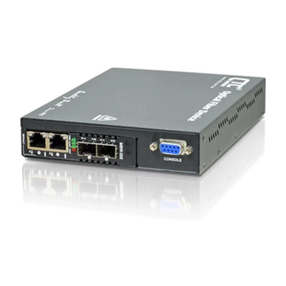
CTC Union FRM220A-MSW-202 Operation manual
Alcatel-Lucent
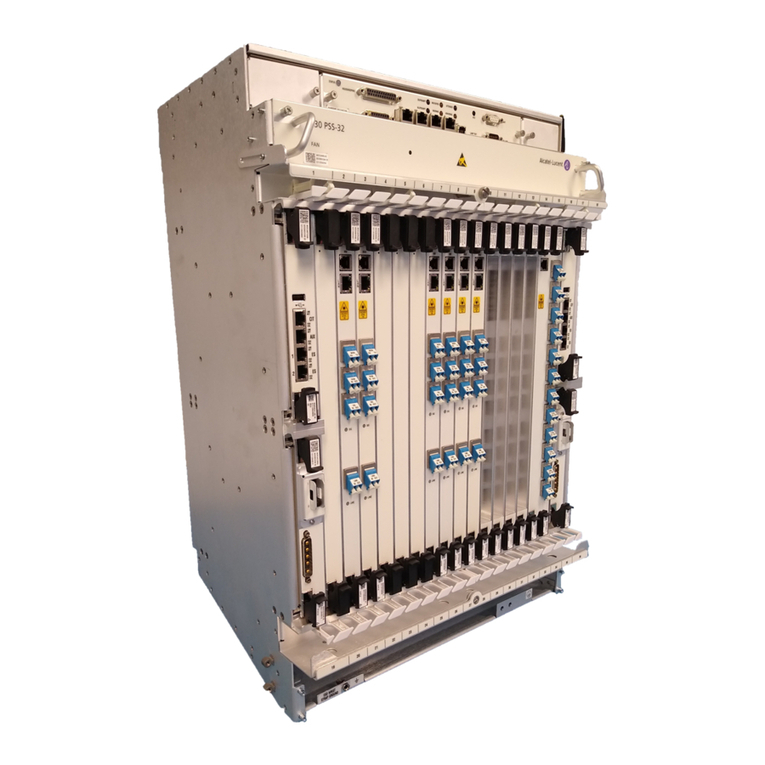
Alcatel-Lucent 1830 PSS-16 Maintenance and trouble-clearing user guide
Weidmuller
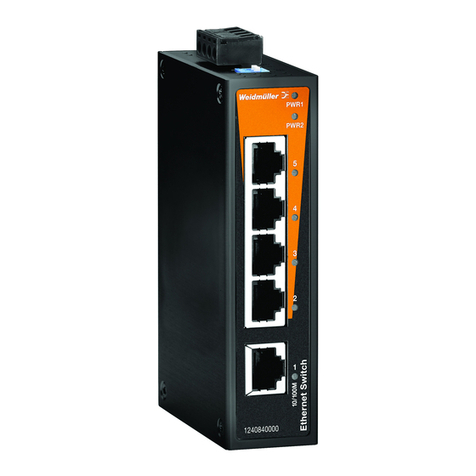
Weidmuller IE-SW-BL05T-5TX Hardware installation guide

LevelOne
LevelOne WHG-505 user manual
