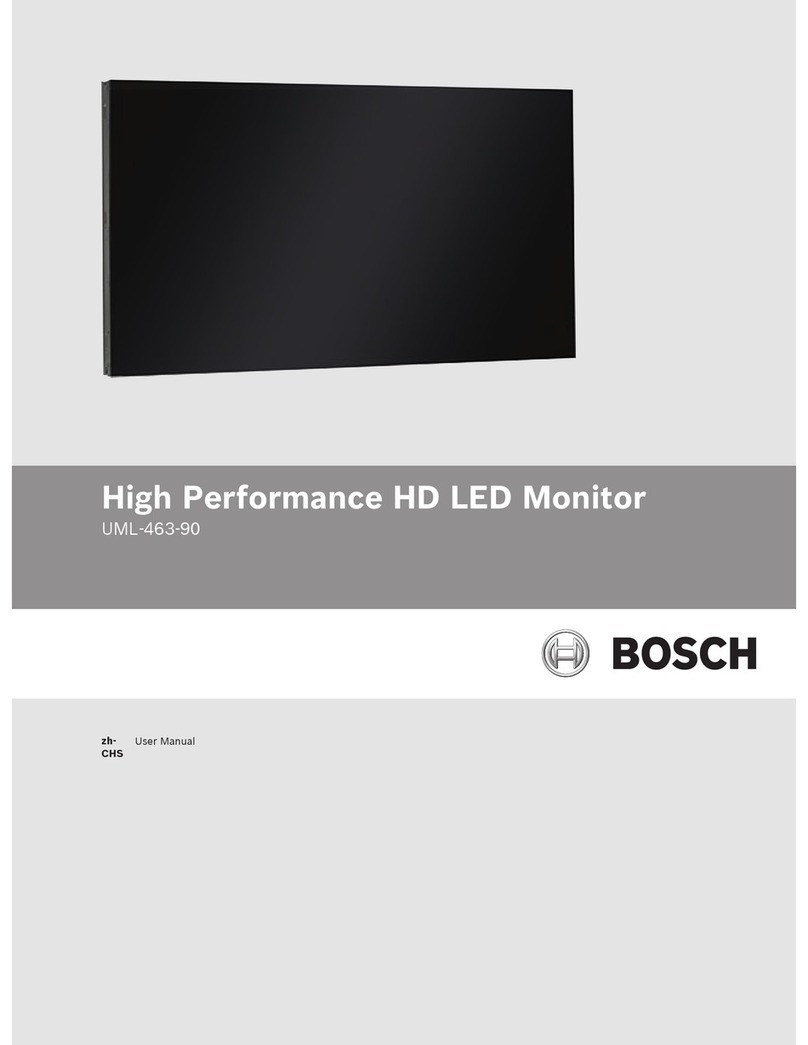
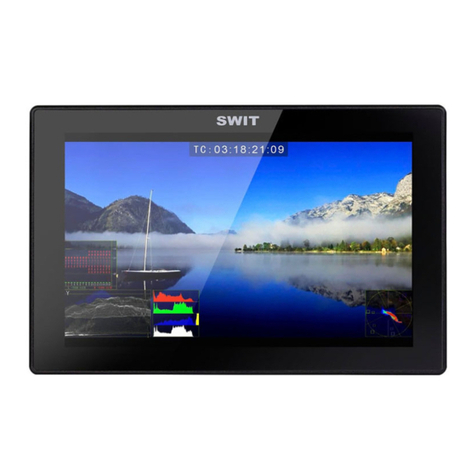
DAWAR DW03583 User manual

921 Ridge Ave., Pittsburgh, PA 15212
PH: 800-366-1904 | E-mail: sales@dawar.com
dawar.com
April 14, 2021
Rev A
1. FCC INFORMATION
This monitor has been tested and found to comply with the limits for a class B digital device, pursuant
to Part 15 of the FCC Rules. These limits are designed to provide reasonable protection against
harmful interference in a residential installation. This monitor generates, uses, and can radiate radio
frequency energy and, if not installed and used in accordance with the instructions, may cause
harmful interference to radio communications.
However, there is no guarantee that interference will not occur in a particular installation. If this
monitor does cause harmful interference to radio or television reception, which can be determined
by turning the monitor off and on, the user is encouraged to try to correct the interference by one or
more of the following measures:
Reorient or relocate the receiving antenna.
Increase the separation between the equipment and receiver.
Connect the monitor into an outlet on a circuit different from that to which the receiver is
connected.
Consult the dealer or an experienced radio/TV technician for help.
Shielded interface cables and A.C. power cord, if any, must be used in order to comply with emission
limits.
Changes or modifications not expressly approved by the party responsible for compliance could void
the user’s authority to operate the monitor.
2. CE INFORMATION
The monitor must be installed according to the currently valid installation regulations for EMC to
guarantee the designed use and to prevent EMC problems.
The monitor supplied with this manual is according to the EC, EMC Directive,
2014/30/EU & LVD 2014/35/EU
3. SAFETY PRECAUTIONS
1. Do not modify the three-prong grounding type monitor power plug in any way.
2. Operate this unit only from the type of power source indicated on the label.
3. Do not block or cover ventilation openings on the back or bottom of the monitor cabinet.
4. Do not place this monitor near a radiator or heating vent.
5. Do not push objects of any kind through cabinet openings. This may result in fire or electrical
shock.
6. Before adding attachments always ask a service technician to perform routine safety tests to
determine that the monitor is in safe operating condition. Ground potential tests should be part of
the routine safety check made by the service technician.
7. Do not place the monitor on an unstable cart, stand, or shelf where it may fall and injure

921 Ridge Ave., Pittsburgh, PA 15212
PH: 800-366-1904 | E-mail: sales@dawar.com
dawar.com
April 14, 2021
Rev A
personnel or damage equipment.
8. Route power cords so that they cannot be walked upon or tripped over. Do not allow anything to
rest on the power cord.
9. Do not install the monitor in wet areas, or where it may be exposed to rain or water. Do not spill
liquid of any kind on the unit.
10. Unplug the power cord from the monitor before cleaning the display. Use only a damp cloth. Do
not use alcohol, spirits, or ammonia to clean the display. DO NOT ATTEMPT TO CLEAN THE INTERIOR
OF THIS UNIT- THIS ACTION MUST BE PERFORMED BY THE SERVICE TECHNICIAN AS REQUIRED
DURING NORMAL MAINTENANCE.
11. Refer all servicing to qualified service personnel. REMOVAL OF BACK COVER BY UNAUTHORIZED
PERSONNEL MAY EXPOSE THE USER TO DANGEROUS VOLTAGES OR OTHER HAZARDS.
12. Unplug the unit immediately and notify the service technician if:
Liquid has been spilled into the monitor or the monitor has been exposed to rain or water.
The monitor has been dropped or the cabinet damaged.
Fuses continue to blow.
The power cord is damaged or frayed.
A distinct change from normal operation is apparent.
When replacement parts are required, be sure that the service technician uses components specified
by the manufacturer which have the same characteristics as the original parts. UNAUTHORIZED
SUBSTITUTIONS MAY RESULT IN FIRE, ELECTRICAL SHOCK OR OTHER HAZARDS.
Upon completion of any service or repairs, ask the technician to perform safety checks to determine
that the equipment is in safe operating condition.
WARNING: SERIOUS SHOCK HAZARDS EXIST WITHIN THE COVERS OF THIS MONITOR. DO NOT OPEN
THE COVERS UNDER ANY CIRCUMSTANCES,
THERE ARE NO USER SERVICEABLE COMPONENTS INSIDE

921 Ridge Ave., Pittsburgh, PA 15212
PH: 800-366-1904 | E-mail: sales@dawar.com
dawar.com
April 14, 2021
Rev A
4. Introduction to the Product
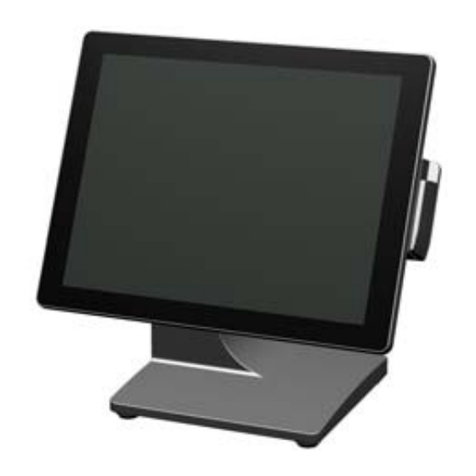
4.1. Product Appearance
4.2. Performance Features
Low energy consumption, long service life
High contrast ratio and high luminance
Wide view angle - IPS like panel
Rapid response times, no trailing image
Thin and light
Full-HD LCD panel with high speed video processing chip
Projected capacitive touch screen (PCAP)
USB port, display port, DVI port, VGA port and power input with positive retention and
latching mechanism
Flat design with robust metal case
Front of product rated to IP64
4.3. External Connections
Please connect the monitor to external devices according to the following I/O interface list. Choose
the corresponding incoming signal channel.

921 Ridge Ave., Pittsburgh, PA 15212
PH: 800-366-1904 | E-mail: sales@dawar.com
dawar.com
April 14, 2021
Rev A
USB: USB B type output connector for touch panel
DP: Display Port input
DVI: DVI port input
HDMI: HDMI port input
VGA: VGA port input
AUDIO IN: Audio port input (3.5mm phone jack)
EAR PHONE: Ear phone audio output (3.5mm phone jack)
DC 12V: DC12V input
Attention
Please turn off the power of the external device and the product when connecting any interface.
4.4. Main Menu
To activate, press the MENU button on the right of rear cover. The sub-menus
of the main menu are:
Picture menu
Display menu
Color menu
Language menu
Audio menu
Other menu
Information
The general action of each button is:
INPUT button
Press the button to display all the input options.
Press the button to exit the menu.
< button
Press the button to move the cursor to the needed function.
Press the button to change the selected function in OSD menu item.
> button
Press the button to move the cursor to the needed function.
Press the button to change the selected function in OSD menu item.
MENU/OK button
Press the button to display the OSD main menu.
Press the button to select the OSD sub-menu item.
Power button
Press the button to turn on or turn off the display.
4.5. Hot Key
4.5.1. Auto Adjust
Press < button to do the auto adjust (VGA mode only).

921 Ridge Ave., Pittsburgh, PA 15212
PH: 800-366-1904 | E-mail: sales@dawar.com
dawar.com
April 14, 2021
Rev A
4.5.2. Information
Press >button to display the monitor input information.
4.5.3. Input Source Selection
Press INPUT button to display the monitor input source.
Press < or > button to select input source.
Press MENU button to confirm the selection
Auto Select – Auto select the next available input source if current input source is not available.
The sequence is DP input, HDMI input, DVI input, VGA input.
4.6. OSD Menu
OSD Menu Navigation:
Press the MENU button to enter the monitor OSD.
Press the < or > button to move to the submenu.
Press MENU button again to enter to the submenu.
Press < or > button to adjust the value or select function.
Press INPUT button to exit.

921 Ridge Ave., Pittsburgh, PA 15212
PH: 800-366-1904 | E-mail: sales@dawar.com
dawar.com
April 14, 2021
Rev A
4.6.1. Picture
Backlight
Press MENU to enter to submenu. Press < or > button to adjust value when
item is selected. Press INPUT button to exit.
Brightness
Press MENU to enter to submenu. Press < or > button to adjust value when
item is selected. Press INPUT button to exit.
Contrast
Press MENU to enter to submenu. Press < or > button to adjust value when
item is selected. Press INPUT button to exit.
Sharpness
Press MENU to enter to submenu. Press < or > button to adjust value when
item is selected. Press INPUT button to exit.
4.6.2. Display (VGA mode only)
Auto adjust
Press MENU to run the Auto adjust.
H.Position
Press MENU to enter to submenu. Press < or > button to adjust value when
item is selected. Press INPUT button to exit.
V.Position
Press MENU to enter to submenu. Press < or > button to adjust value when
item is selected. Press INPUT button to exit.
Clock
Press MENU to enter to submenu. Press < or > button to adjust value when
item is selected. Press INPUT button to exit.
Phase
Press MENU to enter to submenu. Press < or > button to adjust value when
item is selected. Press INPUT button to exit.
4.6.3. Color
Gamma
Press MENU to enter to submenu. Press MENU again to enter next submenu.
Press < or > button to select the function. Press INPUT button to exit.
Temperature
Press MENU to enter to submenu. Press MENU again to enter next submenu.
Press < or > button to select the function. Press INPUT button to exit.
Saturation
Press MENU to enter to submenu. Press < or > button to adjust value when
item is selected. Press INPUT button to exit.

921 Ridge Ave., Pittsburgh, PA 15212
PH: 800-366-1904 | E-mail: sales@dawar.com
dawar.com
April 14, 2021
Rev A
Hue
Press MENU to enter to submenu. Press < or > button to adjust value when
item is selected. Press INPUT button to exit.
4.6.4. Language
English, Traditional Chinese, Simplified Chinese, Japanese, German, Spanish, French
Press MENU to enter to submenu. Press < or > button to select language.
Press INPUT button to exit.
4.6.5. Audio
Volume
Press MENU to enter to submenu. Press < or > button to adjust value when
item is selected. Press INPUT button to exit.
Mute
Press MENU to enter to submenu. Press < or > button to select the function.
When function is selected press MENU. Press INPUT button to exit.
Audio source
Press MENU to enter to submenu. Press < or > button to select the function.
When function is selected press MENU. Press INPUT button to exit.
4.6.6. Other
Reset
Press MENU to set the monitor to default mode
OSD Time
Press MENU to enter to submenu. Press < or > button to adjust value when
item is selected. Press INPUT button to exit.
OSD H.Position
Press MENU to enter to submenu. Press < or > button to adjust value when
item is selected. Press INPUT button to exit.
OSD Transparency
Press MENU to enter to submenu. Press < or > button to adjust value when
item is selected. Press INPUT button to exit.
OSD Rotate
Press MENU to enter to submenu. Press < or > button to adjust value when
item is selected. Press INPUT button to exit.
4.6.7. Information
Display the Monitor IO port, Input Resolution, Hor-frequency, Ver-frequency
5. Cleaning Procedure
Please wipe dust and other particles off with a clean, soft towel.
If the monitor is still not clean, please use a neutral cleaner along with the clean soft towel.

921 Ridge Ave., Pittsburgh, PA 15212
PH: 800-366-1904 | E-mail: sales@dawar.com
dawar.com
April 14, 2021
Rev A
Wipe dry after cleaning.
Rubbing or scraping the housing with fingernails or other hard objects might scratch the
housing.
6. Troubleshooting
Refer to the following two charts to diagnose and fix issues before replacing the monitor:
Problem
Fix
1
2
3
4
5
6
7
8
9
10
11
No image or sound
Inferior sound, normal image
Inferior image, normal sound
Poor signal
Vague image
Double image
Interfering lines in image
Twisty image
Poor signal
Rung stripe in image
Image vertically scrolls
Inferior color
No color
Fix
1
Switch to another channel or input.
2
Check whether the audio signal line is connected.
3
Check whether the video signal line is connected.
4
Interference from other electric appliances may be present.
5
Adjust fine tuning setting.
6
Adjust luminance setting.
7
Adjust contrast ratio setting.
8
Adjust color setting.
9
Check whether the system is set-up properly.
10
Check whether the power is on.
11
Check whether the power cord is connected.
Table of contents
Other DAWAR Monitor manuals


