manuals.online logo
Brands
  1. Home
  2. •
  3. Brands
  4. •
  5. DaytonAudio
  6. •
  7. Speakers
  8. •
  9. DaytonAudio Contractor Series User manual

DaytonAudio Contractor Series User manual

9) Troubleshooting
Should your speakers not work properly, check the following:
No sound from speakers:
    • MoststereoreceivershaveanA/Bspeakerselectorswitch.Makecertainthatthisswitch
isintheproperposition.
    • Mutefeatureisactivated.
One speaker is playing while the other is not:
    • Checkthebalancecontrolonthereceiver.Makesureitiscentered.
    • Looseconnectionateitherthereceiverorthespeaker.Doublecheckconnections.
    • Badspeakercable.Replacesuspectspeakerwire.
Receiver cuts on and off:
    • Thiscouldbecausedbyashortcircuitbetweenthepositiveandnegativeleads.Check
theconnectionsatthebackofthereceiver,andthenatthespeaker.Makesurethatno
strandsofwirefromoneconnectoraretouchingtheotherconnector.
10) Caring For Your In-Wall Speakers
  Thetwomostcommonwaysthatin-wallspeakersarepermanentlydamaged:
   1) Notenoughpowerathighervolumes.
   2) Toomuchpowerathighervolumes.
  Contrarytoconventionalwisdom,farmorespeakersaredamagedasaresultofunderpower-
ing,thanbyoverpowering.Whenareceiverrunsoutofpower,itstilltriestoreproducethemusical
signalby“clipping”thewaveform.Atloudvolumes,thisclippingintroducesgrossamountsofdistor-
tiontothespeaker,eventuallydestroyingit.Ifthesoundfromyourin-wallspeakersstartstosound
distorted,turndownthevolume.
  Havingplentyofreservepowerwillhelpyourspeakersreproducedynamiccontrastsandquick
transientsofmusicmuchmoreeffectively.Butyoudohavetoexercisegoodjudgement;toomuch
powerwillalsopermanentlydamageaspeaker.Again,ifyouheardistortion,turnthevolumedown.
11) Warranty Information
DaytonAudio®productsareconstructedbyindustryexperts,andarethoroughlytestedbefore
shipment.DaytonAudio®productsarewarrantedfortheperiodofveyears.Thiswarrantyislimited
tomanufacturerdefects,eitherinmaterialsorworkmanship.DaytonAudio®isnotresponsibleforany
consequentialoninconsequentialdamagetoanyotherunitorcomponentorthecostforinstallationor
extractionofanycomponentoftheaudiosystem.Intherarecaseofaproductfailure,pleasecontact
yourplaceofpurchaseorcallourCustomerSupportDepartmentat(937)743-8248.
Warranty Limitations
Therearenootherwarranties,eitherexpressorimplied,whichextendtheforegoing,andthereareno
warrantiesofmerchantabilityortnessforanyparticularpurpose.Thewarrantywillnotcoverinci-
dentalorconsequentialdamageduetodefectiveorimproperuseofproducts.Thisincludesbutisnot
limitedtoburntvoicecoils,overheating,bentframes,holesinthecone,orbrokenleadwires.
Thiswarrantygivesyouspeciclegalrightsandyoumayalsohaveotherrightswhichvaryfromstate
tostate.
Non-Warranty Service:Ifnon-warrantyserviceisrequired,theproductmaybesenttotheCompany
forrepair/replacement,transportationprepaid,bycalling(937)743-8248fordetails,completeinstruc-
tions,andservicefeecharges.
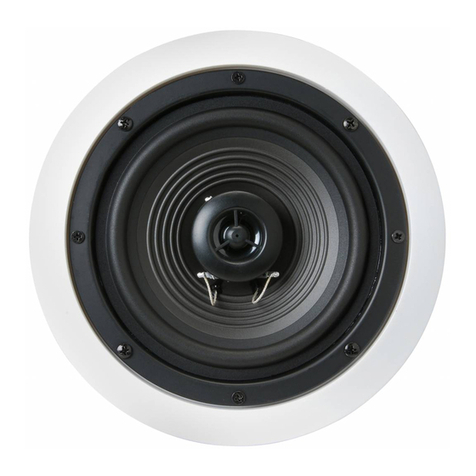
Contractor Series
In-Wall Speaker
©2008DaytonAudio®
User's Manual
DaytonAudio®,POBox52,Springboro,Ohio45066-1158
www.daytonaudio.com
CSIW-08
All manuals and user guides at all-guides.com
all-guides.com
Congratulations on the purchase of your Dayton Audio®Contractor Series In-Wall Speaker System.
These speakers were manufactured with high quality components and engineered to deliver superior
sound performance.
Like many of the products sold by Dayton Audio®, these in-wall speakers were designed for ease
of installation.
Please read through the instructions completely before you begin your installation.
1) Parts Inventory
 YourIn-Wallkitshouldincludethefollowing:
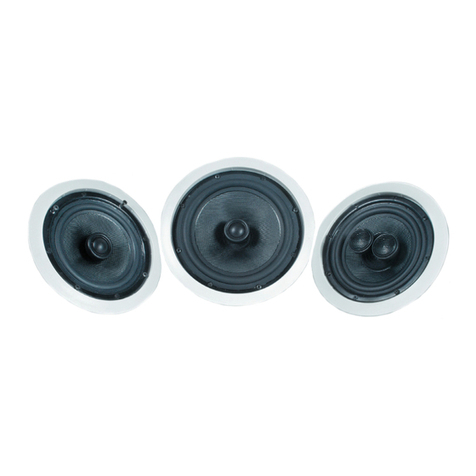
  • 1pairofDaytonAudio®In-WallSpeakerswithGrills
  • 2metalretrotbrackets
  • 1packageofhardware
  • 1pairofcardboardmounting/paintmaskingtemplates
2) Installation Tools
 TheDaytonAudio®In-Wallscanbeinstalledwiththefollowingsimple
tools which you supply:
  • Pencil
  • Maskingtape
  • Drill&drillbits
  • Utilityknife
  • Keyholesaw*
  • #2Phillipsscrewdriver
  • Wirecutters&wirestrippers
  • Smalllevel**
  • Studnder**
* Recommended for use if installing in plaster walls.
** Optional tools to make the installation easier.
3) Speaker Location
  ToachievethebestperformancefromyourDaytonAudio®
speakers, it is important to carefully select the location for
installation.
  Yourin-wallspeakersshouldbeinstalled5to8feetapart
toensureproperstereoimaging.Ifpossible,mounteach
speaker the same distance from the corners on a common
wall.Keepthespeakersatleast2feetawayfromthecorners
oftheroomtoavoidoveremphasizedbassreproduction.
  Thespeakersshouldbelocatedsothatthetweeterheight
isatthesamelevel,orslightlyabovethelistener’sear.Youmustnowdecidewhethertheprimary
listeningwillbedonestandingorinaseatedposition.Remember,forthebeststereoimaging,the
listeningpositionshouldbedirectlyin-betweenthespeakerswiththetweetersatearlevel.
4) Speaker Installation
  Onceyouhaveselectedthelocationforyourspeakers,youarenowready
toinstallthem.
CAUTION: Be certain that there are no electrical wires, water pipes,
or heating ducts in the planned installation area before you start drill-
ing or cutting into the wall. If there is an electrical outlet nearby, turn off
the circuit breaker to avoid possible injury.
  Thein-wallspeakersaredesignedtobemountedtothewallareabetween
thestuds.Onceyouhaveselectedyourlocation,thenextstepistobesure
youarebetweenthestuds.Bytappingonthewall,youwillhearahollowsoundwhenbetweentwo
studsandasharper,moresolidsoundwhenrightontopof,orclosetoastud.
  Aneasier,moreaccuratemethodforndingthelocationofwallstudsistouseastudnder.
  Onceyouhaveestablishedthatyourchosenlocationisbetweentwostudsandthatthereareno
obstructionsinthewall,tapeyourspeakertemplatetothewallandlightlytracearoundtheinside
openingwithapencil.Toensurethatyourspeakertemplateisstraight,youmaywanttousealevel
beforeyoumarkthewall.
  Drilla1"holeinthecenterofthetemplateoutline.Next,usingapieceofstiff
wire(acoathangerworkswell),bendit8"fromtheendata90degreeangle.
Insertthebentpartofthecoathangerintothe1"holeandrotatethewireina
completecircletocheckforobstructions.Ifthewirehitsastudoneitherside,
repositionyourtemplatetotheleftorrightandre-dothelightpenciloutline.Keep
thepilotholewithinthetemplateoutline.
  Ifthewallsaremadeofdrywall,simplycutthemarkedareawithyourutilityknife.
Ifyourhomehasplasterwalls,thenyouwillneedtodrillpilotholesatthefourcor-
nersofthetemplateoutline,andcutthespeakeropeningusingakeyholesaw.
  Checkthespeakeropeningbyplacingoneofthespeakersintothehole.The
speakershouldtlooselyintothehole.
  Repeatthesestepsfortheotherspeaker.
5) Speaker Wire
  Don’tcompromisesoundqualitybyusingthin,inexpensivespeakerwire.We
recommendusingahighqualityoxygenfreecopperwire.Forrunsof10to50feet,
choosea16gaugewire.A14gaugewireshouldbeusedforrunsgreaterthan50
feet.
6) Speaker Hook Up
  Whenhookingupthewirestothespeakers,besuretoobserveproperpolarity.Makecertain
youconnectthepositiveleadfromthereceivertotheredterminalonthespeakerandthenegative
leadfromthereceivertotheblackterminalonthespeaker("B").Thisisveryimportantbecause
improperpolaritywillcauseunwantedfrequencyresponseaberrations.Splitthetwoconductorsof
thespeakerwireapartabout2-4inchessothattheyforma“Y”.Usingwirestrippers,removeabout
1/2"ofinsulationfromeachwire.Twistthestrandsofwiretightlybeforeinsertingthemintothe
springloadedterminals.
  Whenhookingupthespeakerwirestothestereoreceiver,besurethepositiveleadagaingoes
totheredoutputterminalandthenegativeleadgoestotheblackoutputterminal.
7) Final Installation
  Toinstallthespeakersintothewall,rstputthebottomofthemountingbracketintothecutout
sothatthebracketisbehindthewall.Pushthetopofthemountingbracketintheholesothatthe
upperpartofthebracketisinsidethewall.Next,positionthemountingbracketsothatitsitsinthe
centerofthecutout.Beforetighteningthescrews,usealeveltoalignthemountingbracket.Tighten
thescrewsevenlyinaclockwisepatternuntilthemountingbracketissecure.Installthespeaker
andbafeintothemountingbracket.Replacethegrillsandyourinstallationiscomplete.
8) Painting Speakers
Ifspeakerframeistopainted,eitherbeforeorafterinstallation,usethe"PaintMaskingTemplate"
tocoverthewoofer/tweeterassemblytopreventdamagetothem.Do not try to paint the frame and
grill assembly together. Thegrillshouldalwaysbepaintedseparately.Donotputsuchaheavycoat
ofpaintonthegrillthattheperforationsareblocked.
All manuals and user guides at all-guides.com

Other DaytonAudio Speakers manuals

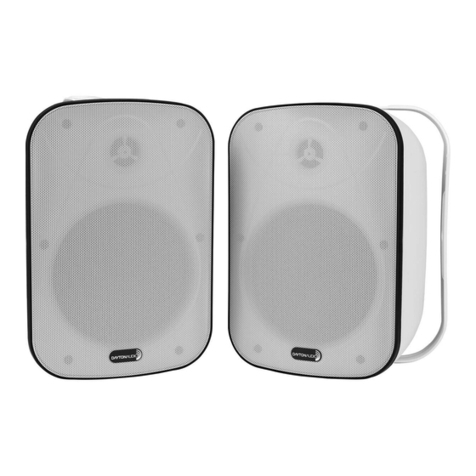
DaytonAudio XRA25 User manual

DaytonAudio

DaytonAudio XRA25 User manual

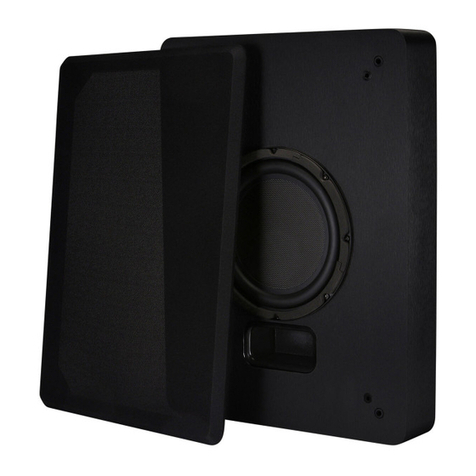
DaytonAudio ME525MTM User manual

DaytonAudio

DaytonAudio ME525MTM User manual

DaytonAudio ME652C User manual

DaytonAudio

DaytonAudio ME652C User manual

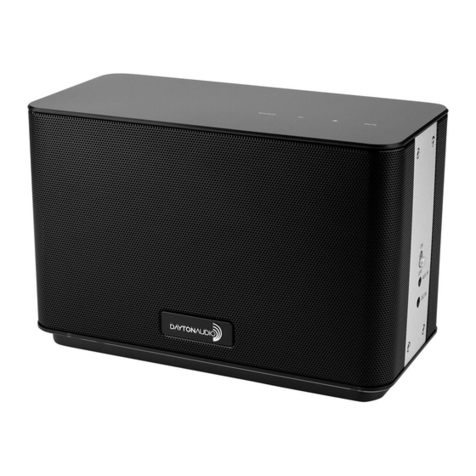
DaytonAudio B652-AIR User manual

DaytonAudio

DaytonAudio B652-AIR User manual

DaytonAudio MK442 User manual

DaytonAudio

DaytonAudio MK442 User manual

DaytonAudio I065XTW User manual

DaytonAudio

DaytonAudio I065XTW User manual

DaytonAudio MKBOOM User manual

DaytonAudio

DaytonAudio MKBOOM User manual

DaytonAudio VS8 User manual

DaytonAudio

DaytonAudio VS8 User manual

DaytonAudio AERO User manual

DaytonAudio

DaytonAudio AERO User manual

DaytonAudio IO525B User manual

DaytonAudio

DaytonAudio IO525B User manual

DaytonAudio WP4BT User manual

DaytonAudio

DaytonAudio WP4BT User manual

DaytonAudio WP65WT User manual

DaytonAudio

DaytonAudio WP65WT User manual

DaytonAudio RS621 User manual

DaytonAudio

DaytonAudio RS621 User manual

DaytonAudio WP8BT User manual

DaytonAudio

DaytonAudio WP8BT User manual

DaytonAudio MARK2-WF User manual

DaytonAudio

DaytonAudio MARK2-WF User manual

DaytonAudio MARK1 User manual

DaytonAudio

DaytonAudio MARK1 User manual

DaytonAudio T652 User manual

DaytonAudio

DaytonAudio T652 User manual

DaytonAudio ME650C User manual

DaytonAudio

DaytonAudio ME650C User manual

DaytonAudio QS204-4 User manual

DaytonAudio

DaytonAudio QS204-4 User manual

DaytonAudio IO8XTW User manual

DaytonAudio

DaytonAudio IO8XTW User manual

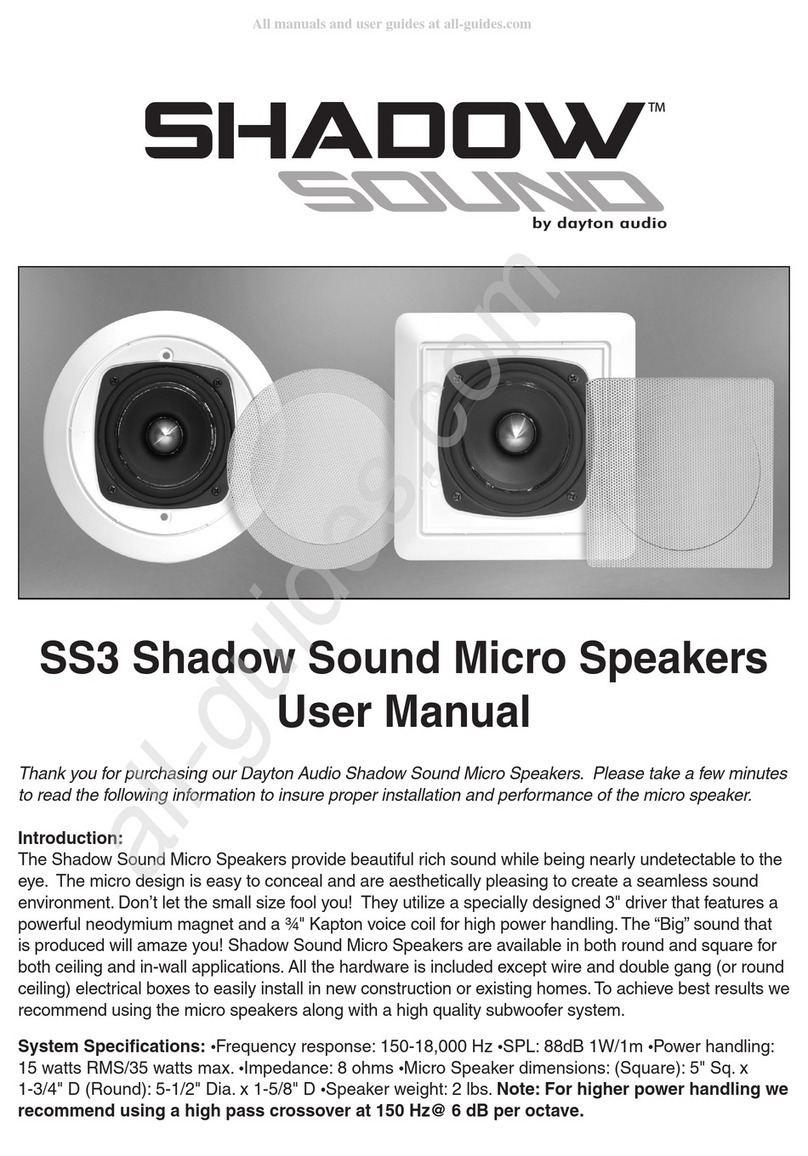
DaytonAudio Shadow Sound SS3 User manual

DaytonAudio

DaytonAudio Shadow Sound SS3 User manual

DaytonAudio B452 User manual

DaytonAudio

DaytonAudio B452 User manual

DaytonAudio BS36 User manual

DaytonAudio

DaytonAudio BS36 User manual

DaytonAudio Micro-Edge Series User manual

DaytonAudio

DaytonAudio Micro-Edge Series User manual

Popular Speakers manuals by other brands

KYE Systems Corp. SP-HF2020 Service guide

KYE Systems Corp.

KYE Systems Corp. SP-HF2020 Service guide

Cambridge Audio S30 installation guide

Cambridge Audio

Cambridge Audio S30 installation guide

Crystal Acoustics TX-T2SE owner's manual

Crystal Acoustics

Crystal Acoustics TX-T2SE owner's manual

Sonus Faber OMNIA quick start guide

Sonus Faber

Sonus Faber OMNIA quick start guide

Whelen Engineering Company WSXPL6T Series Assembly

Whelen Engineering Company

Whelen Engineering Company WSXPL6T Series Assembly

EAW CIS6 Specification sheet

EAW

EAW CIS6 Specification sheet

Qtx DELTA-50 user manual

Qtx

Qtx DELTA-50 user manual

Klein + Hummel 0300 D Installation and operation

Klein + Hummel

Klein + Hummel 0300 D Installation and operation

FONESTAR GAT-801-EN installation guide

FONESTAR

FONESTAR GAT-801-EN installation guide

Pyle COMPONENT SPEAKER SYSTEM PLD6C installation manual

Pyle

Pyle COMPONENT SPEAKER SYSTEM PLD6C installation manual

fontastic Boogie user manual

fontastic

fontastic Boogie user manual

ENERGY SISTEM nusic box9 user manual

ENERGY SISTEM

ENERGY SISTEM nusic box9 user manual

Boston Designer DSi485 manual

Boston

Boston Designer DSi485 manual

Moki ACC MBBT user guide

Moki

Moki ACC MBBT user guide

EAW CIS961 Specifications

EAW

EAW CIS961 Specifications

Digital Acoustics ii3-ESS user guide

Digital Acoustics

Digital Acoustics ii3-ESS user guide

Wet Sounds REV 10 HD owner's manual

Wet Sounds

Wet Sounds REV 10 HD owner's manual

Gemini GSM-1260 operating instructions

Gemini

Gemini GSM-1260 operating instructions

manuals.online logo
manuals.online logoBrands
  • About & Mission
  • Contact us
  • Privacy Policy
  • Terms and Conditions

Copyright 2025 Manuals.Online. All Rights Reserved.