DeDietrich Washing Machine User manual

1

click
EURO
1

2.5 Adjusting the sound. You can adjust
the sound by turning the control knob.
Press the control to select it.
2.6 Adjusting the end of programme. You
can adjust the duration of the sound
for the end of programme by turning
the control knob. Press the control to
select it.
2.7 Adjusting the clock time. Set the clock
at the correct time. Turn the control knob
and the two hour digits will appear. Press
the control to select it (2.7.1). Turn the
control knob and the two digits
corresponding to minutes will appear.
Press the control to select it (2.7.2).
LOADING THE WASHING MACHINE
2.8 Opening the hatch. Press .
2.9 Detergents and additives. Load the
clothes into the washing machine after
having separated them according to
colour, level of dirt and type of fabric.
The tub contains the following
compartments: wash , prewash
and softener (2.9.1).
All washing machines are prepared for
powdered detergents (2.9.2).
If you wish to use liquid detergent
(2.9.5), you will find a blue latch (2.9.3)
in the wash compartment. Pull it
outwards as far as it will go, release it
and it will remain in the vertical position
(2.9.4). This prevents the liquid detergent
from escaping. To go back to using
powdered detergent, move the blue
latch to the horizontal position and
push it backwards as far as it will go
to open the door.
Remember that you should not exceed
the MAX level marked on the softener
compartment.
Very important: Please, read the whole of this manual before installation and using the washing machine.
This manual is designed with the corresponding illustration accompanying the texts.
1
Instruction manual
english
1Installation
1.1 Unpacking the washing machine (1.1.1,
1.1.2 and 1.1.3). Remove the transit
brackers and the fixing and blocking
elements used for transport.
1.2 Connection to the mains water (1.2.1,
1.2.2 and 1.2.3). Always use the new
hose supplied with the appliance. Remove
any previously used supply tubes.
1.3 Draining. Install the elbow supplied, in
accordance with the measurements
shown in the diagram.
1.4 Levelling. Correctly level the washing
machine to prevent any noise or shifting.
The recommended order is as follows: 1.
Position the rear legs and fix them in place
(1.4.1). 2. Place the washing machine in
its final location (1.4.2). 3. Position the
front legs and fix them in place (1.4.3).
1.5 Connection to the mains electric. Refer
to the plate data.
2Use
2.1 Before using the washing machine.
Find the label with your language (2.1.1.)
and stick it on to the tub (2.1.2., 2.1.3
and 2.1.4.).
CONFIGURATION MENU
2.2 Switching on. Press .
2.3 Configuration menu. Press .
2.4 Selecting the language. You can
choose the language by turning the
control knob (2.4.1 and 2.4.2). Press the
control to select it (2.4.3 and 2.4.4).

2.17 Selecting the wash. Check the label on
the tub (2.17.1) to select either the wash
for white or coloured fabrics and the
level of dirt of the clothes.
Selecting the white fabric wash. Tur n
the control knob according to the level
of dirt (2.17.1). Press the control to select
it (2.17.2).
Selecting the coloured fabric wash.
Turn the control knob according to the
level of dirt (2.17.1). Press the control to
select it (2.17.3). Not very dirty colour
must be selected to wash wool in
automatic mode.
2.18 End of programme. This enables you to
select the time when you wish to end the
washing programme.
2.19 Starting. Press and the washing
machine will start the automatic or manual
programme selected.
2.20 Locking . In the case of both modes,
press for three seconds (2.20.1),
(2.20.2). This is used to prevent handling
by children. Deactivate it by once again
pressing the key for a further three
seconds (2.20.3).
2.21 Washing process. In the case of both
modes, you can check the programme
phase and the time remaining.
CHANGING THE MODE
2.22 Returning to manual mode. To return
to the manual programme mode, press
for 3 seconds.
Recommendations for use: As soon as the
washing machine has been fitted, you will
be able to carry out a prior cleaning and
check that it is working properly (normal
wash, without clothes and at 60º). Use
one bag of washing for small items of
clothing: handkerchiefs and underwear.
Warnings about use: 1. If you stop the
washing machine to add more clothes,
please ensure that the water level does
not reach that of the hatch. 2. The
additional functions increase washing
time.
2
english
OPERATING MODE
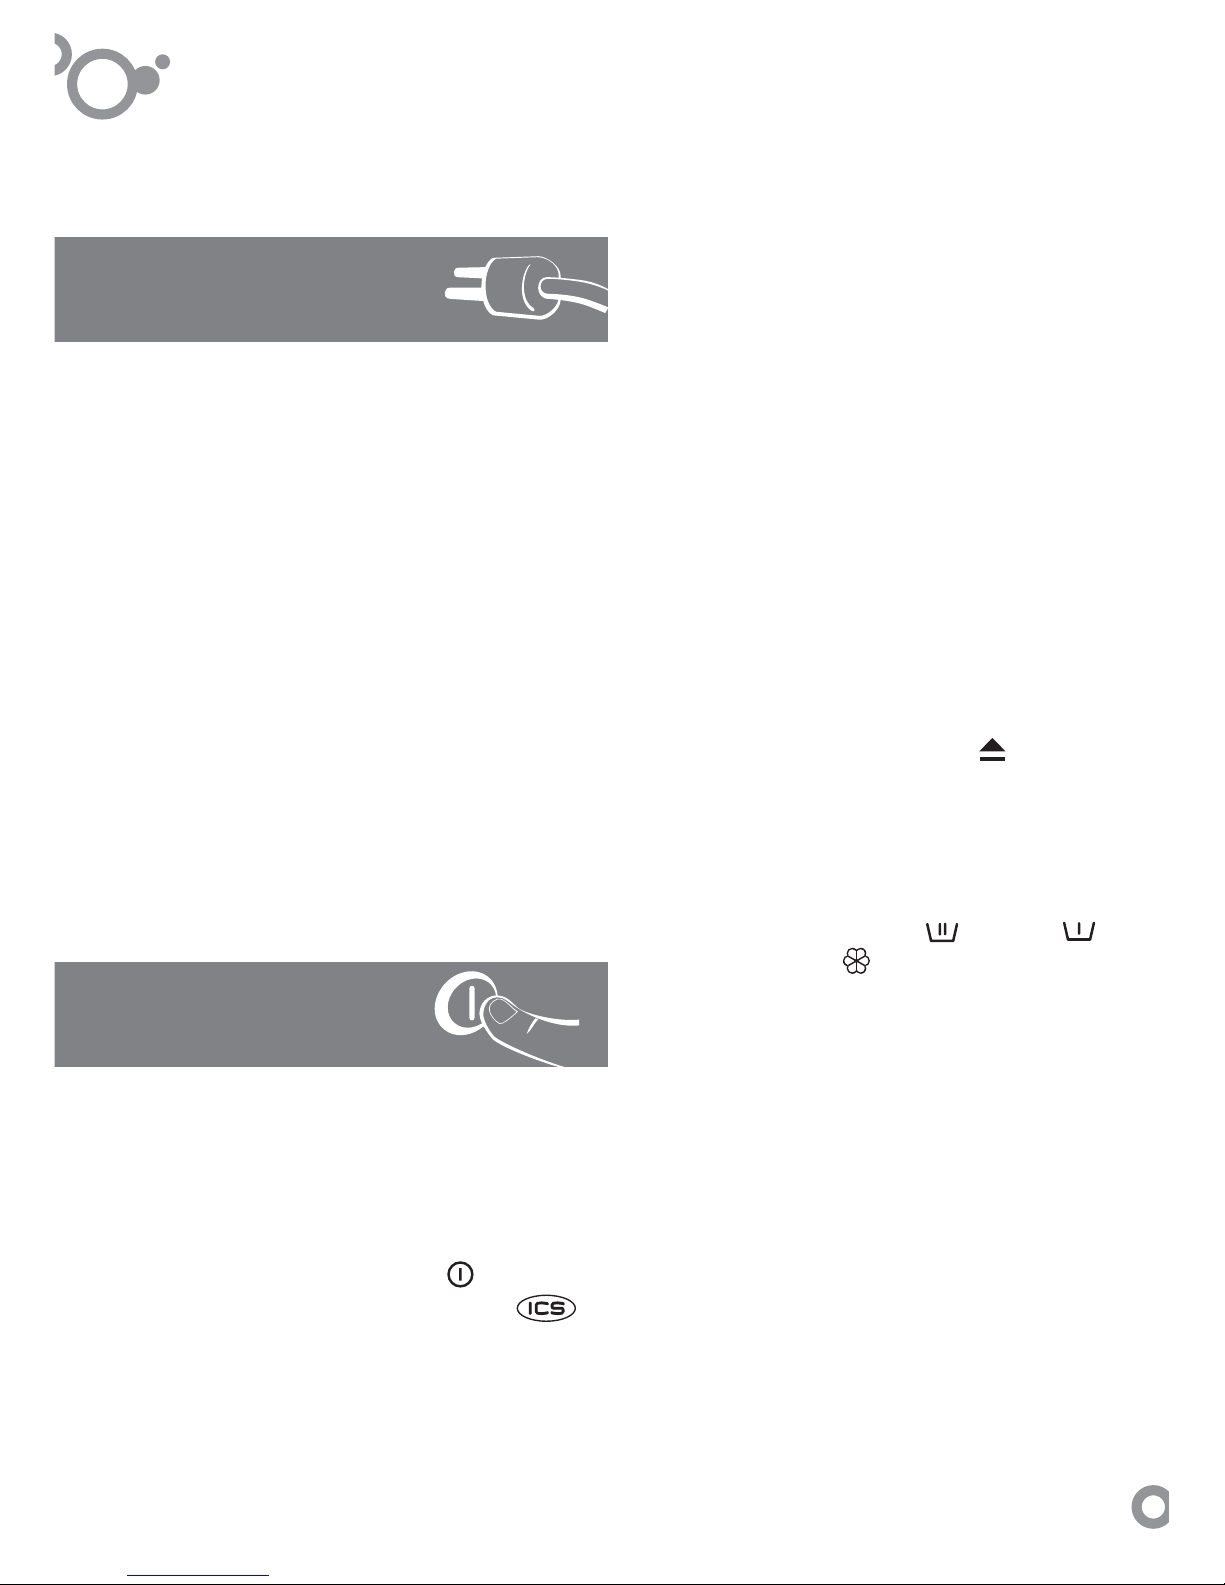
2.10 The washing machine has been
designed to function both in manual
and automatic mode. Initial configuration
is required in both cases. Press the key
for 3 seconds to change from
one mode to another.
Manual mode: Select the programme
according to the table of programmes.
Automatic mode: Select the wash
either for white or coloured fabrics and
the level of dirt, so that the washing
machine may carry out the optimum
programme.
MANUAL MODE
2.11 Selecting the programme. You can
choose the washing programme by
turning the control (2.11.1) after
having checked the table of
programmes. Press the control to
select it (2.11.2).
2.12 Additional functions. Anti-
wrinkle/Flot , easy ironing ,
extra rinse and intensive wash
for very dirty clothes, Turn the control
knob (2.12.1) to choose the
additional function which will flashing
on and off (2.12.2). Press the control
to select it (2.12.3). You may select
more than one additional option.
These functions feed the programme
times.
2.13 End of programme . This
enables you to select the time when
you wish to end the washing
programme (2.13.1, 2.13.2 y and
2.13.3).
2.14 Selecting the speed of the spin
dry . You can choose the degree
of spin dry or remove it by rotating
the control (2.14.1). Press the control
to select it (2.14.2), (2.14.3).
2.15 Starting. Press .
AUTOMATIC MODE
2.16 Changing the mode. Press
for 3 seconds.

3
english
a b
Programme and
temperature Fabric type Maximum load
(kg)
Consumption
Kwh/L
Duration in
minutes
50
30
52
57
80
100
55
50
50
110
70
40
30
15
23
10
0,10/59
0,20/30
0,30/59
0,60/59
1,36/59
1,50/64
0,40/45
0,10/45
0,20/45
2,20/64
1,00/45
0,45/55
0,05/55
0,05/22
0,05/25
0,05/0
8
4
8
8
8
8
4
4
4
8
4
2
2
2
8
8
1.
2.
3.
4.
5.
6.
7.
8.
9.
10.
11.
12.
13.
14.
15.
16.
cotton
cold
quick
30´
cotton
30ºC
cotton
40ºC
cotton
60ºC
stains/
prewash
60ºC
mixed
40ºC
delicate
cold
delicate
30ºC
cotton
90ºC
duvet
30ºC
wool/
curtains
30ºC
hand
wash
cold
quick
15´
cold
rinse
spin dry
*
programme for evaluating washing and power consumption in accordance with standard EN60456, using the intensive wash button.
*
Programme Chart
standard programmesdelicate programmesspecial programmes
NOTE: the consumptions in kW/h and litres and the programme durations may vary depending on the load type and size, water pressure, etc.
cotton/cotton mix
synthetics/delicate
wool/wool mix
cotton/linen
delicate colours
very light soil
cotton/linen
whites/colours
light soil
cotton/linen
delicate colours
light soil
cotton/linen
fast colours
light soil
cotton/linen
fast colours
medium soil
cotton/linen
whites/fast colours
heavy soil
synthetics/cotton mix
delicate colours
medium soil
synthetics
delicate colours
very light soil
synthetics
delicate colours
light soil
cotton/linen
whites
heavy soil
curtains/cotton mix
whites/colours
very light soil
wool/wool mix
whites/colours
very light soil
wool/wool mix
whites/colours
light soil
synthetics/cotton mix
whites/fast colours
very light soil
cotton/cotton mix
synthetics/delicate
wool/wool mix

4
Safety
•The mains water pressure must be
between 0.05 and 1 Mpa (0.5 - 10
kg/cm2).
• Do not use extension leads or adapters
to connect the washing machine.
• The electrical installation must be
suitably dimensioned for the maximum
power indicated on the reference plate
and the plug must have the regulatory
earth connection.
• Do not interfere with the inside of the
washing machine. If you have any
problems you cannot solve yourself,
call the technical service.
3Maintenance
3.1 Cleaning the detergent compartment. It
is recommendable to do this once a month.
3.2 Cleaning the filter. It is recommendable
to do this once a year.
For cleaning the outside of the washing
machine, use non-abrasive products and
dry thoroughly with a soft cloth.
4Troubleshooting
4.1 The washing machine incorporates a
troubleshooting system that detects and
warns you of any type of incident. You
can display them on the screen.
4.1.1 Water does not enter the washing
machine. The warnings appear together
with possible solutions, which in this case
are three: Tap turned off? (4.1.2), water cut
off? (4.1.3) and house drainpipe? (4.1.4).
4.1.5 Does not empty the water. Check
the state of the filter and the drainpipe.
4.1.6 Very damp clothes. Select
programme 16.
4.1.7 Door open. Check that the hatch
is properly shut.
4.1.8 With any other warning. Call
customer service.
4.2 Loading door opening. In case of failure
or electricity cut, pull out the detergent
compartment by pulling the handle
outwards and press the blue lever down
(4.2.1). On the right side you will see a
button with a groove. Turn this button to
the left with the aid of a coin (4.2.2), and
the loading door will open (4.2.3).
4.3 Vibrations or noise. Check it has been
properly installed (points 1.1 and 1.4 of
this manual).
4.4 Water in the detergent compartment.
Check the detergent compartment is not
clogged (3.1).
5
6The environment
This washing machine has been designed
with environmental protection in mind.
Respect the environment. Always load the
washing machine to the maximum
recommended capacity for each
programme: this will save water and power.
Avoid the prewash whenever you can. Do
not use too much detergent. Only use the
extra rinse function for garments belonging
to people with sensitive skin.
Waste electrical and electronic equipment
management.
Do not dispose of these appliances together
with the general domestic waste.
Take your washing machine to a special
waste collection centre.
Recycling domestic appliances avoids
negative consequences for health and the
environment and saves power and natural
resources.
For further information, contact your local
authorities or the shop you purchased the
washing machine at.
english
Table of contents
Other DeDietrich Washer manuals

DeDietrich
DeDietrich DLZ1514U User manual

DeDietrich
DeDietrich DLZ1585I User manual

DeDietrich
DeDietrich DLZ1514I User manual

DeDietrich
DeDietrich DLZ614JE1 User manual

DeDietrich
DeDietrich DLZ614JU1 User manual

DeDietrich
DeDietrich DLZ693BU User manual

DeDietrich
DeDietrich DFW 814W User manual

DeDietrich
DeDietrich DLZ 1814 I User manual
Popular Washer manuals by other brands

Samsung
Samsung VRT STEAM WF419AAW user manual

Alliance Laundry Systems
Alliance Laundry Systems FLW1525C Installation & operation

Fisher & Paykel
Fisher & Paykel GWL03US Service manual

Orava
Orava WMO-511 user manual

Whirlpool
Whirlpool 2DLSQ8000JQ0 Use and care guide

Tricity Bendix
Tricity Bendix AW1070 Operating and installation instructions