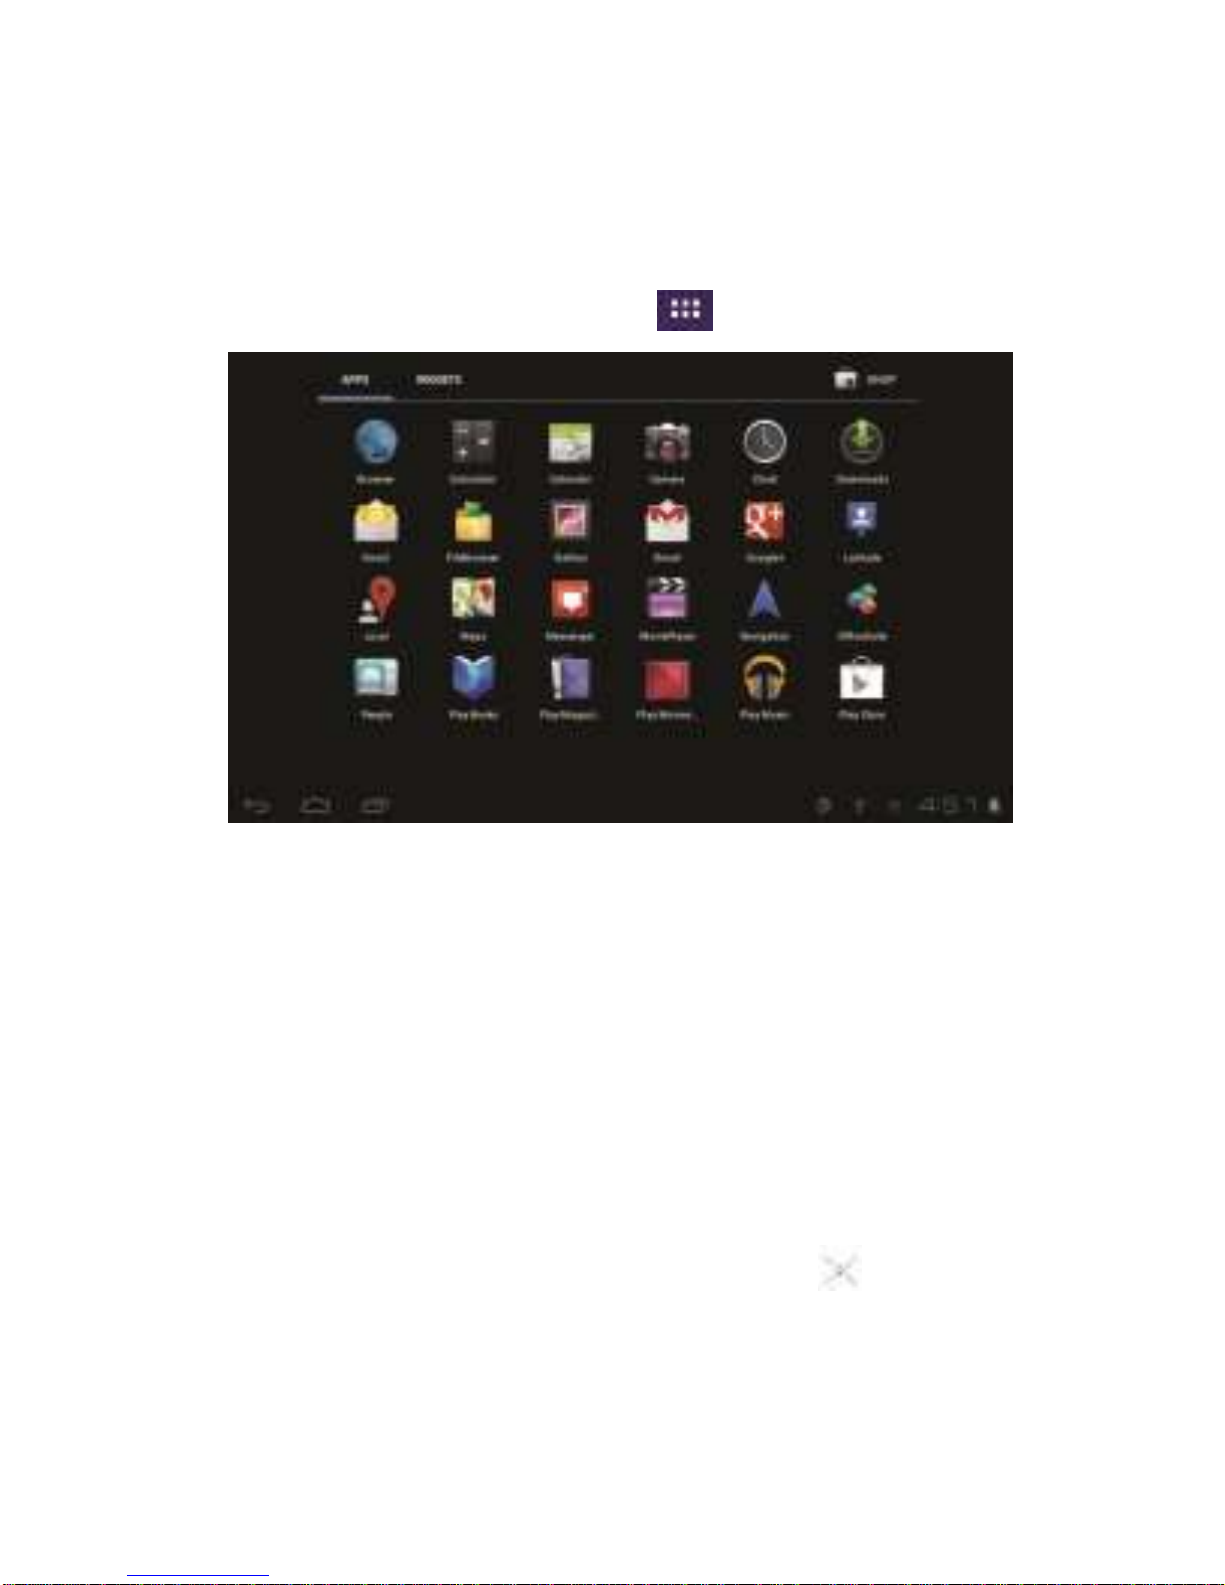
DeerBrook Quiver User manual

1
User Manual

2
Congratulations on purchasing your DeerBrook Quiver Tablet! To get
the most out of your purchase, please take the time to carefully read
through this manual. Due to Firmware changes, some of the
pictures and functions described in this manual may not be the
same as are included with your device.
Foreword
If any problems occur during while using your device please feel free
to contact DeerBrook Electronics, LLC by visiting
www.deerbrookelectronics.com.
DeerBrook Electronics, LLC bears no responsibility for any damage or
loss of personal data due to misuse of software and/or hardware,
damage to the device caused by human factors, replacement of
battery, or other unforeseen circumstances. To prevent loss of your
data, please backup your data regularly.
Information in the manual is subject to change without notice and is
subject to copyright protection. Copying or otherwise reproducing this
material without prior written consent is prohibited.

3
1. Before using the Device
Before using the device, please read this chapter. For further details,
please refer to the safety instructions and announcement.
1.2. Precautions
Please always keep the device dry. To avoid damaging the device,
please keep the device, battery and charger from water and
moisture, and don’t operate the device or charger when your
hands are wet.
Do not drop or strike the device against a hard surface.
Never disassemble the device or its accessories as this will
immediately void any and all warranties you have for the device.
Never use the device when operating a vehicle.
In hospitals and areas vulnerable to EMI such as an airplane,
please follow the area’s posted rules and regulations regarding
electronic devices.
To avoid electrical damage, please power off the device before
entering an area with unshielded high voltage.
Subjecting the device to an area with a powerful magnetic field
may erase all data on the device.
This device can connect to the internet, and has access to
chartrooms, messenger programs, etc. Please always supervise
children using the device.

4
Please comply with your areas rules and regulations regarding the
use of electronic devices, and respect others’ privacy and legal
rights while using the device.
2. Introduction
2.1 Charging the Battery
When you first receive the device, please fully charge the battery
before use. It takes approximately 4 hours to completely charge a
drained battery. When charging, please only use the supplies A/C
wall adapter.
2.2 Status and Reminders
Reminder icons:
When an icon appears in your reminder window (lower right hand
corner of your screen) you can tap the icon to open your reminder.
Below are several of the most common reminder icons.
New email
airplane mode
USB is connected
USB adjustment is connected
Return icon
downloading
recent application icon
Home icon
Battery volume mark
WIFI signal icon

5
No SD card
Alarm on
Google search
Application icon
General Notice
Mute
2.3 Button and touchpad functions
Functions:
Power (power)
Press and hold this button for a few seconds to turn the device on and off.
Tap this button briefly to put the device in standby or wake the device up.
Vol + (up)
Press to increase volume.
Vol- (down)
Press to decrease volume.
Menu icon (menu)
Tap it to open the current mode’s menu.
HOME icon (home)
Tap this icon to return to your home screen. Please note that this does NOT
close any applications you have open, but just suspends them.
Back icon (back)
Tap this on any screen to return to the previous screen.

6
2.4 power up and Shut down
Power up
Press and hold the Power button for three seconds to power on.
Shut down
Press and hold the Power button for three seconds, it will pop up a
shut down window. Tap “OK” to confirm the power off, or tap
Cancel to continue using the device.

7
Standby mode
Tapping the power button will place the device in standby mode,
tapping it again will wake the device back up.
Please note that if the device sits idle the device will enter standby
mode automatically to conserve battery life.
3. Main interface UI
Note- To scroll the screen left, place your finger on the left side
of the screen and slide it to the right. To scroll right, place your
finger on the right side of the screen and slide it to the left. To
scroll up, place your finger at the top of the screen and slide it
down. To scroll down, place your finger at the bottom and slide
it up
The main portion of your UI is referred to the Desktop.

8
The second most used portion of your UI is the apps menu
3.1 Icon and application management
1) To move the icons on the Desktop:
Press and hold an icon in your apps menu to drag it to your desktop.
Once you have reached the location you want to drop the icon, let
go of the screen.
2).Delete the icons on the desktop
Touch and hold desktop icons, then drag it to the “Remove” icon.
Please note that this will only delete the icon from your desktop, the
app will still be located in your apps menu.
accessed by tapping the apps icon
on the main menu.

9
3.2 Change the destop wallpaper
1) Touch and hold an empty spot on main screen, and a window will
open with several selections.
2) Select the image gallery or wallpapers gallery to choose image.
4. USB Connection & input words
4.1 USB Connection
1) When connected to a computer via USB the below window will
open. Select “Turn on USB storage” and the device will act as a
removable disk drive, allowing you to add or delete files to both an
inserted SD card and the internal memory.

10
①
Using the Android keyboard
②
③
⑤
④

11
1
Switch between caps and lowercase letters
2
Switch between letter and symbol/number mode
3
Spacebar
4
Enter button
5
Delete- tapping once will delete the last input character,
press and hold to delete all entered characters
5.Basic settings
5.1 Voice and display
1) Sound and volume setting 1.Tap
the Setting icon.
2.Tap Sound.
3.Tap volume to adjust the volume for music and video.
4.Or press “VOL +” or “VOL – Button” to adjust the volume.

12
2) Display setting
Adjust the brightness of your screen
1.Tap the Setting icon.
2.Tap DisplayBrightness and a slide bar will open. Slide this bar
to the right to increase brightness, and to the left to decrease
brightness.
3.Tap “OK”.

13
5.2 Adjust screen standby time
1). Tap the setting icon.
2). Tap display-> Tap “Sleep” and select the amount of idle time you
want to pass before the device enters standby mode to conserve
power.

14
5.4 Setting a screen lock.
NOTE- If you set a password, PIN, or Pattern, and later forget
this item, you will be LOCKED OUT of your device. For security
purposes, we can NOT recover a lost password, PIN, or Pattern
for you.
You can set a password, PIN, or pattern to secure your device from
unauthorized access and protect your privacy.
Note: Anytime the device enters standby mode (pressing the power
button briefly, or due to idle time) you must enter your password,
PIN, or pattern to unlock it, if you have one set.
1). Tap the setting icon.
2).Tap Security Screen lockThen chose the screen lock type
you want.

15
5.5 SD Card and Internal memory
1) View SD card and MID memory available space
1. Tap the setting icon.
2. Tap memory.
3. View the available space on the SD card.
4. View internal memory space.

16
2) Safely Remove the SD card
Please follow this procedure when removing the SD card to prevent
damage to your SD card and files.
1.Tap the setting icon.
2.Tap memory.
3.Tap remove SD card.
4.Pull out the SD card.
5.6 Date and Time
Manually adjust the date, time and time zone.
1) Tap the setting icon.
2) Scroll the screen down, and tap date and time.
3) Tap time zone, and choose your zone in the list. Scroll down to
view more zone information.
4) Tap choose date formats, and tap the date formats in MID.

17
5.7 Setting the display Language
1) Tap the setting icon.
2) Tap language & input.
3) Tap language, and select the language you want. There are 60
languages to choose from.
7. Multi-Media
7.1 Your device supports the following media formats
Audio file formats supported:
MP3, WMA
(nonencrypted),MP2,OGG,AAC,M4A,MA4,FLAC,APE,3GP,WAV
Supported video formats:
AVI(H.264、DIVX、DIVX、XVID), RM,RMVB,MKV(H.264、
DIVX、DIVX、XVID),WMV (nonencrypted) ,MOV,MP4(.H.264、
MPEG、DIVX、XVID),DAT(VCD),VOB(DVD),PMP, MPEG,
MPG,FLV(H.263,H.264),ASF ,TS,TP,3GP,MPG

18
Supported image formats: JPEG (RGB), GIF, PNG, BMP
7.3 Video
1) Enter video mode
Tap the video application
1.Tap gallery or list selections.
2.The device will display all compatible video files.
3.Tap the file you want to play.
7.4 Images
1) View images
1. Tap the image gallery application.
2. This will bring up the image gallery, tap the file or folder you want
to view
3. Tap the image you want to view, and the system will view the
image in full screen.
4. When you view images, you can zoom in and out by pinching or
sliding two fingers apart.
2) Edit and Setting Images as Desktop
After opening an image, tap the image again to bring up your menu
and delete icons. Tapping the delete icon will allow you to

19
delete the image. Tapping the menu icon will bring up your image
submenu.
Slideshow: Tap to enable slideshow mode
Edit: Tap to edit the image.
Rotate left/Rotate right: Tap to Rotate the image.
Crop: Tap allows you to crop the image
Set Picture As: Tap to set the picture as a “Contact image” or
“Wallpaper”
Details: Tap to display image details, such as file name, creation
date, dimensions, Orientation, File size, path, etc.
7.5 Camera
Tap the camera icon on the main screen or the app menu.
The controls for camera and digital recording modes are
interchangeable.

20
Tap to will show below picture
camera modes
1) To take pictures, ensure that your device is in camera mode:
2) Aim at the target you want take pictures of.
3) Tap the blue button to take images.
Note: To avoid blurring your images, make sure that you hold
the device steady and tap the blue button lightly.
Swap between video and
Zoom in
Tap to capture image & video
View image and videos
Zoom out
White balance
Exposure
Camera settings (Store
location/Picture
size/Restore defaults)
Table of contents
Other DeerBrook Tablet manuals