manuals.online logo
Brands
  1. Home
  2. •
  3. Brands
  4. •
  5. DeLonghi
  6. •
  7. Fan
  8. •
  9. DeLonghi FANS User manual

DeLonghi FANS User manual

Other DeLonghi Fan manuals

DeLonghi DETF115 User manual

DeLonghi

DeLonghi DETF115 User manual

DeLonghi DETF110 User manual

DeLonghi

DeLonghi DETF110 User manual

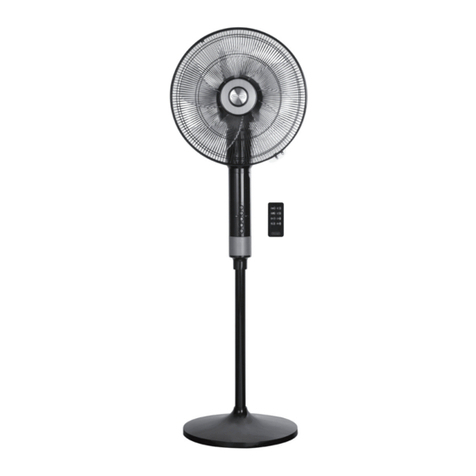
DeLonghi DEAPF40.BK User manual

DeLonghi

DeLonghi DEAPF40.BK User manual

DeLonghi EV290 User manual

DeLonghi

DeLonghi EV290 User manual

DeLonghi DETF121 User manual

DeLonghi

DeLonghi DETF121 User manual

DeLonghi DEAPF20 User manual

DeLonghi

DeLonghi DEAPF20 User manual

DeLonghi DEAPF40 User manual

DeLonghi

DeLonghi DEAPF40 User manual

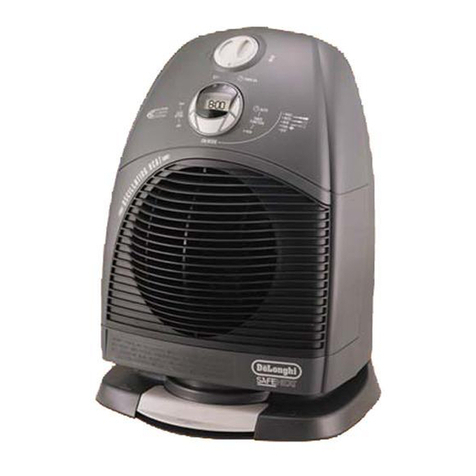
DeLonghi FAN HEATER User manual

DeLonghi

DeLonghi FAN HEATER User manual

Popular Fan manuals by other brands

Minka Group minkaAire Wave F843 instruction manual

Minka Group

Minka Group minkaAire Wave F843 instruction manual

Airflow Adroit DV50 instruction manual

Airflow

Airflow Adroit DV50 instruction manual

Vornado 270 Series owner's guide

Vornado

Vornado 270 Series owner's guide

comfort air TH-10D instruction manual

comfort air

comfort air TH-10D instruction manual

Livoo DOM386 instruction manual

Livoo

Livoo DOM386 instruction manual

Holmes BLIZZARD HAOF-90 owner's guide

Holmes

Holmes BLIZZARD HAOF-90 owner's guide

Taurus GRECO 16 ELEGANCE manual

Taurus

Taurus GRECO 16 ELEGANCE manual

Quorum PINNACLE installation instructions

Quorum

Quorum PINNACLE installation instructions

Monte Carlo Fan Company 3DIR58RBD-V1 Owner's guide and installation manual

Monte Carlo Fan Company

Monte Carlo Fan Company 3DIR58RBD-V1 Owner's guide and installation manual

Craftmade UH52 installation guide

Craftmade

Craftmade UH52 installation guide

Jocel JVA030658 instruction manual

Jocel

Jocel JVA030658 instruction manual

MIKA MFB1211/GR user manual

MIKA

MIKA MFB1211/GR user manual

Harbor Breeze RLG52NWZ5L manual

Harbor Breeze

Harbor Breeze RLG52NWZ5L manual

Allen + Roth L1405 instruction manual

Allen + Roth

Allen + Roth L1405 instruction manual

ViM KUBAIR F400 ECOWATT Technical manual

ViM

ViM KUBAIR F400 ECOWATT Technical manual

HIDRIA R10R-56LPS-ES50B-04C10 user guide

HIDRIA

HIDRIA R10R-56LPS-ES50B-04C10 user guide

BLAUBERG Ventilatoren CENTRO-M 100 L user manual

BLAUBERG Ventilatoren

BLAUBERG Ventilatoren CENTRO-M 100 L user manual

Triangle Engineering HEAT BUSTER SPL Series owner's manual

Triangle Engineering

Triangle Engineering HEAT BUSTER SPL Series owner's manual

manuals.online logo
manuals.online logoBrands
  • About & Mission
  • Contact us
  • Privacy Policy
  • Terms and Conditions

Copyright 2025 Manuals.Online. All Rights Reserved.

Ventilatori
Fans
Ventilateurs
Ventilatoren
Ventilatoren
Ventiladores
Ventilação
∞¡∂ªπ™∆∏ƒ∂™
INTRO +I 22-12-2004 17:36 Pagina 1
10
11
9
8 7 6 5 4 3 1
12
15
13
14
2
INTRO +I 22-12-2004 17:36 Pagina 3
DESCRIPTION
1) Front guard
2) Safety screw plus nut
3) Guard surround
4) Propeller
5) Propeller fixing screw
6) Screws
7) Rear guard
8) Handle
9) Motor unit + shaft
10) Swing control
11) ON/OFF/MIN/MED/MAX knob
12) Power cable
13) Tilt control
14) Base
15) Screws
ASSEMBLING THE FAN
•Assemble the fan as follows:
•Remove the four screws and washers (15)
from the base of the shaft (9), then attach
the motor unit and shaft (9) to the fan
base (14) using the four washers and
screws (15).
•Remove the four central screws (6) and
washers from the motor unit (9). Attach the
rear guard to the motor unit, centring it
and fixing it with the screws removed pre-
viously.
Note: When positioning the rear guard (7),
make sure the handle (8) faces upwards.
•Fit the propeller (4) with the screw (5)
facing the motor unit. Lock the propeller in
position using the fixing screw (5), making
sure it corresponds to the flattened area of
the motor shaft.
•Position the front guard (1) near the rear
guard (7) and fasten it using the surround
(3), safety screw and nut (2).
IMPORTANT
Make sure your mains voltage corresponds to
the voltage indicated on the rating plate.
•Connect your fan to an efficiently earthed
socket only.
•Complete assembly before turning the
appliance on.
•Children or infirm persons should not be
allowed to use this product unsupervised
•Children should not be allowed to play
with this appliance
•For indoor use only. Rain and water are
dangerous in the presence of electricity.
•Use on stable horizontal surfaces only to
avoid the fan tipping over.
•Do not use in damp environments or in
particularly humid rooms such as bath-
rooms etc.
•Do not insert any object into the guard
while the fan is in operation.
•Before removing the guard, always unplug
from the mains.
•Incorrect installation could be hazardous,
with the risk of electric shock.
•Always disconnect the appliance from the
mains before cleaning or moving.
•If necessary, have the power cable repla-
ced by a qualified person only.
Note: To avoid the risk of fire or electric shock,
never use the appliance with additional
speed controls.
Description/Assembly
GB
GB
GB 5-04-2005 9:30 Pagina 6
Operation/Maintenance
OPERATION
•Plug the appliance into the mains.
•Turn the ON/OFF knob (11) to the required
position (Min/Med/Max).
•To turn the appliance off, turn the ON/OFF
knob (11) to "0".
For "swing" operation, screw up the swing
control (10) clockwise or unscrew it anti-
clockwise as required.
To adjust the tilt of the fan, use the tilt con-
trol (13) on the top of the shaft. This should
be done with the fan off only.
MAINTENANCE
•Always unplug the fan from the mains
before cleaning or maintenance.
•Never allow water to enter the fan con-
trols.
•We recommend you keep the packaging
your fan came in. You can use it to neatly
store the dismantled fan during the cold
season.
•To clean, use a soft dry cloth.
•Do not use detergents, solvents or abrasi-
ves.
This appliance complies with directive 89/336/EEC on radio interference suppression.
The manufacturer declines all responsibility in the event of accidents caused by failure
to follow these instructions or by misuse or negligence on the part of the user.
Electrical connection (U.K. only)
A) If your appliance comes fitted with a plug, it will incorporate a 13 Amp fuse. If it does not fit
your socket, the plug should be cut off from the mains lead, and an appropriate plug fitted, as
below.
WARNING: Very carefully dispose of the cut off plug after removing the fuse: do not insert in a
13 Amp socket elsewhere in the house as this could cause a shock hazard.
With alternative plugs not incorporating a fuse, the circuit must be protected by a 15 Amp fuse.
If the plug is a moulded-on type, the fuse cover must be re-fitted when changing the fuse using
a 13 Amp Asta approved fuse to BS 1362. In the event of losing the fuse cover, the plug must
NOT be used until a replacement fuse cover can be obtained from your nearest electrical
dealer. The colour of the correct replacement fuse cover is that as marked on the base of the
plug.
B) If your appliance is not fitted with a plug, please follow the instructions provided below:
WARNING - THIS APPLIANCE MUST
BE EARTHED
IMPORTANT
The wires in the mains lead are coloured in
accordance with the following code:
As the colours of the wires in the mains lead
may not correspond with the coloured
markings identifying the terminals in your
plug, proceed as follows:
The green and yellow wire must be connec-
ted to the terminal in the plug marked with
the letter E or the earth symbol or
coloured green or green and yellow
GB 5-04-2005 9:30 Pagina 7