Denville Scientific M2100 Series User manual
M2100 Series
COMPOUND MICROSCOPE
OPERATION MANUAL
Denville Scientific Inc.
P.O. Box 4588,Metuchen, NJ 07080, USA
Tel: 908-757-7577 Fax: 908-757-7551
Toll Free 800-453-0385 www.denvillescientific.com

2
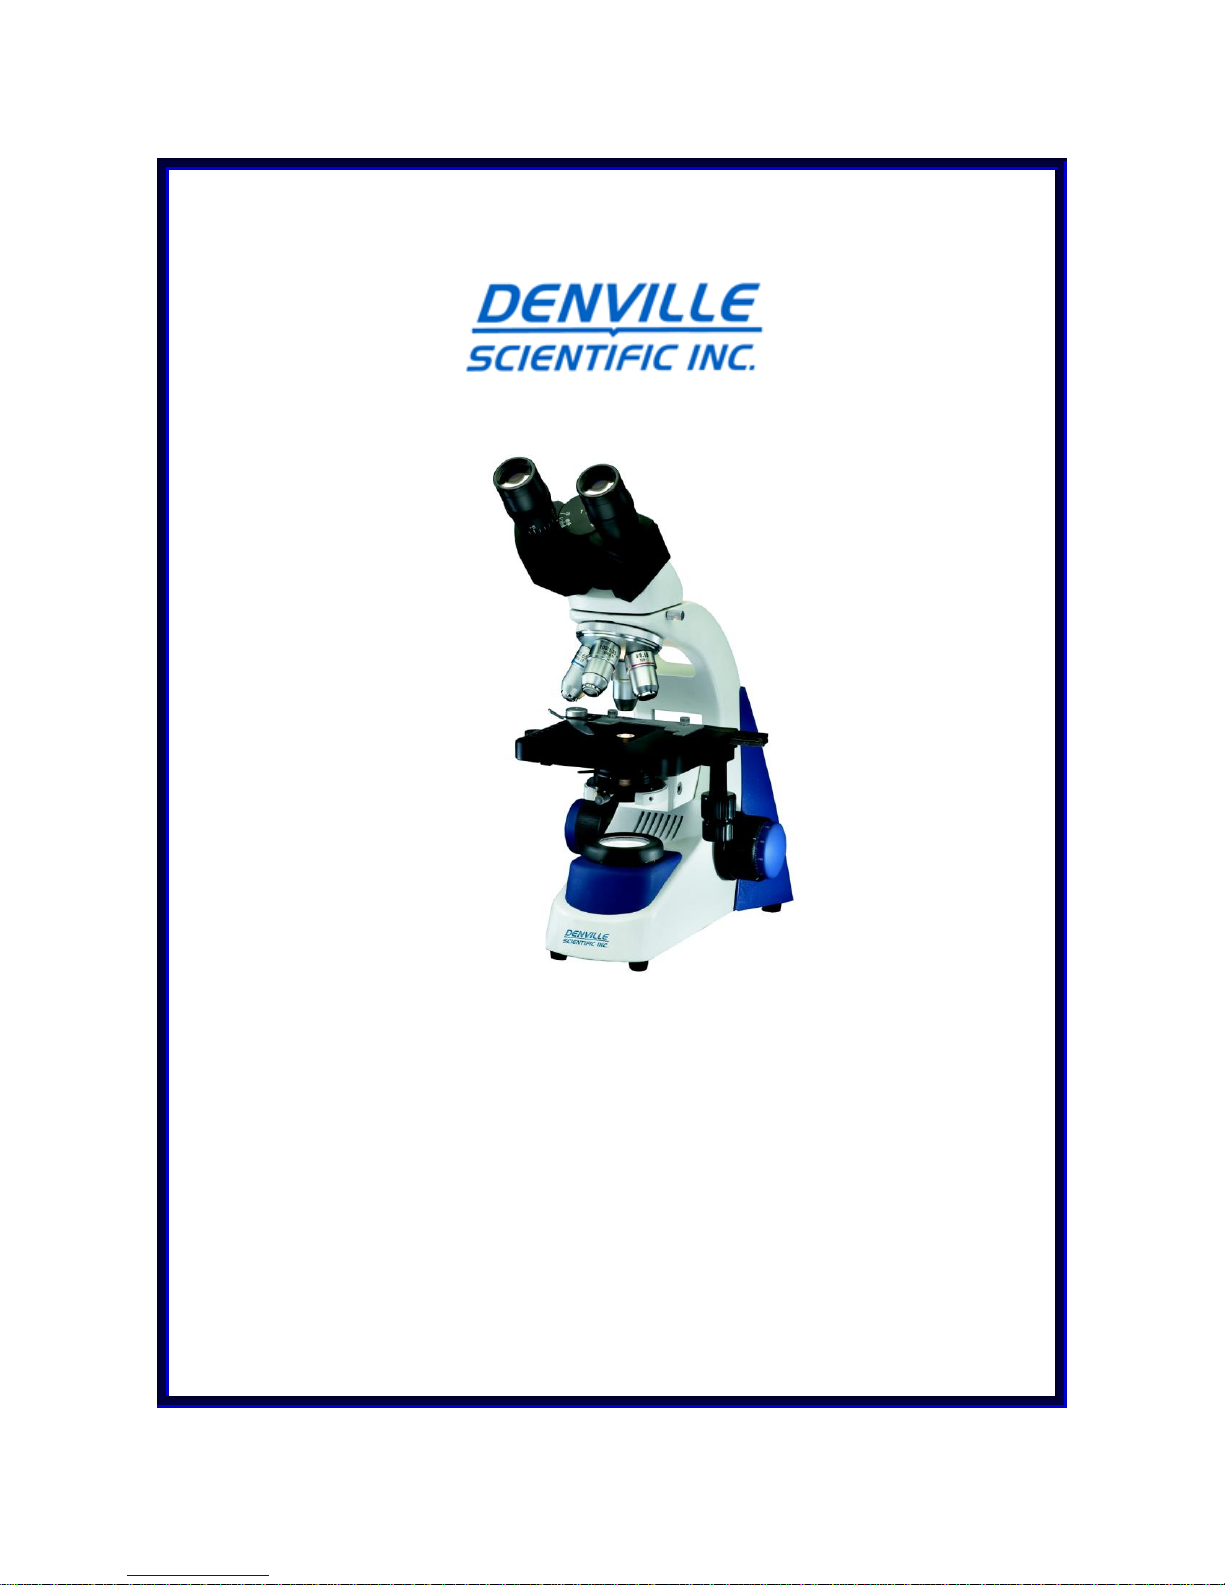
Denville M2100 Series Microscope
Thank you for choosing the Denville Scientific M2100 Microscope. This precisely built,
durable microscope will give years of service to even the busiest office practice. Our
technical and customer support departments are ready to assist you with any questions or
comments you may have.
If ever you require an additional accessory or spare part, please contact your local
distributor, or you can contact Denville Scientific for the name of the nearest distributor.
Contents: Pages
Unpacking Denville Scientific M2100 Microscope……………………………… 3
About Denville Scientific M2100 Microscope………………………………….. 3
Objectives ……………………………………………………………….. 3
Oculars (eyepieces) ……………………………………………………... 3
Filter holder………………………………………………………………. 3
Observation Heads ……………………………………………………… 4
Additional M2100 Microscope Features ………………………………… 4
Electronics ……………………………………………………………………… 4
Power Input …………………………………………………………….. 4
Output (illumination)…………………………………………………… 4
Fuse …………………………………………………………………….. 4
Assembly of M2100 Microscope ………………………………………………. 4
Using M2100 Microscope………………………………………………………… 5
Interpupillary Distance………………………………………………….. 6
Focusing Procedures…..………………………………………………… 6
Diopter Adjustments……………………………………………………. 6
Focus Tension Control………………………………………………… 6
Mechanical Stage Upper Limit Setting (Safety Lock)………………….. 6
Lamp Replacement……………………………………………………………….. 7
Fuse Replacement ……………………………………………………………….. 7
Maintenance……………………………………………………………………… 8
Photo with Nomenclature………………………………………………………. 9

3
Unpacking Denville Scientific M2100 Microscope
Each Denville Scientific microscope has been packed with utmost care. Please take a
moment to examine the outer and inner cartons for any visual damage. We recommend
that you keep all of the packing material until you have fully assembled, examined and
tested your new microscope. If any parts are missing, please call Denville Scientific customer
service at 800-453-0385 or e-mail us at info@Denville scientificsci.com. Please be ready with
the serial #, date of purchase and name of supplier.
Unpack your M2100 microscope using the following checklist for the parts and
accessories. (Your specific order may vary)
(1) Microscope stand with NA 1.25 Abbe condenser
(1) Head options: (Binocular, or trinocular, or back-to-back dual binocular, or
monocular)
(2) 10x High-Eyepoint eyepieces
(4) Achromatic objectives 4x, 10x, 40xr and 100xr (oil) / (or what you have ordered)
(2) Replacement fuses (1.5A)
(1) Dust cover
(1) Operation manual
If any parts are missing, please contact Denville Scientific customer service at 800-453-
The DENVILLE M2100 Series Microscope
The Denville Scientific M2100 series microscopes were designed with the user in mind.
Whether it is for use in a busy medical or veterinary practice, a research department, or
for anyone needing the most versatile microscope available, there is a M2100 to meet
your needs.
Objectives:
Each M2100 microscope comes equipped with 4 achromatic DIN flatfield
objectives (optional Semi-plan and Plan objectives are available). The color-
coded, polished objectives are parfocal and parcentered. The 100X (oil) and the
40X (high dry) are spring loaded to prevent damage.
Oculars:
Two Widefield 10X 18mm “High-Eyepoint” eyepieces are included with each
M2100 microscope. The tube size is standard 23.2mm. The specialized High-
Eyepoint eyepieces are designed to reduce eyestrain while wearing glasses.
Filter Holder:

4
A swing-out filter holder is installed under the condenser for holding a blue (or
other color) filter to sharpen contrast, which is recommended for routine
hematology or urine analysis.
Head:
The head of your M2100 microscope may be a binocular, trinocular, back-to-back
dual binocular, monocular, or dual viewing head (teaching head). The binocular
and trinocular heads are Seidentoph inclined 45° style. Each can be set for
individual requirements and comfort. The inner diameter of the eyepiece tube size
is standard 23.2mm.
Additional M2100 microscope features:
Large mechanical stage (135mm x 150mm) with low mounted coaxial controls.
The stage upper-movement limit (safety lock) can be set as desired to protect
slides as well as objectives.
Coaxial coarse and graduated fine focusing knobs with tension adjustment control
Focusable Abbe condenser (N.A. 1.25) with iris diaphragm.
Pre-aligned illumination and easy lamp replacement.
Universal power input from 110V/60Hz to 230V/50Hz, detachable power cord.
Electronics
Denville Scientific M2100 microscope uses UL and CSA approved electrical
components. The circuit board in the base of the unit contains all the electrical functions.
There are no user repairable parts on the circuit board.
Power Input:
AC 115V/60Hz - 220V/50Hz universal.
Output:
LED , 3 Watt
Fuse: A 1.5 Amp fuse protects the circuit board from electrical overload. The fuse case
is part of the power inlet socket located in the back of the microscope. When
replacing the fuse, always install a new one of the same size and amperage.
M2100 Microscope Assembly Instructions
1. Remove the stand of the microscope and place it on a sturdy, dust free surface. Set the
base so that the Denville Scientific label faces you.
2. Locate the nosepiece (reference page 9 photo with nomenclature), and remove the
plastic dust plugs. Save these in individual objective containers.

5
3. Install the objectives. Each objective is packed in an individual plastic container.
Remove each objective from its container, save the containers in the Styrofoam
carton. Install the objectives in the following order: 4x, 10x, 40x, and 100x. Make
certain that they are screwed in all of the way.
4. Remove the microscope head from the Styrofoam carton. Remove the plastic dust
plugs from the eyepiece tubes as well as the protective plastic cover from the head
(save the protective plastic parts). Plug on base the upper part of the arm and secure
with the retention screw. Note: Don’t over tighten.
5. Unwrap the protective tissue from the eyepieces carefully and slide in each eye tube.
6. Slide holder: The slide holder has already been installed on the mechanical stage. If
you ever need to remove the slide holder, locate the holding screws. Loosen the two
holding screws and remove the slide holder by sliding forward. When you replace the
slide holder, do not over tighten the holding screws.
Using The Denville Scientific M2100 Microscope
Note: If your microscope has been exposed to extremes of temperature, please allow
time for all the parts to come to room temperature before turning on the power.
Excess cold can fog the lenses and may cause the bulb to fail.
1. Once you have assembled all the parts, plug the power cord into the power inlet at the
rear of the arm and plug another end of the power cord into the AC outlet
(110V/60Hz –230V/50Hz).
2. The illumination control (intensity rheostat) wheel is located on the left side of the
base. It turns the illuminator On/Off. Turn the control wheel to the brightness desired.
To turn off the illumination, simply reverse the turning until you hear a click stop.
Note: Rapid repeated changes in light intensity would dramatically shorten the life of
the quartz halogen lamp.
3. In order to speed your familiarity with controls, choose a specimen slide you are
familiar with, such as an old hematology slide or a commercially prepared slide.
Place the slide into the slide holder by pushing back on the thumb guard and placing
the slide toward the back of the holder. Allow the metal slide holder to gently hold
the slide in place.
Note: Do not allow the slide holder to “snap-back” against the slide, this could cause
the slide to chip or shatter.
4. Move the slide to the center of the stage, by turning the mechanical stage control
knobs, just below the stage on the right side. These knobs allow you to move the slide
in the X-Y axis (left-right and forward-backward).
5. Open the aperture of the iris diaphragm on the Abbe condenser (controlled by the
small black lever on the condenser).
6. Once you are comfortably seated, look into the oculars and move the eyepiece tubes
together or apart until you see only one complete circle of light. You have now
adjusted your interpupillary distance. The interpupillary distance range is 55-75mm.
Table of contents
Other Denville Scientific Microscope manuals


