DEPOT 2 U 99054 User manual

Depot2U
Last update: 07/10/2021
HW
Button
Function
Short press to increase level
of pedal assistance.
Long press to cycle through
upper display menu.
Short press to decrease
level of pedal assistance.
Long press to activate
walking assist.
(brake to disengage walking
assist)
Short press to cycle through
lower display menu.
Long press to Power
ON / OFF
Short press to activate front
light.
Long press to activate
walking assist.
(brake to disengage walking
assist)
Power operations:
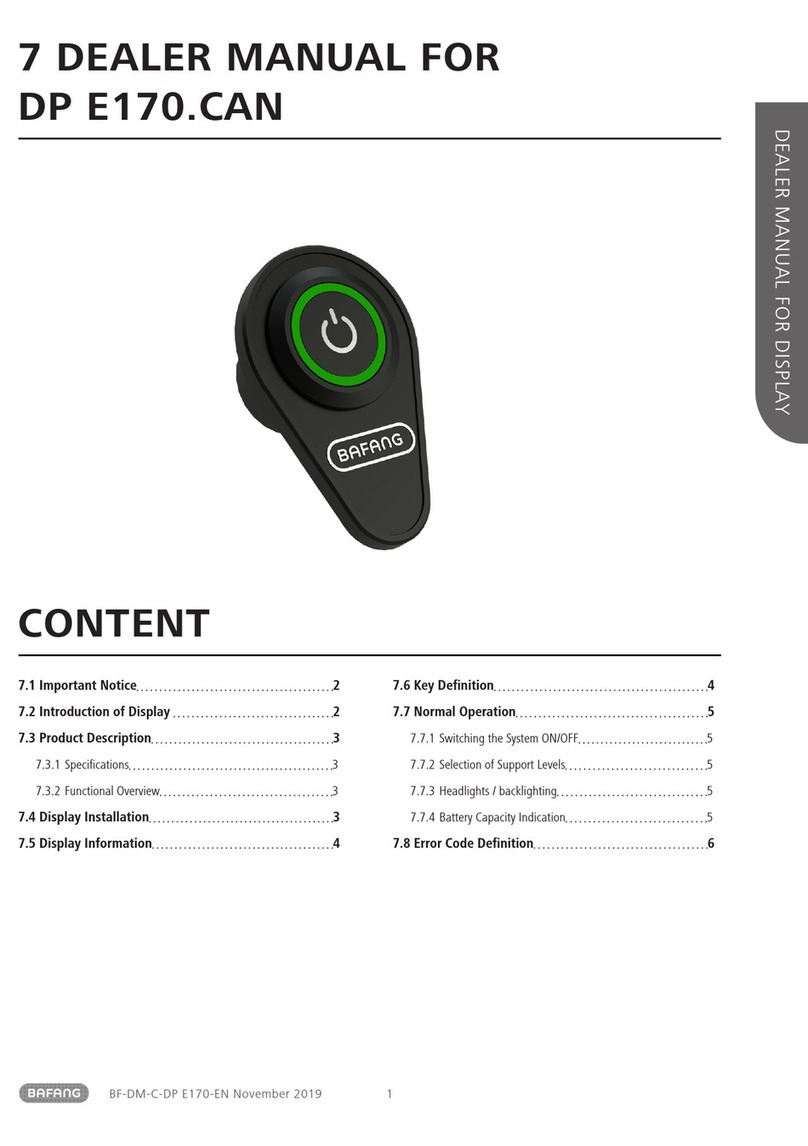
To switch on the LCD screen, press and hold the power button for two seconds.
When the display lights up, it is ready to use.

Depot2U
Last update: 07/10/2021
HW
Upper Display Menu:
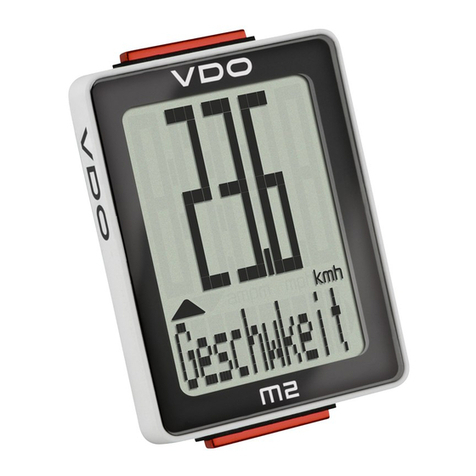
The upper display menu is responsible for showing you speed.
The default setting is current speed.
Long press the S+ button to change between current speed, max speed recorded and
average speed. When the bike is switched off, the values will reset to 0 for your next trip.
Lower Display Menu:
The lower display menu is responsible for showing you overall milage recorded on the bike
(odometer), current trip milage, current battery voltage, output current to motor and the
duration of time that the bike has been switched on for.
Short press the Power button to change between ODO (odometer), TRIP (current trip
milage), VOL (current battery voltage), CUR (N/A to this bike) and T1 (duration of time the
bike has been switched on for)
Walking assist:
Walking assist is useful for maintaining the bike at a walking speed without pedalling. Press
and hold CUR or S- to activate walking assist. Walking assist will only go to 3kph.
To disengage walking assist, press any of the brake levers.
Lights:
The rear light is always switched on to maintain visibility. Being an LED, this draws minimal
power from the battery and has little to no effect on the charge of the battery.
The front light is operated by pressing the CUR button once (short press) to switch on, and
another short press to switch off.

Depot2U
Last update: 07/10/2021
HW
1. Battery Charging & Locking
The battery can be charged on or off the Bike.
The battery lock has three positions, ON, OFF & UNLOCK. To remove the battery, turn the
key anti-clockwise to the unlock position. Remove the battery by using folding handle on top
of the battery and sliding up the guide rail. Slide battery back down guide rail to install.
Turn Clockwise AND PUSH key inwards at the same time to lock battery into place.
Please ensure you regularly charge the battery to prolong lifespan. Do not overcharge.
Regular charging / discharging will keep battery in best form.
To charge, raise the battery handle to expose the charging port underneath. Insert end of
charger and plug in. Red light denotes charging, green when fully charged.
2. Assembly
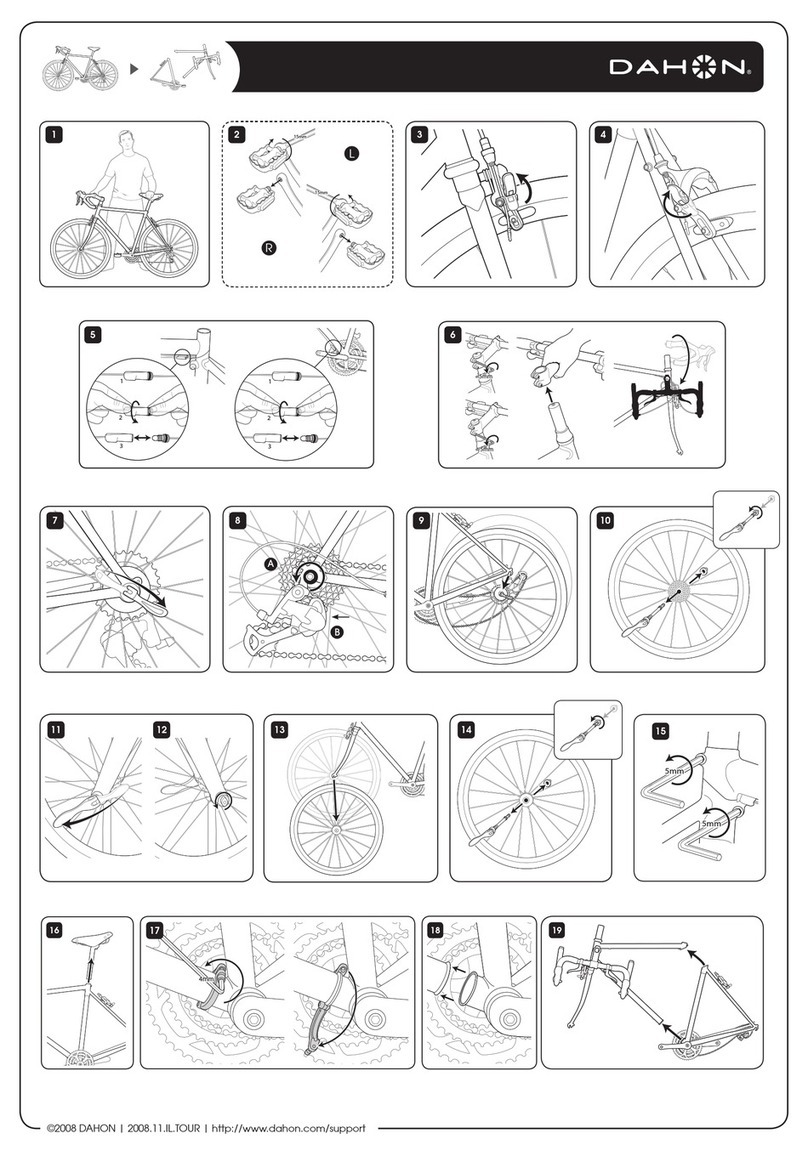
Carefully lift the bike out of the box. Unfold the bike to complete the frame and lock the
central locking pin in place. Some adjustment may be needed to get the locking clasp to fit
properly –this can be done by rotating the locking clasp clockwise / counter clockwise to
tighten / loosen. This should be a snug fit, but not forced in. If the central frame or locking
clasp has movement once locked, it will need tightening. Once the mid section is locked in
place, bring the handlebar stem up into position and lock with the locking clasp. Finally,
adjust the saddle and handlebar height with the relevant locking clasps, and then unfold the
pedals. To fold the pedals back in, squeeze the trigger inside of the pedals and fold in at the
same time.
3. Motor Starting
Ensure battery is switched to ON position (turn the key clockwise to third position)
Press and hold power button on the control panel until the display lights up.
When the display illuminates, the bike is switched on.
Press and hold power button until the display is off to switch off the controller, and turn the
key one position to the left to switch off main power.
4. Controls
To switch lights on, press the CUR button (next to the power button). Repeat the turn light
off.
(Separate LED Battery light on rear with switch to power on)
Assist levels range between 0 (lowest assistance) & 5 (maximum assistance) –use the up
and down keys when the bike is switched on to cycle through the appropriate levels.
3 is a good balance of power and energy conservation.
If your bike has been subjected to a lot of mud / water, please remove the battery as soon as possible
and wipe away any excess dirt / moisture that has accrued near the battery terminals.
For help & support, please contact stores@depot2u.co.uk

PUSH KEY IN AND TURN LEFT
TURN LEFT
PULL UP WITH HANDLE
Key in 12 o’clock posion means the baery is
switched on. The baery must be switched on to
turn the bike on, which is done on the control pad
by pressing and holding the power buon.
To turn baery o, turn the key
anclockwise / le unl it clicks.
To unlock the baery, push the key in and
simultaneously turn anclockwise / le unl it
clicks.
Remove baery by pulling up using the baery
handle. (You will need to li the saddle into the up-
right posion to remove the baery.
Li the blue lever under the back of the saddle to
do this.
Depot2U
Last update: 07/10/2021
HW


