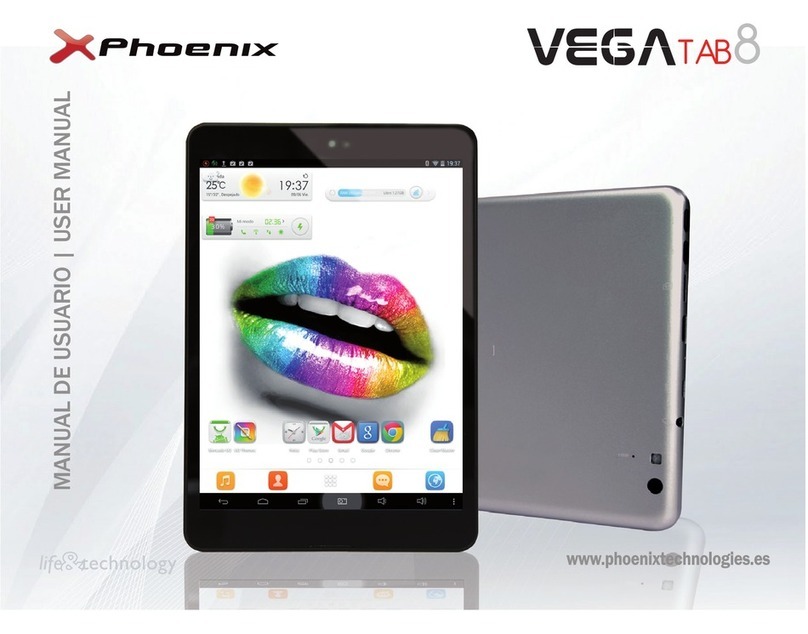
Dialog Tab Pro User manual


1. Basic Operation
Power On
Press POWER button for around 2 seconds and the device
will start up and display the lock screen. Slide the lock to
unlock Home Screen.
Power Off
Press POWER button for around 2 second and choose Power
off in the popup.
Standby
When the device is working, press POWER button shortly to
shut the display and it goes into standby mode. Press
POWER button again to awake the device, and slide the lock
to continue.

Recharging
When the device cannot be turned on normally or shut
down automatically, it may need to be recharged. Please use
the correct charger as the manufacturer guides.
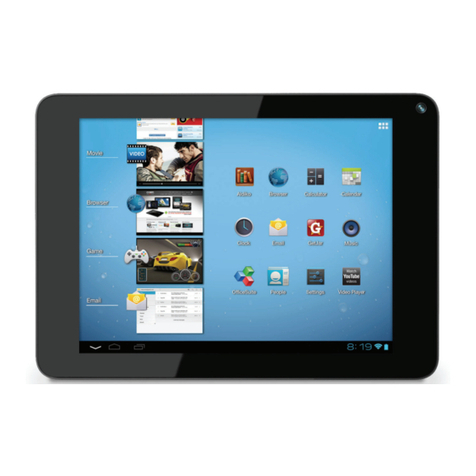
Home Screen
Tap to go to Home Screen.
Back Button
Tap to go to the previous page.
Recent Task
Tap to view recent tasks. Tap the task frame to open it,
or long press it to remove from list.

Menu
On different interfaces, you can tap to view menu.
Applications
Tap to launch apps list. Slide the page to view all
applications and widgets.
2. Home Screen
There are several pages for Home Screen, slide left or right to
view more.
Add apps & widgets to Home Screen
Launch apps list, press icons and draw them to Home Screen.
At Home Screen, press an icon to drag leftward or rightward
to move it to other pages, or delete it.

Wallpaper
Long press blank area of Home Screen, choose different
ways of setting wallpapers in the popup.
Notification Bar
Slide downwards from top of Home Screen to view
Notification Bar, which can show switches of Wi-Fi,
brightness, etc. Slide upwards to go Home Screen again.
Search
Tapto search information at local or internet, and
Voice Search is supported. Tap the search result to access
related application.

3. Connectivity
4.1 Wi-Fi
With Wi-Fi, you can connect to the internet or other
network devices anywhere an access point or wireless
hotspot is available.
Activate the Wi-Fi feature
1. From application list, tap Settings.
2. In the field of WIRELESS & NETWORKS, tap Wi-Fi feature.
Find and connect to Wi-Fi
1. Once you enter Wi-Fi feature, the device automatically
searches for available Wi-Fi connection.
2. Select a network.
3. Enter a password for the network (if necessary).
4. Select Connect.
4.2 USB Connection
You can connect your device to a PC and use it as a
removable disk, which allows you access the file directory.
1. If you want to transfer files from or to a memory card,
insert a memory card into the device.
2. With a USB cable, connect your device to a PC.
3. Open the folder on PC to view files.
4. Copy files from the PC to the memory card.

4. Phone Functions
All functions in this chapter require 2G (3G/4G if applicable)
network service, which means you need to install proper SIM
cards into this device. Service fees of network apply.
Phone call
●Tap the icon to dial.
●Input a phone number, tap to dial, or tap Add to
contacts to save as number to contact.
●Tap to select more options.
Contacts
●Tap the icon to enter Contacts.
●Tap contact names to call or send message.

●Tap the icon to add a new contact. Input names and
numbers and then tab back to save the contact.
Messaging
●Tap the icon to enter messaging function.
●Tap the icon to create new message.
●Tap the icon to send message.
GPS Navigation
●The tablet PC has built-in GPS module, please install third
party’s navigation applications to experience navigation
function. 2G/3G network fees may apply.

5. Email
To receive and send mail, you must have a remote mailbox
service. This service may be offered by a service provider.
Your device is compliant with applicable internet standards
for POP3 / IMAP / Exchange. Before you can send or receive
mail on your device, you need to set up an email account
and define the email settings correctly. You can define more
than 1 mailbox.
To set up your email,
1) Tap Email from application list.
2) You can use mailbox guide to set up your mailbox, tap
Next until it’s done.
3. If you need to add another email account, tap the option
button at the upper right –Settings -- ADD ACCOUNT, then
set up the email account with the mailbox guide.
When you are finished setting up the email account, the
email messages will be downloaded to your device. If you
have created more than two accounts, you can switch
between email accounts. Select an account name at the
top-left of the screen, and select the one you want to
retrieve messages from.
From Email function, you can always read, create, and send
emails on this Tablet PC device.

6. Apps
Install New Apps
Play Store allows you to easily download an abundance of
applications directly to your device. Before using the Play
Store, you must have a Google Account.
●From the application list, tap Play Store.
●Sign in to your Google Account.
●Search for and download applications as desired.
●Follow the on-screen instructions.
Note: All applications offered by Play Store are developed by
third party. To get the information about the developers, you
can read the descriptions of each application. The original
manufacturer of this Tablet PC is not liable for performance
issues caused by third-party applications.
Applications uninstall
●Tap Setting –Apps –All.
●Tap the application you want to remove.
●Tap Uninstall.
Applications management.
●Tap Setting –Apps –All.
●Tap application and choose Force stop, Disable, Uninstall,
Clear data or Move to SD (or USB storage).

7. Play music
On the application list screen, tap Music to access.
Note: Some files may not play properly depending on how
they are encoded.
To add music files to your device, transfer files to your device
or memory card first.
Play music
1) Select a music file.
2) Control playback with the virtual keys.
The current list of songs are randomly shuffled for
playback.
Replays the current list when the list ends.
Repeats the current playing song.
Create a playlist
1) Tap the MENU icon (next to the music file).
2) Select Add to playlist.
3) Select New.
4) Enter a name.
5) Tap Save.
To delete a playlist, tap the music button on the upper left
and then select Playlists, and then tap the MENU button
next to the playlist you want to delete and select Delete.

8. Gallery
To view or organize images and videos, send your files to
other devices and set pictures as wallpapers, select Gallery
from application list.
View a picture
1) Select a folder.
2) Select a picture to view. To view more pictures, scroll left
or right.
3) To zoom in, place two fingers on the screen and spread
them apart. To zoom out, move fingers closer together. You
can also double-tap the screen.
4) To start a slideshow, tap the option button and then select
Slideshow.
5) To view the details of a file, tap the option button, then
select Details.
6) To share a picture with others via Email, tap at the
title bar.
7) To set a picture as wallpaper, tap the option button at the
upper right—select Set picture as Wallpaper, Zoom in or out
to set wallpaper effect, and then tap SET WALLPAPER.
8) To set a picture as a caller ID, tap the option button at the
upper right—select Set picture as—Contact photo—Contacts,
create a new contact or select an existing contact, drag the
slides of the crop box to create the crop area.

Edit a picture
1) To crop the image, tap the option button at the upper
right, then select Crop.
●To move the crop box, tap and hold the crop box and
drag it to the desired location.
●To add or subtract from the selection border of the crop
box, drag the crop box to the desired size.
●When you are finished, tap Save.
2) To edit pictures and apply various effects, tap the option
button at the upper right, then select Edit.
●To apply a color effect, tap .
●To apply a photo frame effect, tap .
●To crop, straighten, rotate or flip the image, tap .
●To adjust contrast, tap .
Play a video
1) Select a folder.
2) Select a video to play.
3) Control playback with the virtual keys.
Tips: You can also use the tablet's pre-installed Video player
to play videos, or open the video files from File Manager
directly. Moreover, you can install third party apps to play
videos.

9. Camera
With the camera function, you can take pictures and record
videos.
Take a picture
1) Open the application list and select Camera.
2) Before taking a picture, you need to make some
adjustments. Place two fingers on the screen and spread
them apart or move fingers closer together to zoom in or
zoom out.
3) Aim the lens at the subject and tap to take a photo.
The photo is saved automatically to the folder DCIM.
4) Slide from left edge of the frame to switch photographing
and video recording mode. Slide from right edge of the
frame to view the pictures.
Record a video
1) Tap to change to video mode from picture mode.
2) Tap to start recording.
3) During recording a video, tab the frame to take a picture,
which does not stop the video recording.
4) Tap to stop recording. The video is saved
automatically to the folder DCIM.
5) Slide from right edge of the frame to view the pictures.

10. System Settings
Tap Setting icon to enter system settings, including
Wireless & networks, Audio profiles, Display, Storage,
Battery, Apps, Location, Security, Language & input, Backup
& reset, Accounts, Date & time, Accessibility, Developer
options, About tablet, etc.
Quick Search
You can also tab at the upper right of Setting interface,
input keywords of settings for quick access.
Reset tablet
You can reset system and desktop settings to their original
values by the following steps:
1) Select Settings—Backup & reset from application list.
2) Tap Factory data reset.
3) If you want to erase all data on your tablet, such as music,
pictures and any other data, select Erase SD card.
4) Tap Reset tablet, the device resets to the factory default
settings automatically.
Warning!: Factory data reset will erase all data from your
device and SD card, including your Google account, system
and application data and settings and any other downloaded
applications.
Table of contents
