7
deutsch
Inhalt
Einführung ........................................................ 7
Installieren der Treiber........................................ 7
Überprüfen der erfolgreichen Installation ............ 10
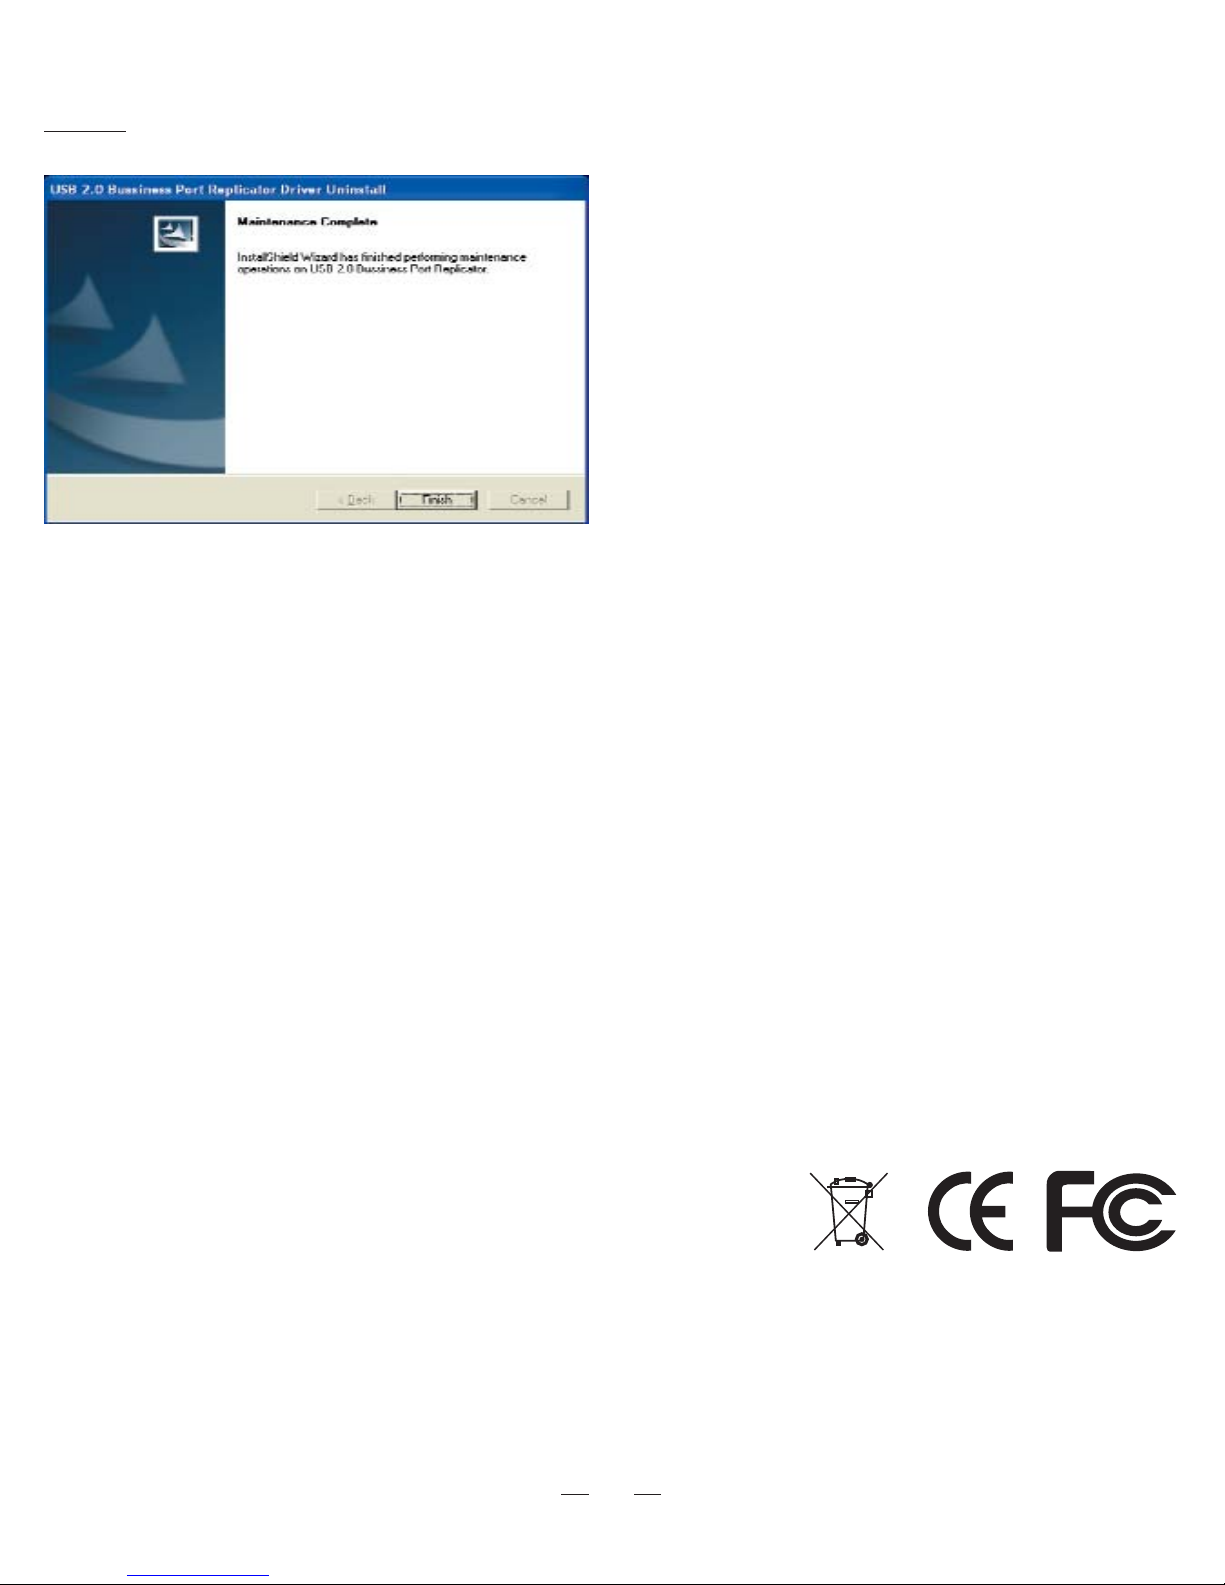
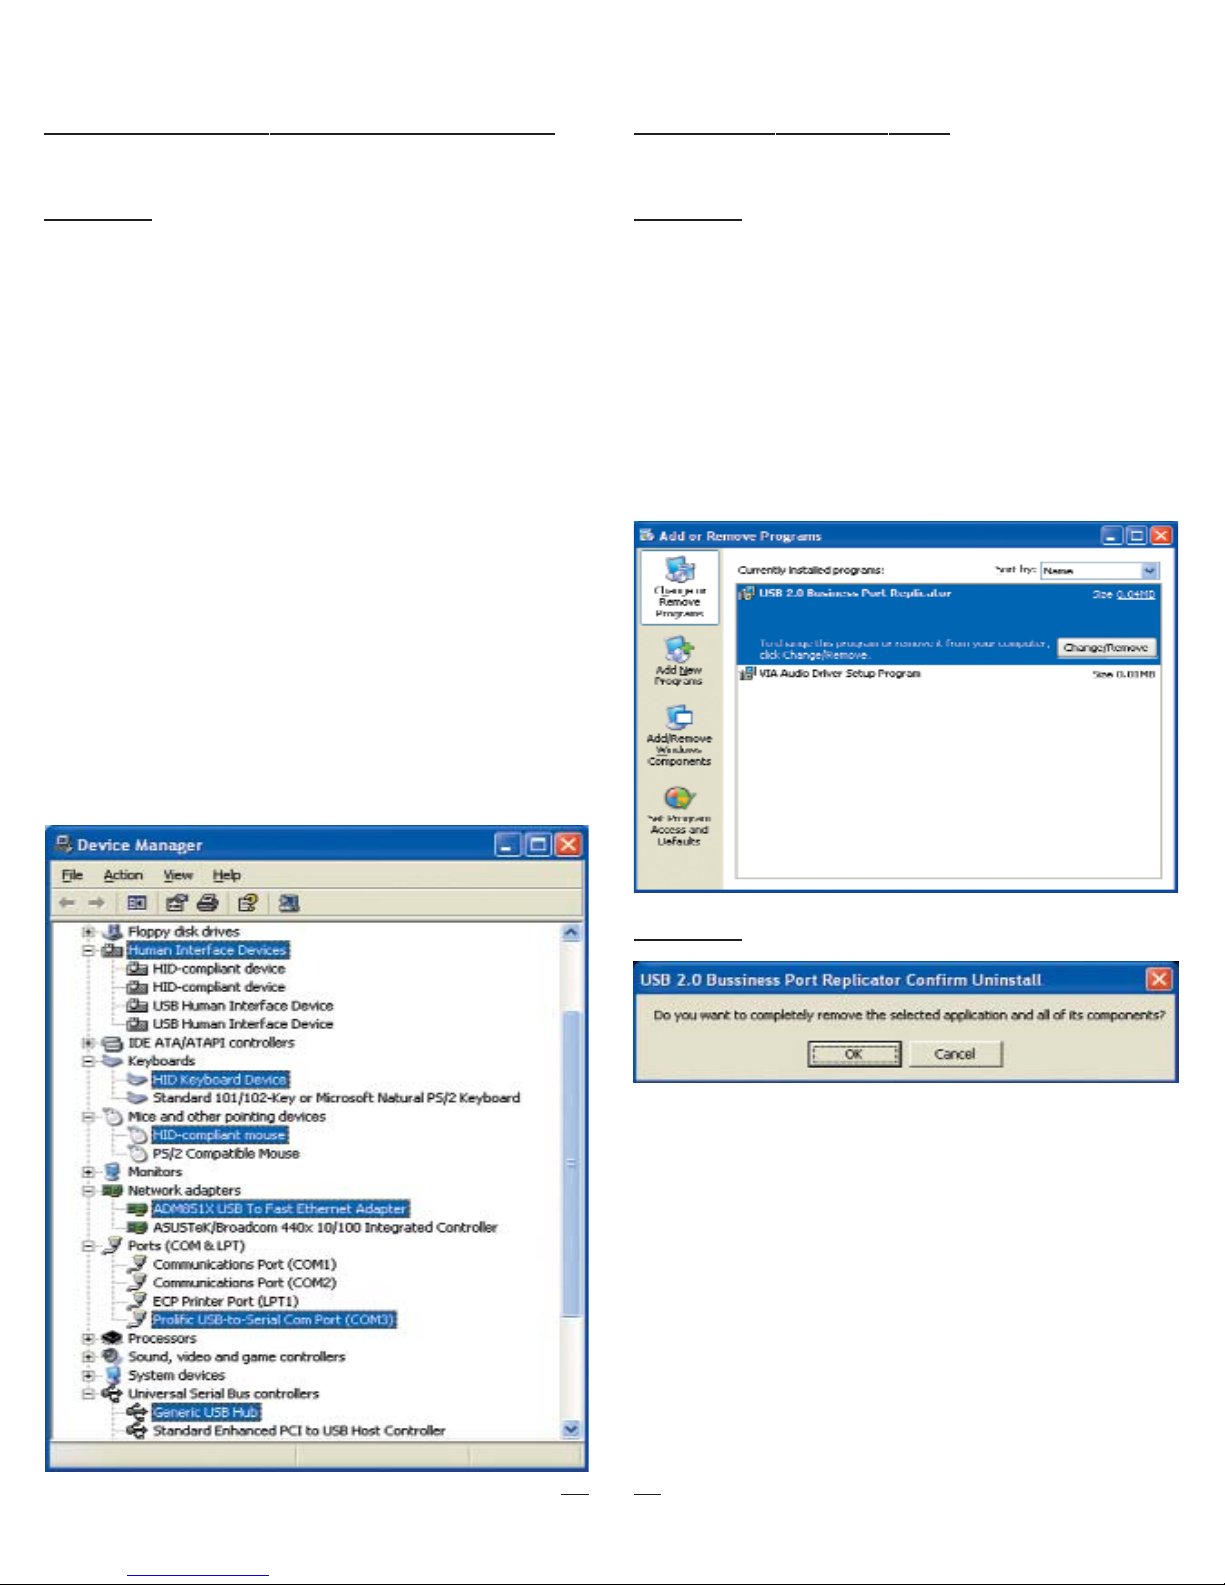
Deinstallieren der Treiber .................................. 10
Einführung
Vielen Dank, dass Sie sich für den Replicator 2.0 ent-
schieden haben. Er ermöglicht eine einfache, flexible und
hoch skalierbare Connectivity-Lösung zwischen Ihrem PC
und allen USB 1.0/1.1/2.0-kompatiblen Geräten. Der Re-
plicator 2.0 bietet: 4 USB 2.0-Anschlüsse, 2 PS/2-An-
schlüsse, 1 seriellen Anschluss (RS 232) und 1 USB 2.0
LAN-Anschluss, der Übertragungsraten von 10/100
Mb/s unterstützt. Mit dem Replicator 2.0 können Sie die
neuesten leistungsfähigen USB 2.0 Peripheriegeräte, wie
hoch auflösende Videokonferenzkameras, Scanner und
Printer zusammen mit Ihren vorhandenen Geräten mit se-
riellen, USB 1.1-und PS/2-Anschlüssen verwenden. Der
Replicator 2.0 erspart Ihnen Zeit und reduziert den Ver-
schleiß Ihres Notebooks, da er ein ständiges Wechseln
der Anschlüsse überflüssig macht.
Systemanforderungen
• Freier USB 2.0-Anschluß
• Windows 2000/XP
Packungsinhalt:
• 1 x USB 2.0 LAN Dock
• 1 x USB 2.0-Verbindungskabel A/B (1800 mm)
• 1 x Wechselspannungs-Netzteil (5V/3A)
• 1 x Treiber-CD-ROM
• 1 x Benutzerhandbuch
LED-Anzeigen:
• Verbindungsstatus
– Wenn der Replicator 2.0 an einen Desktop-PC
oder ein Notebook angeschlossen wird, leuchten
alle LED-Anzeigen auf (mit Ausnahme der Anzeige
„10/100M Link“, die nur bei angeschlossenem
Ethernet leuchtet).
• LED-Anzeige POWER
– Wenn nur das Netzteil an den Replicator 2.0
angeschlossen ist, leuchten die LED-Anzeigen
POWER und PS/2 auf.
• LED-Anzeige ETHERNET
– Wenn eine Ethernet-Verbindung besteht, leuchtet
die LED-Anzeige LAN rot.
– Wenn eine Ethernet-Verbindung mit 100 Mb/s be-
steht, blinkt die LED-Anzeige LAN rot und grün.
Hinweise
Schritt 3: Klicken Sie auf „Weiter“, um fortzufahren.
• Für einen stabilen Betrieb des Replicator 2.0 ver-
wenden Sie bitte das mitgelieferte Netzteil.
• Wenn es zu einer Überlastung der Anschlüsse des
USB 2.0 HUBs kommt, führen Sie ein Reset des
Replicator 2.0 durch, oder trennen Sie diesen kurz-
zeitig vom Notebook und schließen Sie ihn anschlie-
ßend wieder an.
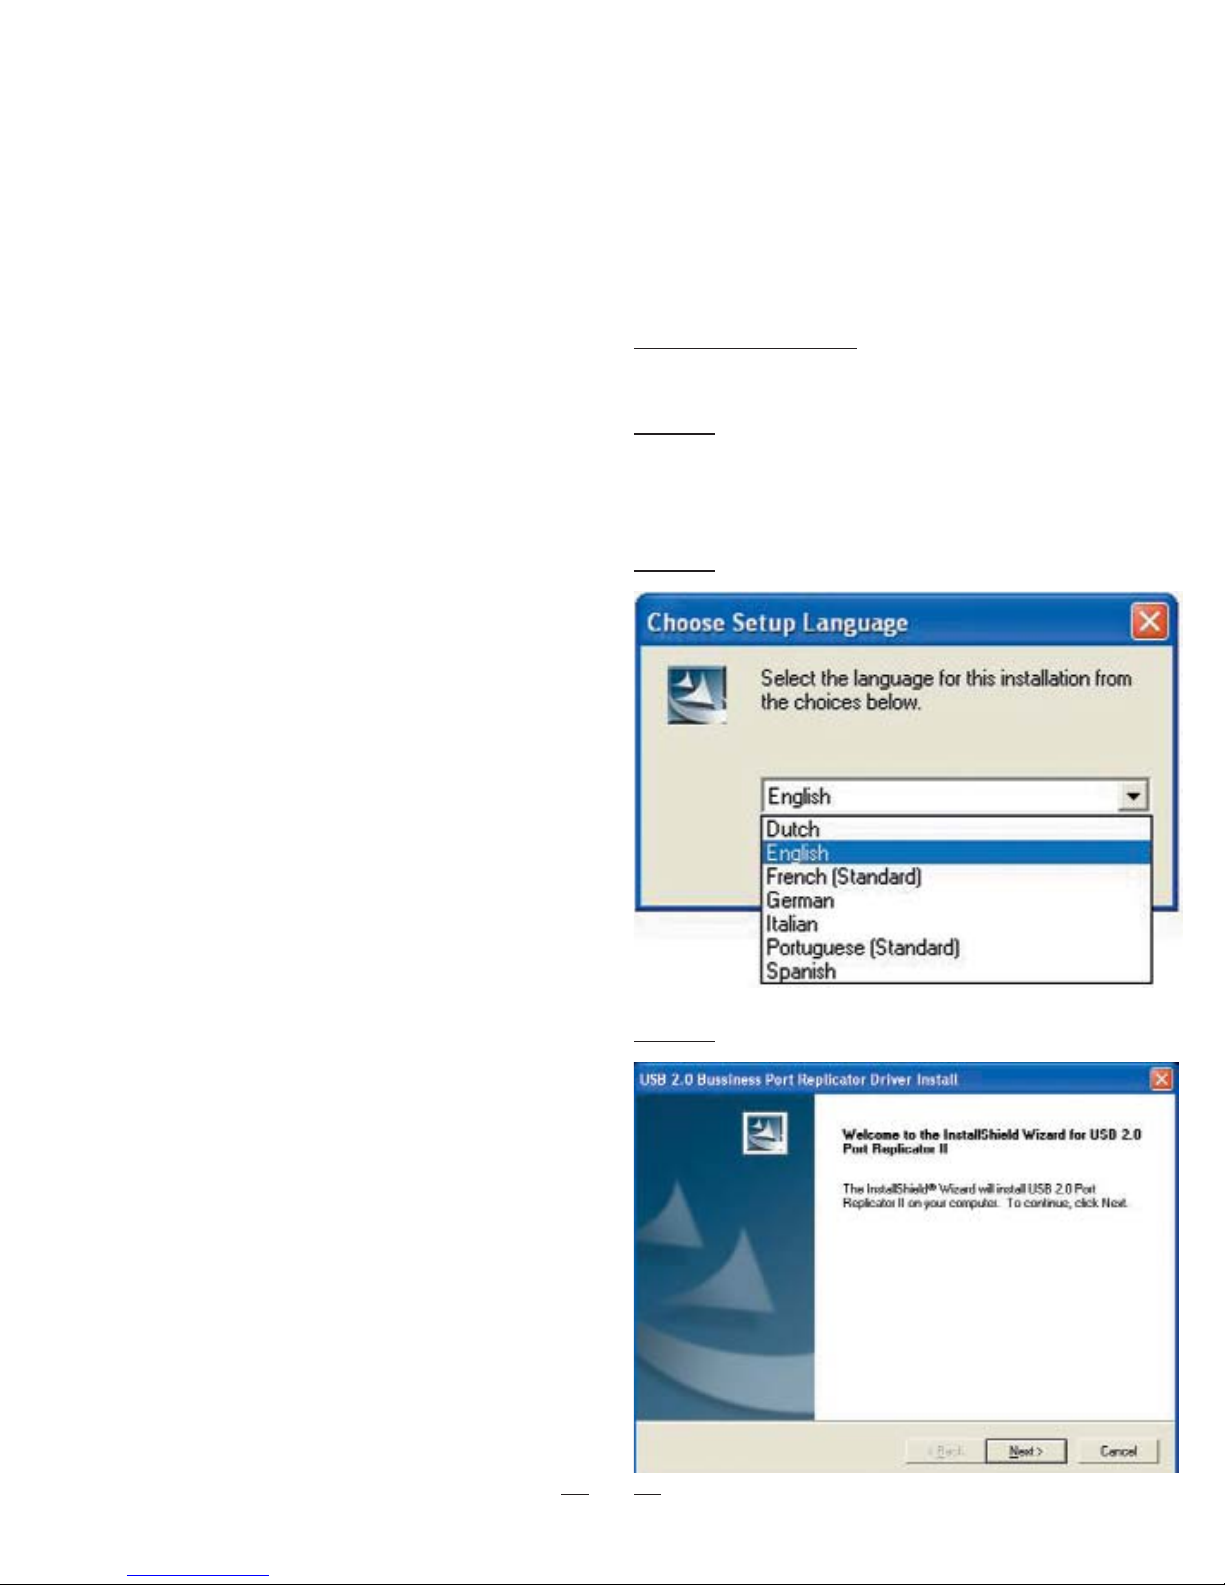
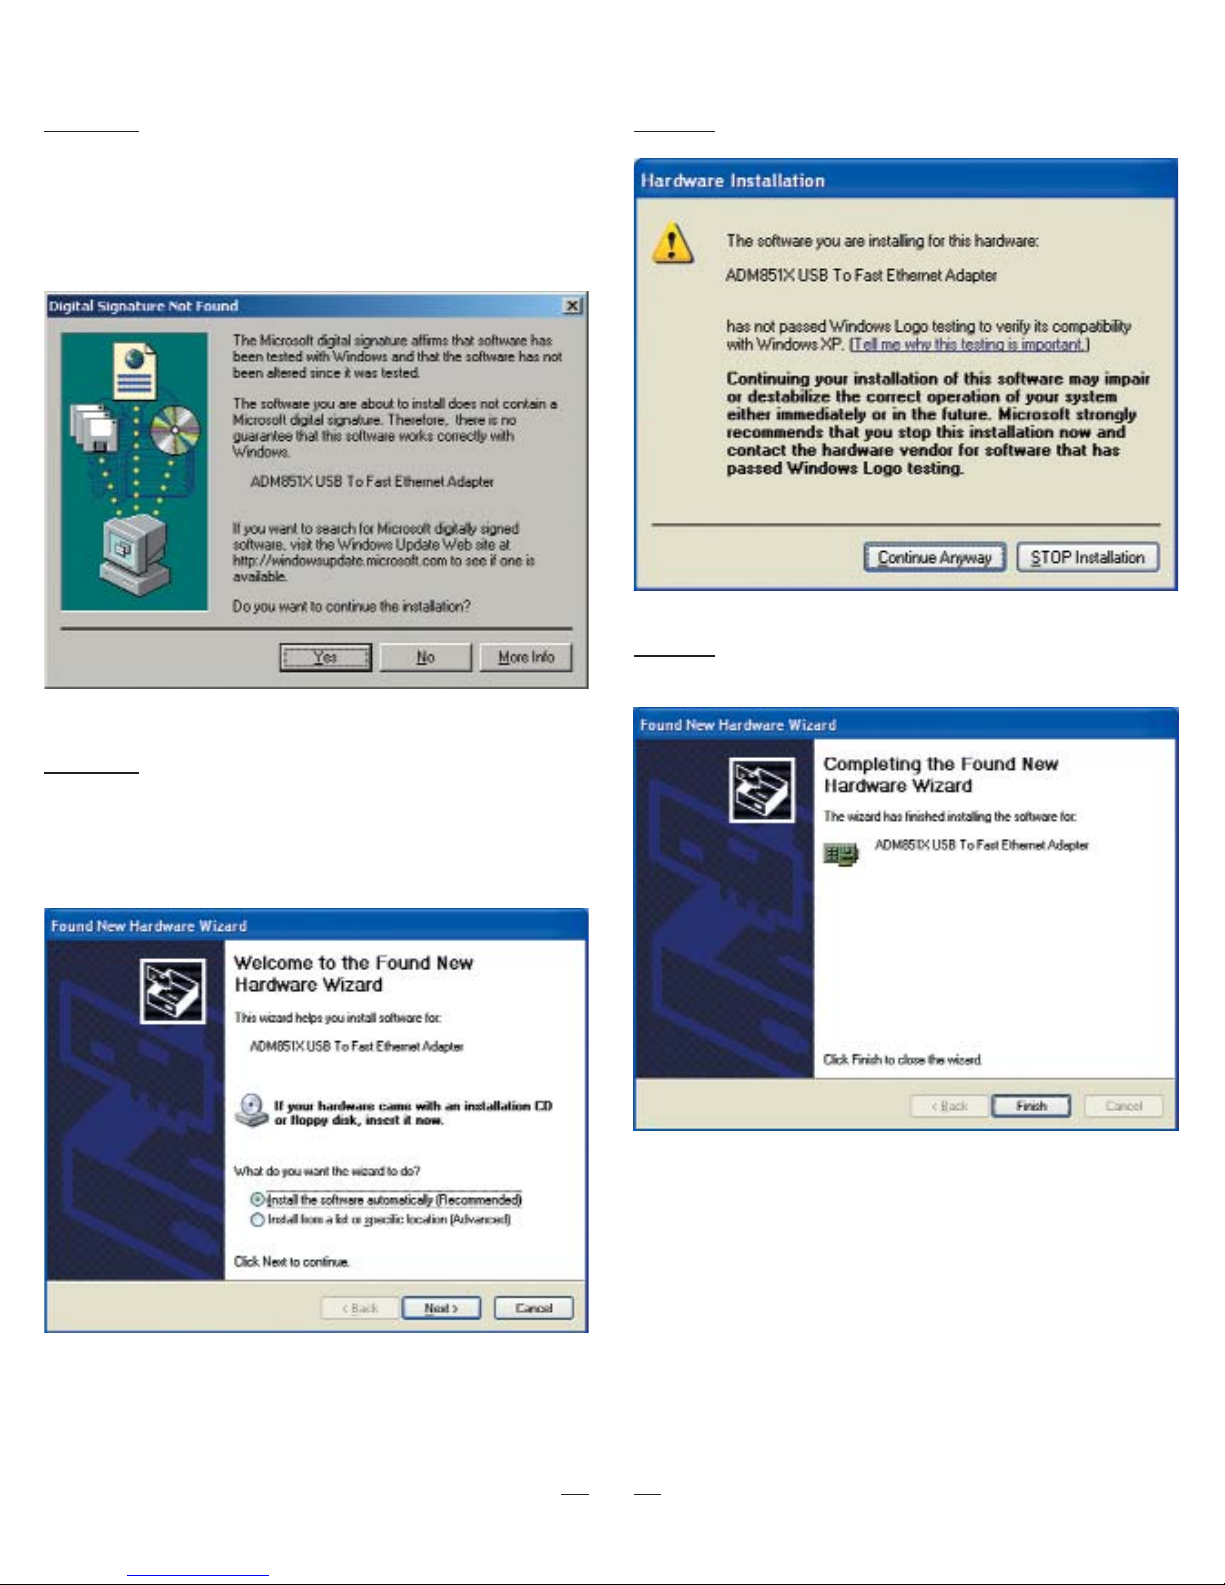
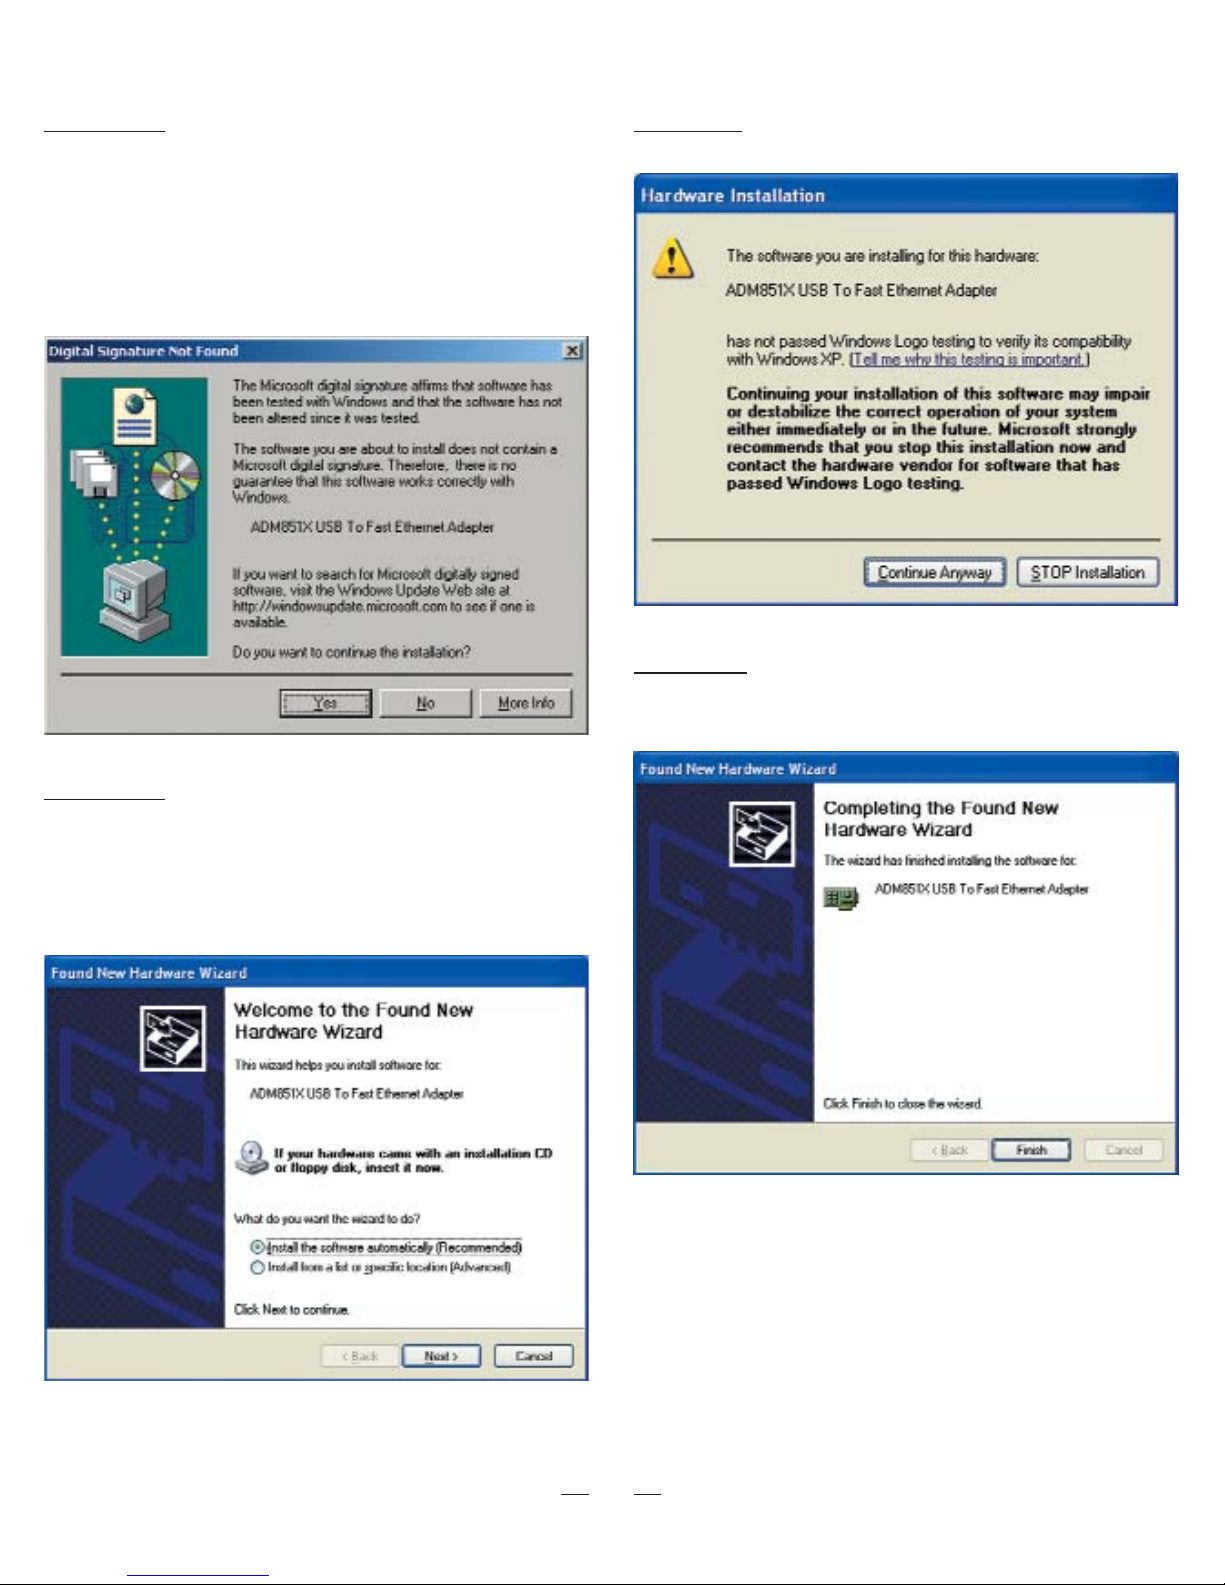
Installieren der Treiber
• Windows 2000/XP
Schritt 1:
• Legen Sie die Treiber-CD-ROM in das CD-Laufwerk
ein. Die Installation startet automatisch. Sollte die In-
stallation nicht selbständig starten:
•
Doppelklicken Sie auf „Arbeitsplatz“ und klicken Sie an-
schließend auf das CD-Laufwerk. Die Installation startet
jetzt automatisch. Anderenfalls doppelklicken Sie auf den
Ordner „Driver“ und anschließend auf „setup.exe“.
Schritt 2: Bitte wählen Sie die Sprache aus, um fort-
zufahren.