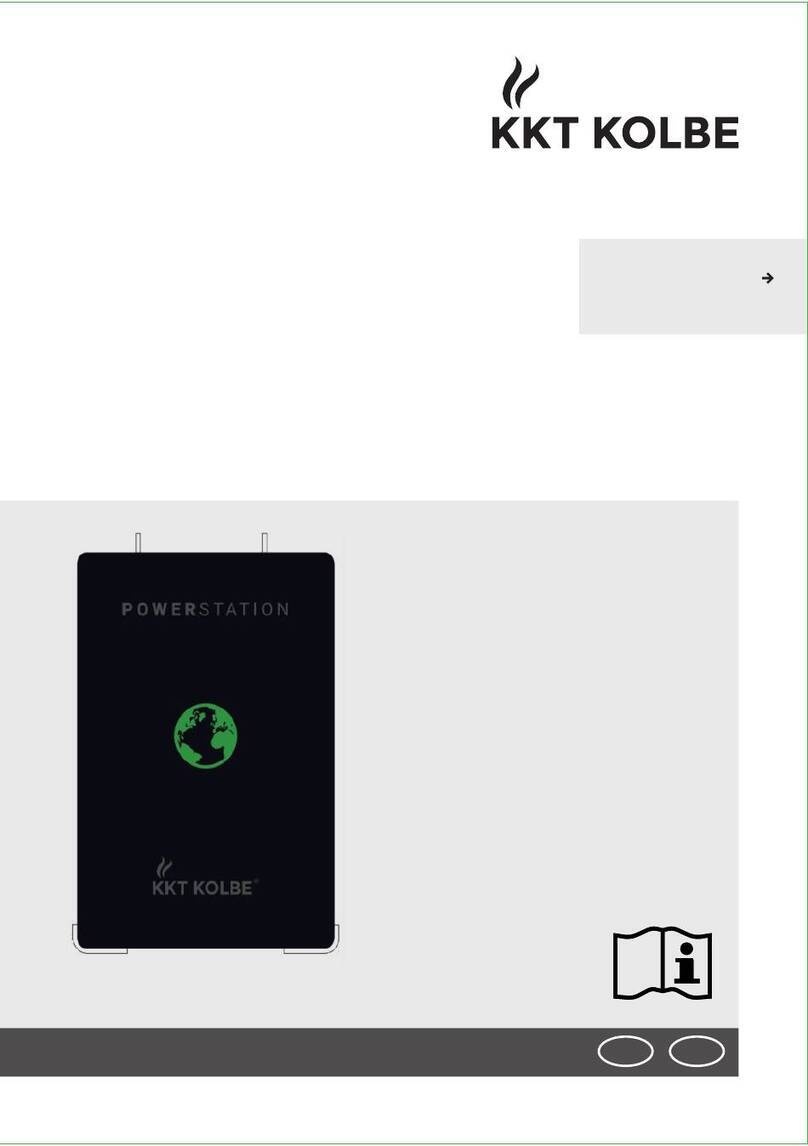
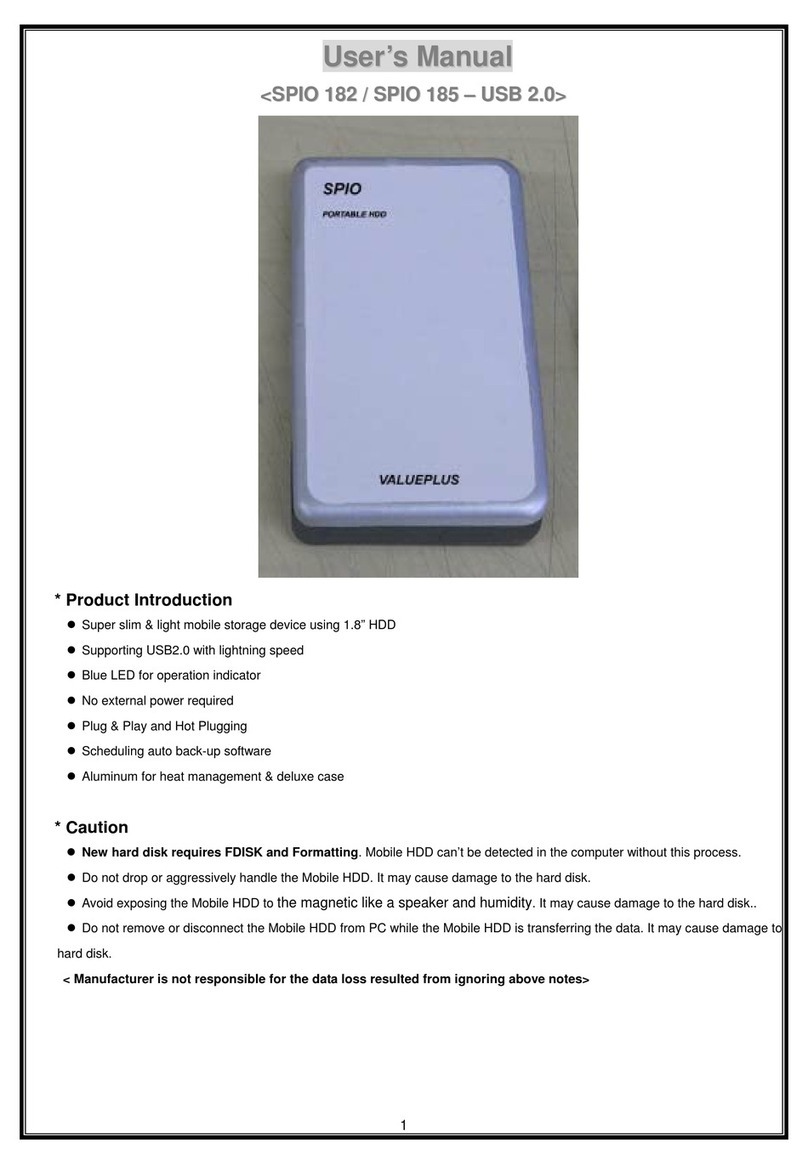
DigiSAFE DiskCrypt Mobile DCM300 User manual

USER MANUAL
DISKCRYPT MOBILE
DCM300

This page has been left blank intentionally

DiskCrypt®Mobile
USER MANUAL
G-P6019-TM001
(ISSUE A)
Issue Date: Apr 2009
Copyright
© 2009 ST Electronics (Info-Security) Pte Ltd. All rights reserved. No part of this
material may be reproduced, transcribed, used or disclosed to any third party in any form
or by any means, without the written permission of ST Electronics (Info-Security) Pte Ltd.
Trademarks
DigiSAFE logo and DiskCrypt are either trademarks or registered trademarks of ST
Electronics (Info-Security) Pte Ltd in Singapore and/or in other countries. DigiSAFE logo is
a registered trademark in U.S. Patent and Trademark Office. All other trademarks or
registered trademarks are the property of their respective owners.
2009.04.01 Version 1.0
ST Electronics (Info-Security) Pte Ltd
ST Electronics Jurong East Building
100 Jurong East Street 21
Singapore 609602
Tel: (65) 6568 7118
Fax: (65) 6568 7226
Email: [email protected]
Website: www.digisafe.com

G-P6019-TM001
ST Electronics (Info-Security) ISSUE A
i
This page has been left blank intentionally

G-P6019-TM001
ST Electronics (Info-Security) ISSUE A
ii
Disclaimer
DigiSAFE DiskCrypt Mobile DCM300 has been designed to be compliant with the SATA
hard drive operating specifications as well as USB 1.1/2.0 and Firewire 400/800 operating
specifications.
ST Electronics (Info-Security) accepts no liability for any loss of data or the inability of
DiskCrypt Mobile to work with equipment that are not compatible with the above
operating specifications. Nor can ST Electronics (Info-Security) accept any liability or
responsibility for software which is also non compliant.
Thank you for purchasing DiskCrypt Mobile.

G-P6019-TM001
ST Electronics (Info-Security) ISSUE A
iii
Contents
1. About this Guide.................................................. 1
2. Introduction ........................................................ 2
2.1. About DiskCrypt Mobile DCM300 2
2.2. DCM300 Connection Ports 3
2.3. Checklist 3
2.4. Specifications 4
3. Installation.......................................................... 5
3.1 Installing a hard drive 5
3.2 Connecting DCM300 to a computer 6
3.3 Using the built-in keypad 7
3.4 Using an AC Power Adapter 8
4Authentication........................................................ 9
4.1 Inserting the smart card 9
4.2 Entering your PIN 9
5Setting up the drive.............................................. 10
5.1 Setting up a new drive 10
5.2 Setting up an existing drive 10
6Disconnecting DCM300......................................... 11
7Smart Card Security Features............................... 12
7.1 PIN Change 12
7.2 Administrative Mode 13
8Helpful Information.............................................. 14
8.1 Partitioning and formatting your hard drive 14
9Care and Handling................................................ 15
10 Frequently Asked Questions .............................. 16
11 Troubleshooting ................................................ 19

G-P6019-TM001
ST Electronics (Info-Security) ISSUE A
iv
AMENDMENT RECORD
AMDT NO. AFFECTED PAGE(S) ECN/DCR NO. EFFECTIVE DATE

G-P6019-TM001
ST Electronics (Info-Security) ISSUE A
1
1. About this Guide
This guide is designed to provide step-by-step instructions for installation of DigiSAFE
DiskCrypt Mobile DCM300 and as a reference for its operation and usage.
PLEASE READ AND FOLLOW THE INSTRUCTIONS
PROVIDED IN THIS GUIDE CAREFULLY AND
THOROUGHLY.
FAILURE TO DO SO MAY RESULT IN DAMAGE TO
DISKCRYPT MOBILE AND ANY OR ALL OF THE
CONNECTED DEVICES.

G-P6019-TM001
ST Electronics (Info-Security) ISSUE A
2
2. Introduction
2.1. About DiskCrypt Mobile DCM300
Congratulations on your purchase of DigiSAFE DiskCrypt Mobile DCM300. DiskCrypt Mobile
DCM300 represents the most advanced secure Mobile storage solution today, utilizing
smart card authentication technology and AES 128/256 bits full disk encryption. With
DiskCrypt Mobile, you can enjoy Mobile storage with the speed and convenience of both
USB 2.0 and Firewire 400/800 in a compact form factor, and be assured that your data is
safe from prying eyes.
DCM300 is a secure portable hard drive enclosure consisting of a 2.5” SATA hard drive
enclosure and a hardware-based encryption module that performs full disk encryption, i.e.
it encrypts every byte and every sector of data that is written into the hard drive. The
device is designed to fit standard 2.5” hard drives with a SATA interface, and
communicates with the computer via either standard USB 2.0 ports or Firewire 400/800
ports. By encrypting every single byte and sector, DCM300 is operating system
independent and does not require any software drivers. It also encrypts all temporary
files, as well as areas that would normally be missed and left “in the clear” by software
encryption products. Encryption and decryption occurs transparently without any loss in
disk performance. Users simply use their computers as usual with the assurance and
complete piece of mind that their data is fully protected in the unfortunate event that their
hard drives are stolen or lost.
DCM300 stores the hard drive encryption key in smart cards (two are provided per unit).
Smart card technology is well understood and represents the highest level of security
possible for secure data storage. It is vastly more secure than other solutions that use
hardware tokens, where the encryption key is stored in insecure memory that can be
easily duplicated. In contrast, smart cards store the encryption key securely within, and
can only be accessed upon presentation of a valid PIN. The user will need both the smart
card as well as knowledge of its PIN to be able to access the data in the connected hard
drive. By doing so, DCM300 enforces two-factor authentication, which is a higher security
protection by ensuring that the user possesses both the physical Smart Card and the
knowledge of its PIN.
The user is required to authenticate him or herself each time DCM300 is plugged into the
computer. After authentication, the drive presents itself to the operating system and the
user is granted normal drive access.

G-P6019-TM001
ST Electronics (Info-Security) ISSUE A
3
2.2. DCM300 Connection Ports
2.3. Checklist
The following items are included with DiskCrypt Mobile DCM300. If you discover any
missing items, please contact your distributor/retailer.
•1 x DigiSAFE DiskCrypt Mobile DCM300
•1 x USB Y cable
•2 x DiskCrypt Mobile smart cards
•1 x black pouch
DC Power Jack Mini-USB
receptacle Firewire 400/800
9pin recetacle

G-P6019-TM001
ST Electronics (Info-Security) ISSUE A
4
2.4. Specifications
Drive compatibility •2.5” SATA 9.5mm height drives (any capacity)
Bus Interface •USB 2.0
•Firewire 400/800
Physical •SATA 22 pin connector
•USB mini-B receptacle
•Firewire 9-pin receptacle
•1.3mm 5VDC jack
•Smart Card slot
•Dimensions: 130mm (L) x 78mm (W) x 22mm (H)
Power •Approx 5V 400mA max (excluding power drawn by the
HDD)
Authentication •Supports two-factor authentication via smart card and PIN
Smart Card •Supports ISO-7816 T=0 Class B cards
Encryption •NIST1certified AES hardware cipher engine
•Supported key strength: 128-bits/256-bits
Key Management •User-configurable PIN
•Admin password for administrative mode
Certifications and
Standards
•Designed to meet FIPS 140-2 Level 2
•FCC, CE
•RoHS compliant
Operating Systems •Operating System independent
•Tested with Windows®XP, 2000, Mac OS X and Linux
1NIST – The National Institute of Standards and Technology of the United States of America

G-P6019-TM001
ST Electronics (Info-Security) ISSUE A
5
3. Installation
To use DiskCrypt Mobile DCM300, simply remove the bottom cover and install your 2.5”
SATA hard drive by connecting it to the 22pin SATA connector within. Detailed step-by-
step instructions are provided in this section.
DCM300 is not shipped with any hard drive. You may purchase a standard 2.5” SATA hard
drive or use your existing 2.5” SATA hard drive with DCM300.
3.1 Installing a hard drive
DiskCrypt Mobile DCM300 supports standard 2.5” SATA hard drives. To install your 2.5”
hard drive, follow these three easy steps:
1. Turn the DCM300 enclosure over and carefully
remove its bottom cover, by pressing the latch
that can be found on the sides of the unit.
2. Connect the 2.5” SATA hard drive firmly to the
22pin SATA connector on the tray.
3. Carefully snap the bottom cover to the top cover.
Note:
•Please ensure the bottom cover is firmly snapped on to the top cover.

G-P6019-TM001
ST Electronics (Info-Security) ISSUE A
6
3.2 Connecting DCM300 to a computer
Once your hard drive is installed in DCM300, you are ready to use it with your computer.
To do so, follow these easy steps:
1. Insert the USB or Firewire 400/800 connector to
your computer’s corresponding port.
2. Insert the USB or Firewire 400/800 to DCM300’s
corresponding port. Ensure correct connector
orientation to obtain a snug fit.
3. The unit’s backlight will turn on, indicating that
DCM300 has powered up.
Notes on using USB port:
•Do not attempt to use DCM300 when connected to a bus-powered USB hub or USB
extension cable.
•Connecting to a non-USB compliant port may cause operation damage or failure.
•If insufficient power to DCM300, connect both connectors of the USB Y-cable to the
computer’s USB ports.
•To achieve USB 2.0 speeds, always connect DCM300 to a USB 2.0 Hi-Speed port.
Notes on using Firewire port:
•If you are using Firewire 400, please ensure that you have a 9-to-6 pin bilingual cable
and connect the 6 pin end to the computer’s Firewire port.

G-P6019-TM001
ST Electronics (Info-Security) ISSUE A
7
3.3 Using the built-in keypad
The built-in keypad allows you to enter/change your PIN (refer to Section 4 on
Authentication and Section 7 on changing PIN). It works on the principle of capacitive
sensing to provide a better user experience and can detect the presence of a touch on the
button.
Note:
•The keypad works on the principle of touch and users need NOT exert force on a
button to register a key pressed.
•It is recommended to avoid exerting force on the keypad since doing so over time will
cause the buttons to lose their sensitivity.
Status LED
indicators

G-P6019-TM001
ST Electronics (Info-Security) ISSUE A
8
3.4 Using an AC Power Adapter
DCM300 is designed to be powered by the USB bus. However, due to variances of your
PC’s hardware, the host USB power supply may be inadequate at times. In this case, an
extra AC power adapter is needed.
The specifications of the power adapter are:
Input: 100-240V AC, 50-60Hz, 0.5A
Output: +5V DC, 2A
DC plug: 1.3mm
Note:
•The AC Power adapter is not included as part of the packaging items.
•Please ensure that you have the right power adapter with you. Using an incorrect
power adapter may cause the unit to malfunction.
•DCM300 remains in authenticated mode as long as power is supplied. Please ensure
that you unplug the AC power adapter when away.

G-P6019-TM001
ST Electronics (Info-Security) ISSUE A
9
4Authentication
DCM300 requires users to authenticate themselves via two-factor authentication before
they are granted access to the installed drive. In order to do so, users must have the
included smart card (something you have) and its associated PIN (something you know).
The authentication process involves inserting the correct smart card into DCM300,
followed by PIN entry. Upon completion of these two steps, the connected drive will
present itself to the operating system, and can be used like a normal drive.
4.1 Inserting the smart card
DCM300 is shipped with two smart cards. DigiSAFE recommends that you use only one
card and keep the other in a secure place. In the event that one card is stolen/lost, you
may authenticate with the other card.
To begin authentication, simply insert the smart card with the contacts facing down. You
may insert the card before or after connecting DCM300 to your computer. Once a valid
card is inserted, the Status LED will blink once. If an invalid card is inserted, the Error LED
will light up.
4.2 Entering your PIN
Once DCM300 recognizes that a valid card is inserted, you may proceed to enter your 8-
digit PIN. The default factory PIN is “12345678”. At the end of your PIN entry, press the
Enter button.
Note:
•If an incorrect PIN is entered, the Error LED will blink continuously. Press the Esc
button to restart DCM300. If you have mistyped your PIN, press the Esc key at any
time to restart the entire authentication process.
•You will be locked out of your smart card after 8 incorrect PIN attempts. Therefore,
after about 5 incorrect attempts, it is advised that you seek for technical assistance
as in Section 11.Troubleshooting
Insert the smart card into the smart card
slot with the contacts facing down and the
word “DigiSAFE” on the card facing up
Enter your 8-digit PIN, followed by the
Enter button

G-P6019-TM001
ST Electronics (Info-Security) ISSUE A
10
5Setting up the drive
After you have successfully authenticated yourself to DCM300, drive access will be
granted. The connected drive will then present itself to the operating system as a
removable drive. Please wait for a few seconds for this process to fully complete. The
mounting duration depends on your drive and operating system.
Once the drive appears in your operating system, you may proceed to use it like a normal
hard drive.
5.1 Setting up a new drive
To set up a new hard drive, you have to partition and format it. Follow your operating
system’s instructions on how to do so, or refer to Section 8.1 Partitioning and formatting
your hard drive.
5.2 Setting up an existing drive
No additional steps are required to set up a previously formatted hard drive. The drive will
be recognized by the operating system and may be accessed as per normal.
Note:
•When using an existing drive, ensure that the drive’s file system is compatible with
your Operating System.
•DCM300 provides data-at-rest protection. After successful authentication, data in the
drive can be access as per normal usage. For maximum security, do not leave
DCM300 connected in authenticated mode while you are away from your computer.
•As with any other storage solution, please ensure that you make regular backups of
your data to protect against possible data loss.

G-P6019-TM001
ST Electronics (Info-Security) ISSUE A
11
6Disconnecting DCM300
CAUTION: To prevent data loss, ensure that all active applications are
closed before shutting down DCM300.
To disconnect DCM300, follow your operating system’s proper device removal process.
Windows XP
1. Double click on the Safely Remove Hardware Icon in
your system tray.
2. Select USB Mass Storage Device from the list, and
select the device you would like to remove.
3. Click Stop.
4. Click OK to confirm drive disconnection.
5. Click Close.
6. Windows will inform you that it is safe to disconnect
the device.
7. You may now safely disconnect the USB cable from
your computer.
Mac
1. Locate the Removable Disk Icon associated with
DCM300.
2. Drag the icon to the Trash icon on your desktop and
wait for the icon to disappear
3. You may now safely disconnect the USB cable from
your computer.

G-P6019-TM001
ST Electronics (Info-Security) ISSUE A
12
7Smart Card Security Features
You can perform certain smart card related security functions with DCM300. These
functions are only available before/during authentication. The following functions are
available.
CAUTION: Smart Card security and administrative functions must be
performed carefully as they cause changes in smart cards and associated
PINs. Please read the following instructions carefully and follow them when
performing administrative functions.
7.1 PIN Change
You can change your smart card PIN with DCM300. It is recommended that you change
the default factory PIN to another one that only you know. Follow these steps to change
your PIN.
1. Insert smart card into DCM300.
2. Press the Change Pin button, followed by the ‘1’ button.
3. Press Enter. The Status LED will blink three times.
4. Enter the current 8-digit PIN and press Enter. The Status LED blinks twice to notify
that you may press the new PIN.
5. Enter the new 8-digit PIN and press Enter. The Status LED blinks twice to notify that
you may press the confirmed new PIN.
6. Enter the new confirmed 8-digit PIN and press Enter.
Upon a successful PIN change, DCM300 will proceed to connect the drive. At the same
time, the Status LED will blink three times and there will be two ‘beep’ sounds upon a
successful PIN change. If not, the Error LED will blink continuously.
Note:
•DCM300 only accepts 8-digit PINs. If a shorter or longer PIN is entered, the Error LED
will blink continuously. Press the Esc button to restart the authentication process
again. You will need to restart the entire PIN Change process from step 2.
•Pressing the Esc key restarts the entire authentication process.
•Smart card PINs are specific to the physical smart card. Please be aware that you
may have different PINs for each of the two included smart cards.
•Again, you will be locked out of your smart card after 8 incorrect PIN attempts.

G-P6019-TM001
ST Electronics (Info-Security) ISSUE A
13
7.2 Administrative Mode
You may enter Administrative mode with DCM300. In this mode, you can change the
Admin PIN and/or initialize a DigiSAFE smart card so as to use it with DCM300. Additional
DigiSAFE smart cards may be purchased from STEE-InfoSec. You will need a supported
DigiSAFE smart card, and knowledge of the Admin PIN to enter the mode. The default
factory Admin PIN is “87654321”. To exit Administrative Mode, reconnect the USB cable.
7.2.1 Smart Card Initialization
To initialize a smart card, follow these steps:
1. Insert new smart card into DCM300.
2. The Error LED will light up indicating an invalid card has been inserted. Ignore the
LED.
3. Press the Admin button and press Enter. The Status LED will blink three times.
4. Enter the 8-digit Admin PIN and press Enter. The Status LED will blink three times
and there will be two ‘beep’ sounds if the correct PIN was entered.
5. DCM300 will proceed to initialize the smart card to be used with that particular
DCM300 unit.
Note:
•Once a new smart card is initialized, you will need to repartition/reformat any existing
drive, as the encryption key will be different. The existing data in the drive will be
unreadable with the new card.
7.2.2 Change Admin PIN
The Admin PIN provides a layer of protection around your DCM300 unit to deter others
from unauthorized usage of your DiskCrypt Mobile. It is recommended that you change
the default factory Admin PIN to another one that only you know. To change your Admin
PIN, follow these steps:
1. Insert the smart card into DCM300.
2. Press the Change Pin button, followed by the ‘0’ button.
3. Press Enter. The Status LED will blink three times.
4. Enter the current 8-digit Admin PIN and press Enter. The Status LED blinks twice to
notify that you may press the new Admin PIN.
5. Enter the new 8-digit Admin PIN and press Enter. The Status LED blinks twice to
notify that you may press the confirmed new Admin PIN.
6. Enter the new confirmed 8-digit Admin PIN and press Enter.
7. The Status LED will blink three times and there will be two ‘beep’ sounds if the PIN
change is successful.
If you have mistyped your PIN, press the Esc key at any time to restart the entire
authentication process.
Table of contents
