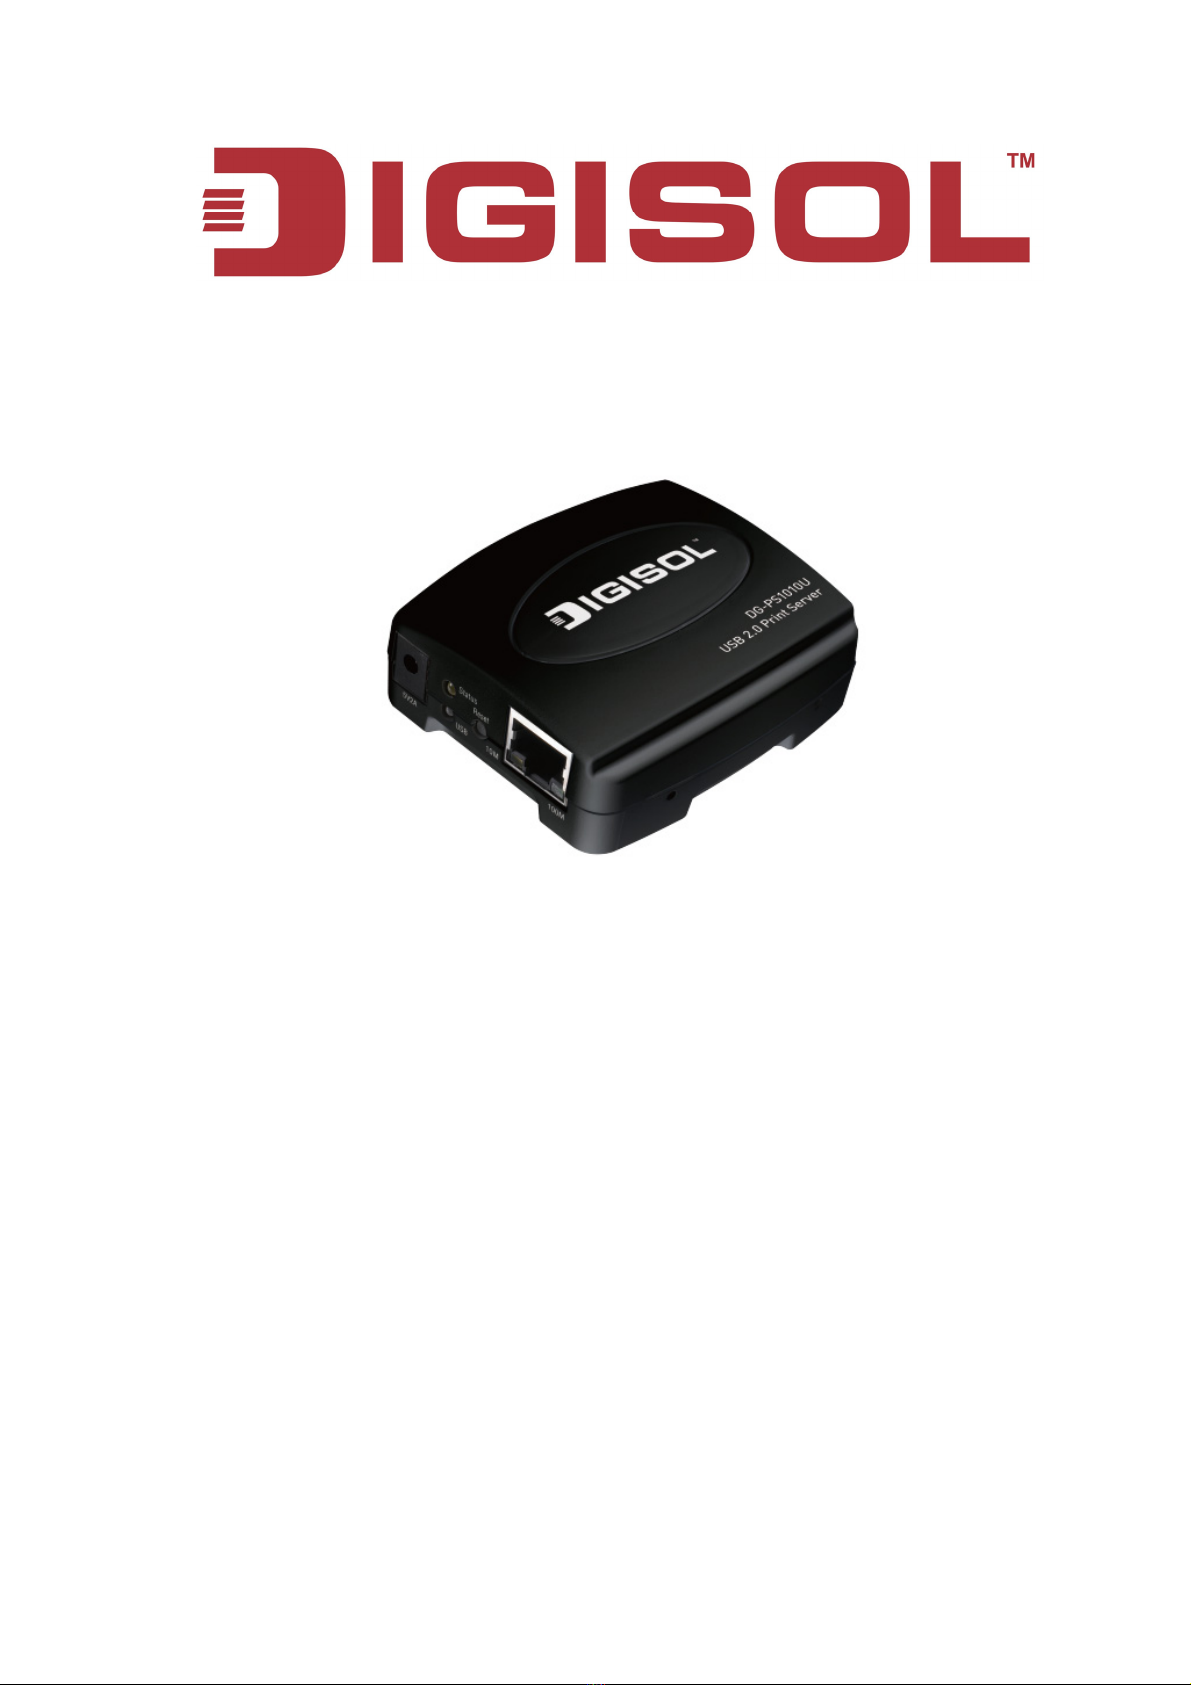
DG-PS1010U User Manual
4
TABLE OF CONTENTS
1. INTRODUCTION.............................................................................................................................................................6
PRODUCT OVERVIEW .........................................................................................................................................................6
NETWORK MANAGEMENT...................................................................................................................................................6
TECHNICAL SPECIFICATIONS .............................................................................................................................................6
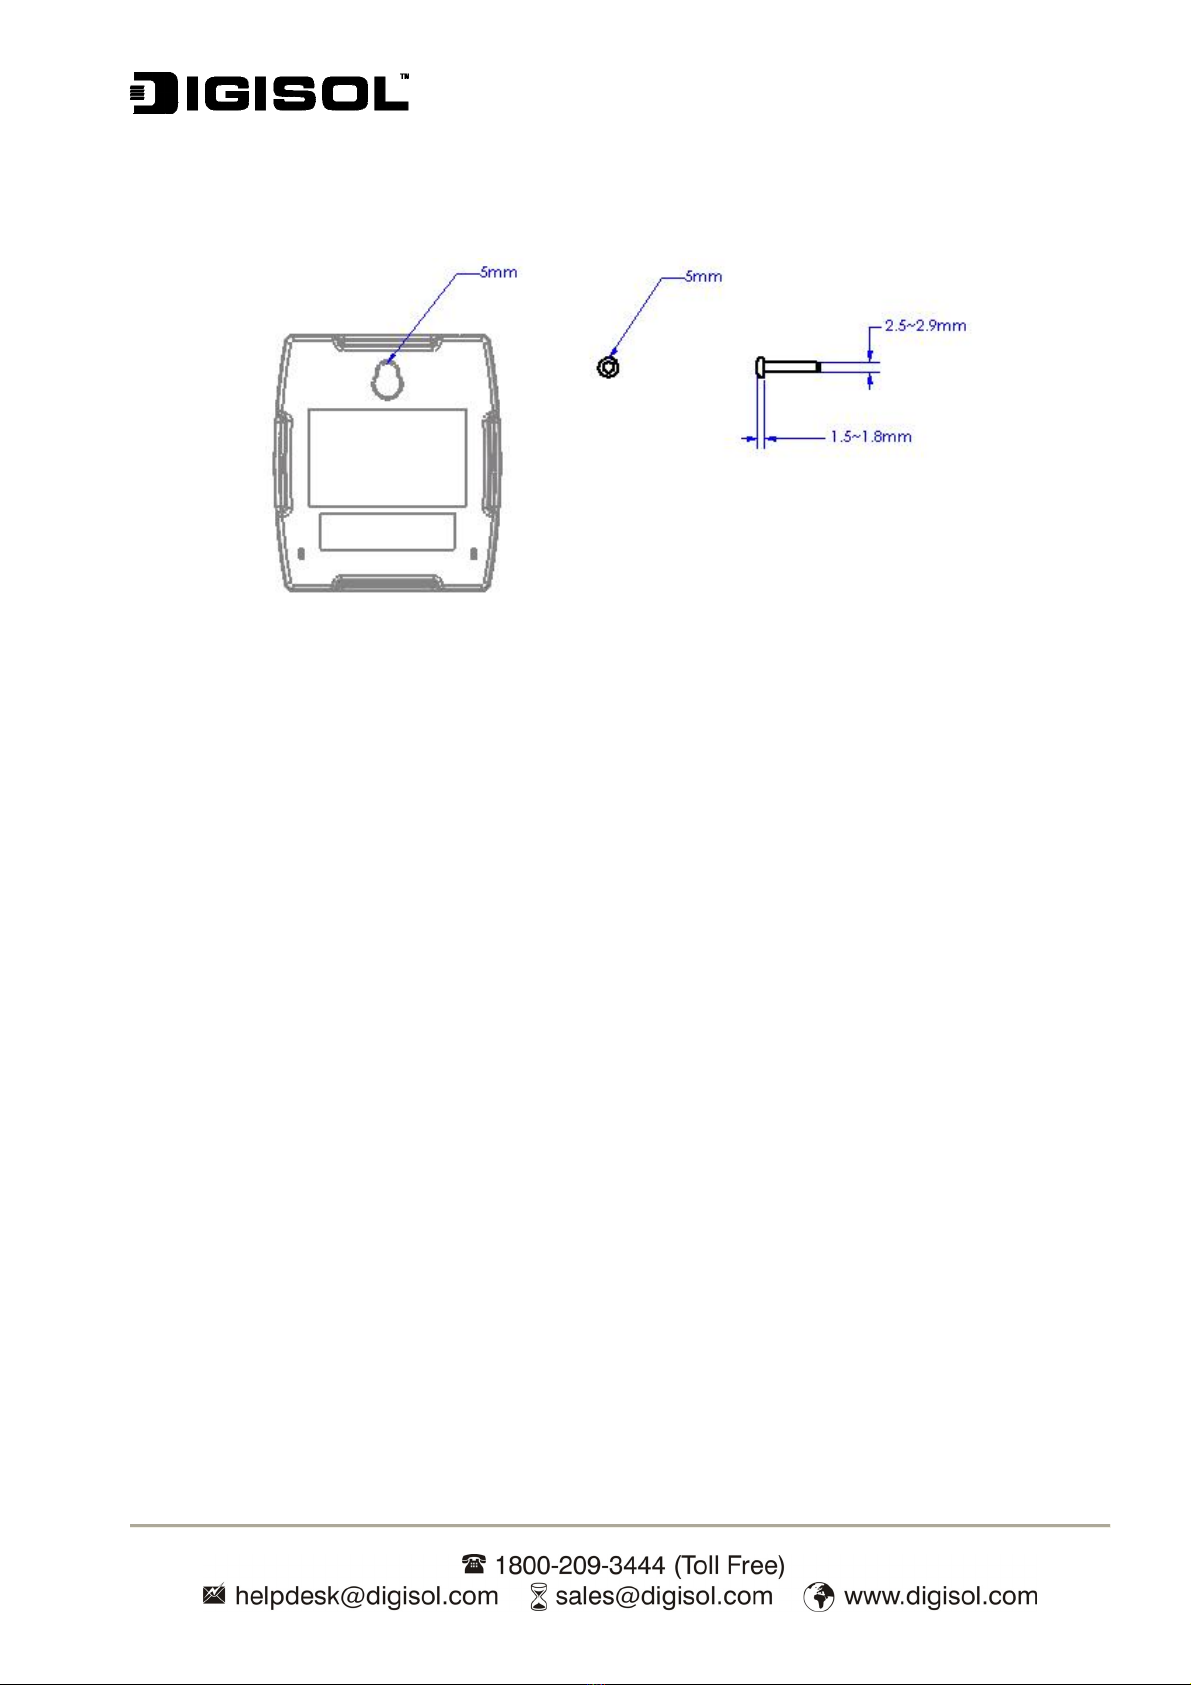
HARDWARE INSTALLATION .................................................................................................................................................8
NETWORK SETUP ...............................................................................................................................................................9
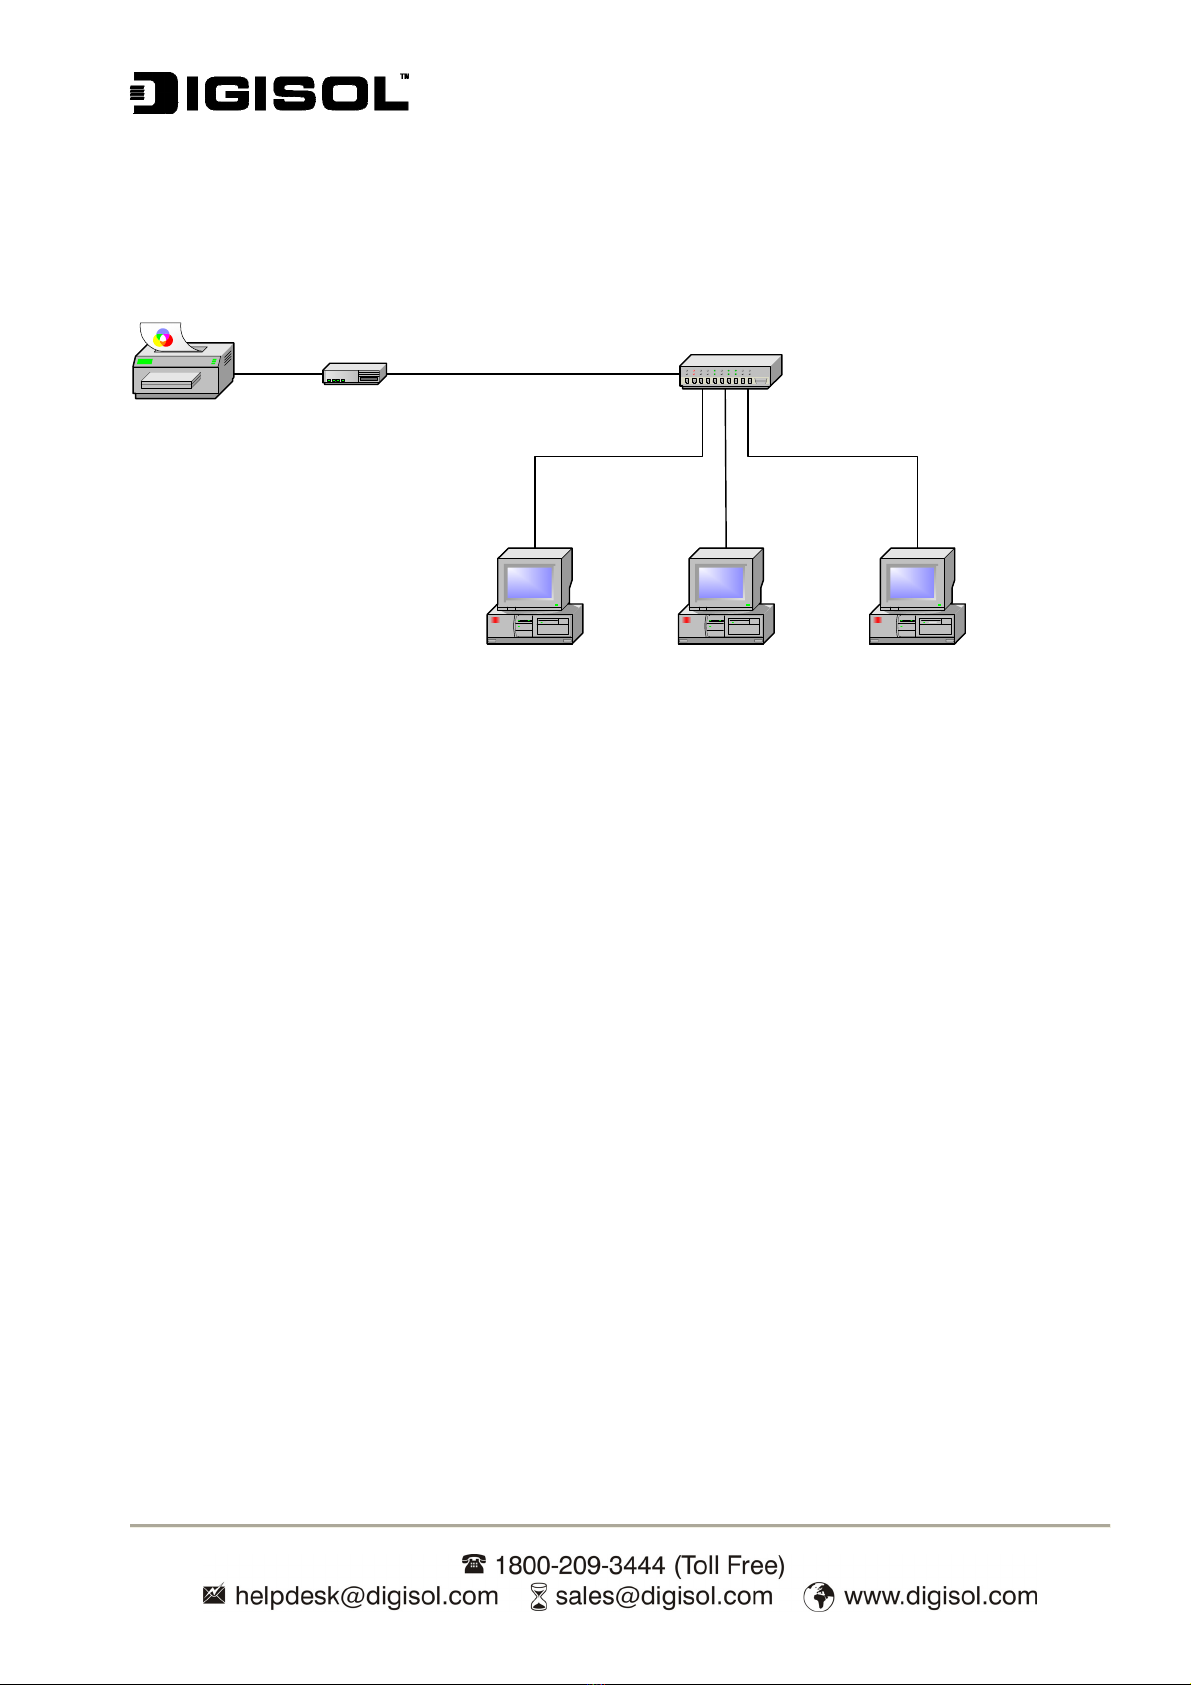
WIRED NETWORK WITH PRINT SERVER ............................................................................................................................9
2. SOFTWARE INSTALLATION ......................................................................................................................................9
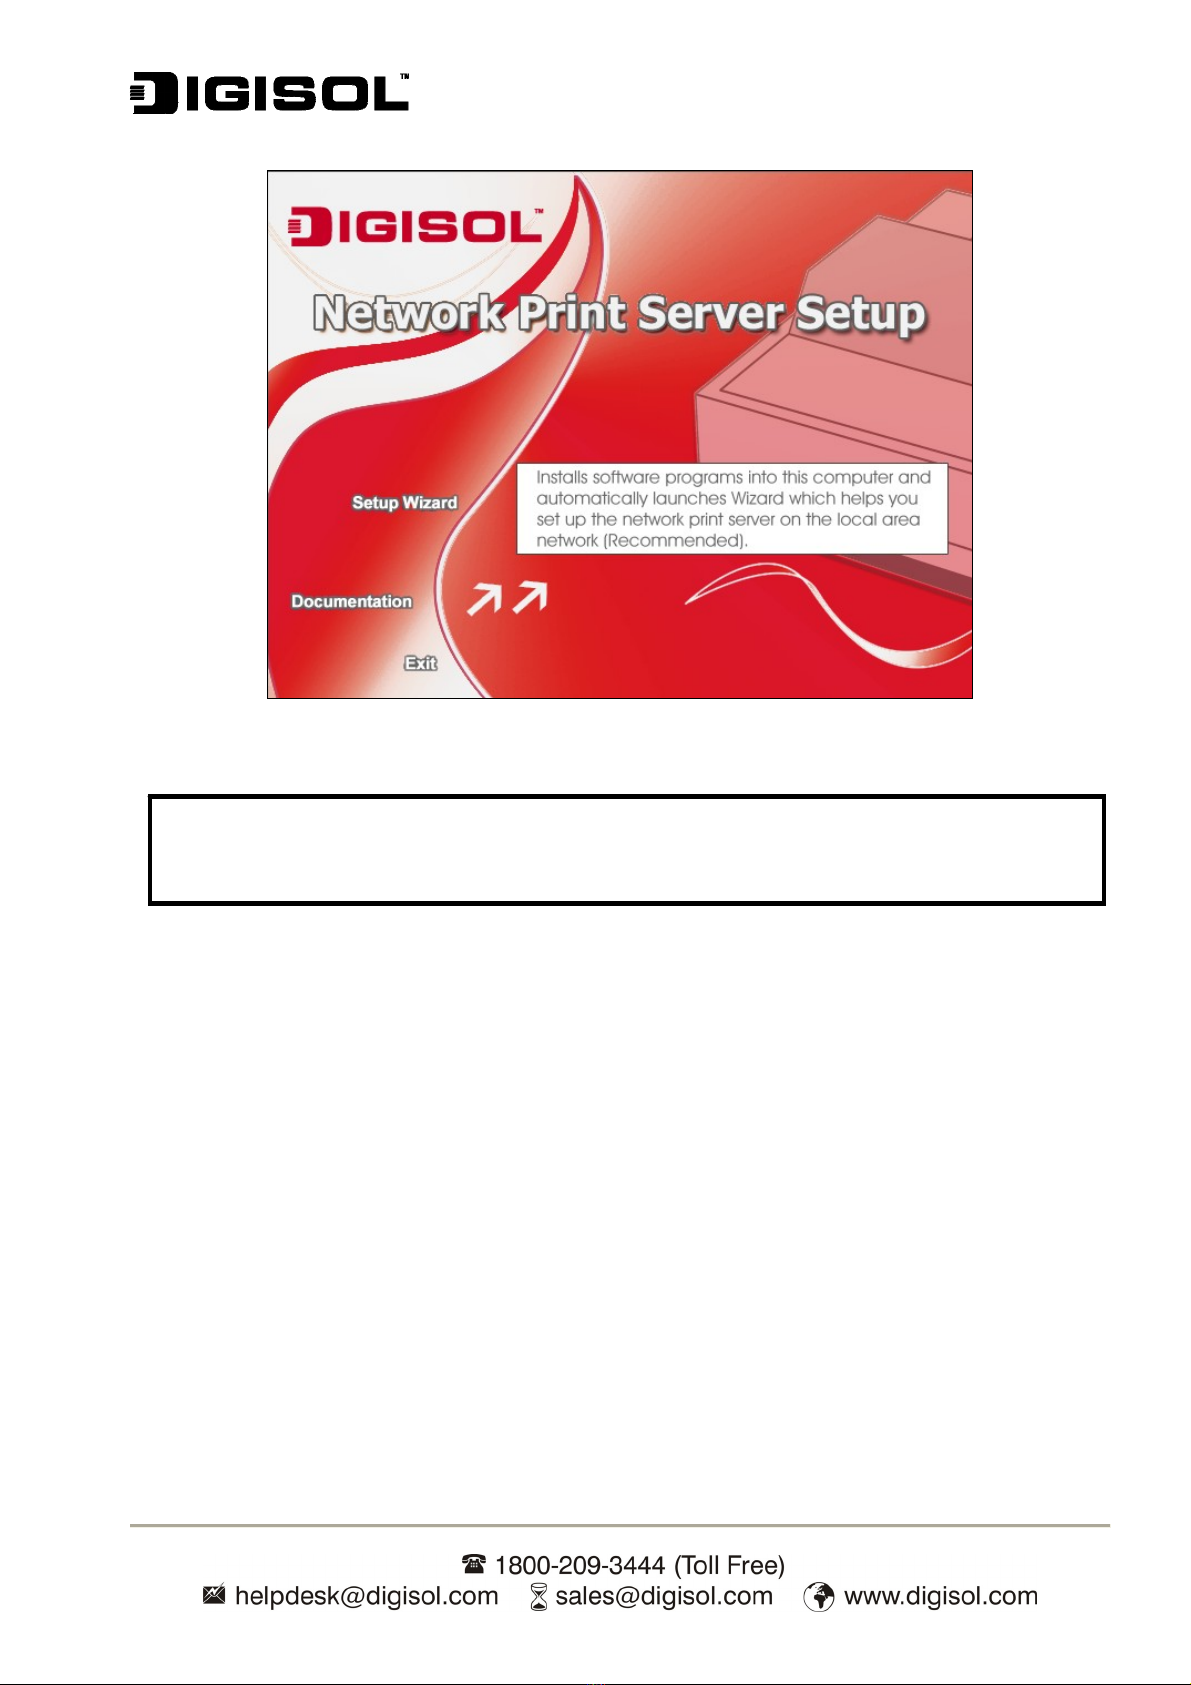
INSTALLING DIGISOL PRINT SERVER UTILITY AND PRINTER DRIVERS............................................................................9
USING PSADMIN ..............................................................................................................................................................18
WIZARD ............................................................................................................................................................................18
MANUAL SETUP ................................................................................................................................................................21
REFRESH ..........................................................................................................................................................................23
MULTIPLE PRINT QUEUES CONFIGURATION....................................................................................................................24
UNINSTALLING THE PSADMIN ON WINDOWS PC ............................................................................................................25
3. INTERNET PRINTER CONNECTION AND HP WEB JETADMIN.......................................................................26
IPP OVERVIEW.................................................................................................................................................................26
HP WEB JETADMIN OVERVIEW .......................................................................................................................................28
INSTALLING HP WEB JETADMIN ......................................................................................................................................28
REMOVING HP WEB JETADMIN UTILITY..........................................................................................................................29
4. CONFIGURATION FROM EMBEDDED WEB SERVER .......................................................................................30
OVERVIEW ........................................................................................................................................................................30
USING EMBEDDED WEB SERVER ....................................................................................................................................30
SETUP MENU....................................................................................................................................................................37
INSTALLING PRINT SERVER ON NETWARE 4.X/5.X.........................................................................................................42
SETTING UP A MACINTOSH COMPUTER ..........................................................................................................................45
5. NETWORK PRINT MONITOR....................................................................................................................................49
PREPARATION...................................................................................................................................................................49
TCP/IP PROTOCOL INSTALLATION ..................................................................................................................................49
IPX/SPX-COMPATIBLE PROTOCOL INSTALLATION..........................................................................................................50
NETBEUI PROTOCOL INSTALLATION...............................................................................................................................50
WINDOWS 95/98/ME/NT/2000/XP/2003 MANUAL INSTALLATION PROCEDURE............................................................51
UNINSTALLING NETWORK PRINT PORT ON WINDOWS 95/98/ME/NT/2000/XP/2003 ..................................................53
6. TCP/IP LPR PORT PRINTING INSTALLATION .....................................................................................................54
BASIC TCP/IP INSTALLATION OVERVIEW........................................................................................................................54
ASSIGNING AN IP ADDRESS .............................................................................................................................................54
WINDOWS NT LPR PORT PRINTING INSTALLATION........................................................................................................54
WINDOWS 7/VISTA/XP/2003 /2000 STANDARD TCP/IP PORT PRINTING INSTALLATION .............................................56
UNIX INSTALLATION.........................................................................................................................................................58
UPGRADING PRINT SERVER.............................................................................................................................................63
OVERVIEW ........................................................................................................................................................................63
UPGRADING THE PRINT SERVER FROM PSADMIN ...........................................................................................................63
UPGRADING THE PRINT SERVER FROM WINDOWS NT/2000/XP/2003/VISTA/7 (THROUGH TCP/IP) ..........................63
UPGRADING THE PRINT SERVER FROM UNIX (THROUGH TCP/IP) ................................................................................64
UPGRADING THE PRINT SERVER FROM BROWSER ..........................................................................................................64