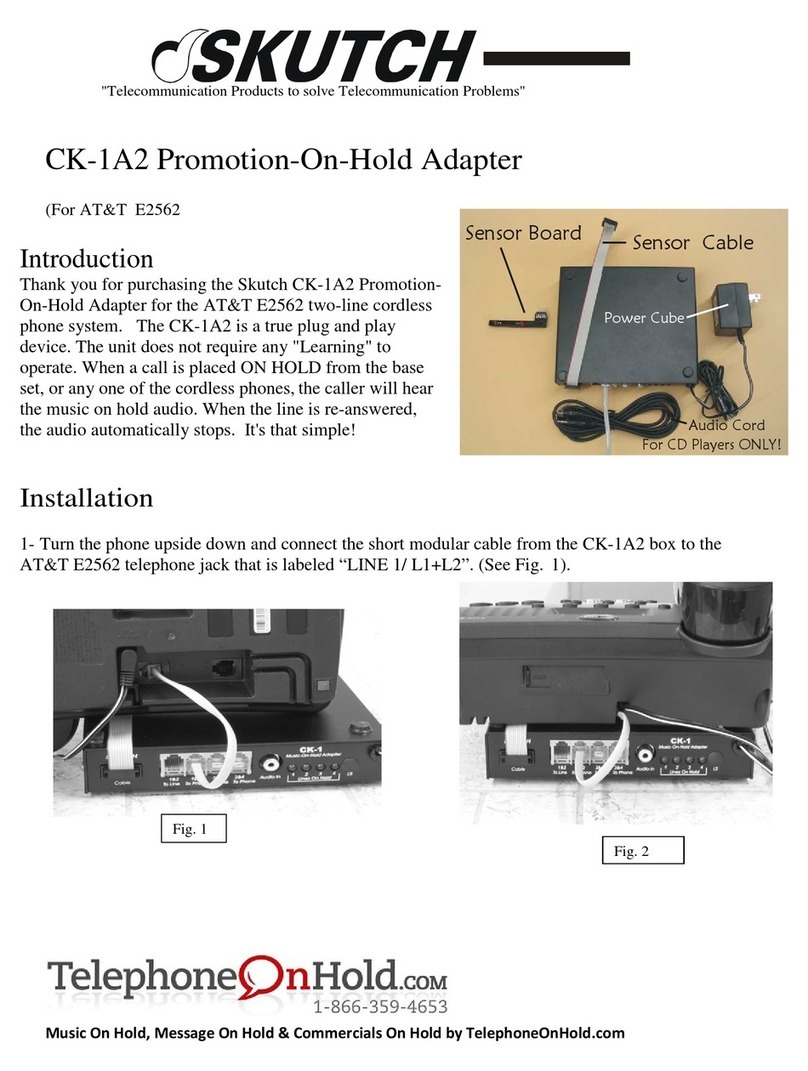
DIGITAL ALLTEK WL50 Datasheet

QUICK START WL50-01- VR1
Installation & Quick Start Guide
WL50 Wireless Adaptor/Antenna

DIGITAL ALLTEK
WL50 Quick Start Guide
1. Introduction
Congratulations on the purchase of your WL50 Wireless Adaptor/Antenna. This unit is designed for quick amd simple DIY
installation in a touring, permanent or motor caravan (RV). The mounting brackets and suction pads are NOT designed
for safe fixing of the antenna whilst a vehicle is moving and it is strongly recommended that your Wireless antenna is
removed and placed inside the caravan when in motion.
Before operating the unit you should familiarise yourself with the complete user manual supplied with the
product.
2. Before you start
The WL50 comes complete with a CD-ROM that includes all necessary drivers for the following operating systems;
Microsoft Windows XP®, Windows Vista®and Windows 7®
Apple Mac OS X 10.3 and 10.4
Note: Compatible drivers for the WL50 are also included with some LINUX distributions such as the latest version of
Ubuntu. However, due to the wide variety of LINUX distributions available we cannot guarantee that the WL50 will
work on all LINUX computers and suggest that users search for compatibility with the Zydas (ZD1211) or Atheros
(AR5007UG) wireless chipsets that the WL50 uses.
Do not plug in the WL50 to the USB port of your computer until you have inserted the driver CD-ROM.
3. Mounting the WL50 Antenna
The WL50 should be mounted as high as possible and in line of sight with the wireless router that you wish to connect to.
There are two methods of mounting the WL50 using the kit of parts included in the box;
Sucker Cup Mount
Pole Mount
Neither of these two mounting methods should be use when the caravan is in motion.
Sucker Cup Mounting
The most common mounting method is to use the four sucker cups
to temporaily stick the WL50 to the side of the caravan. Insert and
secure a sucker cup in each of the four holes in the aluminium tube
clips, using the supplied clear plastic thumb nuts.
After first ensuring that the surface of the caravan where you wish
to mount the WL50 is clean, lightly moisten each sucker cup and
then gently push the antenna on to the caravan side until the sucker
cups are flat.
This method of mounting is ideal for touring and motor caravans and
the WL50 can stay mounted in this manner for many days –see photo.
Removal is quick and simple by gently inserting a finger mail under
each sucker cup and levering them off one by one.

DIGITAL ALLTEK
WL50 Quick Start Guide
Pole Mounting
For a more permanent mounting arrangement or when you need to use a pole to get more height, it is possible to mount
the WL50 using the U bolts, nuts and washers supplied.
The diagram below shows the three steps to mounting the WL50 on a suitable pole (up to 50mm in diameter). Please
note that the mounting pole is not supplied.

DIGITAL ALLTEK
WL50 Quick Start Guide
3. Driver/Software Installation
It is very important that you do not plug the WL50 in to a USB port of your computer unless you the WL50 Drivers CD-
ROM close to hand. By plugging in the WL50 you will initiate the Windows “Found New Hardware Wizard” which will not
be able to complete correctly without the Driver CD-ROM being present. The installation process varies depending upon
which Operating System your computer has, so please ensure that you follow the correct procedure.
Installation for Windows XP
Insert the WL50 Drivers CD-ROM in to your Windows PC. After the
CD-ROM has been detected by Windows, plug in the WL50 in to a
spare USB port.
After a few seconds, Windows should detect the WL50 and display the
Found New Hardware Wizard (see Fig 1).
Windows is asking if you wish to search for the driver on-line using
Windows Updater. Click on the “No, not at this time” option and then
click the “Next” button.
Windows will now ask you if you want to install the software automatically (see Fig 2). Click on the “Install from a list or
specific location (Advanced)” option and then click the “Next” button.
You will now be asked where you want to search for the software (see Fig 3).Click on the “Include this location in the
search;” option and then click on the “Browse” button .
You will be presented with the normal Windows Browse window (see
Fig 4). Scroll down the list of locations until you see the “My
Computer” option, double click on this and you should see the CD-
ROM location appear. Double click on this and then double click on
the “Drivers” folder and then click on the “Windows_XP” folder, at
which point the “OK” button, which was greyed out should now be
active. Click on the “OK” button.
Figure 1
Figure 3
Figure 2
Figure 4

DIGITAL ALLTEK
WL50 Quick Start Guide
You should now return to the same window as you were at before, but now the correct location for the Windows XP
drivers should be in the white entry box to the left of the “Browse” button (see Fig 5). Click the “Next” button
Windows should now start to install the driver and you will see the
window shown in Fig 6. This takes a few moments to complete but
when finished you will see the window in Fig 7.
This indicates that everything has installed correctly and your WL50 is
now ready to be used.
Click the “Finish” button to close the “Found New Hardware Wizard”
and return to normal Windows operation.
If your laptop has a built-in, normal wireless adaptor, then you should turn it off whenever the WL50 is plugged in. Consult
your laptop instruction manual to find out how to do this. Following this procedure whenever the WL50 is plugged in, will
ensure that you connect via the WL50 to get the best signal range possible.
The WL50 should now appear as one of the Wireless Network Adaptors available on your PC. On the taskbar, right click
on the wireless network icon and select the option “View Available Wireless Networks”. Select the Wireless network that
you wish to connect to and click the “Connect” button (see Fig 8).
Figure 6
Figure 5
Figure 7
Figure 8

DIGITAL ALLTEK
WL50 Quick Start Guide
Installation for Windows Vista and Windows 7
Insert the WL50 Drivers CD-ROM in to your Windows PC. After the
CD-ROM has been detected by Windows, plug in the WL50 in to a
spare USB port.
After a few seconds, Windows should detect the WL50 and either
display the “Found New Hardware Wizard”as shown in Fig 9 or the
small pop up window shown in Fig 10.
If you see the “Found New Hardware Wizard” window in Fig 9, click on
the “Locate and install driver software (recommended)” option and
Windows will start searching for the WL50 drivers.
After a short period (<30 seconds), you should either see the window
in Fig 11 or the small pop up window shown in Fig 12.
Your WL50 is now ready to use. If your laptop has a built-in, normal wireless adaptor, then you should turn it off whenever
the WL50 is plugged in. Consult your laptop instruction manual to find out how to do this. Following this procedure
whenever the WL50 is plugged in, will ensure that you connect via the WL50 to get the best signal range possible.
The WL50 should now appear in Windows Vista as one of the Wireless Network Adaptors available on your PC. On the
taskbar, right click on the wireless network icon and select the option “Connect to a Network”. Select the Wireless network
that you wish to connect to and click the “Connect” button (see Fig 13).
Figure 9
Figure 10
Figure 11
Figure 12
Figure 13

DIGITAL ALLTEK
WL50 Quick Start Guide
In Windows 7, the WL50 should also appear as one of the Wireless
Network Adaptors available on your PC, but the presentation of the list
of wireless networks is slightly different to that of Vista (see Fig 14).
When you click on the wireless network icon in the taskbar, a pop up
window of the available networks appears. You should click on the
network you wish to connect to and then click on the “Connect” button
that appears.
Installation for Apple Mac OS X
Insert the WL50 Drivers/Software CD-ROM in to your Apple Mac and using Finder open the folder called MAC.
Included in this folder is a PDF file that explains how to install the driver software on a MAC. Follow the instructions in
this PDF file. The procedure is identical for V10.3 and V10.4 (Intel) systems but you must select the correct installer
included on the DMG file for the version you have on your Mac.
Installation for LINUX
Due to the large number of different LINUX distributions, it is not possible to guarantee that the WL50 will work on all
distributions. It has been tested on Ubuntu V8.04.2 (a Debian based distro) with Kernel V2.6.24 and all drivers were
included in this distro.
If the drivers are included in your distro, simply insert the WL50 USB connector in to a spare USB port and LINUX will
automatically load the correct driver and you will see the wireless networks that the WL50 can detect in the drop
down wireless menu that appears when you click the wireless icon in the task bar.
Figure 14
Table of contents
Popular Adapter manuals by other brands
Emmaljunga
Emmaljunga NXT60 Select instruction manual
3idee
3idee smsng-s32bm Assembly instructions
SIIG
SIIG USB 3.0 to SATA 6Gb/s Adapter Quick installation guide
SIIG
SIIG YN6181 installation guide

Vivo
Vivo MOUNT-SG001A instruction manual

Comtrend Corporation
Comtrend Corporation PG-9172PoE Quick install guide
