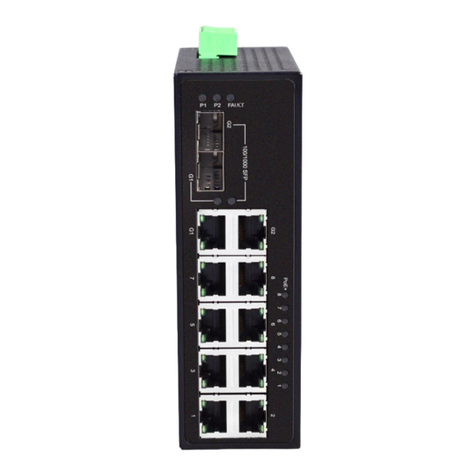
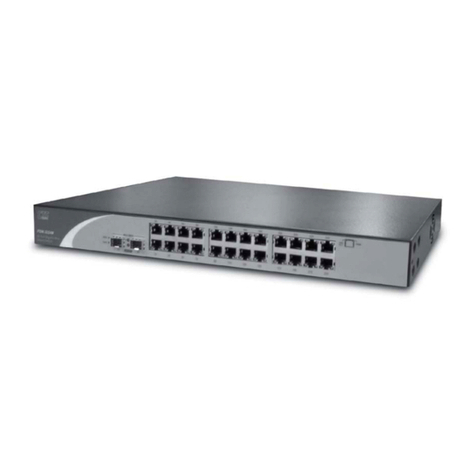
Digital Loggers 20-Port Serial Switch User manual

20-Port
Serial Switch
User’s Guide

Product F
Product FProduct F
Product Features
eatureseatures
eatures
• 20 ports of relay isolated serial interfaces.
• On-board µP with EEPROM.
• Manual or batch-file operation via simple te t menus.
• Ability to broadcast through multiple ports simultaneously.
• Support for any baud rate or data format after connection.
Device R
Device RDevice R
Device Requirements
equirementsequirements
equirements
• Any three-wire RS-232 source and targets may be
connected.
•
Baud rates of 9600, 19,200, 38400, and 115,200 are
supported for communications with the menu system. Any
baud rate (ie. 110 baud to 2Mbaud) may be used to
communicate with attached devices
.
Capabilities and Limitation
Capabilities and LimitationCapabilities and Limitation
Capabilities and Limitations
ss
s
A crosspoint data switch provides a link from one host device
(such as a controlling PC or modem) to several attached devices
(such as routers, servers, cable receivers, radios, or sensors). Use
the switch to control several serial devices from a single port.
The switch provides a cost-effective alternative to multi-port
serial cards when you only need to communicate with one device
at a time.
The switch can broadcast data to multiple devices
simultaneously. It receives from only one device at a time.
There is no buffering or memory within a crosspoint switch.
Characters transmitted when a port is turned off are ignored.
Only data on pins 2 & 3 of the DB-9 is switched. Handshaking
isn’t switched.

Hardware
Hardware Hardware
Hardware Setup
SetupSetup
Setup
A 5V wall adapter provides regulated DC power to the switch.
The ma imum current drain of 600mA occurs when all ports are
switched on. Normal power consumption is under 1W.
Two types of ports are provided, console and device. The
control (console) port can connect with a PC via a straight-
through cable, or to a modem via a crossover cable. The control
port pinout is:
Pin 2 = RX Receive Data (data from devices A-T and
from the switch to control port)
Pin 3 = TX Send Data (data to switch procesor and to
devices
A-T from the control port)
Pin 5 = Ground
Handshaking lines are strapped for no flow control (always on).
Pins 1, 6 and 4 are strapped. Pins 7 & 8 are also strapped.
Device ports labeled A-T connect up to 20 managed devices.
Device port pinout is:
Pin 2 = TX Transmit Data (data to devices A-T)
Pin 3 = RX Receive Data (data from devices)
Pin 5 = Ground
Handshaking lines are strapped for no flow control (always on).
Pins 1, 6 and 4 are strapped. Pins 7 & 8 are also strapped.
Note that data from the control device flows is from pin 3 of the
control port to pin 2 of the device ports A-T. Returning data
from the A-T device ports pin 3 flows back to pin 2 of the
control port. The switch itself is essentially a “crossover”

device. Connect a PC or terminal to the control port at 9600,
N,8,1 when first connecting to the switch. Set flow control to
“none”.
Menu Operation
Menu OperationMenu Operation
Menu Operation
Press ~ (tilde), wait at least ½ a second, and press ~ again to
enter the menu. Once the menu is entered, communication with
attached devices is disabled. The following message appears:
Serial Switch Unit Name: Serial Switch
Enter Command (? for help):
Valid commands are:
A-T Toggle the specified port
This command enables (connect) or disables
(disconnect) a single device port 1-20 (1=A,
2=B…20=T). Port switching is performed
after e iting the menu with the “X” or “ESC”.
Z Enable all 20 ports for broadcast
This enables simultaneous transmission from
the control port to all attached devices.
This is useful when configuring a number of
identical devices. Port switching is performed
after e iting the menu with the “X” or “ESC”.
W Disable all ports.
Any enabled ports will be disabled after
e iting the menu with the “X” or “ESC”.
U Set baud rate.
Note that the baud rate of the switch may be
different than the baud rates of the attached
devices. This baud rate is used only by the
menus. You may transmit at any other baud
rate or send non standard bit streams to the
attached devices after switching. Baud rates
of 9600, 19,200, 38400, and 115,200 are
supported. All baud rates operate at 8 bits,

no parity and no handshaking. Be sure to
write down the baud rate you select. If you
forget the setting, you’ll need to try all four
baud rates.
Y Change Unit or ort Name.
It can be useful to label ports and label the
switch. For e ample, Port 1 might be “Cisco
Router”. These settings are limited to 16
characters and are saved immediately in non-
volatile EEPROM.
V Show port settings
This command displays the settings (on or
off) of each port, along with the unit names.
X or Esc Escape
Either an ASCII “X” 0 58 or ESC 0 1B may
be used to e it the menu at which time the
crosspoint relays are enabled.
Batch File Operation
Batch File OperationBatch File Operation
Batch File Operation
Manual and batch file control function and synta is identical.
There are three important considerations when using batch files:
1. The switch doesn’t react instantly to commands. It
takes appro imately 1/20
th
of a second for the
crosspoint switch to complete a switching command.
To compensate for this, either use a delay command or
send a few null characters. Nulls are normally ignored
by RS-232 devices. At 9600 baud, 40 nulls are required.
Be sure to insert a delay between the ~ attention
characters to enable the switch. You can disable this
delay to simplify your batch file and speed up
switching. Do this only if you’re certain the two
attention characters will not be inadvertently sent in the
data stream.
2. The e act synta of a command is important. For
e ample, “Echo ~>COM1” and “ECHO ~ >COM1”

are different. Windows will send the space character
0 20 after the ~ in the second e ample. From within a
program, it’s sometimes desirable to use write(port, str,
strlen(str)) instead of fprintf() which will buffer the
output string.
3. Again, only one port can “listen” at a time. You may
transmit simultaneously to multiple ports.
Communicatin from
Communicatin from Communicatin from
Communicatin from Pro rams
Pro ramsPro rams
Pro rams
In Windows, you can configure a serial port using the mode
command in a system() function call:
system( "mode com1: baud 9600 parity n data 8
stop 1" )
Type mode /? in at command line prompt for full
details. Once a port is set up, a com port can be
opened as a stream I/O device using stdio:
char menuresponse[128] ;
FILE* portfp fopen( "com1:", "w+" ) ;
fprintf( portfp, "~" ) ; /*send tilde */
Delay (500); /* wait 500ms */
fprintf( portfp, "~" ) ; /*send second tilde */
fgets( menuresponse, sizeof( response ), portfp ) ;
/* you’re in to the menu, send commands next */
printf( menuresponse ) ;
You can also use C++ fstream I/O. The Win32 API has
comprehensive low level functions for serial I/O, but the
simpler stdio function works for many applications. For
information on W32 serial communications, see:
http://msdn.microsoft.com/library/default.asp?url=/library/en
-us/dnfiles/html/msdn_serial.asp
For Linu serial communications, try:
http://www.atnf.csiro.au/people/rgooch/linu /docs/devfs.html

Alternate Attention Character
Alternate Attention CharacterAlternate Attention Character
Alternate Attention Character
`
``
`
The default attention character is tilde ~ decimal 126, 0 7E
To select the alternate ` character decimal 96 0 60, move the
switch toward the center of the serial switch. You can use
different attention characters or baud rates to “daisy chain”
multiple switches in series.
Hayes Command Reference
Hayes Command ReferenceHayes Command Reference
Hayes Command Reference
These Hayes commands are commonly used with attached
modems. Check Wikipedia for a full list.
+++ (pause) Attention characters
ATDT 408 555 1212 Dials out to (408) 555-1212
AT A Answers incoming call
ATS0 1 Sets modem to answer after 1 ring
ATS37 8 Sets modem to 9600 baud
Telnet Option
Telnet OptionTelnet Option
Telnet Option
The Telnet option module adds Ethernet connectivity to the
control port. Visit www.digital-loggers.com/telnet.html or call
(408) 330-5599 for more information. A pushbutton switch is
provided to reset the Telnet module to default IP setting. This
button has no effect if the Telnet module is not installed.

A
AA
Accessories
ccessoriesccessories
ccessories
DLI stocks RJ-45 to DB-9 and DB-
25 adapters, as well as cable. These
adapters allow you to insert pins in
any order, so you can create
crossover or straight-through cables easily. Flat phone-type satin
cord makes a clean installation, particularly with Cisco, Sun and
Dish Network equipment. Call (408) 330-5599 for connectors
or cables.
Support
SupportSupport
Support
Please visit www.digital-loggers.com for manuals and
accessories. If we haven't answered your questions here, please
call (408) 330-5599 or send an email to support@digital-
loggers.com. We'll be glad to help. Kudos, suggestions, gripes?
Send them all to engineering@digital-loggers.com
Table of contents
Other Digital Loggers Switch manuals
Digital Loggers
Digital Loggers 32-Port DC User manual
Digital Loggers
Digital Loggers LPC-2 User manual
Digital Loggers
Digital Loggers Automatic Fail-Over Switch User manual

Digital Loggers
Digital Loggers Web Power Switch 4 User manual
Digital Loggers
Digital Loggers Web Power Switch 7 User manual
Digital Loggers
Digital Loggers Web Power Switch III User manual

Digital Loggers
Digital Loggers Web Power Switch 6 User manual
Digital Loggers
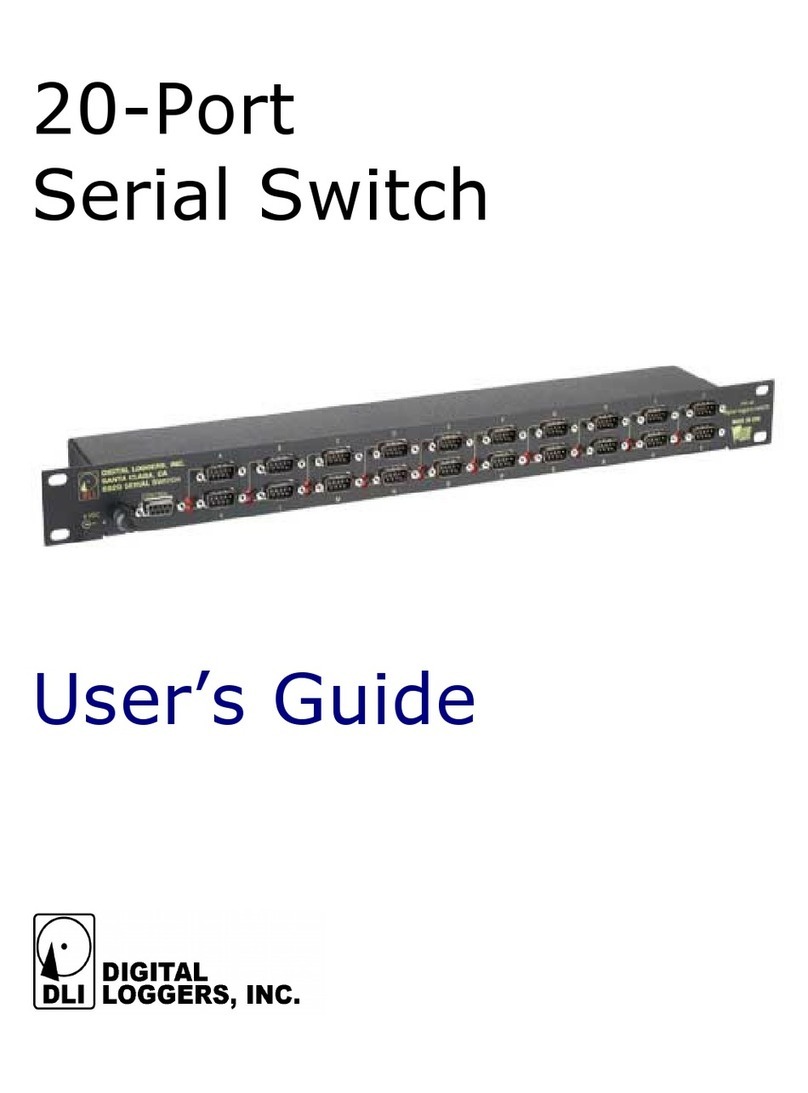
Digital Loggers SS20 User manual
