DIGITREX DSC-2100 User manual

OPERATING MANUAL
MANUEL D’UTILISATION
MANUAL DE INSTRUCCIONES
DSC-2100
DIGITAL CAMERA
APPAREIL-PHOTODIGITAL
CAMERA DIGITAL
DIGITREX


1
Thanks for purchasing this high-quality Digital Still Camera!
This unit allows you to easily create an electronic album. Please read this
manual carefully so as to enjoy all its features.
Read thoroughly the Safety Precautions. They contain extremely important
information regarding the safe use of this product.
For information on installing and operating the included application soft-
ware, please read the software instructions.Do not hesitate to contact our
service facility for upgraded information for your future use.
Software Installation refers to the QUICK START GUIDE.
Introduction
2
Unpacking
First check and identify the contents of your Digital Still Camera package, as below:
Optional fittings
Introduction
Camera case Digital Camera
Driver disc USB cable
Earphone Battery
CF card Adapter

4
OPERATING CONDITIONS:
•This camera is neither waterproof nor splash-proof.
Do not use the camera if any water has entered the camera.
Switch the camera off,and then disconnect the power source (batteries or
AC Power Adapter).If you are using the AC Power Adapter,unplug the
adapter from the AC Power wall socket after you have disconnected the
camera. Then contact your dealer. Do not continue to use it, as this may
cause a fire or electric shock.
• Do not leave the unit where it may be extremely hot or humid, such as
the glove compartment of a car, direct sunlight ,a humid basement.
CARRYING YOUR CAMERA:
• When carrying, be sure to always attach and use the hand strap provid-
ed. Hold the camera firmly in your hand ,with the strap securely around
your wrist.
• Do not use a tripod on unsteady or uneven surfaces. It could tip over,
causing serious damage to the unit .
• Never point the lens at direct sunlight, CMOS damage may occur.
Safety Precautions
3
CAUTION: To prevent fire or shock hazard ,do not expose this unit to rain or
excessive moisture.
WARNING:To prevent shock, do not attempt to modify this unit in any way. No user
serviceable parts inside. Refer servicing to qualified personnel.
Please do not use this unit in too close a proximity to the person other
wise it can cause damage to the eyes.
Especially for children, do not take pictures within 1 meter.
FCC
NOTICE: This equipment has been tested and found to comply with the limits for a
Class B digital device, pursuant to Part 15 of the FCC Rule. Operation is
subject to the following two conditions:
A. This device may not cause harmful interference.
B. This device must accept any interference received, including interfer-
ence that may cause undesired operation.
Safety Precautions

6
Quick Start Guide
Connect to a PC using USB cable
Use DC adapter to power the unit
Connect to a TV or an earphone
5
Introduction..................................1
Safety Precautions......................3
Table of Contents........................5
Quick Start Guide........................6
Identification of Controls...........11
Image Quality.............................14
Flash...........................................15
Indicator Light...........................17
Getting Started..........................18
Taking Pictures..........................23
Basic Recording Operation.........23
Self-Timer....................................25
Sequence Image Capture...........27
Video Clip Capture......................29
Audio Memo................................31
Digital Zoom................................32
Record Mode Menu...................33
Record Mode Setup....................33
How to Display Record
Menu............................................34
Selecting Capture Mode..............35
Digital Zoom x 4..........................36
Flash Mode.................................37
Advanced Options.......................38
Adjusting Screen Brightness.......45
Playback Mode..........................46
Table of Contents
HOOKUP
Single-frame Playback................46
Playback an Image with
Audio Memo................................47
Playback a Video Clip ................48
Thumbnail Display ......................49
Playback Mode Setup.................50
Playback Mode Menu................51
Display Format............................51
Delete Images.............................52
Digital Zoom X 2.........................54
Screen Brightness......................56
Information..................................57
TV Display..................................58
MP3 Playback............................59
Troubleshooting........................61
Appendix....................................63

87
Quick Start Guide Quick Start Guide
1. Insert the batteries or use the DC adapter
(optional) to power the camera.
2. Insert the Compact Flash card (optional).
1. Turn the function dial to .
•The camera will turn on and be set to record mode.
2. Open the lens cover.
•The live view will appear on the LCD monitor.
3. Press the DISP/ENTER/REP button to turn on/off
the LCD monitor.
4. Frame your subject on the LCD monitor or
viewfinder.
• Compose the image and make sure it is clear.
5. Press the shutter-release button to take
the pictures.
•The red lamp blinks slowly while the image
being stored into the memory.
IMAGE PLAYBACK (refer to page 46-56)
1. Turn the function dial to .
2. Use the LT/RT or UP/DN buttons to scroll
through the images.
PREPARATION (refer to page 18-20)
RECORDING (refer to page 23-45)
10
Quick Start Guide
9
Quick Start Guide
5. Press the DISP/ENTER/REP button again.
• A confirmation screen will appear.
6. Press the UP/DN to select "YES", and
enter it.
•The LCD monitor returns to the next image
after deleting it.
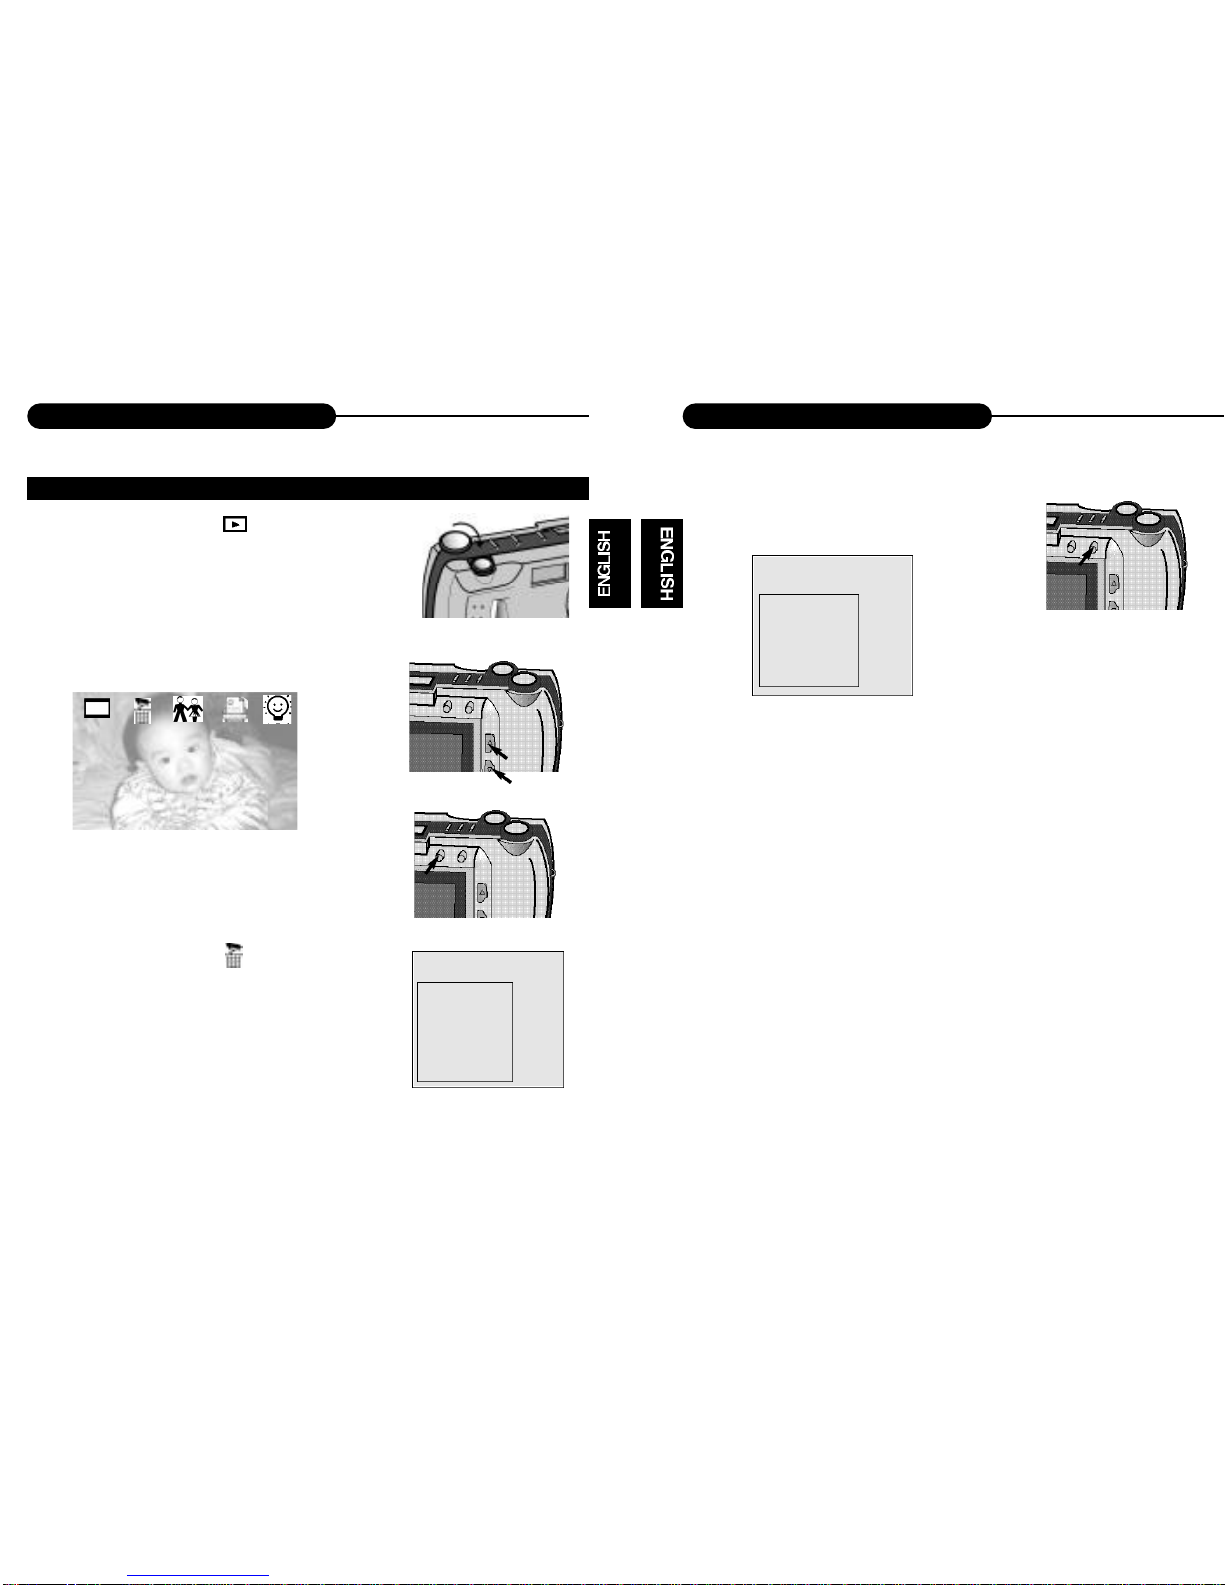
DELETING IMAGES (refer to page 52-53)
1. Turn the Function dial to .
2. Press LT/RT or UP/DN to highlight the image
you want to delete.
3. Press MENU/STOP to access to the menu.
4. Highlight the delete icon and press UP/DN
button and enter it.
• Select CURRENT or ALL to delete the current
photo or all photoes including the memo.
• Select REFORMAT to delete the all including mp3
files.
DELETE
CURRENT
ALL
REFORMAT
Exit
DELETE?
YES
NO
Exit
NOTICE:
When opening the menu or pressing the direction buttons, you will highlight some
item, meanwhile the corresponding description will appear on the down-left corner
of TFT LCD.

12
Identification of Controls
11
Identification of Controls
1
2
3 4 5
6
7
8
9
10
11
1. Orange LED indicator
2. Green LED indicator
3. Viewfinder
4. MENU/STOP
5. DISP/ENTER/REP
6. Strap eyelet
7. LT/RT
8. UP/DN
9. LCD monitor
10. USB interface
11. MIC
CAMERA BODY CAMERA BODY
1. Function dial
2. Shutter/Play/Pause
3. Picture quality control
4. Flash control
5. Mode control
6. Flash
12345
6
7
8
9
10
11
7. Self-timer lamp (Red)
8. Viewfinder window
9. Lens
10. Lens cover slide
11. Status LCD

14
Image Quality
13
Identification of Controls
1
2
1. TV/PHONES
2. DC IN 6V
1
2
34
5
6
1. Power off
2. Record
3. Playback
4. MP3 playback
5. Software/Download
6. TV output
26 NQ
HQ
SQ
AUTO
123 4 56
7
98
1. Snapshot
2. Self-timer
3. Sequence
4. Video clip
5. Audio memo
6. Power remains
7. Image quality
8. Flash lamp
9. Recordable
image no.
IMAGE QUALITY
When the camera is turned on, the default setting of image quality is Normal Quality
(NQ).
The number of images stored depends on the image quality level used: High Quality
(HQ), Normal Quality (NQ) or Super Quality (SQ).
MODE COMPRESSION RATE
Super Quality 1:4
High Quality 1:8
Normal Quality 1:16
In the Capture mode, each time you press the
NQ button, the quality mode changes, which is
shown on the status LCD:
•This function is not available in Audio Memo,
Sequence and Video Clip.
CAMERA BODY
Indications of Function Dial & Status LCD
NQ
HQ
SQ
16
Flash
15
Flash
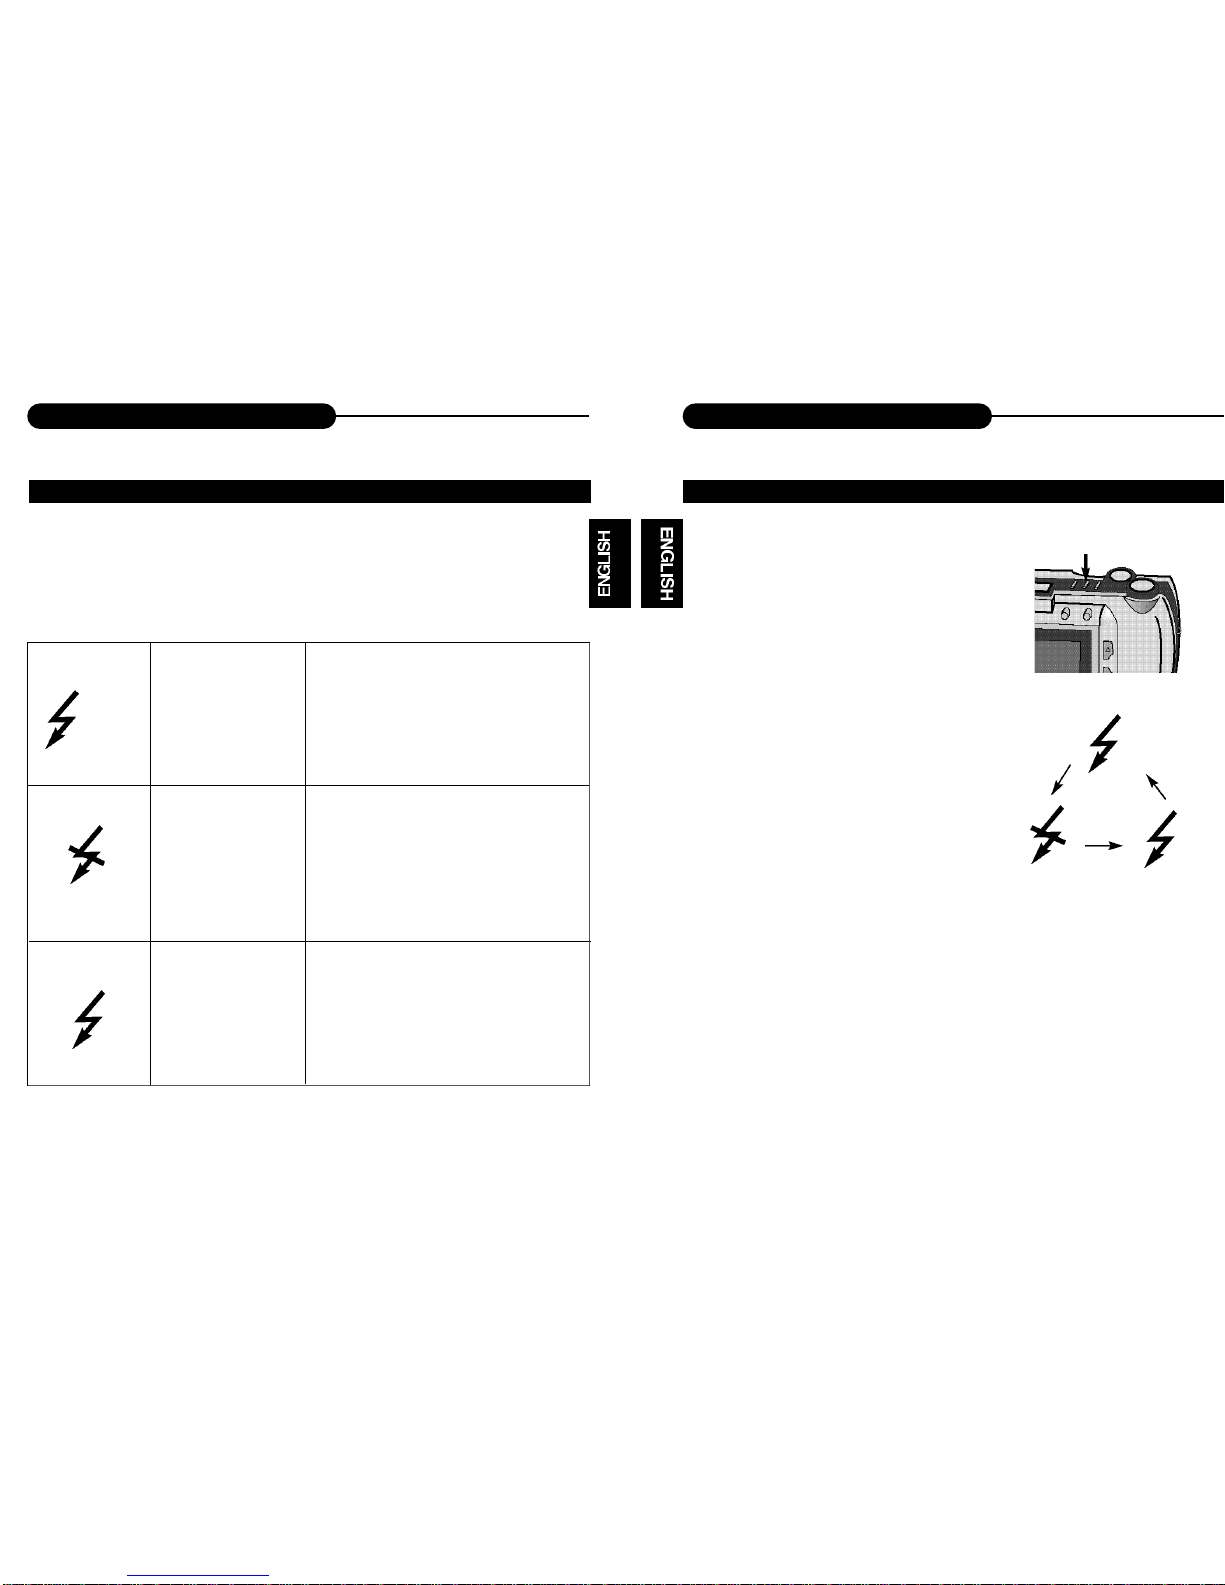
When the camera is turned on, the default setting of flash mode is 'No Flash'. The
other flash modes can be set by using the Flash button. Press this button to toggle
between the three flash modes.
AUTOFLASH
NO FLASH
FORCED-FLASH
In autoflash ,the flash will fire automati-
cally when the light level is low or your
subject is backlit.
Use flash cancel when photographing
subjects that are beyond the flash range
or when flash photography is prohibited.
The flash will fire every time a picture is
taken, regardless of lighting. Use forced-
flash to reduce harsh shadows on your
subject's face.
NOTICE:
The default setting is No flash.
Under the capture mode of the sequence, audio memo or video clip, the flash can-
not be set up.
BUILT-IN FLASH LAMP
AUTO
CHANGING THE FLASH MODE
1. In Record mode, press the Flash button.
• The currently set flash mode appears on the
status LCD.
2. Repeatedly press the button.
•The flash mode on the status LCD
changes in cycle.
• Select the mode you desired.
AUTO

18
Getting Started
17
Indicator Light
There are three indicator lights on this unit:
1. Green light
• When it blinks, this indicates the camera is
being charged.
• When it glows, this indicates the next operation
can be done.
2. Orange light
• When the system is “busy”, it will blink, it is sug-
gested that the next operation should not be
done.
3. Red light
• When Self-timer is selected, it will flash.
1
2
3
1. Open the cassette cover.
• Slide the cover in the direction of the arrow and
fold it up to open it.
2. Insert the batteries
• Match the batteries to the polarity indicated on
the back of the cover.
3. Close the cassette cover.
• While pulling up the cover slightly, fold it down
and slide it back until it clicks.
NOTICE:
• Make sure the unit is turned off before removing the batteries .
INSERTING THE BATTERIESINDICATOR LIGHT

20
Getting Started
19
Getting Started
You may use a compact flash card for image storage before capturing images.
1. Open the cassette cover.
• Slide the cover in the direction of the arrow and
fold it up to open it.
2. Insert the compact flash card into the card
slot, pushing it until the card- release lever
pops out.
• Push the card in straight ,not at an angle.
• If the card stops mid-way, confirm the direction of
the card, never apply force.
•The back side of the card is facing the batteries.
3. Close the cassette cover.
• While pulling up the cover slightly, fold it down and
slide it back until it clicks.
NOTICE:
• Make sure the unit is turned off before removing the compact flash card.
INSERTING THE COMPACT FLASH CARD

22
Getting Started
21
Getting Started
1. Open the cassette cover.
• Slide the cover in the direction of the arrow and
fold it up to open it.
2.Press the card-release lever to eject the
card.
• When the card is ejected, pull it straight out.
3.Close the cassette cover.
• While pulling up the cover slightly, fold it down
and slide it back until it clicks.
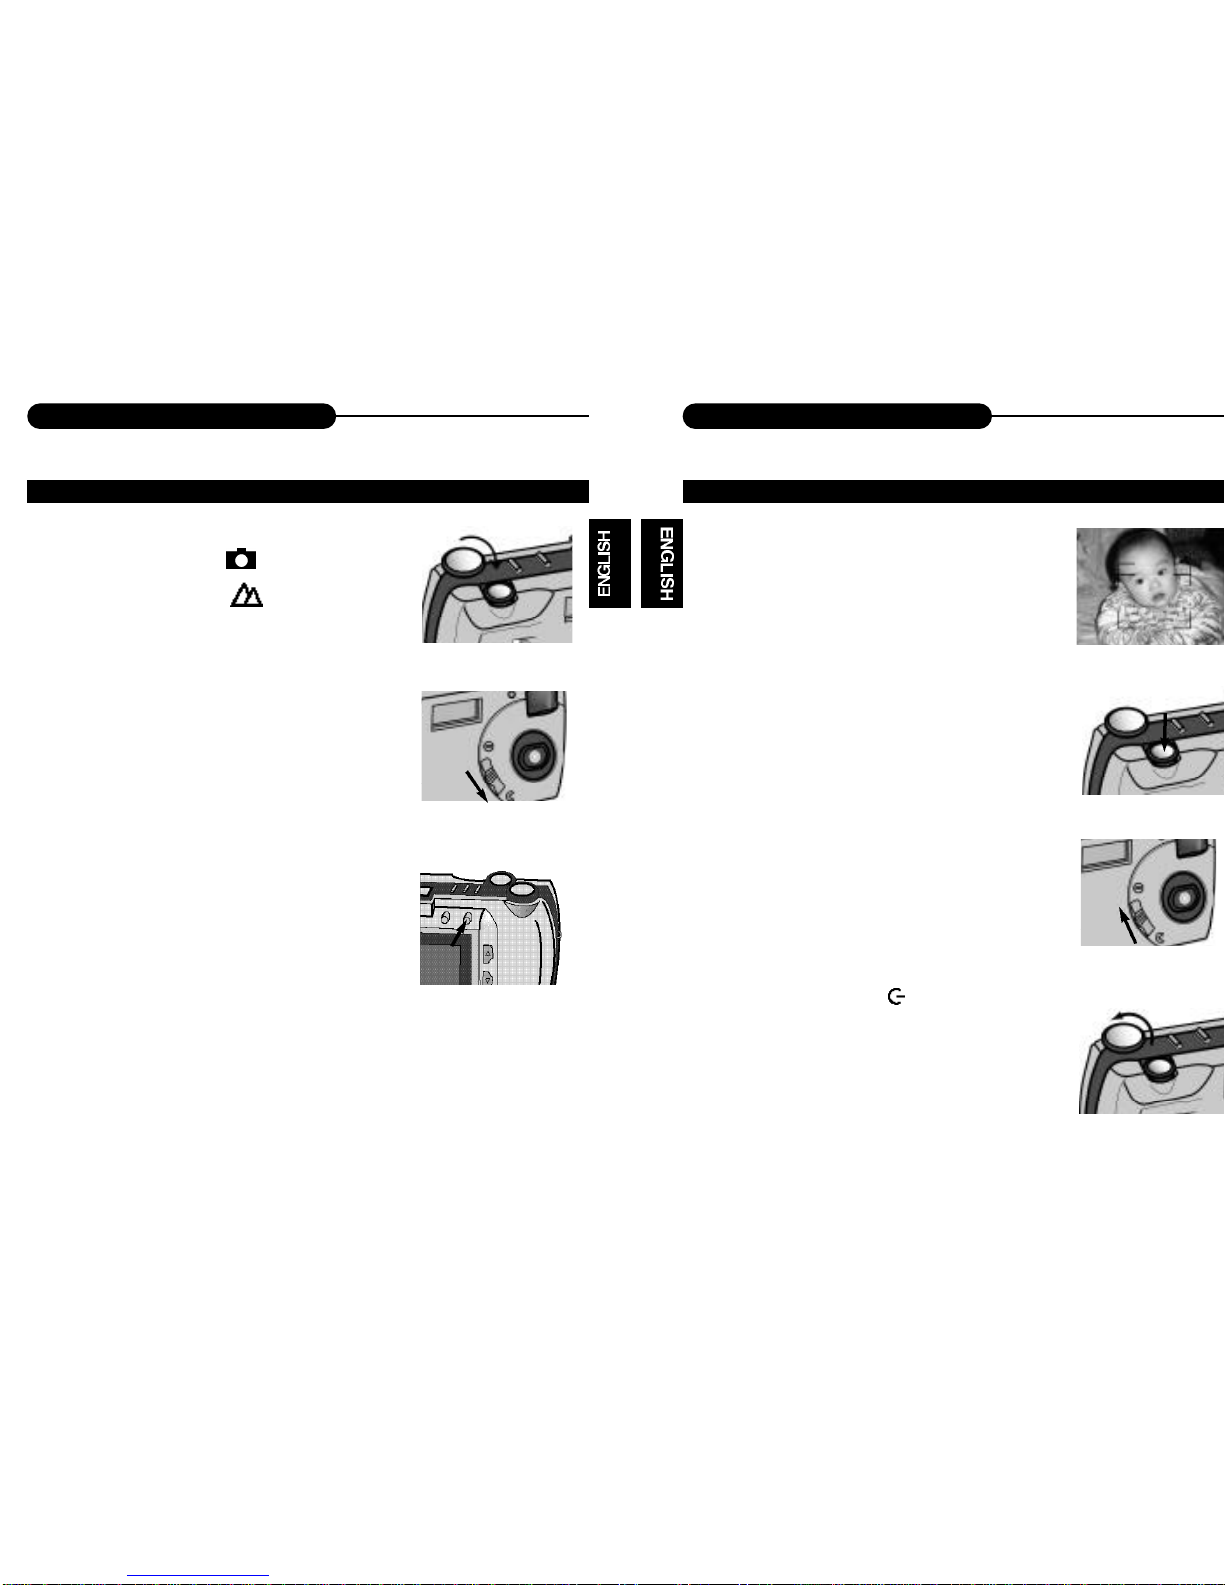
1. Align and tighten
•Align the screw on the tripod with the camera's
mounting socket, then tighten the screw.
NOTICE:
• When using a tripod ,be sure to open and extend its legs fully to stabilize the
camera .
REMOVING THE COMPACT FLASH CARD TRIPOD MOUNTING
24
Taking Pictures
23
Taking Pictures
1. Turn the function dial to .
• Status LCD is lit up.
• The default capture mode is (snapshot).
2. Move the lens cover slide to open the lens
cover.
•The live view will appear on the LCD monitor.
3. Press the DISP/ENTER/REP button to turn on
the LCD monitor.
• Press it again to switch off.
• If connected to TV, both preview and capture can be
operated by TV.
•The LCD monitor will switch off automatically for no-
operation status lasting for 60 seconds.
NOTICE:
• Before recording you may reset each parameter such as flash light (page 15,16),
digital zoom (page 32), image quality (page 14, 44), from the Record Mode Menu.
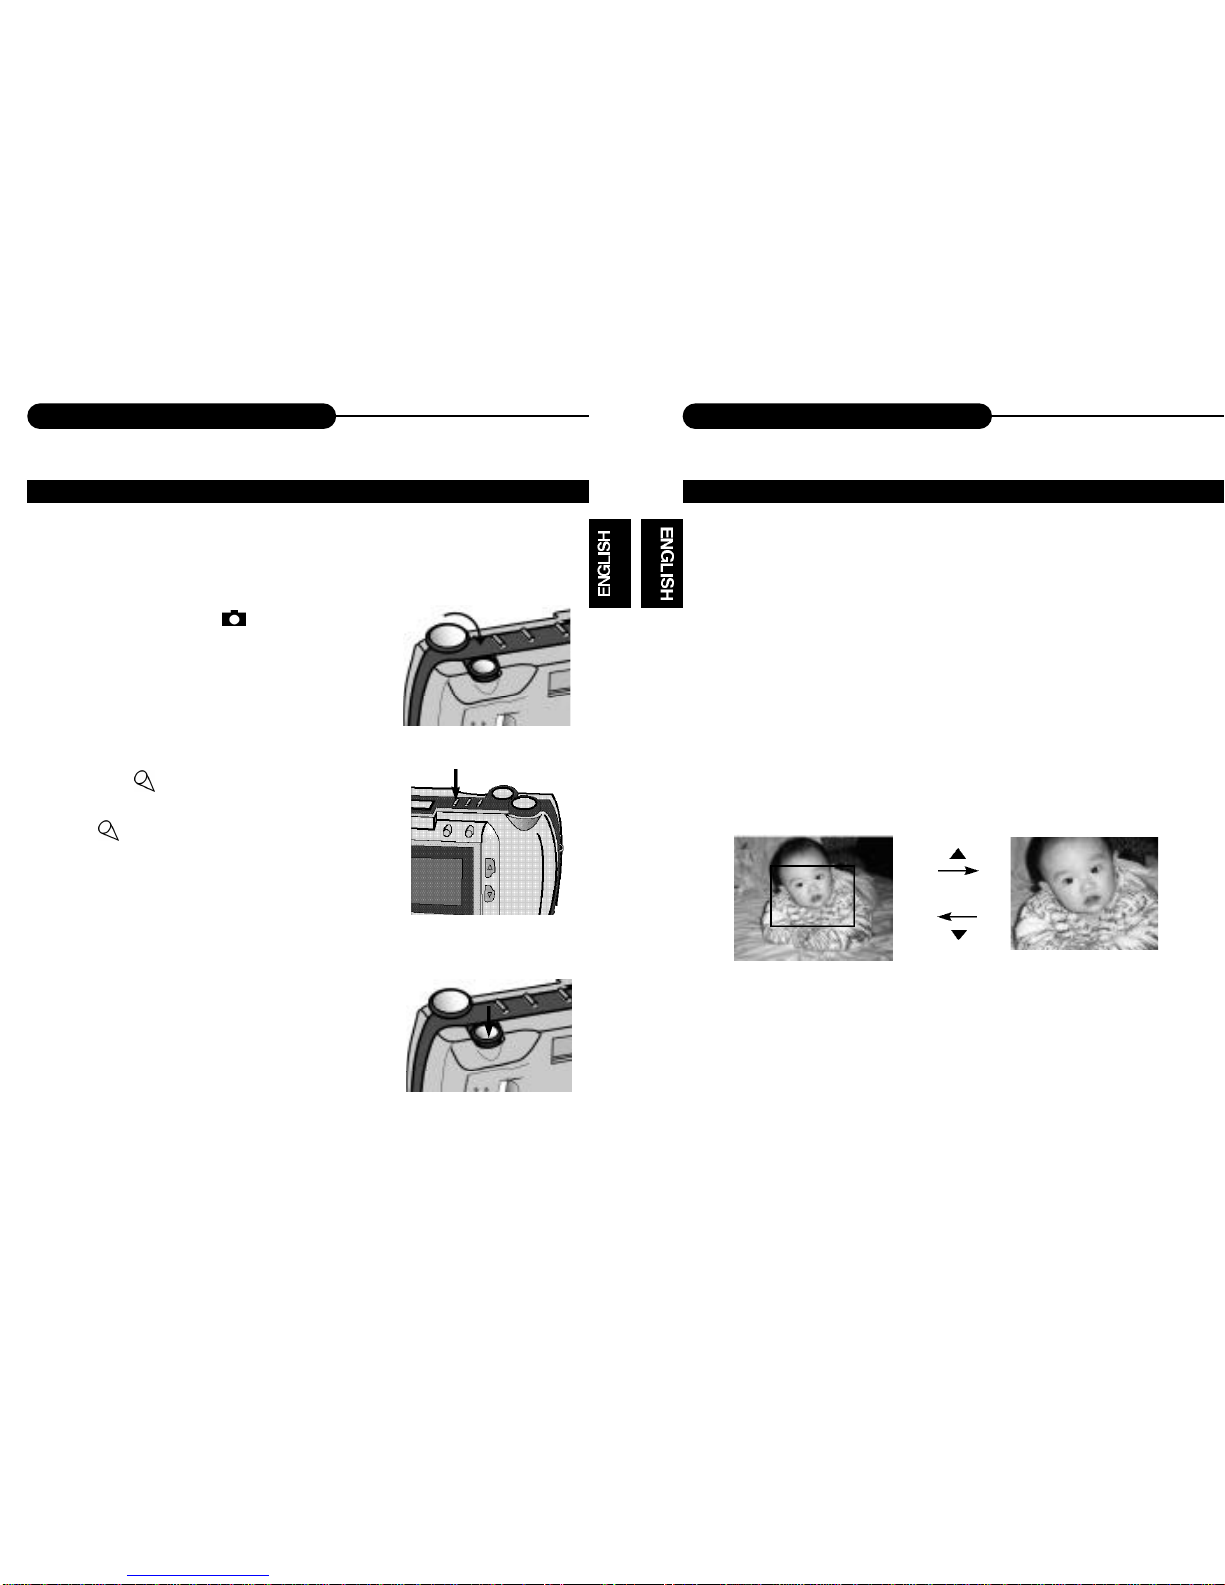
4. Center the subject in the LCD monitor or place
the viewfinder's focus frame on the subject.
• When holding the camera, make sure your fingers do
not cover the lens.
•Adjust the distance between camera and the subject.
Make sure the image in LCD monitor is clear.
5. Press the shutter-release button to take the pic-
tures.
• In snapshot mode, no flash, auto exposure and auto
white balance are default settings.
•The number of remaining images to be taken
decreases 1 automatically.
If the lens cover isn’t open, “PLEASE REMOVE THE
LENS COVER” will appear on TFT LCD.
6. Move the lens cover slide to close the lens.
7. Turn the function dial to to power off the
camera.
BASIC RECORDING OPERATION (SNAPSHOT) BASIC RECORDING OPERATION (SNAPSHOT)

26
Taking Pictures
25
Taking Pictures
The self-timer will delay for capturing approximately 10 seconds after you press the
shutter-release button.
1. Turn the function dial to .
• Capture mode is set.
• Status LCD is lit up.
2. Move the lens cover slide to open the lens.
• The live view will appear on the LCD monitor.
3. Press the DISP/ENTER/REP button to turn on
the LCD monitor.
• Press it again to switch off.
4. You can use a tripod to support the camera.
5. Press the Mode button till the timer
icon is displayed on the status LCD.
6. Arrange the camera and subject posi-
tion, and compose your picture.
7. Press the shutter-release button down
to start timer.
•The camera will take pictures automatically
in about 10 seconds.
SELF-TIMER

28
Taking Pictures
27
Taking Pictures
This digital camera will continuously take 3 pictures while the shutter-release button
is pressed once. There is no flash.
1. Turn the function dial to
• Capture mode is set.
• Status LCD is lit up.
2. Move the lens cover slide to open the lens.
• The live view will appear on the LCD monitor.
3. Press the DISP/ENTER/REP button to turn on
the LCD monitor.
• Press it again to switch off.
4. Press the Mode button till the sequence icon
is displayed on the status LCD.
5. Arrange the camera and subject posi-
tion, and compose your picture.
6. Press the shutter-release button.
•The unit starts sequence image capture with
the orange light flashing.
• When the flashing light is switched to the
green light, the LCD monitor will return to
the preview status, the capture is over.
SEQUENCE IMAGE CAPTURE SEQUENCE IMAGE CAPTURE

30
Taking Pictures
29
Taking Pictures
1. Turn the function dial to
• Capture mode is set.
• Status LCD is lit up.
2. Move the lens cover slide to open the lens.
• The live view will appear on the LCD monitor.
3. Press the DISP/ENTER/REP button to turn
on the LCD monitor.
• Press it again to switch off.
4. Press the Mode button till the Video Clip
icon is displayed on the status LCD.
5. Arrange the camera and subject position,
and compose your picture.
6. Press the shutter-release button to take a
continuous video clip and press it again to
stop recording.
•The length of the video clip is determined by the
memory space.
•This unit can record voice simultaneously.
VIDEO CLIP CAPTURE
32
Taking Pictures
31
Taking Pictures
The Audio Memo recorded is attached and referenced to the last image taken. It is
possible to record a 7-second audio memo of the picture taken (except for video
clip).
1. Turn the function dial to
• Capture mode is set.
• Status LCD is lit up.
2. Repeatedly press the Mode button till the audio
memo icon appears on the LCD monitor.
•The captured image displays on TFT LCD.
The icon appears on the up-left corner of TFT
LCD.
3. Press the shutter-release button to start
recording.
•The orange light blinks till the recording is over.
• "Audio Recording ..." shows on TFT LCD till the
recording is over.
• When recording again, the last recording will be
recovered.
The digital zoom will increase the magnification of the live image on the LCD moni-
tor. In order to record a far object more vividly, use the digital zoom to preview
before capturing image or recording a clip.The digital zoom has 4x .
When you press the direction buttons, the live view will move glossily on the LCD
monitor.
Press the LT/RT button, the zoom is in, and press the UP/DN, the zoom is
out.
•The zoom magnification change is visible on the LCD but invisible in the
viewfinder. You should use the LCD monitor to compose your picture.
AUDIO MEMO DIGITAL ZOOM

(Snapshot)
(Video Clip)
(Sequence)
(ZoomX1)
(ZoomX4)
(No Flash)
(Forced Flash)
(Auto Flash)
(Normal)
(Brightness)
(Dark)
(Capture Mode)
(Digital Zoom)
(Flash Lamp)
(Advanced)
(Screen Brightness)
34
Record Mode Menu
33
Record Mode Menu
The Record Mode Menu allows you to change the default settings for image captur-
ing such as digital zoom, white balance, sound and so on. 1. Turn the function dial to
• Capture mode is set.
• Status LCD is lit up.
2. Move the lens cover slide to open the lens.
• The live view will appear on the LCD monitor.
3. Press the DISP/ENTER/REP button to turn on
the LCD monitor.
• Press it again to switch off.
• If the LCD is off, when connected to TV, it can be
displayed by TV.
4. Press the MENU/STOP button.
• Press it again to switch off.
•The menu can be displayed on TV or TFT LCD.
RECORD MENU SETUP HOW TO DISPLAY RECORD MENU
QUICK REVIEW
EXPOSURE
WHITE BALANCE
SOUND
IMAGE QUALITY
LANGUAGE
TV OUTPUT
EXIT

36
Record Mode Menu
35
Record Mode Menu
On the menu, there are three capture modes available: snapshot, video clip and
sequence.
1. In Record Mode, press the MENU/STOP button.
• The menu will appear.
• The default setting is Snapshot.
2. Press the UP/DN button to select the other
modes.
3. Press the DISP/ENTER/REP button to confirm it
and return to the live view.
• The capture mode selected displays on Status LCD.
Zoomx4 selected makes the subject closer.
1.In Record Mode, press the MENU/STOP button.
• The menu will appear.
2. Press the LT/RT button to select .
3. Press the UP/DN button to display the sub-
menu and select the item.
4. Press the DISP/ENTER/REP button to confirm
it.
•The LCD monitor returns to the live view with
digital zoom selected.
SELECTING CAPTURE MODE DIGITAL ZOOM X 4
Table of contents
Other DIGITREX Digital Camera manuals


