manuals.online logo
Brands
  1. Home
  2. •
  3. Brands
  4. •
  5. Digitus
  6. •
  7. Enclosure
  8. •
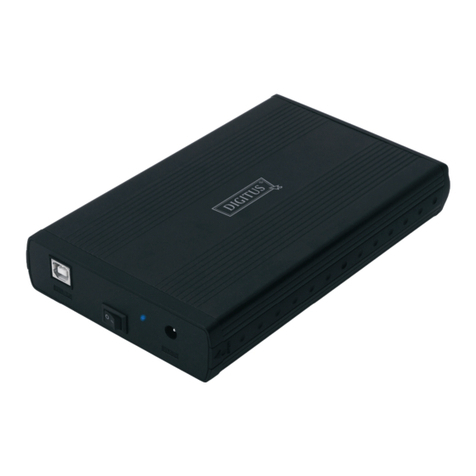
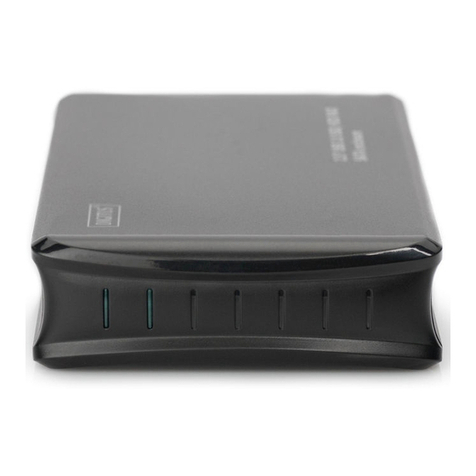
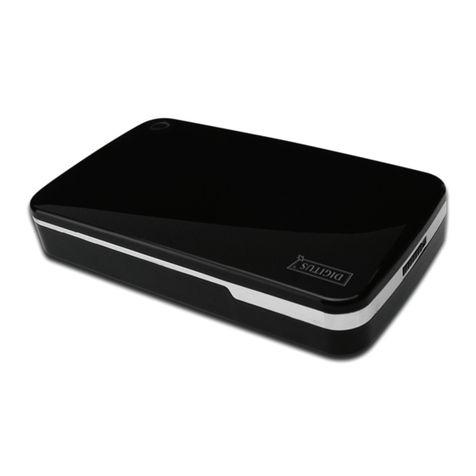
  9. Digitus DA-70585 User manual

Digitus DA-70585 User manual

Other Digitus Enclosure manuals

Digitus DA-71110 User manual

Digitus

Digitus DA-71110 User manual

Digitus DA-71115 User manual

Digitus

Digitus DA-71115 User manual

Digitus DA-71050 User manual

Digitus

Digitus DA-71050 User manual

Digitus DA-71116 User manual

Digitus

Digitus DA-71116 User manual

Digitus Enclosure 3.5" User manual

Digitus

Digitus Enclosure 3.5" User manual

Digitus DA-71104 User manual

Digitus

Digitus DA-71104 User manual

Digitus USB 2.0 External Enclosure 2.5" (6,35cm) User manual

Digitus

Digitus USB 2.0 External Enclosure 2.5" (6,35cm) User manual

Digitus 2-PORT NAS SATA HDD ENCLOSURE Operating and maintenance instructions

Digitus

Digitus 2-PORT NAS SATA HDD ENCLOSURE Operating and maintenance instructions

Digitus DA-70557 User manual

Digitus

Digitus DA-70557 User manual

Digitus DA-70550-1 User manual

Digitus

Digitus DA-70550-1 User manual

Digitus DA-70577 User manual

Digitus

Digitus DA-70577 User manual

Digitus DA-71112 User manual

Digitus

Digitus DA-71112 User manual

Digitus DA-71115 User manual

Digitus

Digitus DA-71115 User manual

Digitus DA-71113 User manual

Digitus

Digitus DA-71113 User manual

Digitus DA-70570-BA User manual

Digitus

Digitus DA-70570-BA User manual

Digitus SoHo DN-19 U-S-1 Series User guide

Digitus

Digitus SoHo DN-19 U-S-1 Series User guide

Digitus DA-71120 User manual

Digitus

Digitus DA-71120 User manual

Digitus DA-71111 User manual

Digitus

Digitus DA-71111 User manual

Digitus DA-71051 User manual

Digitus

Digitus DA-71051 User manual

Digitus DA-71030 User manual

Digitus

Digitus DA-71030 User manual

Digitus DA-71106 User manual

Digitus

Digitus DA-71106 User manual

Digitus USB 2.0 External Enclosure 2.5" (6,35cm) User manual

Digitus

Digitus USB 2.0 External Enclosure 2.5" (6,35cm) User manual

Digitus DA-71105 User manual

Digitus

Digitus DA-71105 User manual

Digitus DA-71105-1 User manual

Digitus

Digitus DA-71105-1 User manual

Popular Enclosure manuals by other brands

Antec Veris Fusion Remote Max Specification sheet

Antec

Antec Veris Fusion Remote Max Specification sheet

ENERMAX iVektor.Q ECA 3371 Series user manual

ENERMAX

ENERMAX iVektor.Q ECA 3371 Series user manual

Lindy 43095 user manual

Lindy

Lindy 43095 user manual

SICK C4000 Select operating instructions

SICK

SICK C4000 Select operating instructions

Geeek A60 PLUS installation guide

Geeek

Geeek A60 PLUS installation guide

OVE SYDNEY 48 installation manual

OVE

OVE SYDNEY 48 installation manual

SilentiumPC Armis AR5 Hardware installation

SilentiumPC

SilentiumPC Armis AR5 Hardware installation

Pulsar 17/TRP80/DSPR Assembly instructions

Pulsar

Pulsar 17/TRP80/DSPR Assembly instructions

MSI MPG SEKIRA 500X quick start guide

MSI

MSI MPG SEKIRA 500X quick start guide

Antec Dark fleet DF-10 user manual

Antec

Antec Dark fleet DF-10 user manual

Peavey DS 1502 Specifications

Peavey

Peavey DS 1502 Specifications

D-Link ShareCenter Pro DNS-1550-04 user manual

D-Link

D-Link ShareCenter Pro DNS-1550-04 user manual

Rosewill RX82-U(JBOD) user manual

Rosewill

Rosewill RX82-U(JBOD) user manual

QNAP SAS JBOD CLI 1.0 user guide

QNAP

QNAP SAS JBOD CLI 1.0 user guide

GAMDIAS Talos P1 Quick installation guide

GAMDIAS

GAMDIAS Talos P1 Quick installation guide

Auvs KR615 user manual

Auvs

Auvs KR615 user manual

Antec AR300 user manual

Antec

Antec AR300 user manual

CommScope FDH 3000 user manual

CommScope

CommScope FDH 3000 user manual

manuals.online logo
manuals.online logoBrands
  • About & Mission
  • Contact us
  • Privacy Policy
  • Terms and Conditions

Copyright 2025 Manuals.Online. All Rights Reserved.

1 2
SATA/IDE - eSATA/USB
3,5" HDD ENCLOSURE
(DA-70585)
User’s Manual
1. Characteristics
Compliant with both USB 2.0 and USB 1.1 standard specifications
USB High-speed data transfer rate up to 480 Mbytes
Support External SATA.
Compliance with USB 2.0 electrical specification
2. System Requirements
1) USB Interface: one free USB port.
2) External SATA Interface: one free External SATA port or one free SATA port.
3) OS: Microsoft Windows 98SE/ME/2000/XP/Vista
3. Driver Installation
External SATA Interface no need driver installation in
Microsoft Windows 98SE / ME/2000/XP/Vista/ OS.
Windows 98 USB Driver installation
1) After you open the folder “D:\JM20336 Windows 98SE Driver” of the driver
CD-ROM, you Will meet the following picture, please run “Setup.exe” to start
installing”.
2) When you see the following screen, please press“OK”.
3) Please connect the USB connection cable to the USB connection on you external
hard disk and plug the USB connection to your computer.
4) Windows auto load drive.
Windows ME/2000/XP/Vista
No need driver installation in those OS platform.
3 4
4. Verification
Please track the path “My computer→System Properties→Device Manager” and
expand the item “Hard disk controllers”, you should meet one item titled “JM20336
SATAII,USB Combo” and “USB Mass Storage Device”.
5. If you use a all new HDD
1) Please use “Fdisk” to set the capacity of your HDD, but this will destroy all the data
in the HDD.
2) Format your HDD by standard procedures, if you can’t find your new HDD, please
Following the steps in FAQ-1
NOTE: “Fdisk” or “Format” will destroy all the data and program in the HDD you select.
Please make sure there is not any datain it, or all the data have a backup copy.
6. FAQ
Q1: I could see the icon at the right down comer on the screen, but I still couldn’t find
my external HDD.
A1:
a. a.Please make sure your HDD has been installed correctly.
b. Please make sure your HDD has been set in “Master” position.
c. Please make sure you have installed correct driver for this enclosure.
d. Please make sure your HDD has been formatted. If no, please format your hard
drive first.
e. If you are sure you have installed correctly all the hardware and software, please
follow the steps as below to catch your HDD.
i. Enter “Control Panel” and enter “System” icon
ii. ii.Double click it to find a “System Manager”.
iii. Find a “Disk” category. There should be 3 drivers, double click “Generic
STORAGE DEVICE USB Device.”
iv. Find the “Setting” button and choose the option “Removable Drive”.
v. Your computer will automatically assign a new letter to this protable HDD after
restarting your computer.
Q2. Why I couldn’t find my enclosure at all?
A2: This situation somethings happens to some notebook models. That’s because a
few notebook maufactures remove the power current from USB port to reduce the
heat in the notebook. Or some old models couldn’t supply sufficient power for USB.
This problem mostly couldn’t solve the problem, please buy a AC power adaptor to
offer sufficient power for enclosure.
5 6
7. CAUTION!!
a. When using USB 2.0-interface model, external power is needed when
HDD consumes power over 550mA.
b. If you are not sure what OS you are using, please contact your PC dealer.
c. Please don’t put this external enclosure in a humid or high-temperature
environment.
d. If your first installation is failed, please firstly remove the wrong device throung the
path as below:
Path=Control Panel > System > System Manager > PCI to USB Open Host
Controller > Please remove the items with “?” or “!”mark.
e. User to behind please click icon remove device(USB Interface user only) :
8. ADVICE
It’s recommended that you use this USB IDE External Enclosure in bus-power mode.
If it can’t work properly, please use it in self-power mode.
7 8
1. Carefully remove cover from HD
enclosure
5. Insert PATA hard drive with HD power
cable
2. Insert SATA hard drive
6. Securely tighten screws from the bottom
of HD enclosure to fix hard disk (4pcs
short screws)
3. If would like to use PATA hard disk,
please connect little PCBA with big PCBA
7. Assemble PCB shielding above PCBA
4. Insert PATA hard drive
8. Replace cover onto HD enclosure
9. Use screws (2pcs longer, 2pcs shorter)
from the bottom of HD enclosure to
tighten it
12a. Plug eSATA cable into PC or laptop
12b. Plug USB cable into PC or laptop
10a. If would like to use eSATA cable, plug
eSATA cable into the HD enclosure
10b. If would like to use USB cable, plug
USB into the HD enclosure
13. Plug adapter
11a. After plugging eSATA cable into the
HD enclosure, plug adapter into HD
enclosure
11b. After plugging USB into the HD
enclosure, plug adapter into HD
enclosure
14. Press the switch for power on