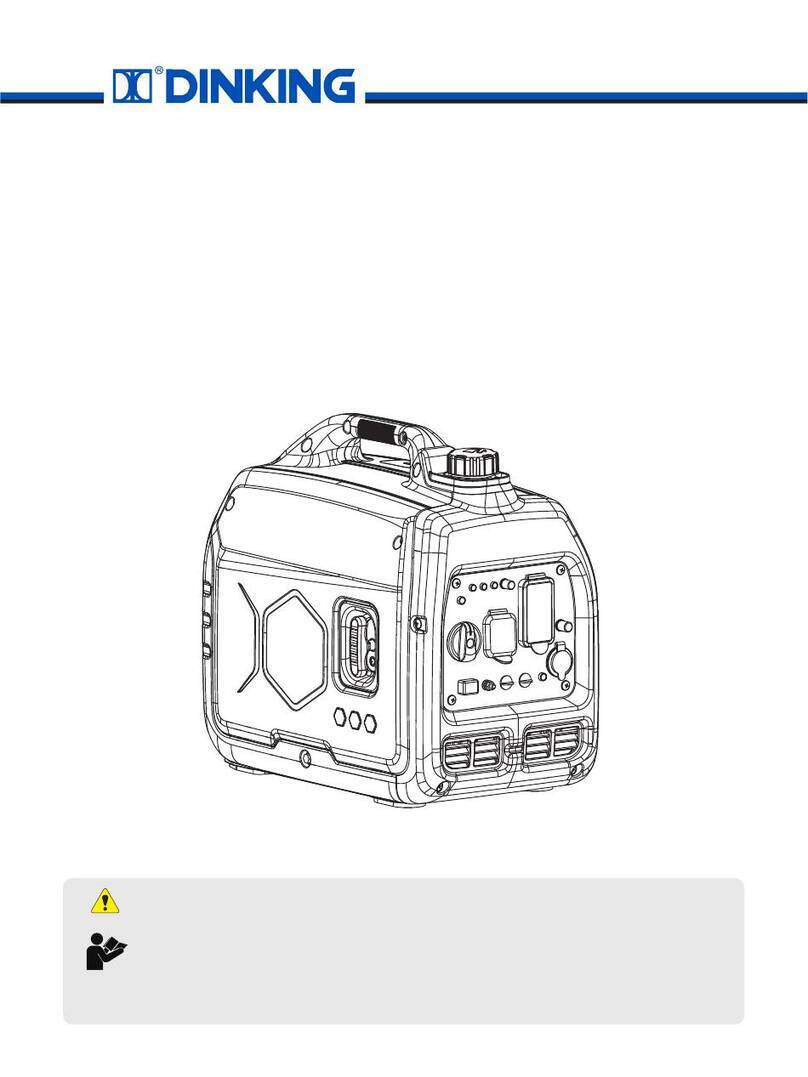
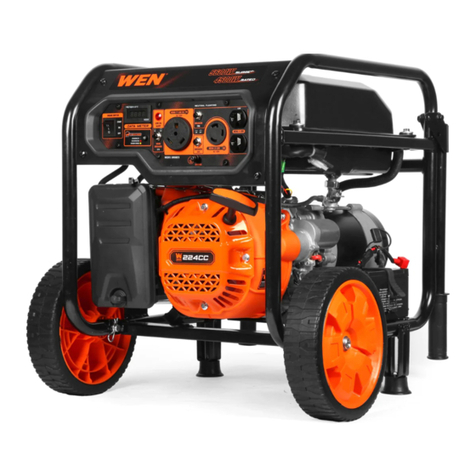
DINKING DK3300i User manual

INVERTER GENERATOR
User's Manual
Kindly Remind: Please read this User's Manual carefully before using, to
operate it under the premise of ensuring the safety and environmental
protection!

Thank you very much for choosing generator set product manufactured by our
Company!
This Manual will instruct you how to operate and use the generator set safely and
properly. Please be sure to read it carefully before using.
All technical data and diagrammatic presentations in this User's Manual are
consistent with the latest product at the time of publication.
Due to the revision and other changes, contents of this Manual may be slightly
different from actual situation. The Company is entitled to revise it at any time,
and the revised version will be developed without prior notice, please understand
that. The copyright of this User's Manual belongs to the Company, and this
Manual is not allowed to be reproduced without written consent of the Company,
violators must be prosecuted.
This Manual is a permanent part of the generator set.If the generator set is resold,
the Manual will be resold together with the generator set.

Table of Contents
Safety Warning …………………………………………………………..…. 1
I. Safety Instructions ……………………………………………………….. 2
II. Names of Components …………………………………………………. 3
III. Control Functions ………………………………………………….…… 5
IV. Preparations ………………………………………………………..…… 8
V. Starting up the Generator ………………………………………………10
VI. Shutting Down the Generator …………………………………………10
VII. Using the Generator ………………………………………………..… 11
VIII. Service and Maintenance …………………………………….………16
IX. Storage and Transport…………………………………………….…… 22
X. Troubleshooting …………………………………………………….…… 23
XI. Technical Parameters………………………………………………..…24
XII. Circuit Diagram …………………………………………………………25
XIII. Rules for Three Guarantees …………………….……………........ 26

1
Safety Warning
Personal and property safeties of you and others are very vital. Please read the
Safety Warning in the User's Manual and the decals ofthe generator set carefully.
The Safety Warning can alert you to those potential hazards that could harm you
and others. In front of each SafetyWarning, there is one of four words "DANGER",
"WARNING", "ATTENTION", and "CAREFUL". Details are as follows:
DANGER Failure to follow the instruction will result in being in peril of your life
or extremely serious injury.
WARNING Failure to follow the instruction will result in being in peril of your life
or very serious injury.
CAREFUL Failure to follow the instruction will result in minor injury.
ATTENTION Failure to follow the instruction will result in the damage to your
generator set and other properties.

2
I. Safety Instructions
Before operating the generator, it will help you avoid accidents to read and
understand the Manual and familiarize yourself with the safe operation
procedures of the generator.

3
II. Names of Components
Lifting handle Knob
Leftenclosure
Fuel tank cap
Control panel
Startup handle
Spark plug cover plate
Side shield of
muffler
Right enclosure
Air filter cover
plate
Oil cover plate
Muffler

4
Control Panel
①②③④⑤⑥⑦
①Idle switch
②Oil alarm indicator
③Overload indicator
④AC output indicator
⑤DC cigarette lighter
socket
⑥AC resume switch
⑦AC socket
⑧DC socket
⑨USB socket
⑩DC protection
Earthing terminal
Three-in-one
combination switch
⑩ ⑨
⑧

5
III. Control Functions
(1)Three-in-one combination switch (hereinafter referred to as
combination switch)
①Engine and fuel switch: Ignition circuit is off and the fuel switch is off, the
engine will be unable to run.
②Engine, fuel switch and choke valve switch: Ignition circuit is in working
status, fuel switch is on and the choke valve is in fully opening status, the
engine can run normally.
③Engine, fuel switch and choke valve
switch: Ignition circuit is in working status,
fuel switch is on and choke valve is in closing
status, the engine can run normally.
ATTENTION The engine is hot, it does not need to switch off the
choke switch.
(2)Oil indicator (red)
When the oil in the crankcase drops below
safety line, oil protection system will
automatically shut down the engine, and oil
alarm indicator lights up; the engine can be
restarted up only after the oil is filled to oil level.
Tip: In the case of flame-out of the engine or being unable tobe started up,
turn the combination switch to "RUN" position, and then pull startup handle.
If oil indicator flashes a few seconds, the oil volume is insufficient, fill oil
and restart it.
(3)Overload indicator (red)
When the overload indicator lights up, the generator has detected that the
output of connected electrical equipment has been overloaded, causing
frequency converter to be overheated or AC voltage to rise. At this moment,
AC protector works and stops generating, to protect the generator and

6
ON
OFF
DC protection
connected electrical equipment. AC indicator (green) is off and overload
indicator (red) lights up, but the engine will not stop running.
When overload indicator is on and the generator has no output, please take
following counter measures:
①Switch off electrical equipment connected, and shut down the generator.
②Reduce total power of electrical equipment connected to the range of
rated output.
③Check whether there is any foreign matter blocking in cooling air inlet,
and whether there is any abnormality in related control components. If there
is any problem, eliminate it immediately.
④After checking, restart the engine.
Tip: When using electrical equipment with high starting current (such as
compressors, submersible pump, etc.), the overload indicator may start to
light up for a few seconds at the beginning, but this is not the failure
mentioned earlier.
(4)AC indicator (green)
The AC indicator lights when the engine is started and output normally.
(5)DC protection
When electronic equipment connected to DC of the generator is running, if
current is beyond rated current, DC switch automatically switches off to "OFF"
position. When operating the generator again, please press DC switch to "ON"
position.
1)“ON” DC normal outputs.
2)"OFF" DC does not output.
ATTENTION If DC protection is in off status, reduce the load of
electronic device connected to rated output range of the generator. If DC
protection is still in off status, please stop using electrical equipment directly
and consult your dealer.

7
AC recovery
(6)Energy-saving switch
1) "ON"
When energy-saving switch is switched to
"ON" position, the device controls engine
speed based on the load connected, thus very
good fuel consumption and low noise can be
obtained.
2) "OFF"
When the energy-saving switch is set to the "OFF" position, the engine will
run at rated speed, regardless of whether being connected to a load.
Tip:When using following devices, such as air compressor and submersible
pump, the energy-saving switch must be in "OFF" position, because it
requires great startup current.
(7)Fuel tank cap
Remove fuel cap by unscrewing it counterclockwise.
(8)AC recovery
When the output is overloaded, the generator will protect automatically to
output no voltage. Reduce the load, press the AC recovery switch, and the
generator will resume output.
(9)Grounding terminal
Grounding terminal shall be connected to grounding wire to prevent electric
shock. When an electrical equipment is grounded, the generator must be
grounded.

8
IV. Preparations
(1)Fuel
DANGER
• Fuel is flammable and toxic, please read the Safety Instruction
carefully before refueling;
• Do not fuel too full, otherwise fuel will spill after fuel tank is warmed;
• After refueling, confirm that the fuel tank cap has been tightened.
ATTENTION
• After refueling, dry gasoline residue with a clean and soft cloth in
time to avoid damaging plastic enclosure;
• Unleaded gasoline must be used, as
leaded gasoline can seriously damage
internal parts of the generator;
• Remove fuel tank cap, and add gasoline
to red horizontal indicating line oil level.
• Fuel tank capacity: 4L
(2)Oil
No oil is filled into this generator when being delivered. Do not start up the
generator without filling sufficient oil.
1
)
Please place the generator onto a horizontal plane surface;
2
)
Unscrew the knob ①to remove oil cover plate②;
3
)
Unscrew oil dipstick ③;
4
)
Fill in 0.35L oil (SAE 10W/30 oil is recommended, of which the
grade is API standard Type SE or higher);
5
)
Reassemble oil cover plate and tighten the knob.

9
(3)Pre-use inspection
WARNING
Even if the generator is not in service, its important component may
suddenly fails. Before the generator is started up, if any of following
components is unable to work properly, please inspect and repair carefully.
Tip: The condition of the generator shall be inspected before using every time.
Pre-operation inspection
Fuel
• Check fuel level in fuel tank of the generator, and fuel it if necessary.
Oil
• Check oil level of the generator, and fill oil if necessary;
• Check whether there is oil leaking.
Abnormal conditions during operation
• Check operating condition of the generator;
• If there is any need, please do not hesitate to consult your dealer.

10
V. Starting up the Generator
(1) Remove the load from all output ends;
(2) Switch energy-saving switch to "OFF";
(3) Turn ventilation knob of fuel tank cap to
"ON";
Close
(4) Turn combination switch control to "CHOKE
VALVE" position;
1. Fuel is on;
2. Ignition system is on;
3. The choke valve is closed, and it is in normal
cool-generator OFF status.
eration
Choke
valve
Tip: When hot engine is started up, it is unnecessary to close the choke
valve, but turn the combination switch to "RUN".
(5) First gently pull startup handle, until guy cable is hooked tight,
and then pull it with effort.
Tip: When pulling the hand starter, hold generator carrying handle firm, to
prevent the generator from overturning.
VI. Shutting Down the Generator
(1) Turn the combination switch to "OFF" position;
(2) After the generator has completely cooled down, turn ventilation
knob on fuel tank cap to "OFF".

11
VII. Using the Generator
(1)Service environment of the generator
• Applicable temperature: -5 ~ 40°C;
• Applicable humidity: below 95%;
• Applicable altitude: regions below 1,500 m (It shall be used by
reducing power in regions above 1,000 m).
Standard atmospheric condition
• Ambient temperature Tr: 298k (25°C)
• Relative air humidity Фr: 30%
• Absolute atmospheric pressure Pr: 100kPa
When actual environmental condition is inconsistent with the condition
of output power of the generator set:
• Every 5°C of increase in ambient temperature will reduce the power
of generator by about 2%
• Every 30% of increase in relative humidity of air will reduce the power
of generator by about 1.5%
• Every 300 m rising of ASL will reduce the power the generator by
about 4.5%
(2)Generator wiring
• When the generator is connected to household power source as a
backup power supply, the connection shall be carried out by a
professional electrician or a person familiar with electricity.
• After connecting the load to the generator, check carefully wh ether
electrical connection is safe and reliable. Improper electrical
connection may cause generator damage, burning or fire.
• Avoid connecting this generator to commercial power outlet.
• When extending the cable, be sure not to exceed its length.
①60m cross-section area is 1.5mm²
②100m cross-section area is 2.5mm²

12
• The appearance of extension cable shall be protected by a layer of
tough and elastic rubber cover (IEC25) or other substitutes
Connection of AC power
WARNING All electrical equipment shall be disconnected before
inserting the plug.
ATTENTION
• Make sure that all electrical equipment, including wires and plugs, are
in good condition before connecting to the generator;
• Make sure that all loads driven by the generator are within rated load
range;
• Make sure that load current is within rated current range of rated
socket.
Tip: Make sure that the generator set is grounded, and if electrical equipment
requires grounding, the generator set must be grounded.
①Start up the engine;

13
②Turn energy-saving switch to "ON";
③Insert the plug into AC outlet;
④Make sure that AC indicator is lit up;
⑤Switch on electrical equipment.
Tip: Before increasing engine speed, energy-saving switch must be
switched to "OFF". If the generator set supplies power to multi loads or
electrical equipment, start from large to small according to the size of each
electrical equipment.
(3)Generator grounding
In order to prevent any damage to the generator caused by electric shock or
improper electrical application, it is recommended that the generator is
grounded with good conductor with insulating sheath.
①Please use grounding wire with sufficient electrical energy capacity;
②Connect one end of grounding wire reliable to grounding bolt on control
panel of the generator set;

14
③Insert grounding body (iron rod with a diameter of 5 ~ 10mm) 200mm
below into the earth and lead it out with conductor;
④Connect the other end of the grounding wire reliable to the led wire of
grounding body.
(4)Battery charging
Tip:
• Rated DC voltage of this generator is 12V;
• After the generator is started up, connect the battery to the generator;
• Before charging, make sure that DC protector has been switched on.
①Start up the generator.
②Connect red conductor of the battery to positive (+) terminal of the battery.
③Connect black conductor of the battery to negative (-) terminal of the battery.
ATTENTION
• Make sure that red conductor of the charger is connected to
positive terminal (+) of the battery, and black wire and negative
terminal shall not be connected reverse.
Grounding terminal

15
• The connection between charger cable and battery terminal shall be
reliable, to prevent the generator from moving or loosening.
• Follow steps in the User's Manual for proper operation.
• In the process of charging, if current exceeds the value of rated
current, DC protector will switch off the output. Press DC protector to
"ON" to restart charging. If the DC protectorswitches off again, stop charging
immediately and contact your dealer.
Tip: Measure specific gravity of electrolyte to determine whether the battery
is charged full. In the case of full charging, the specific gravity of electrolyte
is between 1.26 and 1.28. It is recommended to check specific gravity of
electrolyte at least once an hour, to prevent the battery from being
overcharged.
! WARNING
Never smoke, and never connect or disconnect the connection to the battery
during charging. The spark generated will ignite gas around the battery.
Battery electrolyte contains sulfuric acid, which is toxic and with the risk of
burning. Please avoid expose to skin, eyes and clothing.
In the case of exposing to sulfuric acid accidentally, treatment method is:
• External exposing: flush with large amount of water
• Ingestion by mistake: Drink large amount of water or milk, and drink
milk, egg liquid or vegetable oil containing magnesium oxide. Send
the victim to hospital immediately
• Eye exposing by mistake into eyes: Flush with water for 15 minutes,
and seek medical treatment timely.
Tip: The battery can generate explosive gas, so please keep it far away
from spark, flame or cigarette, etc. Please keep ventilation when
charging or using the battery in a confined space. Close your eyes as
far as possible when working near the battery.
Please keep the battery out of the reach of children.

16
(5)Range of application
Before using the generator, please make sure that total load is within rated
load range of the generator, otherwise the generator may be damaged.
Tip:
• AC and DC can be used at the same time, but total power amount
shall not exceed rated output power.
• When total power exceeds rated power, overload indicator will light
up.
VIII. Service and Maintenance
Good maintenance and service is the best guarantee for safe, economical and
zero-failure operation. It also contributes to environmental protection.
In order to keep the generator in good condition, you must inspect and maintain
it regularly. The maintenance schedule is as follows:

17
Maintenance cycle
Item
Each
First
maintenance is
carried out
after 1 month
or 20 hours of
use
Afterwards, the
maintenance is
carried out every
three months or
every 50 hours
Every year
or use of
100 hours
Engine oil
Check - fill
√
Replace
√
√
Gearbox
gear oil (if
any)
Check oil
level
√
Replace
√
√
Air cleaner
element
Inspection
√
clean
√
Replace
√
Settling bowl (if
any)
Clean
√
Spark plug
Clean -
adjust
√*
Spark eliminator
Clean
√
Idle speed (if any)
**
Check -
adjust
√
Valve clearance **
Check -
adjust
√
Fuel tank and
fuel filter ***
Clean
√
Fuel hose
Inspection
Every two years (Please replace if ecessary)
Cylinder head,
piston
Remove
carbon
deposit **
Displacement <225cc, every 125 hours; displacement
≥225cc, every 250 hours.
* These items shall be replaced if necessary;
** These items shall be maintained by the dealer authorized by the Company, unless the
user has proper tools and maintenance ability.
ATTENTION
• If it often works under high temperature or high load, oil shall be
changed every 25 hours;
• If it often works in dusty or harsh environment, air cleaner element
shall be cleaned every 10 hours. If necessary, the air cleaner
element shall be replaced every 25 hours;
• It shall be maintained on spot-inspection cycle and time, whichever is
earlier;
• If maintenance cycle time has elapsed, perform the maintenance as
soon as possible as per the table above.
Table of contents
Other DINKING Portable Generator manuals
Popular Portable Generator manuals by other brands

EcoFlow
EcoFlow Detachable wheels & telescopic handle Quick installation guide
Solar Electronics
Solar Electronics 9354-2 instruction manual

Briggs & Stratton
Briggs & Stratton Portable Generator Operator's manual
flamco
flamco Flexfiller 125D Operation & maintenance manual
Quantum Data
Quantum Data 881 user guide

Fabco
Fabco Power-Mite 110 installation instructions

Champion
Champion 100423 Operator's manual
GE
GE AF-650 GP Series operating instructions
Stanley
Stanley SG 4200 Basic Original instructions

Coleman
Coleman Powermate PM0106004 Operator's manual
Active Technologies
Active Technologies AT-1120 user manual
HERON
HERON 8896670 Translation of the original user manual
