Diplomat ADP8352 User manual

D I S H W A S H E R
How to get the
most from your
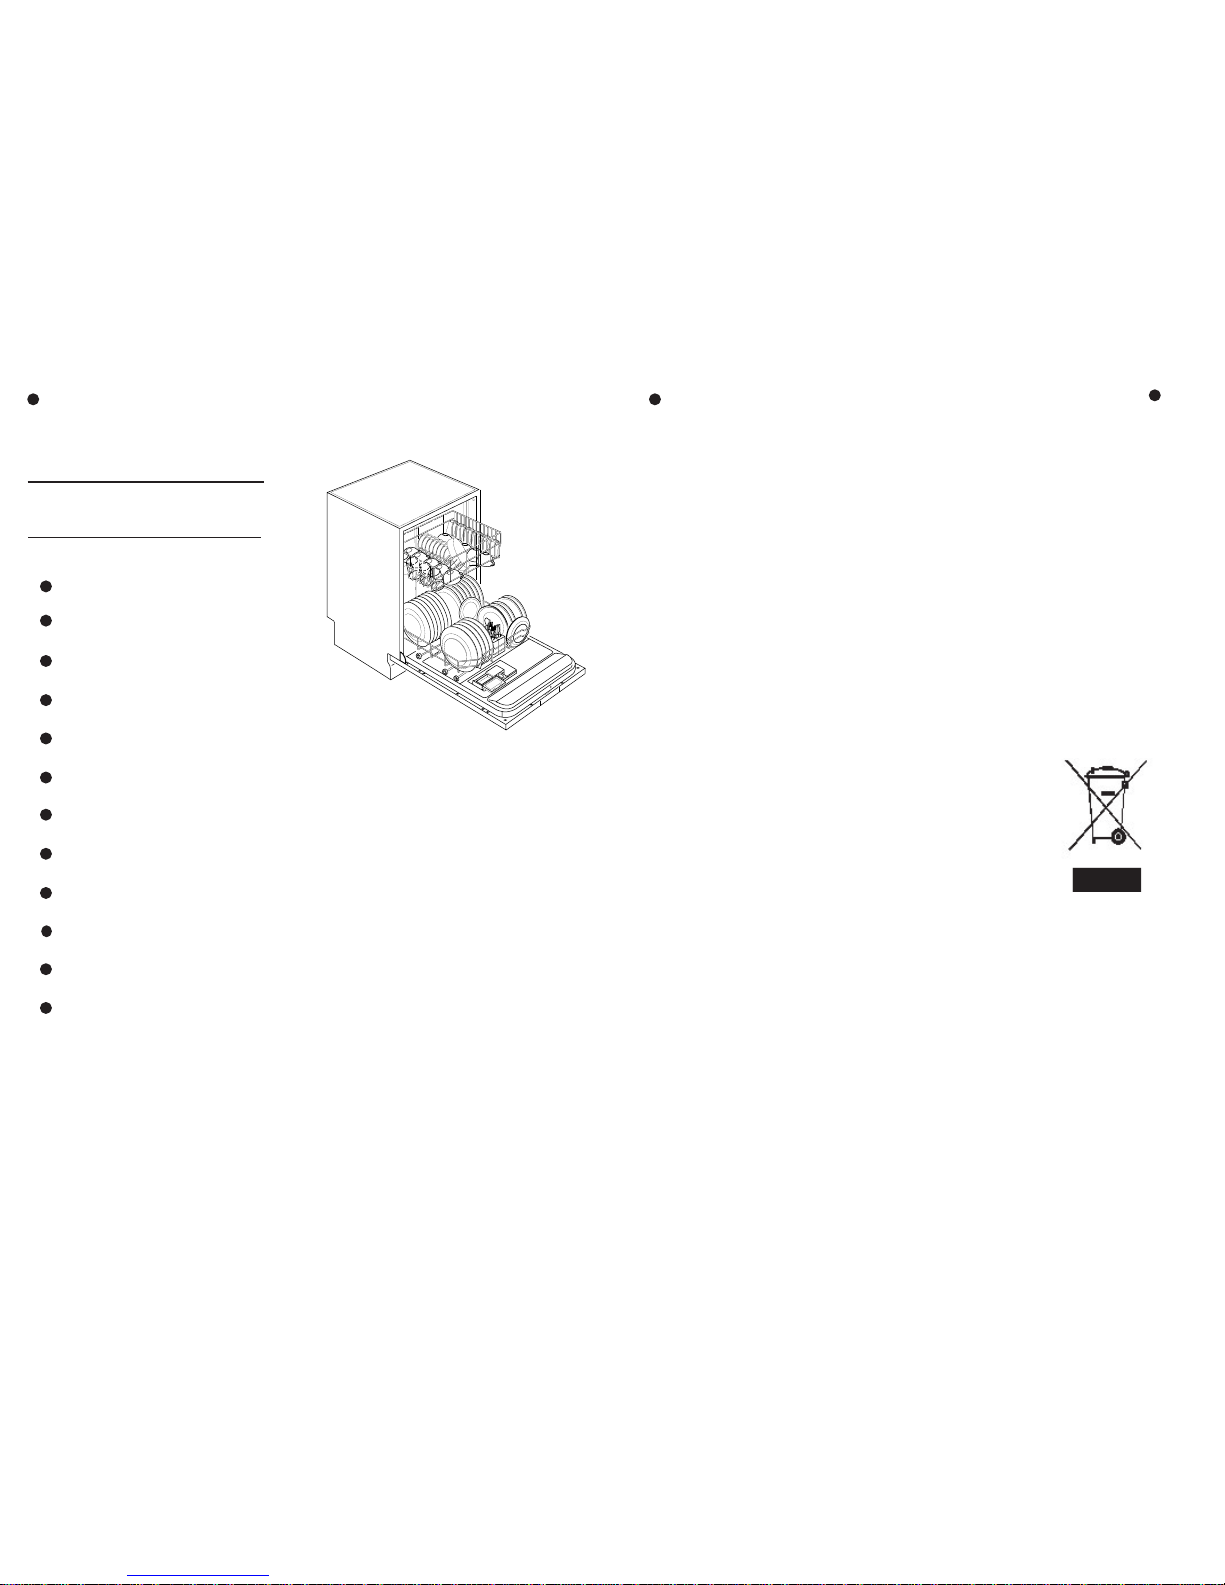
Fully Integrated Dishwasher
ADP 8352
DIPLOMAT
Procedurewhenreportingafault
1. Give full name, address including post code, home telephone number and
business telephone number if appropriate.
2. Quote sales receipt number, make and model number of faulty appliance.
This product's reference is as follows:
ADP 8352
3. Give a summary of the problem.
GUARANTEE CONDITIONS
(a) Any claim during the period of the guarantee MUST
BE ACCOMPANIED WITH THE RECEIPT relating to the
original purchase.
(b) The unit must be correctly installed and operated in
accordance with the manufacturer's instructions and
used for normal domestic purposes.
(c) The guarantee does not cover accidental damage,
misuse or alterations which are likely to affect the units.
(d) The guarantee is invalid if the unit is tampered with,
or repaired by any unauthorised person.
(e) The guarantee in no way affects your statutory rights.
(f ) Mainland U.K only.
1812MonthsGuarantee
:- issue 1, 18 July 05
LOW CALL
SERVICE
LOW CALL
SERVICE
LOW CALL
SERVICE
LOW CALL
SERVICE
LOW CALL
SERVICE
LOW CALL
SERVICE
LOW CALL
SERVICE
LOW CALL
SERVICE
LOW CALL
SERVICE
LOW CALL
SERVICE
08457 959722
Page No. Installation
Your Dishwasher
Program Chart
Detergent and Rinse Aid Dispenser
Water Softener
Loading
Starting the Wash Program
Cancelling / Changing the Wash Program
Cleaning and Maintenance
Not Working Properly?
Technical Details
12 Month Guarantee
1 - 4
5
6
7 - 8
9
10 & 11
12
13
14 - 15
16 - 17
17
18
AHelping Handon theHome Front
Fromnowonwashingdishes,glassware,cutleryandsaucepansshouldbeassimpleas
loading your dishwasher and switching on.
We strongly recommend you take the time to read this leaflet fully from cover to
cover. It may seem like a chore, but it will pay off in the long run.
Please retain this book for future reference and if you sell the appliance please
pass this book on to the new owner.
Contents
17
Technical characteristics
45 cm
58 cm
82 - 87 cm
9 standard place settings
0.03 - 0.6 MPa
220-240V~
2150W
13A
Width
Depth
Height
Capacity
Mains water pressure
Power voltage
Total Power
Fuse Rating
This appliance is marked according to the European Directive 2002/96/EC on Waste
Electrical and Electronic Equipment (WEEE). By ensuring this product is disposed of
correctly you will help provent potential negative
consequences for the environment and human health.
The symbol on this product indicates that this product
may not be treated as household waste. Instead it
should be handed over to the applicable collection
point for recycling of electrical and electronic
equipment. Disposal must be carried out in
accordance with local enviromental regulations for
waste disposal. For more detailed information please
contact your local council household waste site or a
MFI store

Your brand new dishwasher complies with stringent EEC specifications and is fully
compatible with any 600mm deep kitchen units. If you are reasonably handy at DIY,
installingyourdishwashershouldberelativelystraightforwardaslongasyousticktothe
followingguidelines.Ifyouhaveany doubts about installing this product we suggest you
seek professional advice.
IMPORTANT: The electrical supply, water supply and drain should NOT be positioned
directlybehind the appliance. When the appliance islocated and fixed in position it must
be possible to switch off and disconnect both electrical and water supplies.
Connection to a Water Supply.
Yourdishwasherhasbeenspeciallydesignedtoheatitsownwater.Thismeansthatyou'll
only have to pay to heat water actually consumed by the appliance. What's more, the
dishwashingprocessitselfisdesignedwitheconomyinmind.Withineachcycle,hotwater
is filtered and re-circulated many times before being expelled as waste.
Werecommendthatyourdishwasherispermanentlyplumbedintothecoldwatersupply.
To do so, connect the pipe with its 3/4" BSP female connector to a suitably threaded
tap.Always run water through the pipe before connection to remove any debris.
Ensure that there are no kinks in the tube and always fit the black rubber filter
supplied with the dishwasher at the appliance inlet connection.
Connection to Waste Pipe.
The discharge hose is at the back of your dishwasher. On no account shorten this
pipe and always ensure it hangs vertically.
Plumb the pipe into a waste outlet between 320 and 800mm above floor level. This
outlet should be at least 40mm in diameter, providing an air break, and ensuring an
efficient flow of water.
On no account seal the waste pipe as this can create a suction effect in the wrong
direction. Plumb in your dishwasher as illustrated below.
Capacity.
Your dishwasher has a capacity of 9 full place settings. That's 9 of everything- dinner,
soup, side and dessert plates plus the accompanying cutlery and selection of
saucepans, so you shouldn't be short of space.
1
Installation
320mm (min)
800mm (max)
16
NotWorkingProperlycont..
If the dishwasher does not function or does not function correctly, before calling for
assistance, please check the following:
The Dishwasher Does Not Start
Have you checked that:
- the plug is inserted into the socket correctly;
- there is power to the socket;
- the appliance is switched “ON”; (does the ON-OFF light come on)
- the door is closed properly;
- the water supply is turned on.
The Dishwasher Does Not Load Water
Have you checked that:
- the water is turned on and the hose is connected properly;
- there is water supply to the house and it has sufficient pressure;
- the water supply hose is not crimped or bent;
- the filter for the water supply hose is not blocked.
The Dishes Are Not Clean
Have you checked that:
- the correct amount of detergent has been used;
- the detergent is suitable for dishwashers and is not too old;
- the appropriate wash program has been selected;
- there is sufficient salt in the salt container
- there is sufficient rinse-aid in the rinse-aid compartment;
- the spray arm nozzles are not blocked.
The Dishwasher Does Not Drain
Have you checked that:
- the drain hose is crimped or bent.
Lime Deposits or a White Film Form on the Dishes
Have you checked that:
- the lid to the salt container is closed properly;
- the rinse aid dosage is correct.
Error Messages
The dishwasher is equipped with a safety system that is able to detect operating problems
and malfunctions. These malfunctions are signalled by the rapid blinking of one of the
program LEDs. Only in the case where the indicator light for the soak cycle (see table for
cycles) blinks rapidly should you cancel the cycle as described in the section entitled,
'Changing a Cycle while Under-way.” Then check to make sure that there is water in the
mains and that the tap is turned on. If the message continues, call for technical assistance,
indicating which message appeared.
If any of the other indicator lights begins to blink rapidly, turn off the appliance and call for
technical assistance, indicating which light began to blink
WARNING: any operations performed on the appliance by
unauthorised persons may invalidate the warranty.

215
IMPORTANT
Thewires in thismains lead arecoloured in accordance
withthefollowingcode:-
Green/Yellow Earth
Blue Neutral
Brown Live
Asthe colours ofthe wires inthe mains lead of thisappliance
maynotcorrespondwiththecolouredmarkingsidentifyingthe
terminalsinyourspurbox,proceedasfollows;
Thewirewhichiscolouredgreenandyellowmustbeconnected
tothe terminalwhich ismarked with the letter 'E' or by the earth
symbol orcolouredgreenor green and yellow.
Thewirewhich is colouredbluemust be connectedtothe
terminalwhich is marked with the letter 'N'or coloured black.
Thewirewhichiscoloured brown must be connectedtothe
terminalwhichis marked withthe letter 'L' orcoloured red.
FUSE RATING:
13 AMP
If the plug supplied is not to be used please cut the
mains cable and dispose of the plug safely. Your
appliance must then be connected to fixed wiring
via the use of a double pole switched fused spur
outlet with at least 3mm contact separation, with a
pilot lamp. (See technical data for fuse rating). We
strongly recommend the appliance is connected by
a qualified electrician who is a member of the
N.I.C.E.I.C or Corgi who will comply with the I.E.E
and any local regulations.
NOTE:
The terminology ''DOUBLE POLE'' means that
both the live and neutral supplies are switched
and disconnected at the same time.
The terminations labelled SUPPLY are for the
connection for the internal house wiring and the
terminations labelled LOAD are for connection
for the appliance.
INSTALLATION - ELECTRICAL CONNECTIONS
Fuse Replacement
If the mains lead of this appliance is fitted with a BS1363A 13 amp
fused plug, to change the fuse use an A.S.T.A. approved fuse to
BS1362 and proceed as follows:
1. Remove the fuse cover (A) and fuse (B).
2. Fit a replacement 13 amp fuse into the fuse cover.
3. Refit the cover and fuse into the plug.
Important:
The fuse cover must be refitted when changing a fuse. If the fuse cover is lost the plug
must not be used until a replacement cover has been obtained. Replacement fuse covers
are available from your local electrical store.
WARNING: THIS APPLIANCE MUST BE EARTHED
FUSE ON
N
L
L
N
LOAD
SUPPLY
LOAD
SUPPLY
DP
13A 250V~
BLUE
(NEUTRAL) BROWN
(LIVE)
GREEN & YELLOW
(EARTH)
Cleaning and Maintenance (cont.)
Cleaning the Spray Arms
The spray arms can be easily removed for periodic cleaning of the nozzles, to
prevent possible clogging. Wash them under running water and carefully replace
them in their positions, checking that they rotate freely.
To remove the upper spray arm, unscrew locking ring R.
To remove the lower spray arm, simply lift it up, pulling by the central part.

Installationcont.. 3
Stage 1
Stage 2
Supplied with the appliance is a plastic (self adhesive) anti-
condensation strip, this should be fixed to the underside of
your worktop along the front edge. The adjustable feet of the
appliance allow it to be raised up to 870mm, if the space
between the floor and the underside of the work surface is
greater than 870mm, then the appliance should be
positioned on suitable wooden spacers which should always
be fixed to the floor. Always use a spirit level to make sure
that the appliance is level left to right and front to back.
(If the appliance is installed on a carpet, ensure there is
clearance beneath the appliance). The four adjustable feet
should be adjusted to the correct height; the rear feet are
adjustable via studs at the front of the appliance (fig 1). To
prevend damage to the floor covering, the appliance must be
installed using the plastic skids provided.
Stage 3
+
-
Measure the width of the decor door.Align the template on the rear of the door with
the top of the door level with the top of the template, and the left hand edge of the
door in line with the measured door width. Mark the four fixing poisitions. Repeat on
the right hand side. Remove the template, and drill pilot holes in the door in all eight
positions using a suitable drill (take care not to drill through the door). Attach the
upper plastic studs and lower fixing brackets to the decor door as shown below.
14
Cleaning and Maintenance
fig 1
Connect the water, drain and electrical supplies (230 - 240V, 50Hz, 13A). We
recommend that the appliance is connected to a cold water supply..
Top of Door
Plastic Studs Metal Brackets
Before carrying out any work, always disconnect the appliance from the
electrical power supply.
General warnings and recommendations
•Avoid the use of acidic or abrasive detergents.
• Clean the outer surfaces and door lining of the dishwasher regularly, using a soft
cloth moistened with warm soapy wate.
• Clean the door gaskets with a damp sponge.
• Periodically (once or twice a year) it is advisable to clean the cavity using a soft
cloth and water to remove any deposits.
Filter Assembly
For best performance and results, the filter
assembly must be cleaned frequently. The filter
efficiently removes food residue from the wash
water, allowing it to be recirculated during the
cycle. For this reason, it is a good idea to
remove the larger food particles trapped in the
filter cup 'C' and the triangular filter 'A' after each
wash. To remove the filter assembly, pull the cup
handle in the upward direction. The entire filter
assembly (made up of the triangular filter 'A',
cup 'C' and and the fine filter 'B') should be
cleaned at least once a week. To remove the fine
filter 'B' rotate it anticlockwise and lift it away.
Clean the filter and the fine filter, using a soft,
non metalic, cleaning brush. Then, reassemble
the filter parts as shown in the figures and
reinsert the entire assembly in the dishwasher,
positioning in its seat and pressing downward.
The dishwasher must never be used without the
filters. Improper replacement of the filters may
reduce level of the appliance and damage dishes
and utensils.
Cleaning the Water Inlet Filter
Periodically clean the water inlet filter (see figure)
located on the outlet of the water supply tap. After
turning off the water tap, unscrew the end of the water
supply hose, remove the filter 'A' and clean carefully
under running water. Then, return the filter to its place
and tighten the water supply hose back into position.
Table of contents
Other Diplomat Dishwasher manuals


