Discovery Kids WOODEN WORK BENCH User manual

IMPORTANT: Please read all instructions and warnings in this manual prior to using your work bench.
instruction
manual
AGES
3+
WORK BENCH
WOODEN
Keep this instruction manual as it contains important information for future reference.
Congratulations on your purchase of the Discovery Kids
™
Work Bench. Carefully
remove everything from the box before assembling. You will need a Phillips screwdriver
and the provided 5/32” allen wrench to assemble this product.
Not for children under 3 years old.
Adult assembly required.
Package contains sharp edges in unassembled
state. Keep unassembled parts away from children.
Adult supervision required.
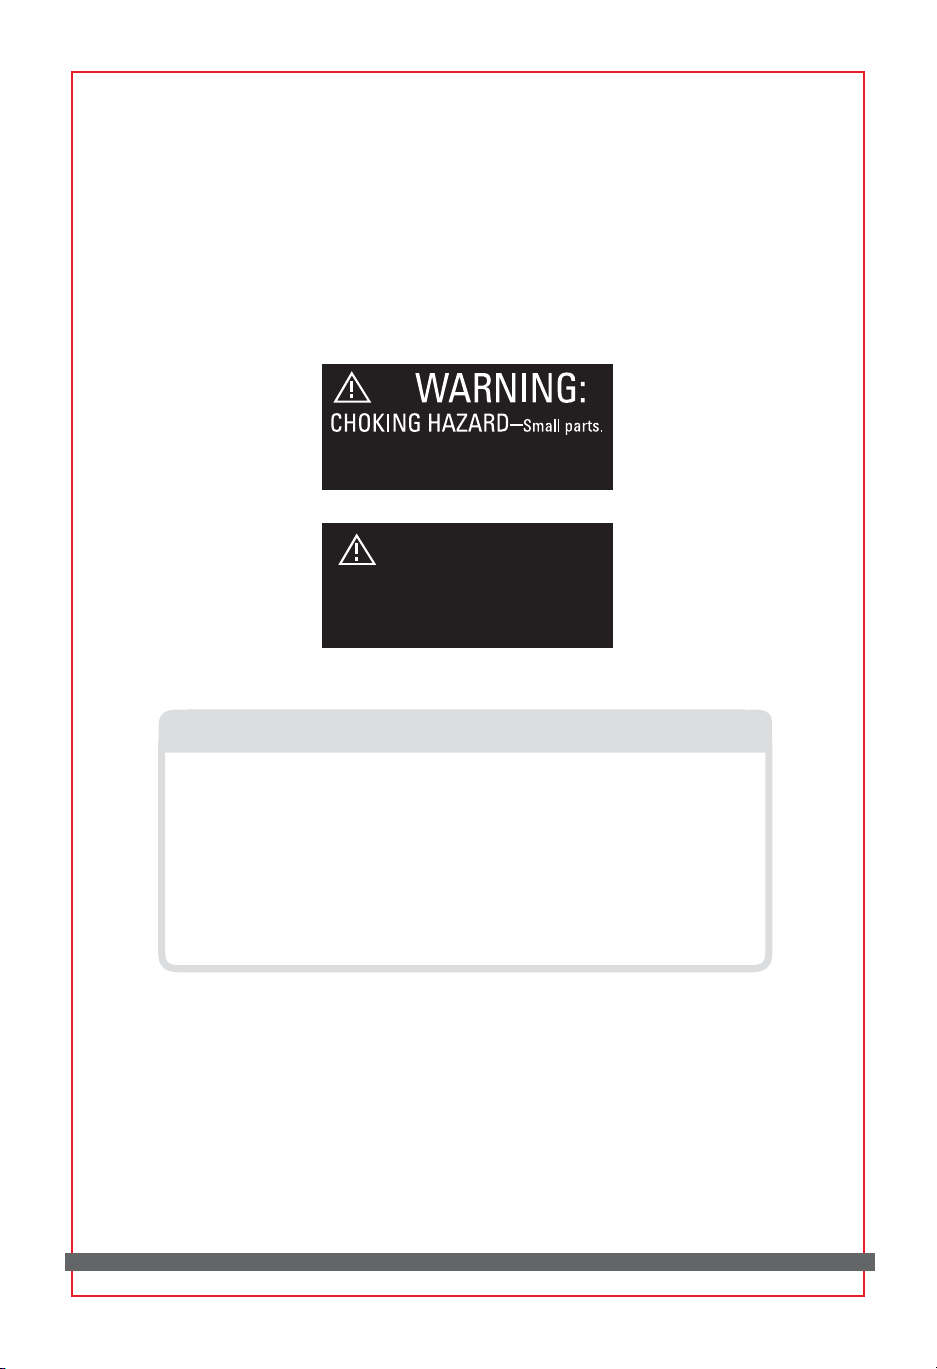
SAFETY NOTICES: PLEASE READ CAREFULLY
• Regularly check and tighten any loose fittings to prevent access to hardware by children and to preserve
the strength of the product.
• Inspect the product before every use. If the product appears worn, splintered, cracked, or broken in
any manner, discontinue use and discard immediately.
• As with any natural wood product, beware of splinters and keep away from open flames.
• DO NOT place any body parts into the vise to avoid injury.
• DO NOT allow children to climb or stand on this product.
• DO NOT force any of the pieces into the holes.
• This product is for play use ONLY, and is NOT intended for use as an actual work bench.
CAUTION:
Introduction

You should have all of the parts shown in the picture below. Each part is labeled with
a letter. The number to the right of the letter indicates the quantity of that part.
Note: The drawing is not to scale.
HARDWARE YOU SUPPLY
5/32” allen wrench (2) Phillips screwdriver
123456
Saw (1)
E (1) G (1)
C-1 (1)
X (10)
I (22) J (22)
H (1)
P (3)
S (1)
W (1)
V (1)
L (1)
N-2 (1)
F (1)
K-1 (1)
M-1 (1)
O (1)
R (1)
U (1)
Board B (1)
Board D (2)
Board C (2)
Square Ruler (1)
Wrench (1)Screwdriver (1)Hammer (1)
Long Screws (4)
Board A (1)
Connectors (4) Nuts (10)
Short Screws (6)
Nails (4)
C-2 (1)
Y (10)
Contents
A (2)
B (2) Q (13) T (9)
5
K-2 (1)
M-2 (1) N-1 (1)
5
1

Assemble the work bench on a flat surface if possible. Use a mat to protect your floor.
Seek help if needed. Attach both sides (C-1 & C-2) to one end (B) using screws (X)
and bolts (Y). Slide the shelf (A) into the inside slots then attach the other end (B).
Side (C-2) should be facing the front.
Note: Do not tighten completely until the entire work bench is assembled.
Attach the legs (E) (F) (G) (H) to the two ends (B) using screws (I) and bolts (J).
Make sure the bolts are on the inside of the legs.
B
I
J
E
F
G
H
B
A
B
X
B
C-2
C-1
Y
Assembly
1
2
2

Attach the top pieces (O) and (P) using screws (Q). Make sure the recessed holes on
the pieces face up and piece (O) is in front.
K-2 L
M-2
M-1
N-1
N-2
O
Q
P
P
P
I
J
Y
X
Attach the upper sides (K-1) (K-2) using screws (I) and bolts (J). You may need to
nudge the legs so that the screw holes align. Slide the back piece (L) down into the
slot on the inside of the upper sides. Attach the supports (N-1) (N-2) using screws (I)
and bolts (J). Attach the support (M-1, M-2) to tray using screws (I) and bolts (J).
Attach the other end of (M-1, M-2) to leg (G) & (H) using screws (X) and bolts (Y).
Assembly
3
4
3
K-1

Attach the long piece (R) to the short piece (S) using a screw (T).
Slide the assembled piece into the back slots.
RT
S
Assembly
5
6
4

Attach the tool shelf (U) using screws (Q). Make sure the recessed holes face up.
Attach the back panel (V) using screws (T). Make sure the recessed holes face out.
U
V
T
Q
Assembly
7
8
5

Attach the vise (W) using screws (Q).
Now that the work bench is assembled, fully tighten all screws. It’s time to play. Try
using the hammer to push a nail into the boards. Attach boards using the screwdriver,
screws, connectors, and nuts. Use the vise to hold pieces in place while you play.
Pretend you are cutting through the boards with the saw. Store your tools on the tool
shelf and the other pieces on the bottom shelf or back cubby. Use your imagination
and have fun!
W
Q
Assembly
9
10
6

Printed in China
For customer support, please visit
www.mscustomercare.com or call 1-800-374-2744
PATENT PENDING
©2012 Discovery Communications, LLC. Discovery Kids and the Discovery Kids logo
are trademarks of Discovery Communications, LLC, used under license.
All rights reserved. discoverykids.com
©2012 MerchSource, LLC. All rights reserved.
Distributed by MerchSource, LLC, Foothill Ranch, CA 92610.
Popular Tools Storage manuals by other brands


Husky
Husky TSA4524 Use and care guide

Clarke
Clarke Metalworker CBGS2 Assembly instructions

Husky
Husky H52CH6HDV4 Use and care guide

Stanley
Stanley STST83400 instruction manual

kupper
kupper 70330 Series Assembly instruction

Harbor Freight Tools
Harbor Freight Tools Storehouse 90928 Assembly & operating instructions


