Dish TV PEA200 User manual

Model:PEA200
User Guide

DishTV PEA200
www.dishtv.co.nz
Chapter 1 Product Overview
1.1 Product Introduction
The PEA200 series power line adapter can use the existing power wires to transfer data without
additional wiring. It supports plug-and-play and can extend network connections only by using two
adapters as long as there is a power outlet. The distance that the adapter transfers data in the power line
network is up to 300m.
With the existing power line, the PEA200 series power line adapter can run at the
transmission rate up to 200Mbps. Actual speeds will depend on connection quality and distance.
The PEA200 series power line adapter supports 128-bit AES encryption. It can establish a secure
connection easily in order to ensure safe data transfer. The adapter has a Pair button. You can use the
Pair button to create a private network among several adapters quickly and safely.
1.2 Product Characteristics
Complies with the HomePlug AV, IEEE 802.3 and IEEE 802.3u standards;
Transfer data through the existing power wires and supports plug-and-play;
Provides a transmission rate of up to 200Mbps;
Supports a transfer distance of up to 300m (within a single phase);
Supports 128-bit AES encryption to ensure safe data transfer over the network;
The operating voltage is at 100V~240V and the frequency is 50/60Hz;
Built-in T2AL250V fuse.

DishTV PEA200
www.dishtv.co.nz
Chapter 2 Hardware Description
2.1 Introduction to the Front Panel
Figure 2-1 Schematic Diagram of the Front Panel
Indicator:
Indicator Description Function
Power indicator
Normally on - System is running
Off - System is not powered up
Slow flashing - The device is in power save mode
Fast flashing - The device is searching for the network
Power line device
indicator
Normally on - Connected with similar devices
Off - Similar device is not detected or the device is in
power save mode
Flashing - Transferring data with similar devices
LAN (local area network)
status indicator
Normally on - Connected with network terminal device
Off - Not connected with network terminal device
Flashing - Transferring data with network terminal device
Power indicator
Network status indicator
Power line device indicator

DishTV PEA200
www.dishtv.co.nz
2.2 Introduction to the Interface and Buttons
Figure 2-2 Schematic Diagram of the Interface/Buttons
RJ45 port: one 10/100Mbps port which is used to connect with network devices,see the LAN status
indicator for the operating status of the port.
RESET button: restore the factory settings.
Pair button: the button to build the network. Press the Pair button for 2-3 seconds within 2 minutes to
establish connection between two devices and a private network. If you press the Pair button on the
device for over 10 seconds, the device will exit the original network automatically and establish a random
private network. For more information about function applications of Pair button, see the Application of
the Pair Button in Chapter 5.
2.3 Application
In order to access the LAN through the power line, the computer device needs to be connected
through network wires and Ethernet adapter (the adapter needs to be compatible). To install the power
line network according to the following steps:
1. Install the first power line adapter
Connect the adapter’s RJ45 port to the family network interface, such as the router’s LAN port.
Insert the adapter to the supply hub.
Figure 2-3 Schematic diagram for network connection
Internet
Power socket 电源插口
Connect the
network wires to
the network
equipment port
connect one port of
the network wires
to the RJ45 port of
Adapter 1
Insert Adapter 1 to
the power socket
Insert Adapter
2 to the power
socket
Insert the port of
the network wires
to the RJ45 port of
Adapter 2
Connect the other
port to the
computer’s
internet access
Power socket

DishTV PEA200
www.dishtv.co.nz
2. Install the second power line adapter
Interface the computer's internet to the adapter's RJ45 port with network wires.
Insert the adapter to the supply hub.
3. Check if the indicator on the adapter works normally. If it works in normal state, it means the
network connection has been successfully established. If the indicator shows abnormal, please
check the connection of the device.
4. If more computers are to be connected, you can use several adapters to connect them together.

DishTV PEA200
www.dishtv.co.nz
Chapter 3 Software Installation
1 Click setup.exe to start the installation of the management software.
2 Click Next to go to the next step.

DishTV PEA200
www.dishtv.co.nz
3 Click Next to go to the installation path configuration page, as shown below. Click the Browse button to
change the installation path:
4 Choose Just me or Everyone and click Next to complete the installation. As shown in the figure below.
5 Click Close to exit the software installation.

DishTV PEA200
www.dishtv.co.nz
When the installation is completed, double click the "DishTV Power Packet Utility" icon on the desktop
to run the management software.

DishTV PEA200
www.dishtv.co.nz
Chapter 4 Configure the Management Software
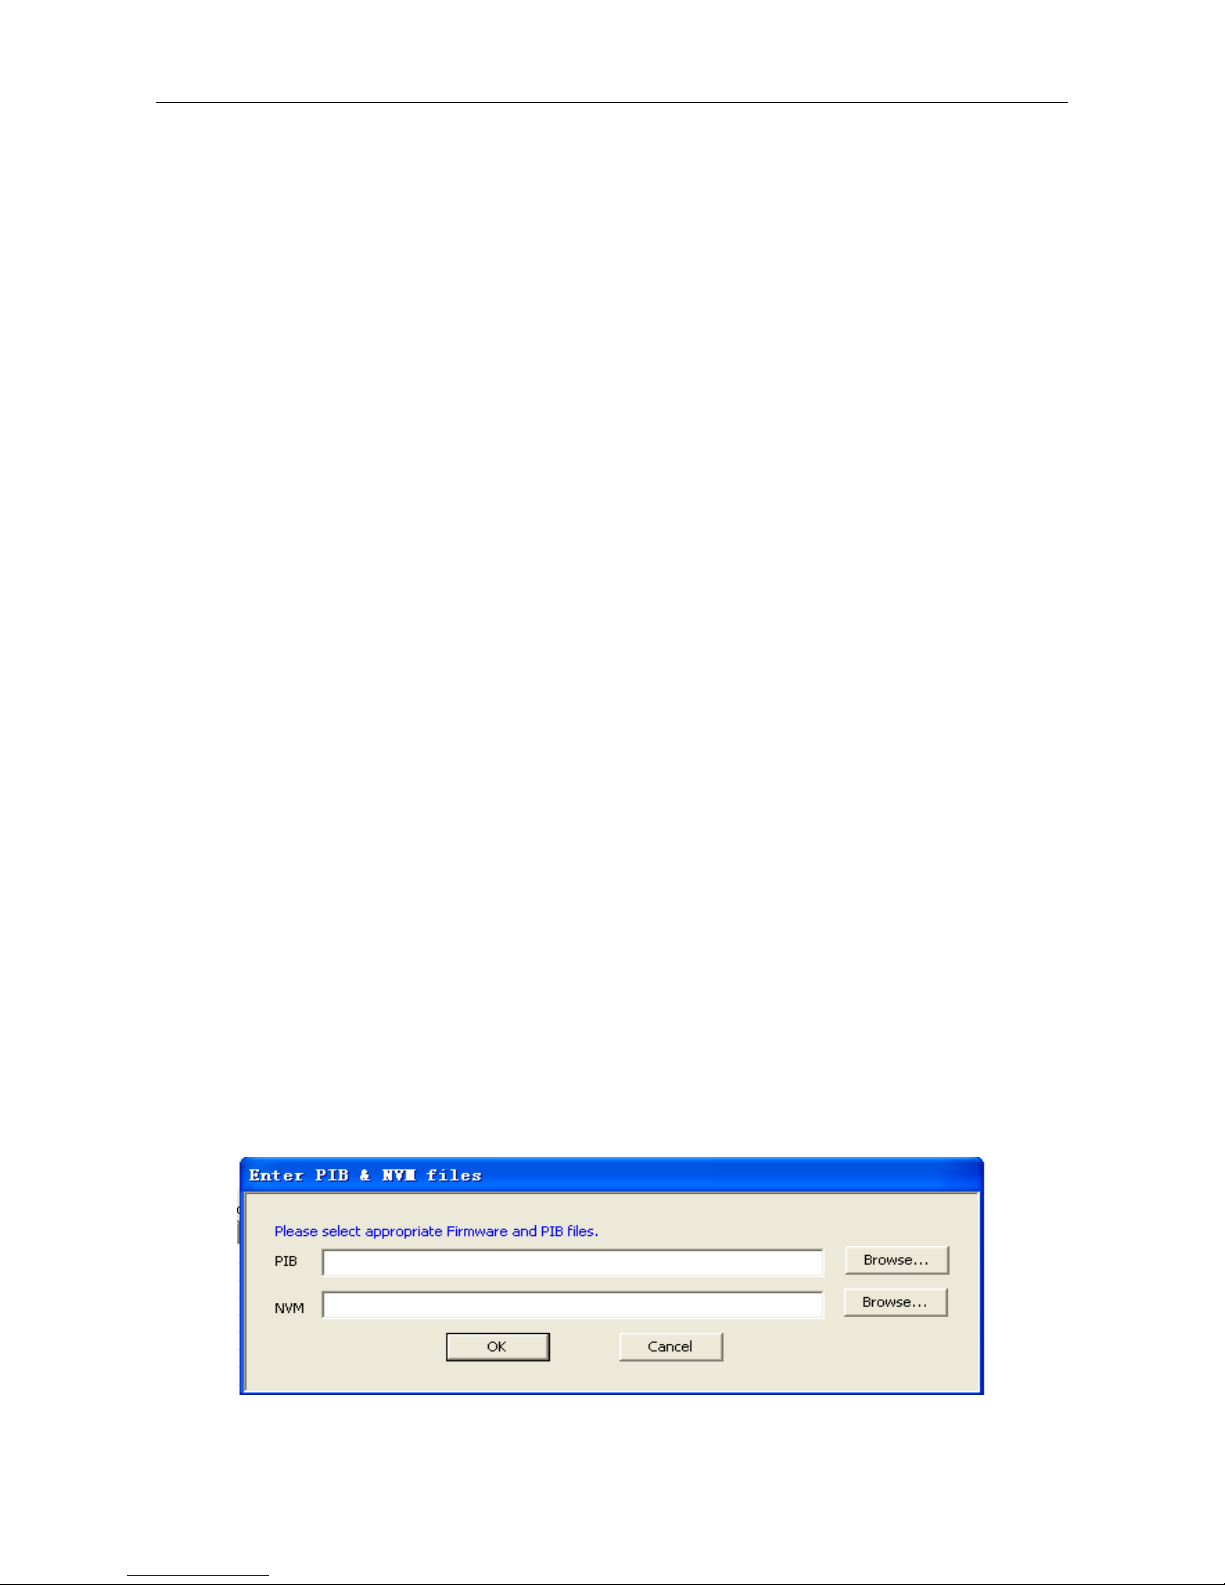
This chapter describes how to use the client management software to manage the adapters. If
necessary, you can encrypt the PEA200 series, change its name, or restore its factory settings
etc. You can also use this software to identify other adapters on the power line and check the line rate
etc.
4.1 Main Interface
When the installation is completed, double click the "DishTV Power Packet Utility" icon on the desktop
to go to the main interface of management software. As shown below, there are four menus on the top left
of main interface, “Main”, “Privacy”, “Diagnostic” and “Help”. The upper part of the main interface is the
list of local network adapters. The lower half of main interface displays the device information in the
same power line network.
Figure 4.1
Local Device(s) on your computer: It displays the current power line adapter connected with the
computer, and the connection status is shown above the Connection button. After the connection is
established between the computer and the power line adapter, this management software will search for
similar devices in the power line network periodically.
“X” Power Device detected: It shows here the remote power line adapter searched by management
software in the same power line network. The “X" indicates the numbers.
Network Type: It displays the type of the power line network connected with the computer. Currently
there are two network types, pubic network and private network. Public Network is named
HomePlugAV network by default. In this network you can use the management software to search
corresponding power line adapters. Private Network is named non-default HomePlugAV network. Only
the power line adapters, whose names have been set as the same one in the private network tab, can be
seen with each other.

DishTV PEA200
www.dishtv.co.nz
1. Device Name: When a similar device has been searched, you can classify them by different names.
Click the corresponding entries to name them, as shown in the red part below.
Figure 4.2
2. Password: It displays the password of the device. There is a unique password set by factory for each
power line adapter. Please see the factory password on the label at the bottom of the adapter. Only the
password of the remote device is set here, you can manage it using the management software.
3. Quality: It displays the connection quality of corresponding remote and local devices.
4. Rate: It displays the connection rate of corresponding remote and local devices.
5. MAC address: It displays MAC address of corresponding remote device.
Scan: Click the Scan button to search for similar devices with same network name in the same power
line Ethernet.
Software upgrading: Click this button to upgrade the management software of the power line
adapter. Please download upgrade software from http://www.dishtv.co.nz If availible, we will provide
a PIB file and NVM file. When upgrading the software, you need to select both the PIB file and NVM
file at the same time to upgrade successfully.
Figure 4.3

DishTV PEA200
www.dishtv.co.nz
4.2 Private Network
In the power line Ethernet, the network can be divided according to the name of network.
Different adapters can be connected with each other in the same power line Ethernet, as long as
they have the same network name. When there are many adapters in the power line Ethernet,
you can divide the networks by modifying the names of them. Moreover, dividing networks by
modifying names can also improve the safety in the process of data transmission.
In the private network label page, you can isolate the device into private network by modifying its
network name. If you need to add a similar remote device, please add it by entering its password in the
main interface, refer to the section 4.2 Main Interface for adding methods.
Use Default (Public Network): Use default settings - the factory network name HomePlugAV.
Set Local Devices Only: Enter the customized network name, and then click this button to modify the
network name of the local device. After you have modified the network name of the local device, only
remote devices with the same network name can be searched in the main interface label page. If the
remote device needs to be connected with the local device, its name should be modified to the same as
the local one.
Set All Devices: Enter the customized network name, and then click this button to modify the network
name of the local device. This option will modify the network names of the remote devices connected by
entering password as well. The local device will disconnect automatically with those remote devices
where the passwords haven’t been entered .

DishTV PEA200
www.dishtv.co.nz
4. Diagnosis
The diagnosis report can be saved as the text file, as the communication material of the technical
support; when the network fault occurs, it also can be used as the basis of fault analysis.
Diagnosis tab will display system information and history information of the remote device, recording
the information of the read-only access remote device in certain period of time. Clicking the Diagnosis
tab will show the configuration page as follows.
You can review the technical data of the software and hardware of the local port power line adapter
on the upper portion of the page, which includes:
1. MAC address of the manage computer.
2. MAC address of the power line adapter that directly connected with the manage computer.
3. Current network name of the device.
4. Names of brand and computer type.
5. Version of computer type.
6. DLL file of all drivers and the version of the library
7. All the MAC addresses of the local devices connected with the host, the bottom portion of the page
displays the information of all remote power line adapters connected with local devices in history.
Information displayed in the interface includes the following contents:

DishTV PEA200
ZZZGLVKWYFRQ]
Device: Name of the display device.
1. MAC Address: Display corresponding MAC address of the remote device.
2. Password: It will be displayed here, if the password of the remote device has been set in the main
interface label page.
3. Rate: Display the connecting rate of the corresponding remote and local devices. For devices in other
network or devices which have already been disconnected, the Rate column displays “?”.
4. Network: Display corresponding network name of the remote device.
5. Last Connection: The time of the latest connection with the remote device.
6. Delete: When the remote power line Ethernet device is no longer connected with the local network,
users can click this button to delete it. If the password has already been typed for the device, the dialog
box will pop up for confirmation when performing delete operation, please confirm.
7. Save Report: Click this button to save diagnosis report.
8. Print Report: Click this button to print diagnosis report.
4. About
You can review the version information about the management software in the About label page.
Automatic Scan: After checking the box, the management software will automatically scan the power
line adapter information in network at regular intervals, and update the real-time scanning results in the
main interface configuration page.

DishTV PEA200
ZZZGLVKWYFRQ]
Chapter 5 Application of Pair Button
This adapter supports 128-bit AES encryption. With the Pair button, You can establish a
connection among several adapters quickly and safely to ensure safe data transmission. This section
will explain how to use the Pair button.
To establish a connection between two adapters:
Step 1: Press the Pair button of adapter 1 for 3-10 seconds, and after it is released you will see the
POWER light (power indicator) flashing.
Step 2: Within two minutes after you release the Pair button of adapter 1, press the Pair button of
adapter 2 for 3 to 10 seconds, and after it is released you will see the POWER light (power indicator)
flashing.
Step 3: When the above two steps are finished, observe the status of adapter indicators. When all the
indicators go out and return normally on, the adapters automatically restart. By now the adapter 1 and
adapter 2 have been connected successfully and a private network has been constructed.
To establish a connection among three adapters
If a connection has been established between adapter 1 and adapter 2 and adapter 3 is to join in the
network, please operate according to the following steps.TL-PA201
Step 1: Press the Pair button of adapter 3 for 3 to 10 seconds. Adapter 3 searches for network
automatically and after released you will see the POWER light (power indicator) flashing.
Step 2: Within two minutes after you release the Pair button of adapter 3, press the Pair button of
adapter 1 or adapter 2 for 3 to 10 seconds, and after released you will see the POWER light flashing.
Step 3: Observe the status of adapter 3 indicators. When all the indicators go out and turn normally on,
adapter 3 automatically restarts and joins in the existing network.
When you want to exit the existing network:
A connection among three adapters has been established, but if adapter 3 is to exit the existing
network right now, please operate according to the following steps: press the Pair button of adapter 3 for
over 10 seconds and observe the status of indicators. When all the indicators go out and return normally
on, release the Pair button, then adapter 3 will automatically restarts and exit the original network.

DishTV PEA200
ǁǁǁĚŝƐŚƚǀĐŽŶnj
Appendix Frequently Asked Questions (FAQ)
1. The power indicator is not on.
1) Please check if the adapter is plugged into the power socket correctly.
2) Try another power outlet to see if the one you are using is faulty.
3) If the power indicator is still out after the above operations are performed, other indicators show
normally, please consult the local dealers.
2. LAN (local area network) status indicator is out.
1) Please check if the adapter network interface is connected to computer's Internet access or
network access port.
2) Please confirm if the computer network cards can be normally used, and if the driver and
configuration parameters are normal.
3) Please confirm if you can access to the Internet normally, and if the LAN port which connects
the computer directly to the router can connect to the Internet normally.
4) Connect the power line adapter to other LAN ports of the router.
5) If the LAN status indicator is still out after the above operations are performed, please consult
the local dealers.
3. Power line device indicator is out.
1) Run the management software, and click Search button to search for similar devices in the
main interface. The management software will search for similar devices in the whole power
line networks.
2) Plug two power line adapters into a multi plug to check if the power line device indicator will
light up. As the power outlets you are using may be on two different phases and the adapter
will not work across two phases.
3) If the power line device indicator is still out after the above operations are performed, please
consult the local dealers.
4. What’s the transmission distance of the power line adapter?
The transmission distance of the PEA200 series is up to 300 meters.
5. Can my neighbours connect to my network?
No. Network home-entry usually has an ammeter that can block the signal of the power line
adapter. If there is no ammeter, you can also prevent your neighbours connecting to your
network setting network name to encrypt data.
6. Will the household appliances disturb the data transmission with power line adapter in the power
line?
The use of household appliances will not disturb the performance of power line adapter, but
plug-boards and chargers may influence it a lot. When you use it, try to plug the power line adapter
into the wall socket and avoid using chargers, power adapters and other devices within a
short distance.
7. Do we still need the traditional Modem when using the power line adapter?
Yes. The Power line adapter is only used in LAN within families. In order to access to the internet,
it needs to be connected through your broadband or traditional ADSL Modem.
8. Can we use a single power line adapter?
No. At least two are required. One is for connecting with ADSL Modem or router LAN port, the
other is for connecting with the computer. If there are two computers, it requires three adapters; if
there are three computers, it requires four adapters, and so on.
Table of contents