manuals.online logo
Brands
  1. Home
  2. •
  3. Brands
  4. •
  5. Disney
  6. •
  7. CD Player
  8. •
  9. Disney Magical Jewelry Box CD Player User manual

Disney Magical Jewelry Box CD Player User manual

KIDdesigns warrants this product to be free from defects in
workmanship and materials, under normal use and conditions, for
a period of one year from the date of original -purchase.
Should service be required by reason of any defect or malfunction,
it is best to first return this product and all parts thereof to the store
where it was originally purchased. If you need to send the product
for service during the warranty period, KIDdesigns will repair or, at
its discretion, replace this product without charge (except for a
$6.00 charge for handling, packing, return UPS/postage and
insurance). This decision is subject to verification of the defect or
malfunction upon delivery of this product to the Factory Service
Center listed below. The product must include proof of purchase,
including date of purchase.
Before returning this product for service, please first replace the
batteries (if applicable) with fresh ones, as exhausted or defective
batteries are the most common cause of problems encountered.
If service is still required:
1. Remove batteries (if applicable) and pack unit in a well-padded,
heavy corrugated box.
2. Enclose a photocopy of your sales receipt, credit card statement,
or other proof of the date of purchase.
3. Enclose a check or money order payable to the order of
KIDdesigns, for the sum of $6.00.
4. Send the unit prepaid to the Factory Service Center listed below.
NOTE: This warranty is valid only if the product is used for the
purpose for which it was designed. It does not cover (i) products
which have been damaged by negligence, misuse or accident, or
which have been modified or repaired by unauthorized persons;
(ii) cracked or broken cabinets, or units damaged by excessive
heat; (iii) damage to tape cassettes (if applicable); (iv) the cost of
shipping this product to the Factory Service Center and its return
to the owner.
This warranty is valid only in the United States of America and does
not extend to owners of the product subsequent to the original
purchaser. Any applicable implied warranties are also limited to
one year, and KIDdesigns will not be liable for consequential
damages. (Some states do not allow limitations on implied warranties
or exclusion of consequential damages, so these restrictions may
not apply to you.) This warranty gives you specific legal rights, and
you may also have other rights which vary from state to state.
Send unit to:
Consumer Repair Department
KIDdesigns, Inc.
1330 Goodyear Dr.
El Paso, TX 79936-6420
© Disney
Visit the Disney website at DisneyPrincess.com
Distributed by KIDdesigns, Inc. Rahway, NJ 07065-5024
eKids is a wholly owned subsidiary of KidDesigns, Inc,
1299 Main Street Rahway NJ 07065 Important Message to Customers
Thank you for purchasing one of Disney/Princess’s many top-quality electronic products. We would appreciate it if you take a few moments to
read through these instructions. This will help you explain to the child the safe and proper way to use this toy, and to help give it the long-lasting
life that Disney/Princess products are designed for.
Printed in China DP430-082611-A
FCC Information
This devise complies with Part 15 of the FCC rules. Operation is
subject to the following two conditions: (1) this devices may not
cause harmful interference, and (2) this device must accept any
interference received, including interference that may cause
undesired operation.
Warning: Changes or modifications to this unit not expressly
approved by the party responsible for compliance could void the
user’s authority to operate the equipment.
NOTE: This equipment has been tested and found to comply with
the limits for a Class B digital device, pursuant Part 15 of the FCC
Rules. These limits are designed to provide reasonable protection
against harmful interference in a residential installation. This
equipment generates, uses, and can radiate radio frequency energy
and, if not installed and used in according with the instructions,
may cause harmful interference to radio communications. However,
these is no guarantee that interference will not occur in a particular
installation. If this equipment does cause harmful interference to
radio or television reception, which can be determined by turning
the equipment off and on, the user is encouraged to try to correct
the interference by one or more of the following measures:
• Reorient or relocate the receiving antenna,
• Increase the separation between the equipment and receiver.
• Connect the equipment into an outlet on a circuit difference from
that to which the receiver is connected.
• Consult the dealer or an experienced radio TV technician for
help.
“This Class B digital apparatus with Canadian ICES-003”
“Cet apparel numerique de la classe B est conforme a la norme
NMB-003 du Canada.”
Modifying or tampering with your system’s internal components
can cause a malfunction and might invalidate the system’s warranty
and void your FCC authorization to operate it. If your system is not
performing as it should, call, 1-800-TOP-TOYS for assistance.
Laser Safety
This unit employs a laser. Only a qualified person should remove
the cover or attempt to service this device, because of possible
eye injury.
CAUTION: USE OF CONTROLS, ADJUSTMENTS OR
PERFORMANCE OF PROCEDURES OTHER THAN SPECIFIED
HEREIN MAY RESULT IN HAZARDOUS RADIATION EXPOSURE.
DANGER: INVISIBLE LASER RADIATION WHEN OPEN AND
INTERLOCK FAILED OR DEFEATED, AVOID DIRECT
EXPOSURE TO BEAM.
CAUTION: HAZARDOUS LASER RADIATION WHEN OPEN AND
INTERLOCK DEFEATED.
Transformers used with the unit are to be regularly examined for
damage to the cord, plug, enclosure and other parts, and that, in
the event of such damage, the unit must not be used with this
transformer until the damage has been repaired.
Instructions For Transformer Units:
• The unit is not intended for children under 8 years old.
• The unit must only be used with the recommended transformer.
• The transformer is not a toy.
• Units liable to be cleaned with liquid are to be disconnected from
the transformer before cleaning.
A Consumer Guide to Product Safety
Cleaning and Maintenance
Limited One-Year Warranty
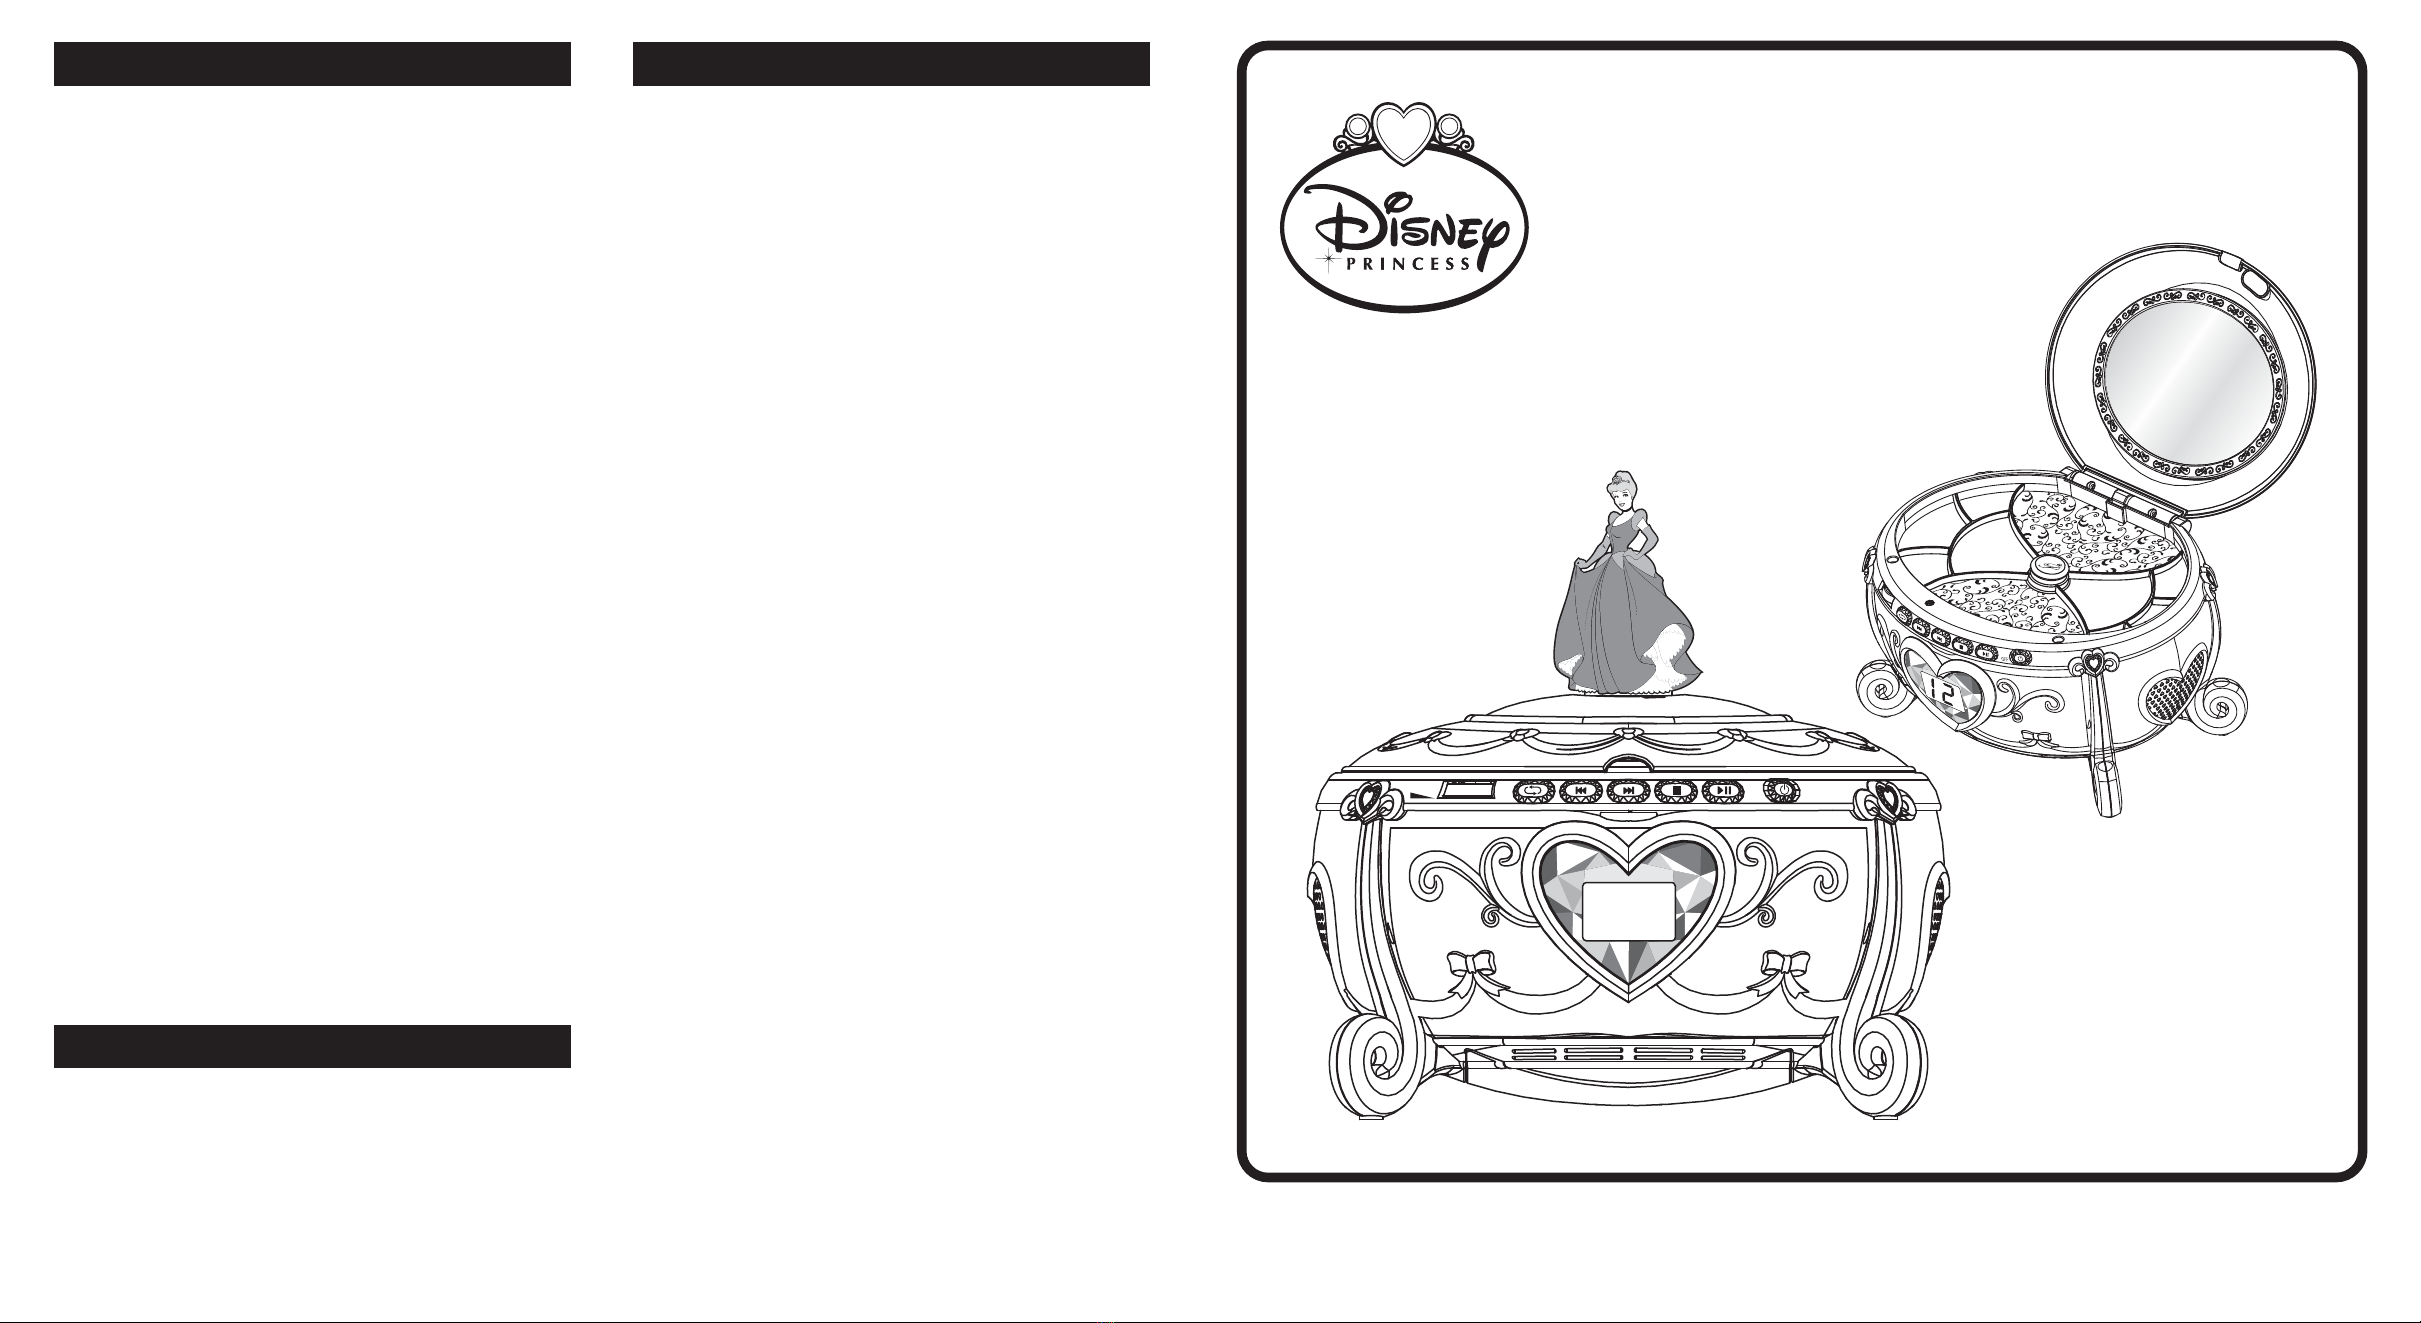
Model DP-430
Jewelry Box CD Player
Magical
OFF
VOLUME
12
DP-430 IB_front Printing color: PMS Rhod. Red Sept. 27, 11.
Getting Started
Installing the Batteries
NOTE: This unit can operate on either battery or optional AC
adaptor. While the AC adaptor is plugged in, the batteries will not
be used.
ATTENTION: AC adaptor and batteries should only be installed
by an adult.
Use a Phillips screwdriver to open the battery compartment
door located on the bottom of the unit.
Install 6 C size batteries, making sure that the + and –
polarities match the diagram printed inside the battery
compartment.
 Close the battery compartment door and tighten the battery
door screw. Do not over-tighten.
For the Best Possible Performance
• We recommend the use of alkaline batteries for longer life.
• Do not mix old and new batteries.
• Do not mix alkaline, standard (carbon-zinc) or rechargeable
(nickel-cadmium) batteries.
• Batteries are to be inserted with correct polarity.
• Remove exhausted batteries from the unit.
• Do not attempt to recharge non-rechargeable batteries.
• Remove the rechargeable batteries from the unit before charging.
• The supply terminals are not to be short-circuited.
• Batteries should be removed if the item will not be used for an
extended period of time, such as a month or longer, to prevent
battery leakage or damage.
• Rechargeable batteries should only be charged under adult
supervision.
• Only batteries of the same or equivalent type as recommended
are to be used
Unpacking and Setup
Figure Installation
1. Remove the product and all packing materials from the carton.
2. It is a good idea to save the packing materials in case the unit
needs to be returned for service. If you do dispose of the packing
materials, please do so properly.
3. Remove any feature labels, fact tags, or clear protective films
from the front or top of the unit, if applicable. Do not remove
any warning labels from the back or bottom of the unit.
4. The unit should be placed on a level surface, away from direct
sunlight, and away from the sources of excess dust, dirt, heat,
water, moisture, vibration, and strong magnetic fields.
5. Protect your furniture when placing the unit on natural wood or
wood with a lacquered or coated finish. A cloth or other protective
material should be placed between the unit and the furniture.
Align arrow marks on the lid top and the figure bottom and then
insert the figure into the lid.
Turn the figure to the right to lock the figure in place.
Optional AC Adaptor Installation
NOTE: The AC adaptor should only be connected by an adult.
• Connect a DC 9V 1.5A, center positive AC adaptor (not included)
into the DC Jack located on the back of the unit, then plug the
AC adaptor into an outlet.
Using Optional Headphones
Plug your headphones (not included) into the Headphone Jack for
private listening. The speakers will not emit sound when headphones
are plugged into the jack.
Listening to Compact Discs
1. Slide the On/Off Switch to On to turn on the unit.
2. Lift the player’s lid to access the mirror and jewelry tray. The
built-in music will begin to play. Press the small jewelled Music
On/Off Button as needed to stop or start the built-in music.
3. Remove the jewelry tray to access the CD compartment. Place
a CD into the CD compartment, with the CD’s label facing up,
and then close the CD door. The CD will spin for a few seconds,
and the display will show the number of tracks on the CD.
4. Press the Button. The display will show “01 ”, and the first
track will begin playing.
5. Press the Button to pause the CD. Press the button
again to resume playing the CD.
6. Press the Button to skip to the beginning of the next track.
Press the Button to return to the beginning of the track that
is currently playing. Press the Button again to skip backwards
to the previous track.
7. Rotate the Volume Knob to adjust the volume level (LEFT to
raise volume, RIGHT to lower it).
8. To stop playing a CD, press the Button.
9. To turn the power off, slide the On/Off Switch to Off.
Using the Repeat Function
1. Press the Button once to repeat the current track. “REPEAT”
will appear on the display.
2. Press the Button again to repeat the entire CD. “REPEAT
ALL” will appear on the display, indicating that this function has
been activated. When the CD has ended, it will start over again
from the beginning.
3. To cancel the repeat functions, press the Button until no
indicators appear on the display.
Performing a High-Speed Music Search
Press and hold the Button or Button to search for specific
passages within a track. When the passage is found, release the
button. The high-speed search can only be performed while a track
is playing.
Questions or Comments
• For questions or comments regarding this or other KIDdesigns
products, please call our toll-free number: 1-888-TOP-TOYS
Also visit our website: www.kiddesigns.com
If problems persist, please do not attempt to repair unit; see
warranty for factory service.
Skip/Search
Forward Button
Skip/Search
Backward Button
Stop Button
Volume Knob:
Turn UP
Turn DOWN On/Off Switch
CD Track Display
Play/Pause Button
Repeat Button
Battery Installation
Figure Installation





OFF
VOLUME
12
Lift lid to open
CD door
DC Jack Headphone Jack
Back View
align arrow
marks on the
lid top and the
figure bottom
Music On/Off Button
Mirror
Jewelry Tray
DP-430 IB_Inside Printing color: PMS Rhod. Red Sept. 2, 11.

This manual suits for next models

1

Other Disney CD Player manuals

Disney DCD6005-POM User manual

Disney

Disney DCD6005-POM User manual

Disney PC100CDE User manual

Disney

Disney PC100CDE User manual

Disney DCD6000-COM User manual

Disney

Disney DCD6000-COM User manual

Disney DCD6006-CAROM User manual

Disney

Disney DCD6006-CAROM User manual

Disney DCD6000-P User manual

Disney

Disney DCD6000-P User manual

Popular CD Player manuals by other brands

Philips AZ1027 Specifications

Philips

Philips AZ1027 Specifications

Kenwood DP-48 instruction manual

Kenwood

Kenwood DP-48 instruction manual

Philips AZ100 quick start guide

Philips

Philips AZ100 quick start guide

Fisher SLIM-3010 instruction manual

Fisher

Fisher SLIM-3010 instruction manual

Panasonic SL-DV100 Service manual

Panasonic

Panasonic SL-DV100 Service manual

Technics SL-G700M2 Basic owner's manual

Technics

Technics SL-G700M2 Basic owner's manual

Sony CD Walkman D-EJ610 operating instructions

Sony

Sony CD Walkman D-EJ610 operating instructions

Philips AZ7793 Specifications

Philips

Philips AZ7793 Specifications

Pyle PLCD38 owner's manual

Pyle

Pyle PLCD38 owner's manual

Sony Walkman D-FJ201 operating instructions

Sony

Sony Walkman D-FJ201 operating instructions

Sony CDX-MP30 Operating	 instruction

Sony

Sony CDX-MP30 Operating instruction

Denver Electronics MCA-230MK2 manual

Denver Electronics

Denver Electronics MCA-230MK2 manual

Lenoxx PR4057 instruction manual

Lenoxx

Lenoxx PR4057 instruction manual

Philips AZ1123W/12 user manual

Philips

Philips AZ1123W/12 user manual

Sony HCD-H4800 Service manual

Sony

Sony HCD-H4800 Service manual

Saab 400 112 140 installation instructions

Saab

Saab 400 112 140 installation instructions

JVC Kaboom ! Series RV-B99BK instructions

JVC

JVC Kaboom ! Series RV-B99BK instructions

THOMSON RK201CD operating instructions

THOMSON

THOMSON RK201CD operating instructions

manuals.online logo
manuals.online logoBrands
  • About & Mission
  • Contact us
  • Privacy Policy
  • Terms and Conditions

Copyright 2025 Manuals.Online. All Rights Reserved.