Combustible materials such as buffing lint, paper, wood, metal dusts, weld fume, or flammable
coolants or solvents represent potential fire and/or explosion hazards. Use special care when
selecting, installing, and operating all dust, fume, or mist collection equipment when such combustible
materials may be present in order to protect workers and property from serious injury or damage due to a
fire and/or explosion.
Consult and comply with all National and Local Codes related to fire and/or explosion properties of
combustible materials when determining the location and operation of all dust, fume, or mist collection
equipment.
Standard Donaldson Torit equipment is not equipped with fire extinguishing or explosion protection systems.
1
Donaldson Company, Inc.
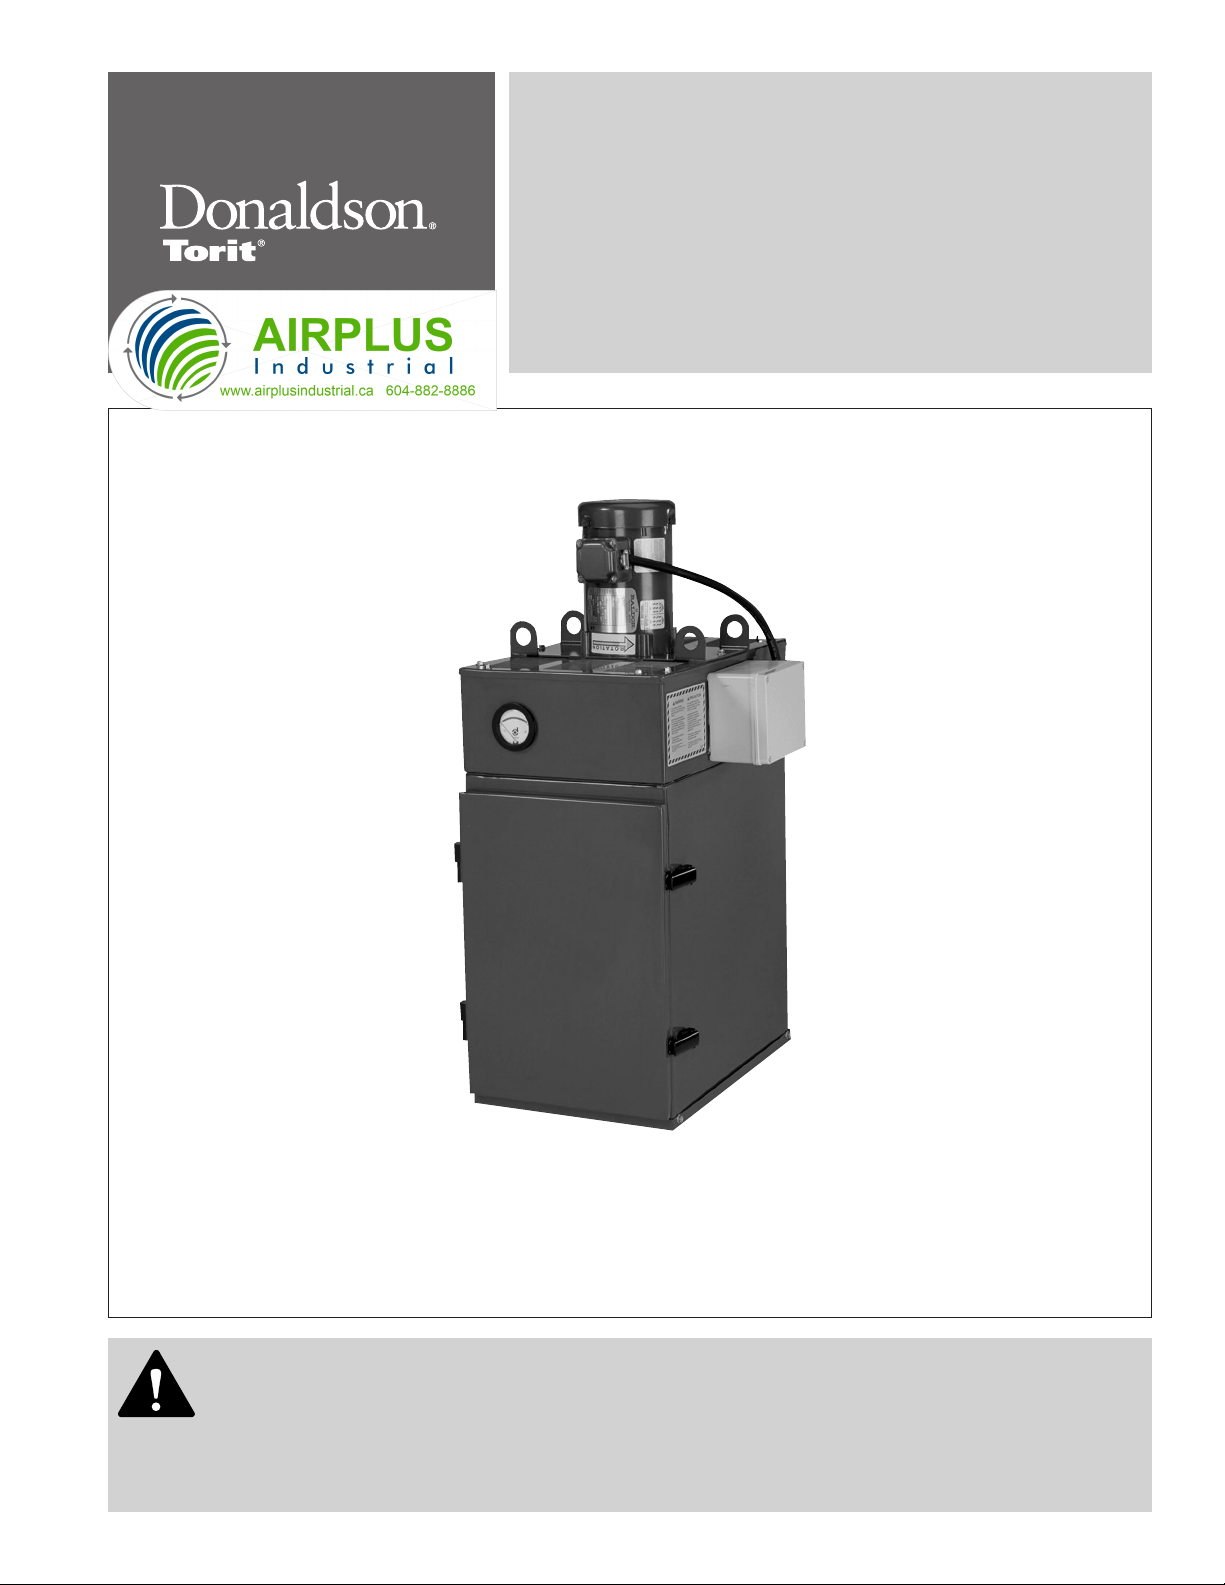
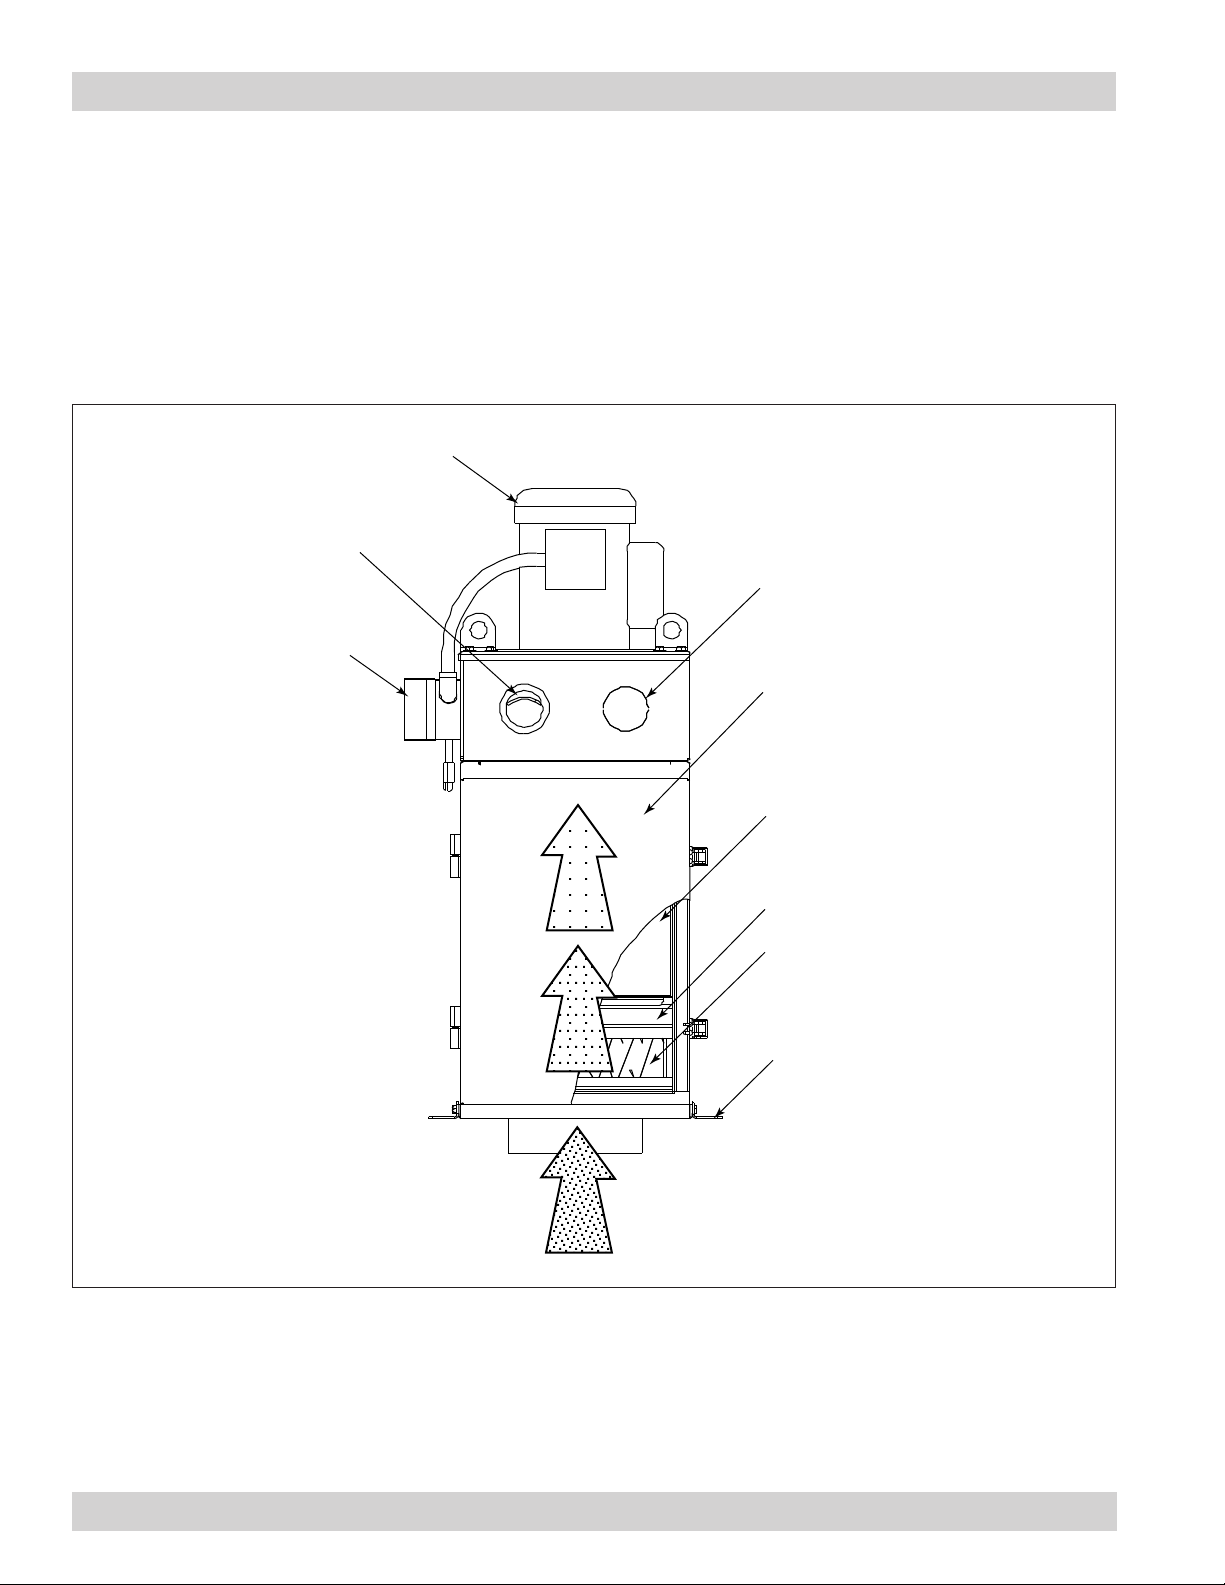
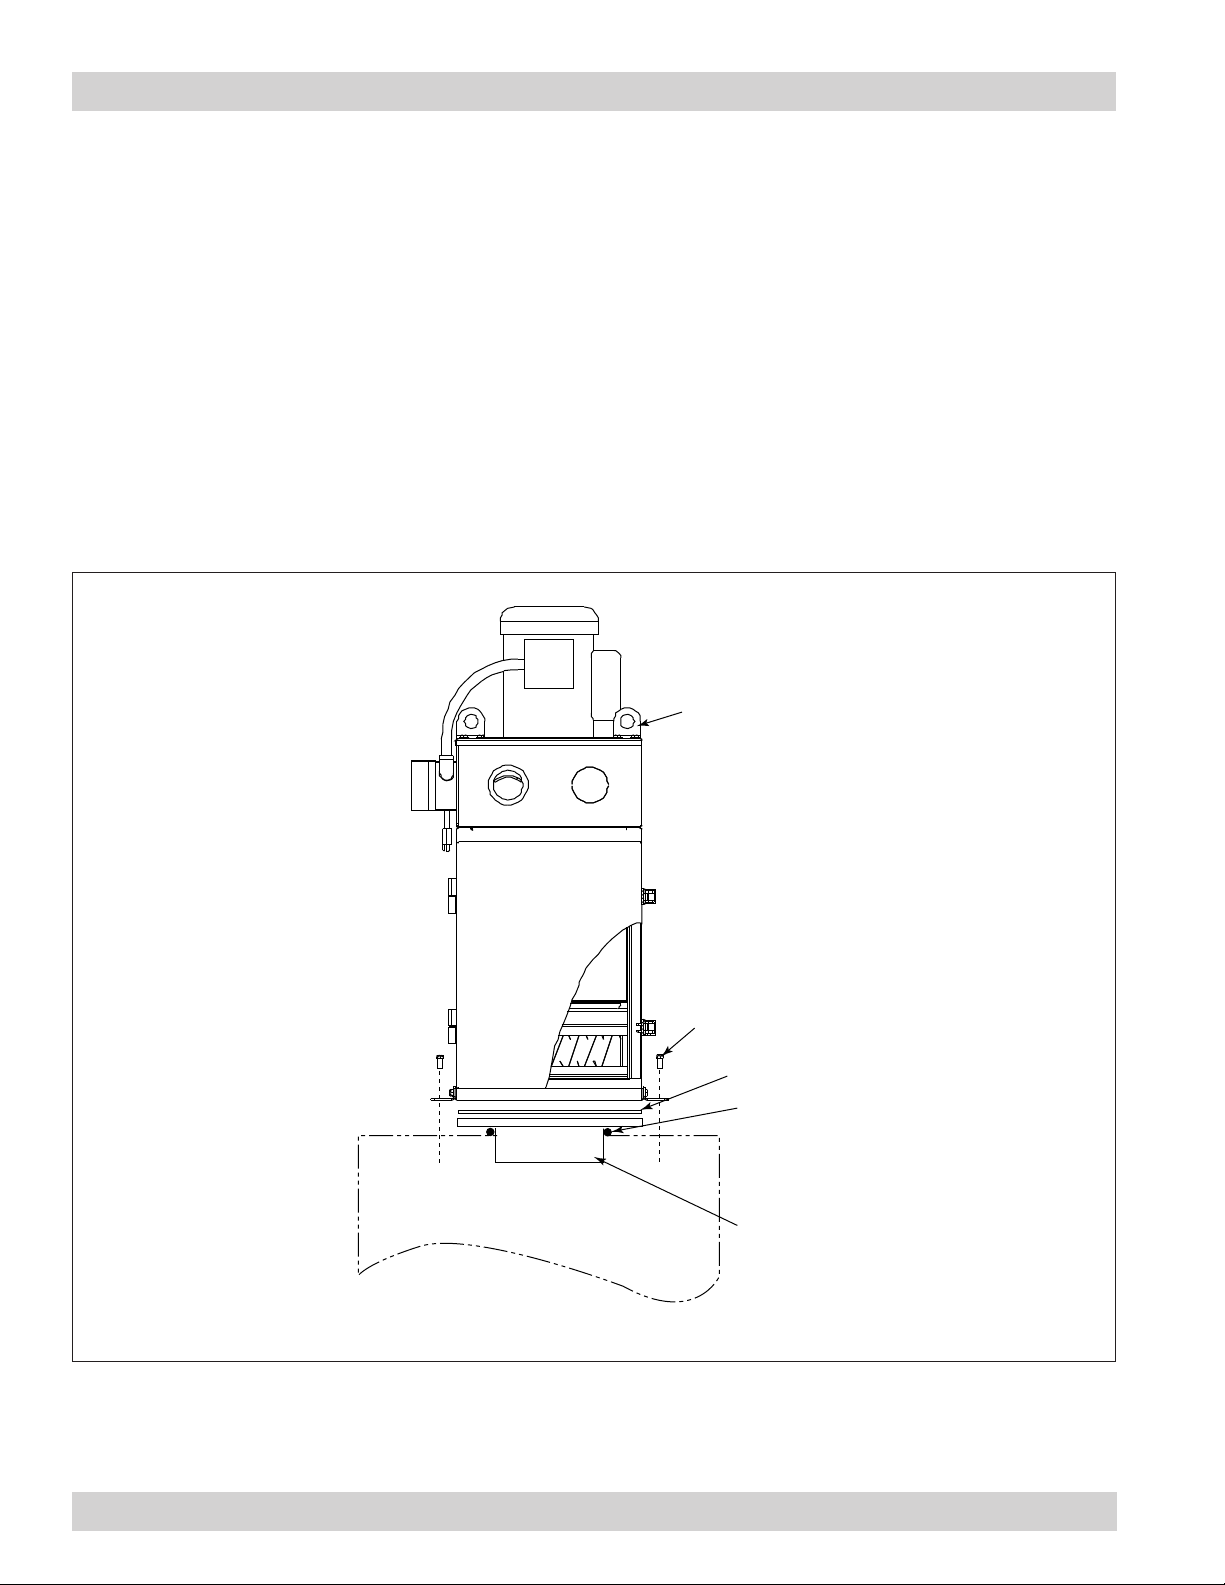
Description
The Mini-Mist Air Filter, Models MM 500 and
MM 1200 are compact, machine-mountable mist
collectors designed to filter wet contaminants from
machining operations and industrial processes. Primarily
used for light- to moderate-duty applications, the Mini-
Mist is an excellent choice for machine repair, tool and
die,
or job shops with small to average production runs.
Three separate filters provide superior filtration of oil,
water-soluble and synthetic coolant mist as well as
small amounts of dust and smoke. Standard models
are designed for 500 to 1200 cfm and feature 1/2 to 1
1/2 horsepower direct-drive blowers. Standard options
include multiple motor options, wall- or machine-mount
brackets, and HEPA filters all designed to increase the
versatility of the unit.
Purpose and Intended Use
The Mini-Mist Air Filter is primarily used in source
capture applications to remove mist and secondary
contaminants such as dust and light smoke or fume
from machining operations. Two basic means create
mist particles: mechanical action and thermal effects.
Mechanical action refers to the aerosol used for light
lubrication directly from the oil or coolant nozzle.
Mechanical action creates mist greater than one micron
in size. Thermal effects occur when heat vaporizes the
coolant, the vapor cools, and re-condenses into a mist.
Thermal effects create submicron mist particles. Select
the proper module and filter options for the application.
Types of machining fluids and their applications:
• Straightoilprovidesthebestlubricationqualities
but only average cooling properties. Some examples
of machining operations using straight oil are cold
heading, cold forming, hobbing, and gear cutting.
• Water-solublecoolantsconsistpartlyofwater
and provide the best cooling properties. Examples
of applications using water-soluble coolants or
soluble oil include broaching, punching, roll forming,
and stamping because the tool moves slower and
generate less heat.
• Solubleoilorsemi-syntheticcoolantisusedforits
equal qualities of cooling and lubricating because
the tool is moving fast on close tolerances. Boring,
drilling, milling, and lathe turning centers are among
the many applications using soluble oil for cooling
although milling is the most common.
• Syntheticcoolanthassuperiorcoolingproperties.
High-speed operations that generate large amounts
of heat require a good coolant. The two main
applications are abrasive cut-off sawing and wet
grinding including centerless, cylindrical, profile,
rotary table, and surface.
• Theextremesofveryheavyoilsandverylight,thin
oils should be avoided. The very heavy oils, similar
to tar consistency, will not drain. Very light, thin oil,
similar to gasoline consistency, may evaporate.