Doufit EB-01 User manual

Instruction Manual
EB-01 Exercise Bike
with your order number, then we will try our best to solve it for you ASAP.

Catalogue
Page 1
1
3
4
8
9
10
Thanks for purchasing Doufit Eb-0l Exercise Bike and hope you will enjoy it.
Please read the instruction manual carefully before using . And make sure that the
product is complete and free from any damage caused during transportation.
* Be sure to read and follow the safety precautions below.
1. Precautions -----------------------------------------------------------------------------------------
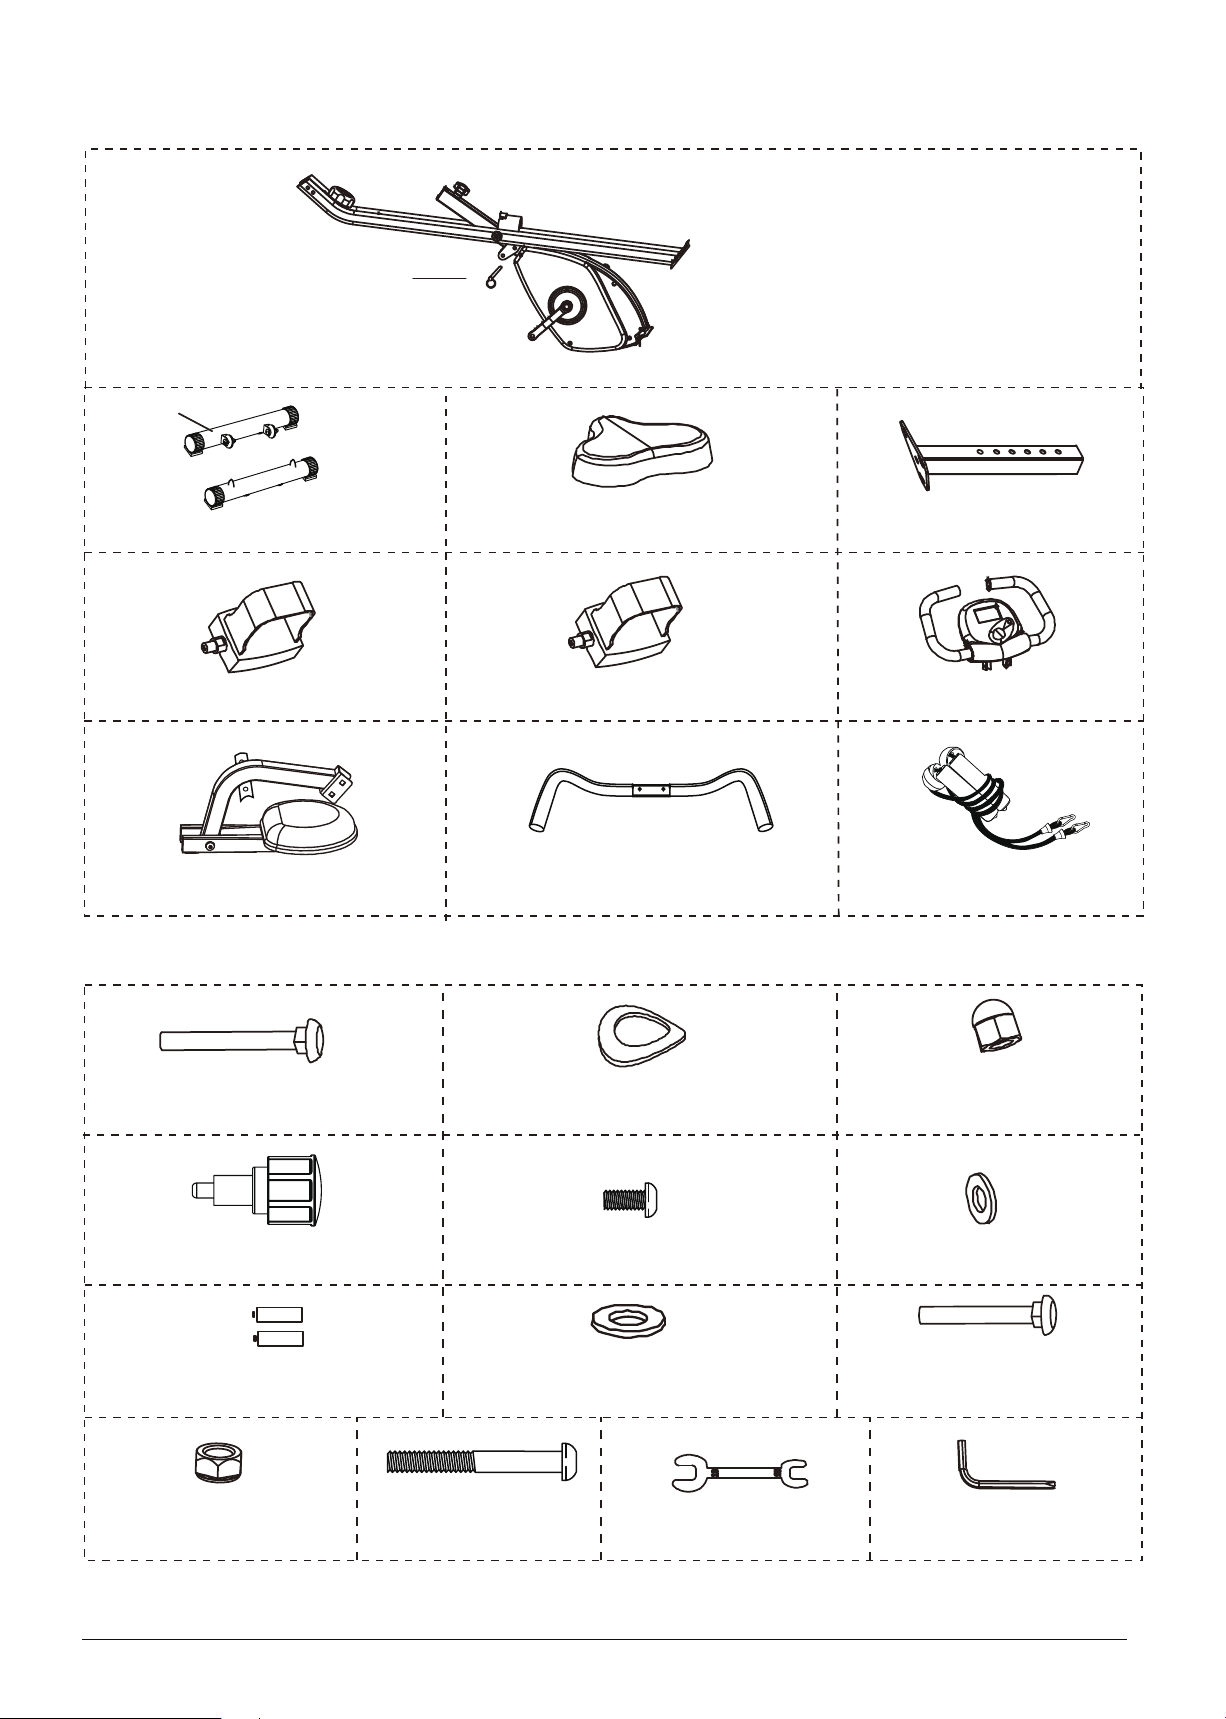
2. Spare Parts Details --------------------------------------------------------------------------------
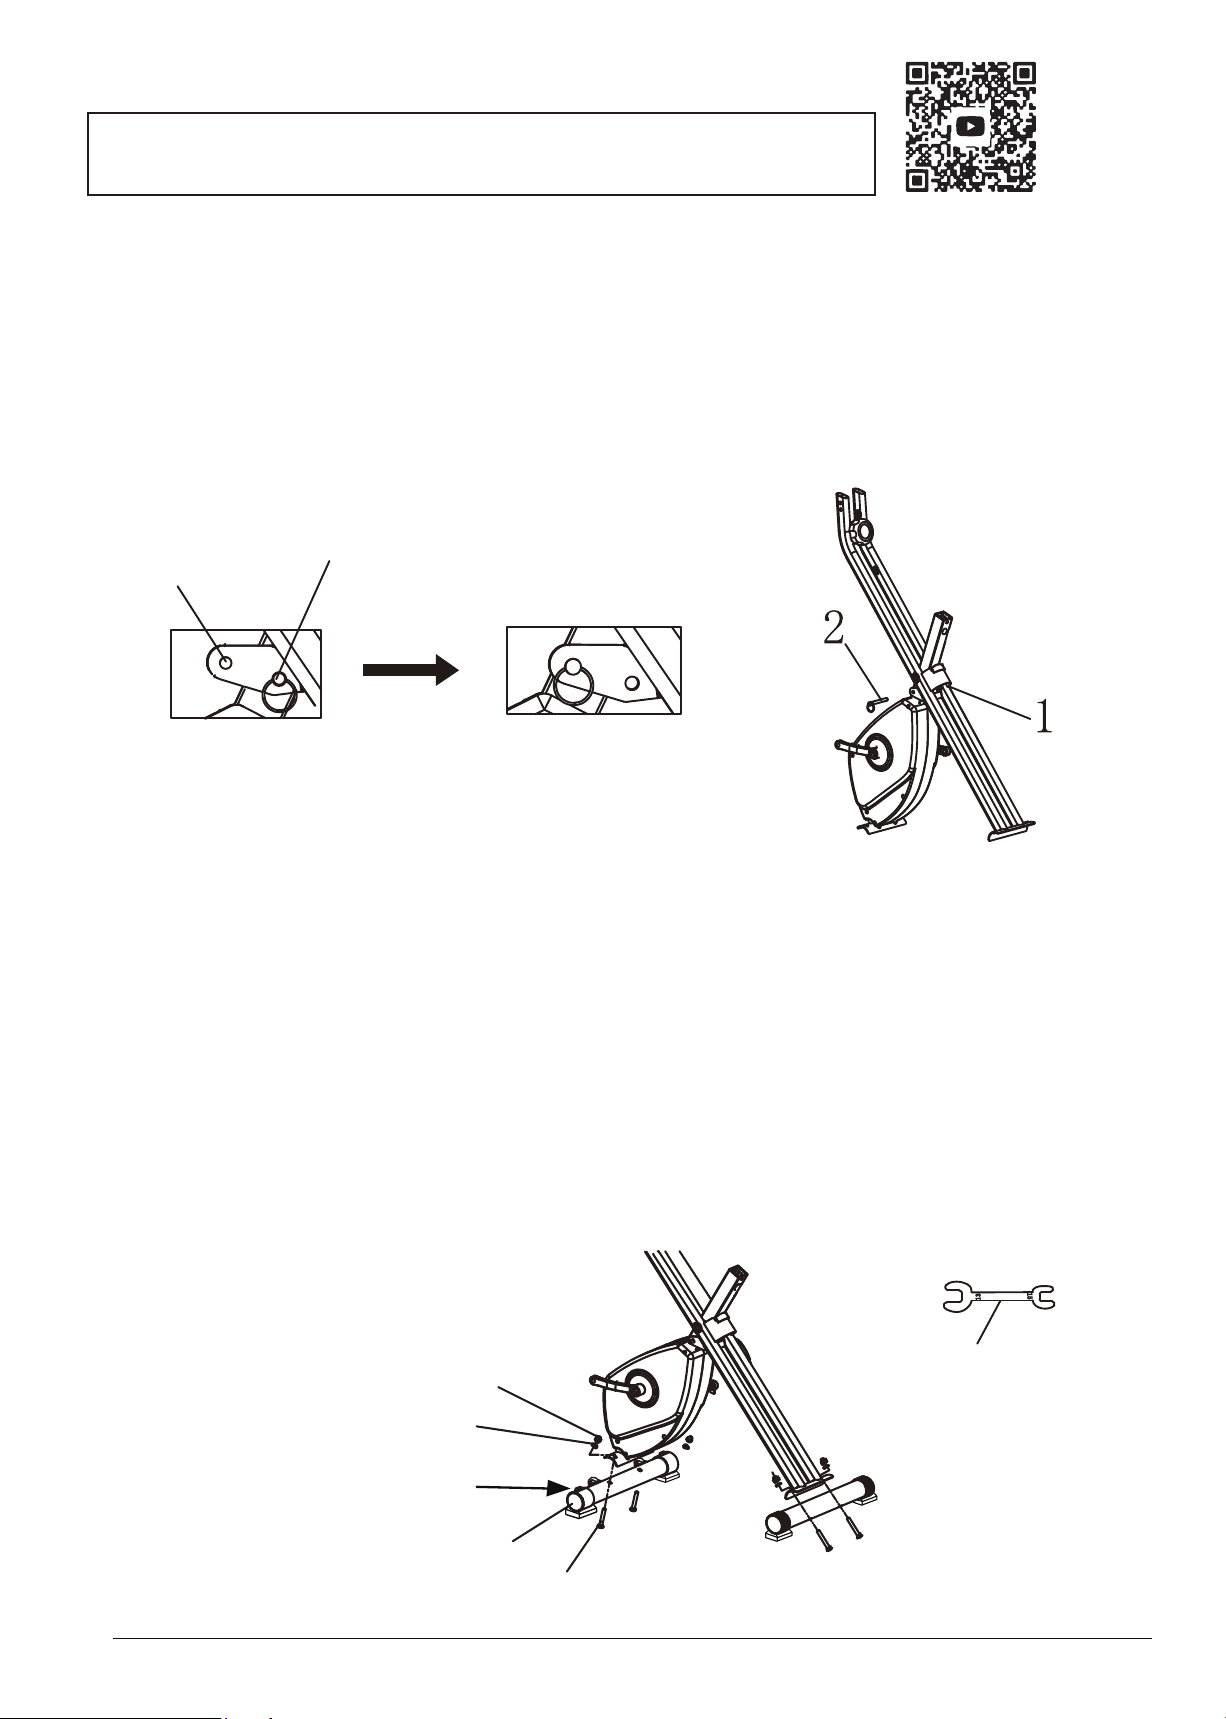
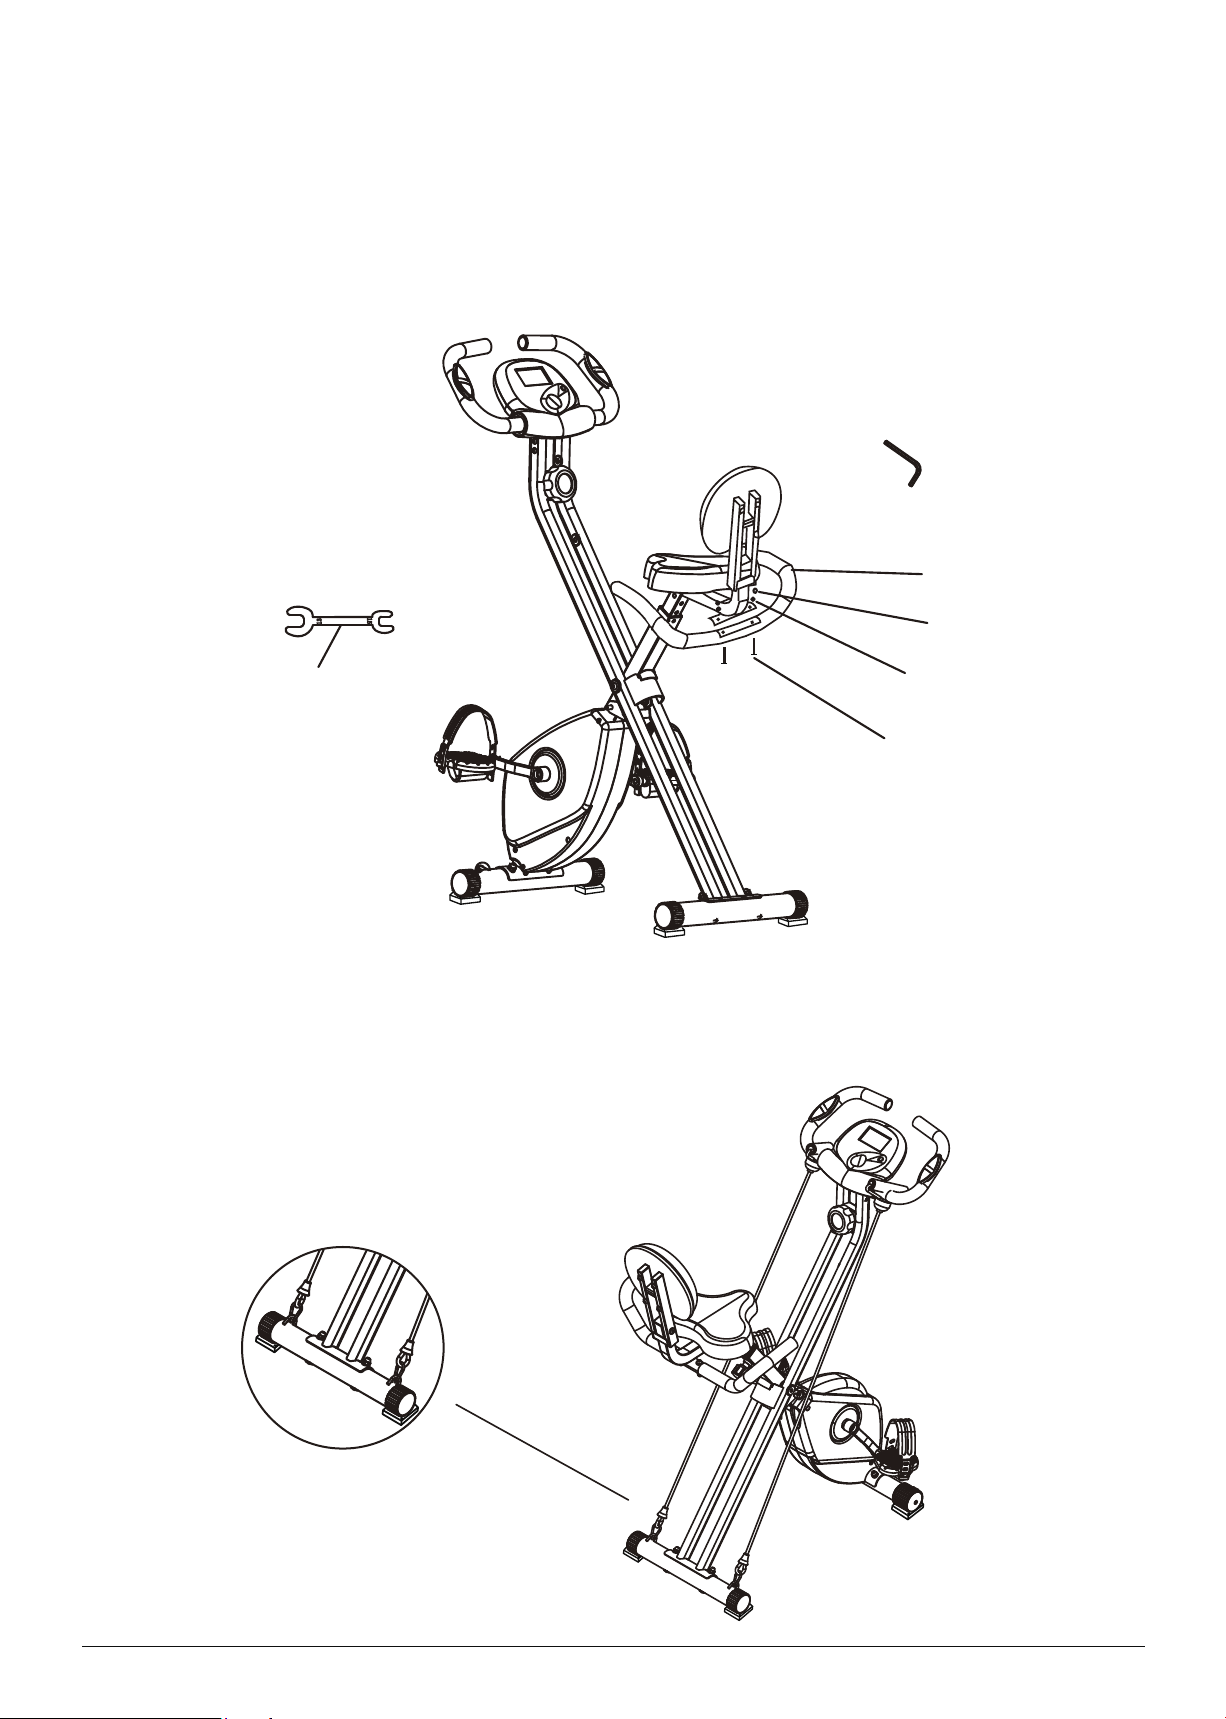
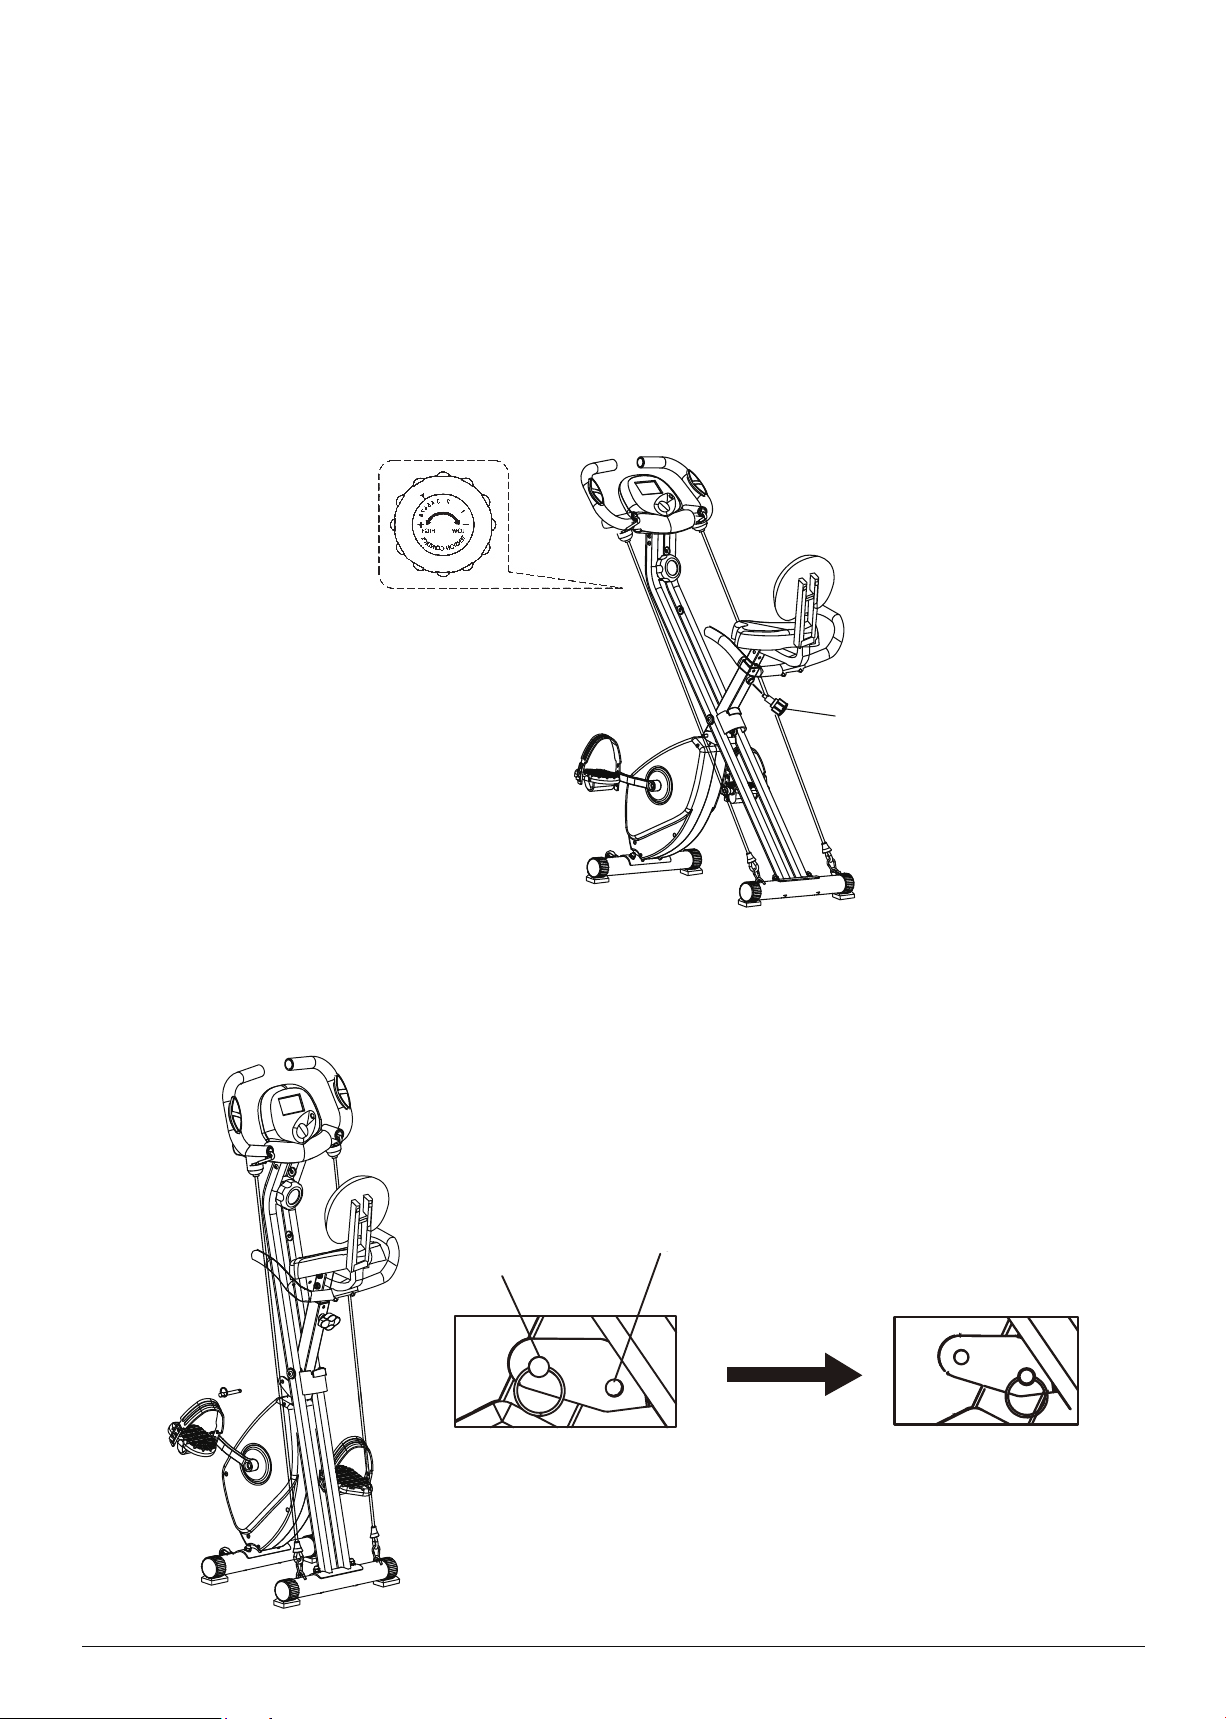
3. Assembly Method ---------------------------------------------------------------------------------
4. Details Of Monitor --------------------------------------------------------------------------------
5. Usage Method -------------------------------------------------------------------------------------
6. Maintenance And Service ------------------------------------------------------------------------
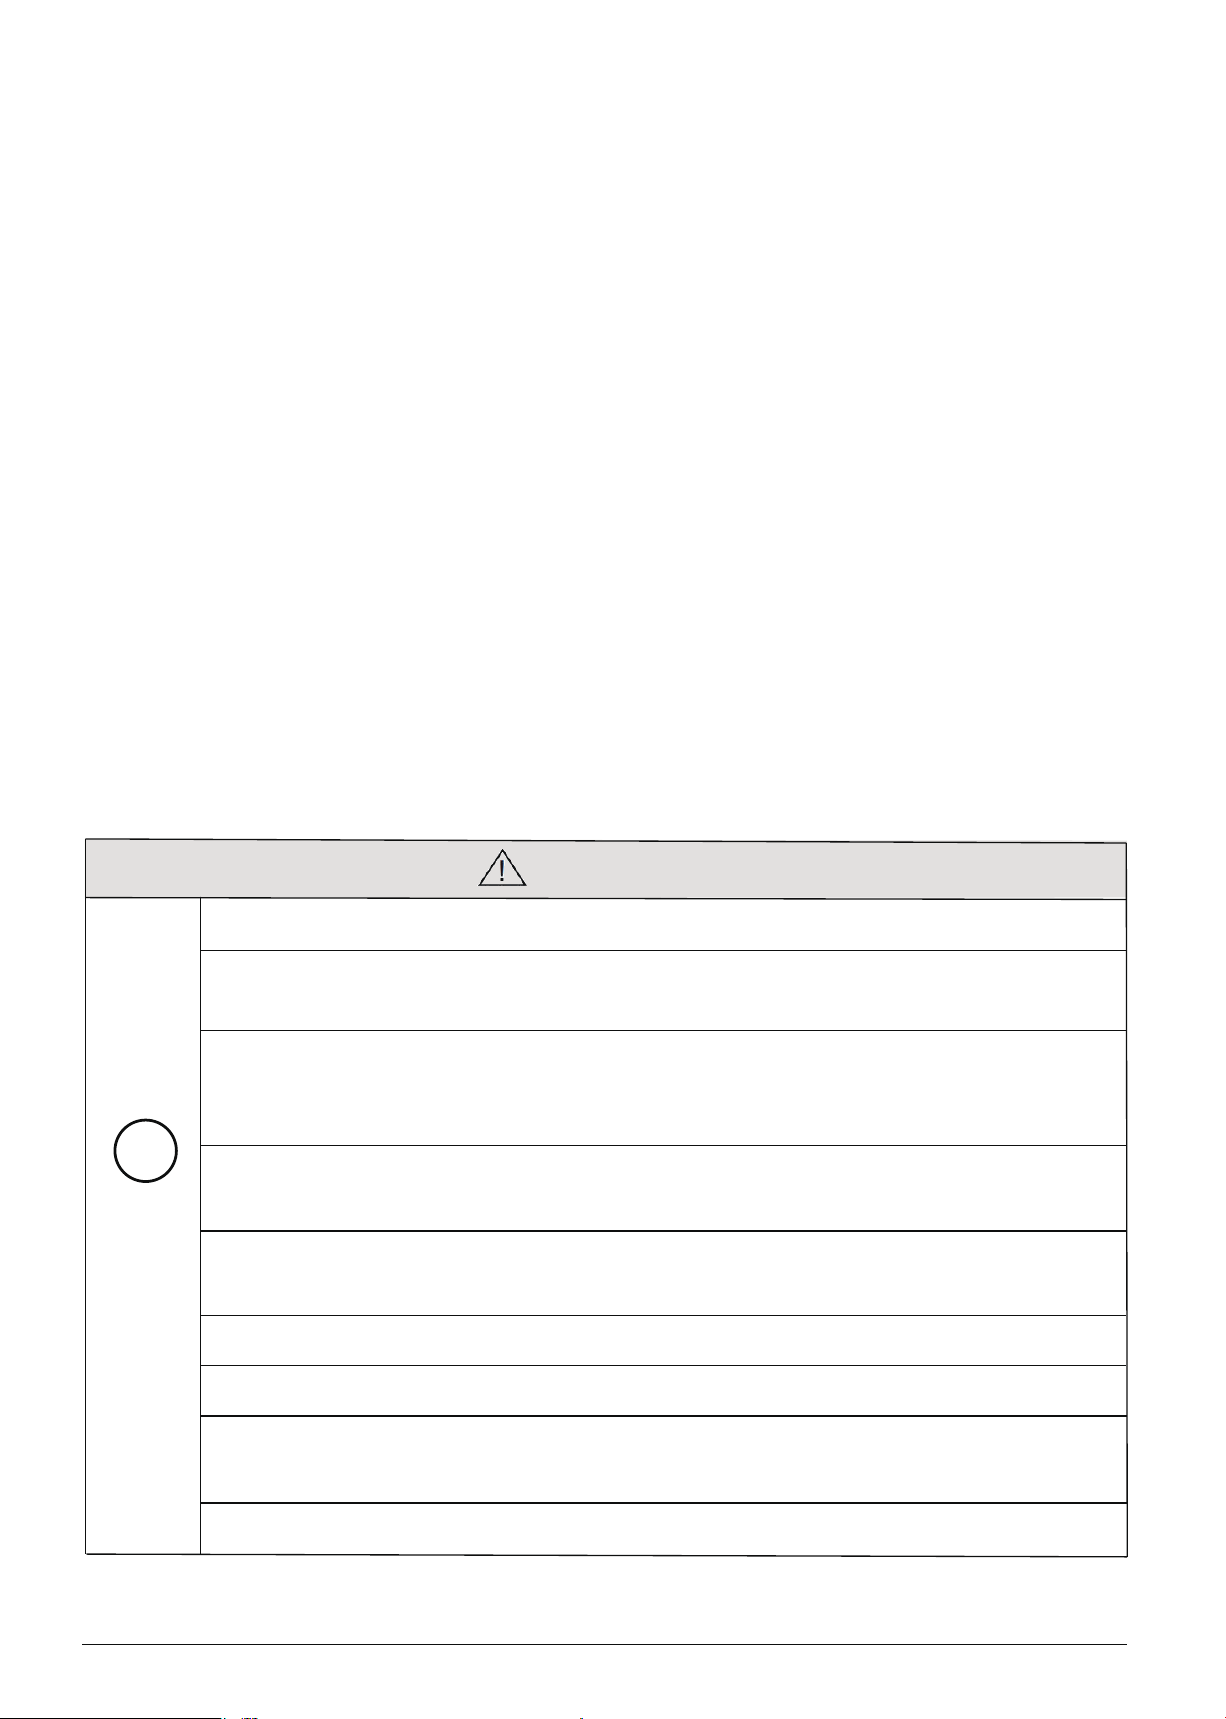
1. PRECATIONS
WARNING
PLEASE
OBEY
If you feel unwell during using the product, please stop using it immediately
and consult your doctor for instructions before next use.
To ensure your safety, every time before using, please check whether there is
any wear and tear, especially in the seat, screw, knob and safety pin; If there
is, please stop using immediately.
At early period of use, please don’t exceed 30 minutes a day. Follow the
instruction manual to avoid injury caused by improper posture.
Don’t use the product immediately after diet or drinking, you need to wait for
at least 1 hour.
Please place the product on a flat place to avoid falling.
Please wear suitable clothes during exercise.
Before using, please warm up first. Ride lightly, adjust your breath and pace
to slowly get into motion.
When folding, please keep away from children to avoid injury.
!
The maximum load bearing is 110kg (about 242lbs).

Page 2
Don’t modify or refit the product to avoid any abnormal use or accidents.
CONFIRM
B
and the knob have been fixed, to avoid accident.
efore using the product, please make sure that the screws, the safety pin
PROHIBIT Prohibit two or more people from using the product at the same time.
This product is just suitable for general household use, not for commercial
use.
Children are prohibited from using the product. For elderly or disable
people, they can only use it under guardianship.
DO NOT
DISASSEMB
LE
Do not use alkaline cleaner, dilute solvent, volatile oil and other solvents
to clean products.
*During using the product, please reserve a safe distance as shown
in the figure.
If the pedal screw come loose, please tighten it before using to avoid pedal
wear or falling.

Page 3
2. SPARE PARTS DETAILS
1. Main frame
7. Right pedal
6. Left pedal
11. Resistance band x 2
4. Seat
8. Handlebar
5. Extension pipe3. Foot pipe x 2
9. Backrest 10. Seat armrest
2. Safety pin
Component
Wheel
Screw Accessories
12. M8*50mm carriage bolt x 4
(Pre-assembled to two foot pipes)
18. Battery x 2
21. M8 lock nut x 2
14. M8 acorn nut x 6
(Four are pre-assembled to
two foot pipes)
13. M8 curved washer x 6
(Four are pre-assembled to two foot pipes)
16. M6*12mm Allen bolt x 4
17. M6 flat washer x 4
15. Knob
19. M8 flat washer x 2 20. M8*45mm
carriage bolt x 2
23. Open-end wrench 24. M5 Allen wrench
22. M8*35mm
Allen bolt x 2
*Attention: There are three M8 lock nuts and three M8 washers under the seat.

Page 4
3. ASSEMBLY METHOD
For the assembly video, please visit:
www.youtube.com/channel/UCorBKk34KZgI96OyGSkjFdA
(page 3) to check if all* Before assembly, please accord to the SPARE PARTS DETAILS
Step 1: Unfold the main frame
Step 2: Assemble the foot pipes
Pull the safety pin out from hole B of the main frame.Unfold the main frame to the angle
you prefer, and insert the safety pin into hole A to fix the main frame.
*Warning: If the safety pin placed in hole B, please don’t assemble to avoid accidents.
B
A
(Hole B is next to the main frame.)
For this step, please prepare two foot pipes(No.3) and open-end wrench(No.23). There are
four M8*50mm carriage bolts(No.12), four M8 curved washers(No.13), and four M8 acorn
nuts(No.14) on two foot pipes. Please unscrew them before assembly.
Attention: There are two kinds of foot pipes. One foot pipe has two wheels, the other one
doesn’t have wheels. Please assemble the front foot pipe with wheels in front of the main
frame. The wheels face outward.
Insert two M8*50mm carriage bolts from the bottom of each foot pipe, and then screw four
M8 curved washers and four M8 acorn nuts by using the open-end wrench.
23
312
13
14
The wheels face outward.

Page 5
Step 3: Assemble the seat
Step 4: Assemble the pedals
The screw parts we need now are screwed under the seat(No.4). Before assembly, please
unscrew those three lock nuts and washers first. Also you need to prepare the extension
pipe(No.5), knob(No.15), and open-end wrench(No.23). Put the seat cushion on the extension
pipe. Screw these three washer and three lock nuts back. Insert the extension pipe into the
main frame. Adjust the height and twist the knob to fix.
Attention: the letters“L” and “R” and the screwing directions of pedal bolts are indicated in
the stickers on the pedals. The screwing directions of two pedal bolts are different. Attach
the pedals(No.6)(No.7) to the relevant pedal arms. Screw the left bolt anticlockwise and the
right bolt clockwise with the open-end wrench(No.23).
23
4
5
15
23
67
L

Page 6
Step 5: Assemble the handlebar
Step 6: Assemble the backrest
For this step, please prepare handlebar(No.8), four M6*12mm Allen bolts(No.16), four M6
flat washers(No.17), two batteries(No.18), and M5 Allen wrench(No.24). Two batteries are
in the package of the instruction manual.
Attach the handlebar to the front of frame. Screw fours M6*12mm Allen bolts and four M6
flat washers by using the M5 Allen wrench. Lastly, connect two cables between the monitor
and the main frame. Please don’t forget to install two batteries.
8
16
17
18
24
connect
connect
For this step, please prepare the backrest(No.9), two M8 flat washers(No.19), two M8*45mm
carriage bolts(No.20), two M8 lock nuts(No.21), open-end wrench(No.23), and M5 Allen
wrench(No.24).
Attach the backrest under the seat. Insert two M8*45mm carriage bolts.
Screw two M8 flat washers and two M8 lock nuts by using the open-end wrench.
24
23
9
21
19
20

Page 7
Step 7: Assemble the seat armrest
Step 8: Assemble the resistance bands
For this step, please prepare the seat armrest(No.10), two M8 curved washers(No.13), two
M8 acorn nuts(No.14), two M8*35mm Allen bolts(No.22), open-end wrench(No.23), and
M5 Allen wrench(No.24).
Attach the seat armrest to the backrest. Screw two M8*35mm Allen bolts, two M8 curved
washers, and two M8 acorn nuts by using two wrenches.
23
22
14
10
24
13
Connect two resistance bands(No.11) to the rear foot pipe.

Page 8
4. DETAILS OF MONITOR
Parameters
Button functions
TIME (TMR ) 00:00- 99:59
SPEED (SPD) 0.0- 99.9ML /H
CALORIES (CAL) 0.0- 999.9KCAL
DISTANCE (DIS) 0.00- 99.99ML
ODOMETER (ODO ) 0-9999ML
PULSE (P) 40-240BPM
The round button is used to turn on, select function and clear all data except odometer.
Operation guidance
Turn on/off
The monitor will automatically turn on when you start to exercise, and you can also turn on it
manually by pressing the button. The mnitor will automatically turn off after a while when
you stop exercise. If there is no data showing, please check if the wire has connected, or
change the batteries. (The battery model is AAA.)
Reset
If you long press the button over 3 seconds, all data will be reset except odometer. If you
re-install the battery, all data will be reset.
Scan
When “SCAN” in the lower left corner of the screen flashes, the data will switch automatically
one by one; And you also can scan each data by pressing the button.

Page 9
5. USAGE METHOD
Adjust the height of bike seat
Unscrew the knob (No15) to adjust the height of seat according to your height, then screw
the knob back after you finish the adjustment.
Adjust the resistance of bike pedals
To adjust the resistance of pedals, please rotate the resistance adjustment button on the
frame. There are 8 gears of resistance in total, and the 8th level is the maximum resistance.
Clockwise rotation will increase resistance; On the contrary, anticlockwise rotation will
reduce resistance.
15
Folding storage
Pull the safety pin out from hole A to start folding. After folding, insert the safety pin into
hole B to fix the exercise bike. And then place it horizontally to avoid accident cause by
collision.
AB

Page 10
6. MAINTENANCE AND SERVICE
7. SERVICE
Maintenance
1. You can use the neutral detergent diluted with water to clean the product. After cleaning,
please wipe with dry cloth to avoid rusting.
2. Keep it in a clean and well-ventilated place, and avoid high temperature, humidity or direct
sunlight.
3. When unused, the product should be placed out of children’s reach.
4. After placed for a period of time, if you want to use it again, please ensure that the product
can be used normally, and read the precautions again.
5. If wet the product accidentally, please dry it with a dry cloth to avoid slip.
6. Recycling and disposal: Due to different national recycling regulations, please refer to the
local policy.
with your order number, then we will try our best to solve it for you ASAP.
Table of contents
Other Doufit Exercise Bike manuals