DreamLineShowers.com | 7Freestanding Tub Installation Manual
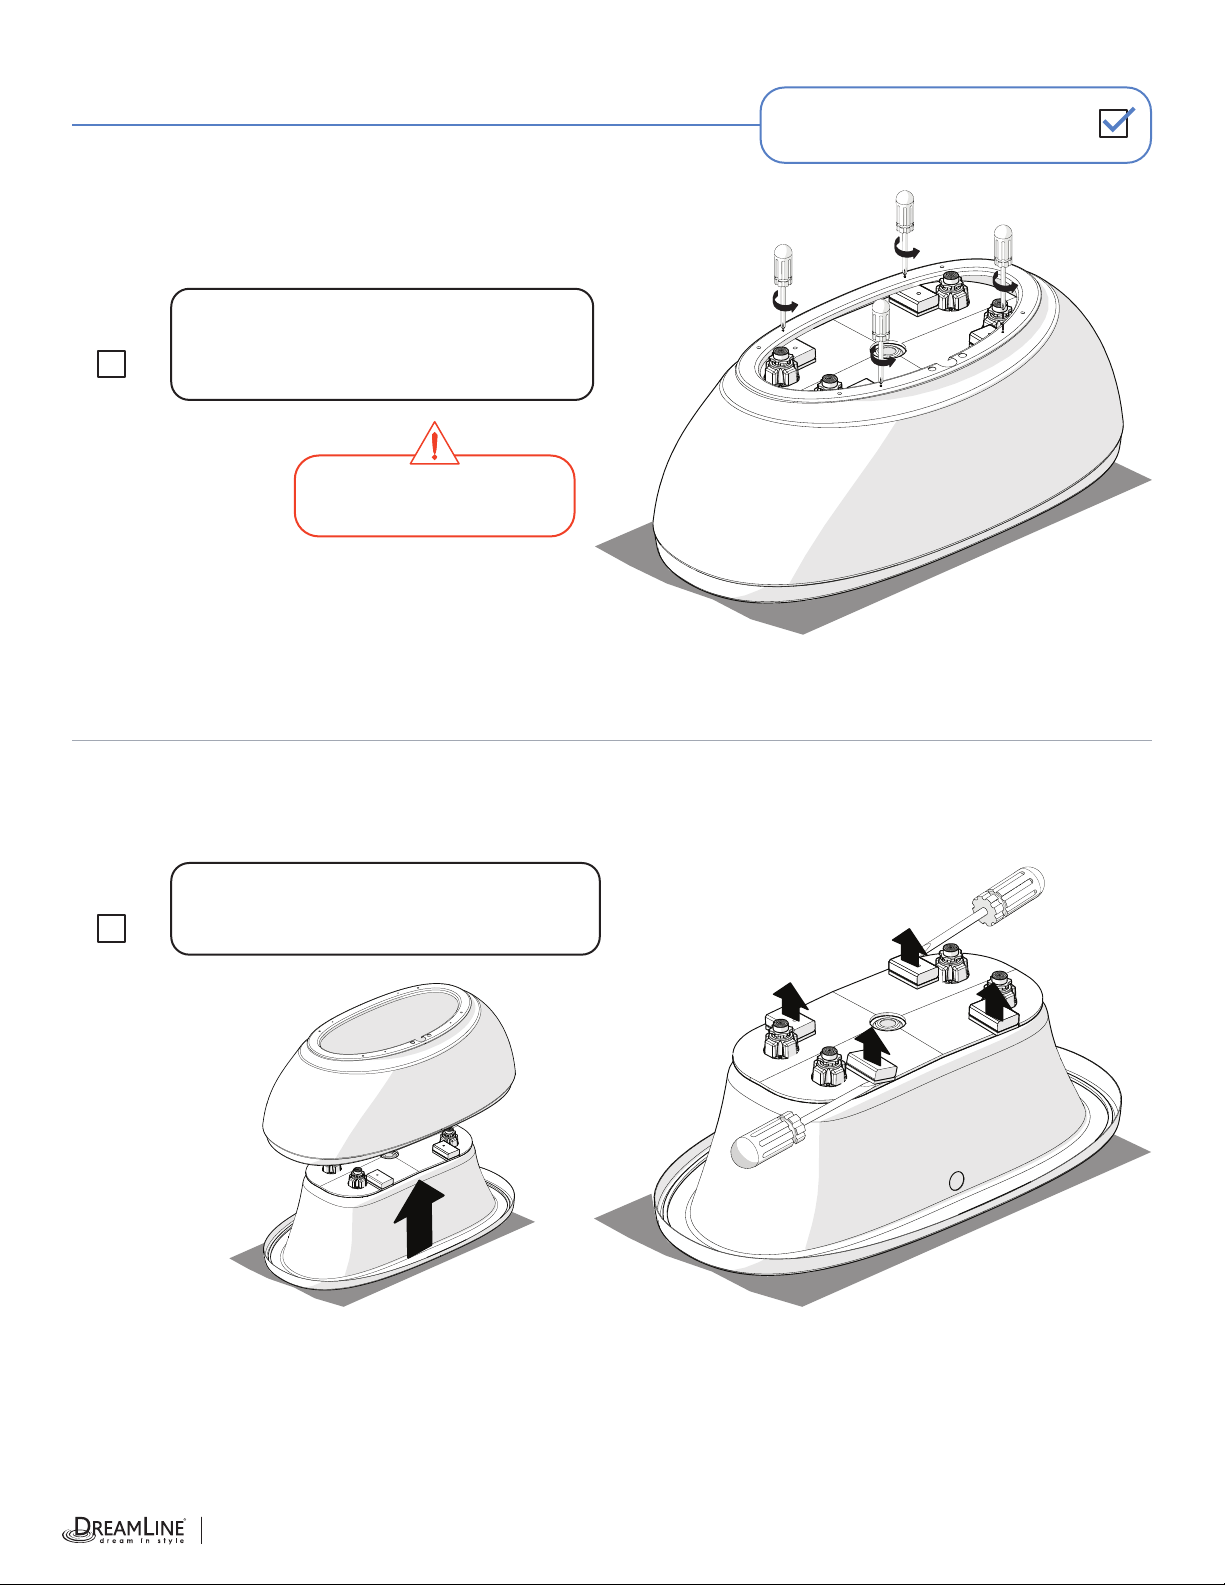
3.1
Check me!
3.2
Check me!
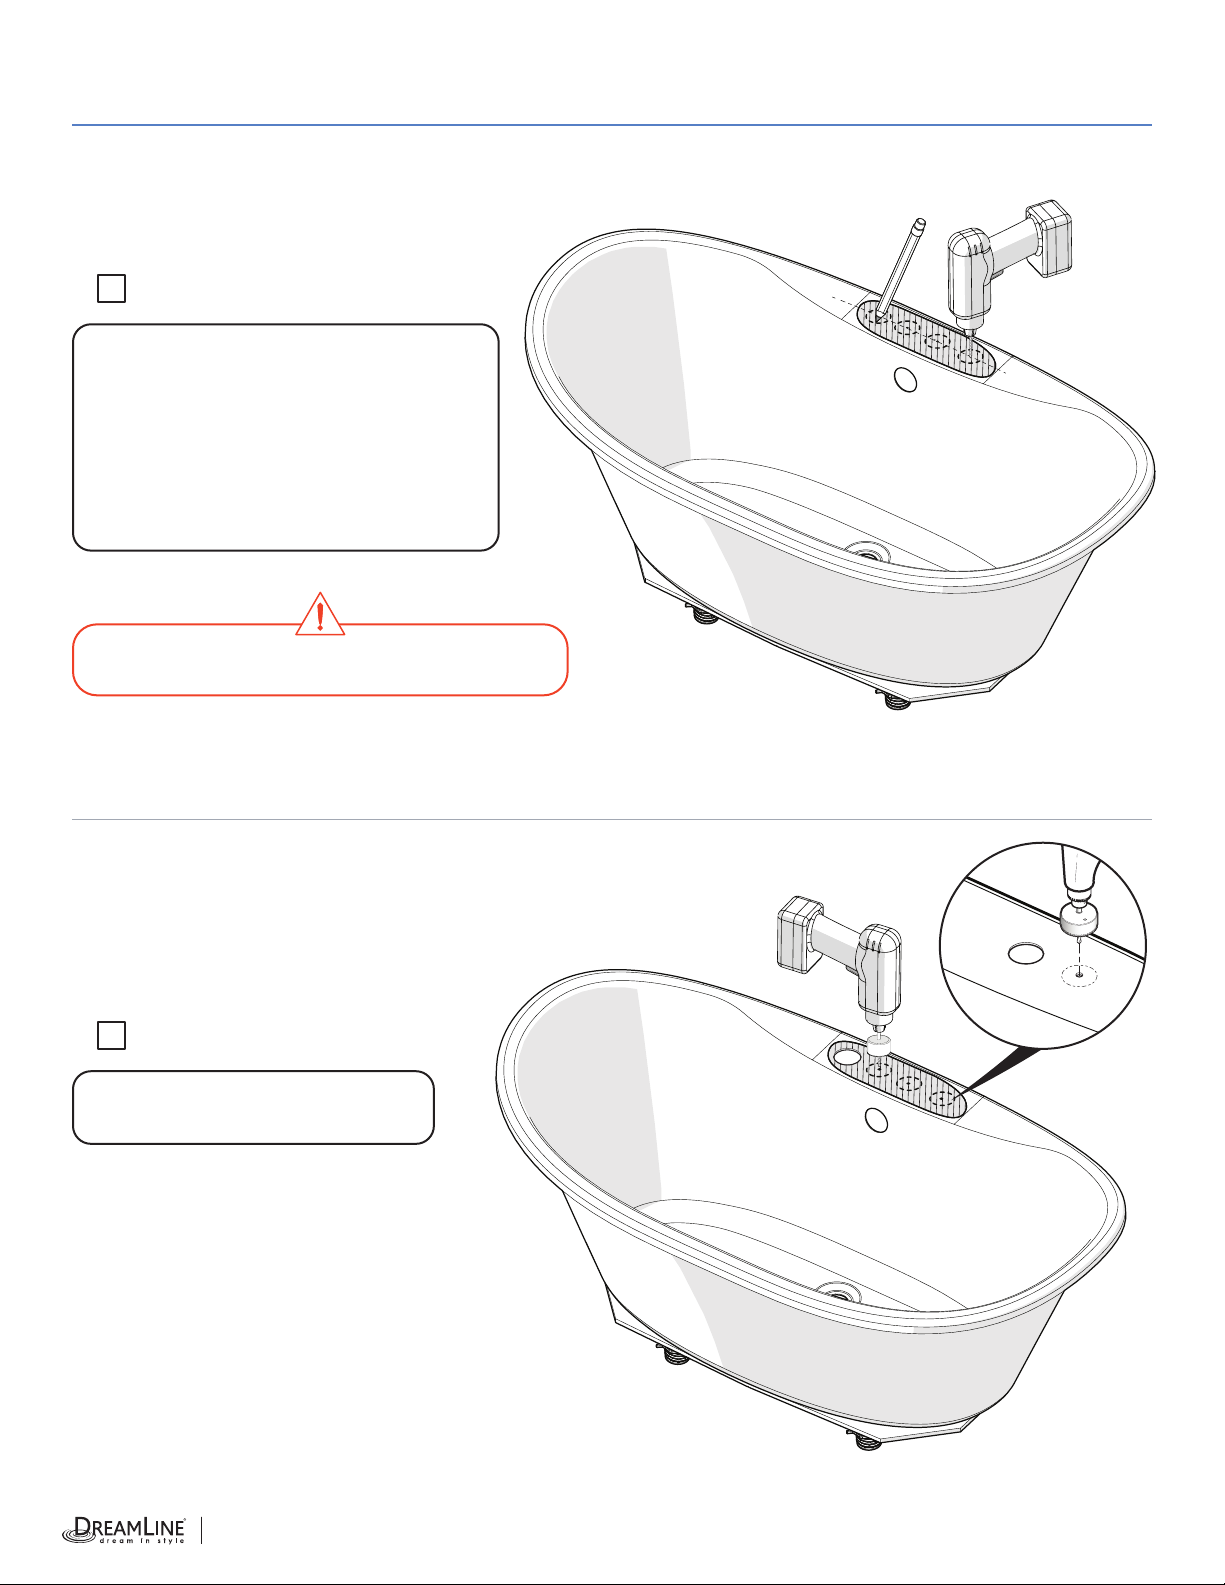
3.3
Check me! Drill the cutout on the oor for the drain and
overow in the previously marked position.
With the help of the bathtub apron, mark the
center of the drainage line in relation with the
desired position of the bathtub. See also the
rough-in information for your model on our
website.
Floor
Drain position
Desired bathtub position
Before drilling a hole in the oor for
the drainpipe, make sure there are
no hidden elements underneath
(pipes, oor joists, heating ducts,
electrical wires).
Make sure the oor is level.
If the user needs faucet on the same side than
the overow, they must validate that there is no
interference between them.
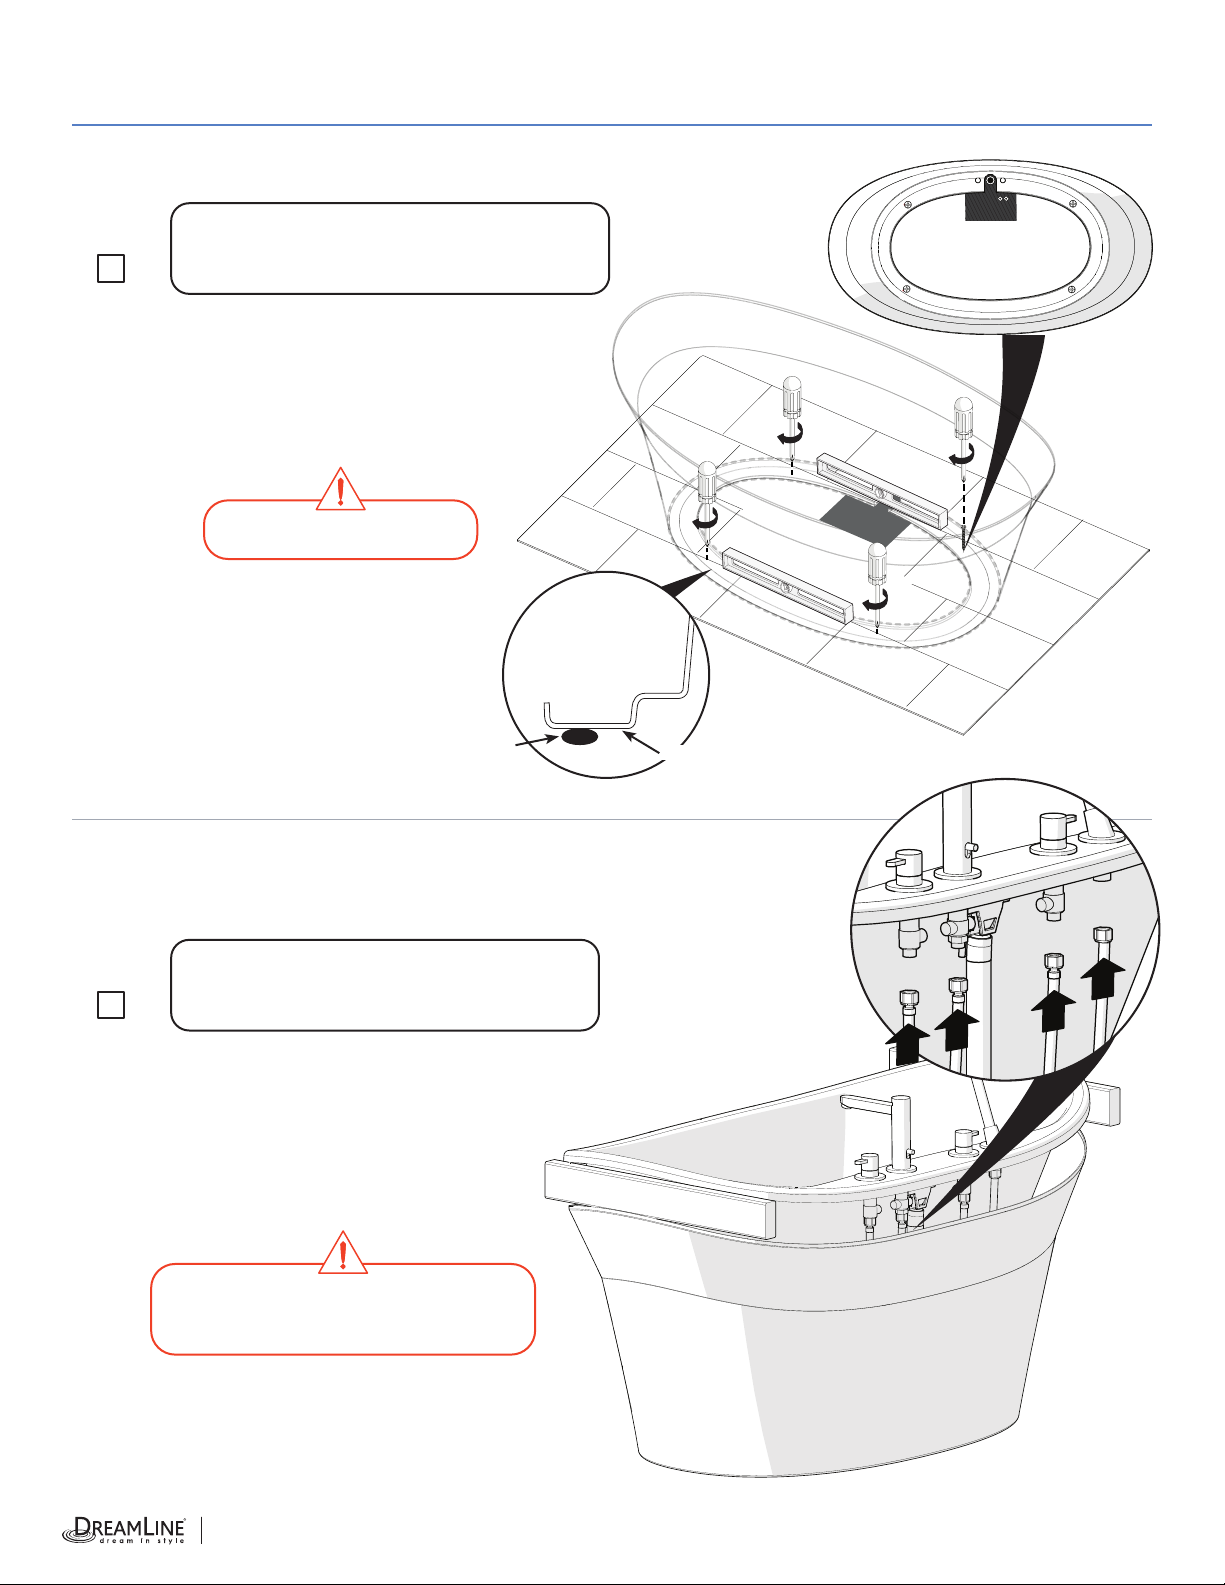
Place the bathtub in the previously marked position.
Verify that the bathtub is completely leveled. Use
the leveling legs if needed. Remove the bathtub.
STEP 3 | Bathtub Skirt and Drain Positioning