5
230312 rev.1 2015-01-22
Drester Monza 10 & Silverstone 12
- Remove the packaging and check again that the machine
has not been damaged during the transport. If so, report
this immediately to the transport company.
- It’s possible to lift the machine from the front and from
the back.
PLEASE NOTE: The forklift must reach all the way
under the machine (see picture 1) and out on the back
(see picture 2). The fork lift should be entered slightly
offset to the right, measured from the center of it.
There’s a bulge beneath the machine on the left side
of it which contains the internal drain gutter.
- Place the machine in a horizontal and stable position (it
must not tilt on three legs). If the floor is not level, fill
the gap between floor and legs with shims until the
machine is level. Machines not standing correctly
might have problems with sticking or leaking
door. Raise or lower one leg at the time until
problem disappears.
- The machine is equipped with phase recognition which
will prevent the pump motor and drive motor of running
in the wrong direction. If phases are connected wrong,
the machine will be disabled until phases are switched.
This is shown in the LCD with title PHASE ERROR.
- If one or two of three phases are missing, the machine will
recognize this and the title PHASE MISSING will be shown.
- In case of any of these problems occur, they must be
corrected by a professional electrician.
- Connect compressed air of max 12 bar (174 psi) and min
8 bar (116 psi).
The connector is placed on the back of the unit (see
picture 4). Make sure that the air feed line to the machine
is large enough to avoid pressure drop.
- Open the door and remove the ShotMedium Basket
(see picture 17). Put the basket aside for use later when
cleaning the machine (see chapter 11). Empty the
enclosed bag with ShotMedium completely into the
machine.
- To the below right in the wash room there is a red water
level indicator (see picture 14) with two notches. Fill the
machine with water, so that the ShotMedium level is
within the lower notch (see picture 15) of the indicator.
PLEASE NOTE: Correct water level is extremely
important (see chapter 12).
- Place the enclosed rubber mat in front of the machine, to
prevent slipping if ShotMedium is dropped on the floor
when using QuickLift (see picture 12).
- If there is a risk of temperature below 0ºC , the machine
must be emptied of water. Otherwise the pump as well as
the bottom tray will be damaged if the water freezes.
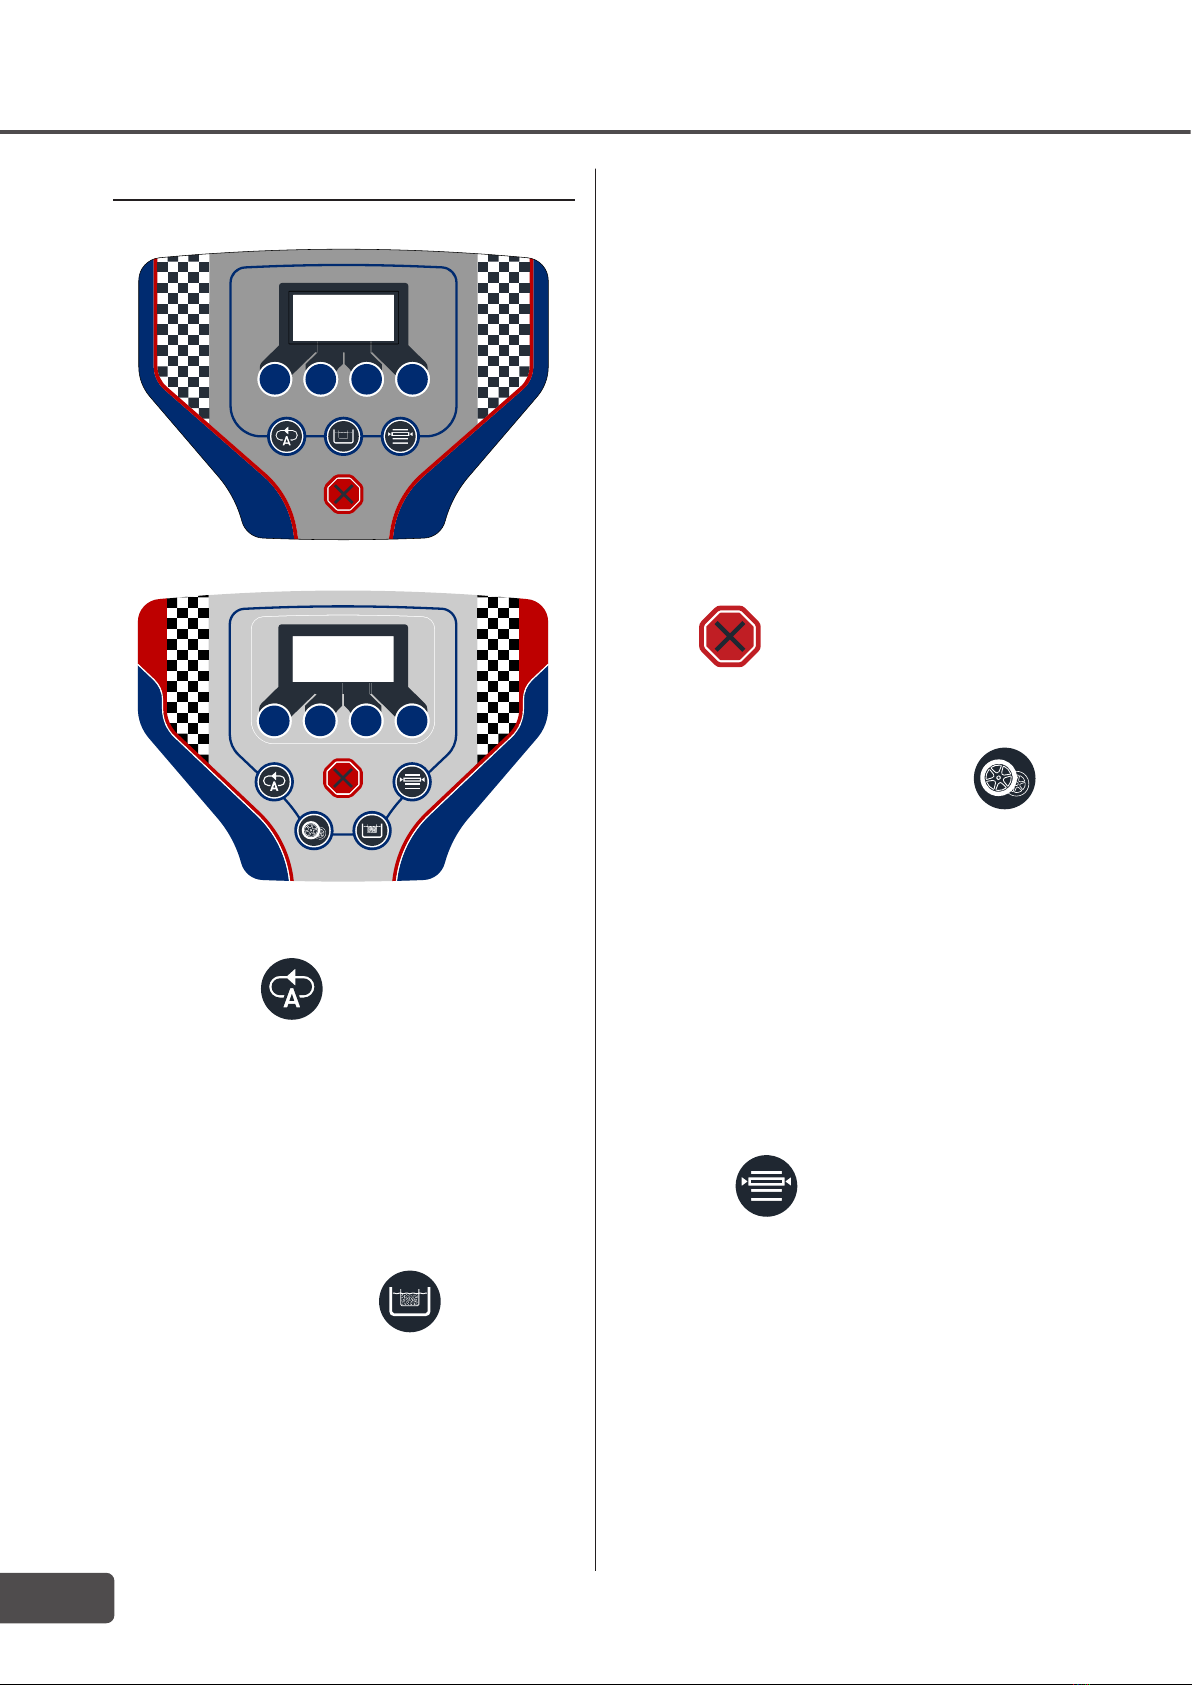
7. INSTRUCTIONS FOR USE
1. Turn on the red/yellow main switch (see picture 3).
2. Open the door (see picture 3) and place the wheel into the
machine, the outside of the wheel to the right as this side
washes most efficiently.
PLEASE NOTE: Decoration covers i.e. plastic center cap
and valve cap must be removed before washing the
wheel (see picture 8). As this may cause operational
disturbances if it falls off during the wash cycle (see
chapter 17).
Wheels with protruding surfaces on the rim protruding more
than 13 mm (1/2”) beyond the tyre, are under no
circumstances to be washed in the Wheel Washer (see
picture 9). The protruding surfaces can be damaged.
If narrow wheels are incorrectly placed in the wash room, it can
be difficult for them to rotate during the wash cycle. Place the
wheel in a way that it stands as straight as possible
to minimize the risk that it will slide during the wash
cycle (see pictures 10 and 11).
3. Close the door. Never let go of the door, before it is
either fully closed or fully open.
4. Start the machine (see chapter 10.3) by pressing one of
the operation buttons.
5. Finally, always check that there are no ShotMedium left
on the rim before it is mounted onto the car.
After cleaning, the wheel will continue to rotate, and the
ShotMedium on the wheel will be blown off by compressed air.
When the wheel has stopped rotating, the wash cycle is
completed, and the wheel can be taken out. Wash and air
blowing times are adjustable, (see chapter 10.4)
The machine is equipped with a safety switch (see picture 22)
that supervises if the door, is open or closed.This switch will
prevent the machine from operating if the door is open. Should
you open the door during operation, the washing will be
interrupted immediately. To resume washing, close the door
and start the wash program again. The machine will then
restart the program, not continue the interrupted program.
8. RUNNING-IN
When the machine is new, the inside surface of the pump and
pipes will be smoothened and fragments of the ShotMedium
will disengage. An extra change of water and rinse of the
machine after 100 washes is therefore strongly recommended.
The ShotMedium should then also be rinsed with water while
they are collected in the basket.