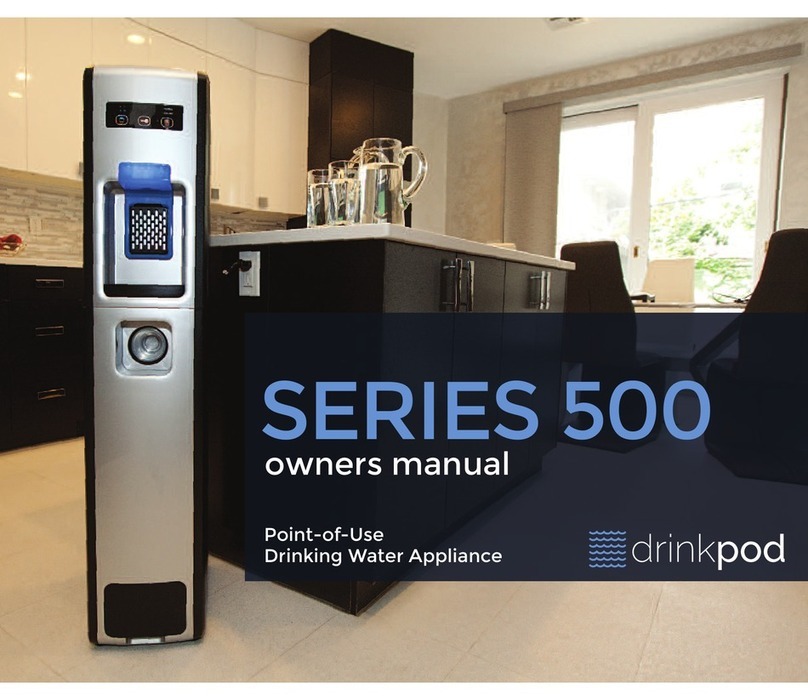
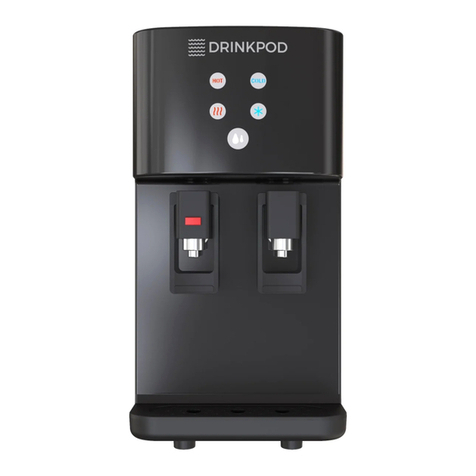
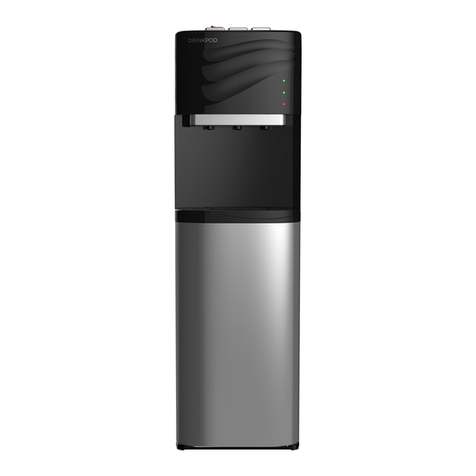
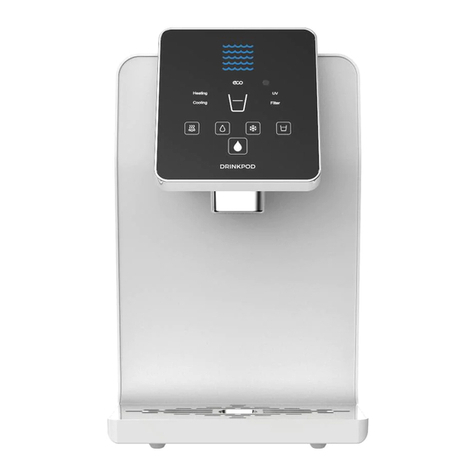
Drinkpod 1000 Series User manual

1000
SERIES
DP1000(B)
OWNER�
MANUAL
Please read this manual carefully prior to operating
your Drinkpod. Retain for future reference.

2
Table of
Contents
1 Safety, Caution, & Usage
3 What’s Included
5 Features & Specifications
6 Water Filtration System
7Setup & Getting Started
17 Removing/Replacing Filters
20 Flushing Filters
21 Indicator Lights
22 Filter Cycles
23 Maintenance Notes
Troubleshooting
Should your appliance ever fail, please disconnect
the power and water immediately before calling for
assistance.
Maintenance
To avoid leakage and damage, never remove
appliance parts.
Child Supervision
Unsupervised children should not be allowed to
operate the machine.
Temperature
Please use the product in a dry place within
the temperature ranges of 40 ° and 100 °.
Electrocution Prevention
Ensure the power cord is always unplugged
before performing any maintenance,
troubleshooting, or filter upgrades.
Accessories & Filters
Only use Drinkpod accessories and filters to
avoid causing damage and voiding product
warranty.
Service & Support
For all service and support related issues,
please immediately contact Drinkpod via
any of the methods provided in the support
letter, included with your product.
Professional Repairs
Any and all repairs should only be attempted
by qualified persons designated by
Drinkpod.
Avoid Direct Sunlight
Do not install the machine in a location
exposed to direct sunlight.
Prevent Freezing
Never store or expose your Drinkpod in an
environment less than 32 °.
• This appliance is not intended for use by
persons with reduced physical, sensory, or
mental capabilities, or lack of experience
and knowledge, unless they have been given
supervision or instruction concerning use of
the appliance by a person responsible for their
safety. Children should be supervised to ensure
they do not play with the appliance.
• If the supply cord is damaged, it must be
replaced by the manufacturer, one of its
designated service agents, or similarly qualified
person, in order to avoid all hazards.
• Do not store explosive substances such as
aerosol cans, or other items with a flammable
propellant, in this appliance.
• This appliance is intended to be used in
household and similar applications, kitchens,
offices, and similar non-retail applications.
• The appliance should only be plugged into a
grounded three prong socket. A surge protector
is recommended.
• The appliance should never be turned upside
down, or tilted more than 45°.
• The appliance should never be cleaned utilizing
a compressed water stream.
• WARNING: To avoid any hazards due to
instability of the appliance, it must be installed,
maintained, and repaired, in accordance with
this manual.
Safety
caution
&usage
1

25’ Industrial Grade PVC Tubing
3/4” x 3/4” x 1/4” Steel Union Adapter
1/4” PVC Shutoff Valve
Flush Connector
Service & Support Letter
Quickstart Guide
Dispenser
Pod Filter Magnetic Door
Cooling Mode Switch
Heating Mode Switch
Dust Filter
Water Inlet (Source)
3 + ULTRA Filter (1st & 2nd Stage)
UV Light Sterilizer (3rd Stage)
Drip Tray & Container
Touch Sensitive Control Panel
Hot Water Selector
Ambient Water Selector
Note: Please use the product in an environment
with a temperature between 40 ℉ and 100 ℉, and
relative humidity that is less than 90%.
Notice: To enhance product performance,
product parts may be changed by manufacturer
without notice.
A
b
C
d
e
f
g
H
I
J
K
l
M
N
o
P
Q
R4
Cold Water Selector
Dispense Water Button
Quck Fill Mode Selector (10 Seconds)
Condenser Active Status Light
Heater Active Status Light
Eco Mode Active Status Light
UV Light Filter Active Status Light
Pod Filter Status Light
Eco Mode Environment Sensor
Hot Water Drain Outlet
Cold Water Drain Outlet
S
T
u
V
W
X
Y
z
aa
bb
P
H
o
CC
o
What's
included
b
C
A
I J
K
l
N
M
g
g
e f
3
d
Qu
sR
t
z
v
YW
X
P
aa
H
CC
BOTTOM
K
o
P
bb

water Filter
system
Inline &
Purification
Flowchart
6
UF
Model DP1000(B)
Rated Power 555 Watts
Heating Power 420 Watts
Cooling Current 2.0 A
Hot Water Production &
Storage
Rate: 1.01 gal/hr (4 L/h) ≥ 185° F (85° C) Storage: 0.24 gal (0.9 liter)
Cold Water Production &
Storage
Rate: 0.79 gal/hr (3 L/h) ≤ 50° F (≤ 10° C) Storage: 0.34 gal (1.3 liters)
Environmental
Requirements
Temperature: 40 ° F - 100 ° F (4° C - 38° C) Humidity: ≤ 90%
Water Pressure
Requirements
14.5 psi - 58psi (0.1 MPa - 0.4 MPa)
Stage #1 Carbon Block Filter
Stage #2 UF Membrane Filter
Stage #3 Ultra Violet Light Sterilization
Water Source Quality Tap Water
Appliance Size (W x D x H) 10.24 inches (260 mm) x 17.13 inches (435 mm) x 16.73 inches (425 mm)
Packaging Size (W x D x H) 12.68 inches (322 mm) x 20.24 inches (514 mm) x 20.08 inches (510 mm)
Net Weight 29.76 lbs (13.5 kg)
Gross Weight 32.63 lbs (14.8 kg)
Features
&Specs
Deliciously Pure & Healthy Water
Four stage, high precision filtration and purification to ensure
incredible water quality.
Crisp & Refreshing Cold Temperature
Equipped with stable, high efficiency, low noise compressor.
ECO Mode
Automatically powers off the heating system at night by
S.M.A.R.T. detector, saving up to 30% energy.
EZ Twist Filter System
Dramatically increases speed and ease of replacing filter pod,
using advanced seal technology to ensure zero water leakage.
Post UV Sterilization
Sterilizes water just prior to dispensing. Absolutely Zero
Bacteria.
Filter Change Notification
Integrated filter lifetime reminder light.
5

Step 2
Unpack product.
Remove accessories &
papers and set aside.
Remove Drinkpod, and
place on ground.
8
C
A
b
Setup &
Getting
Started
What You’ll Need:
• 1x Nearby Waterline
Optimally a kitchen sink.
• 1x Pair Of Pliers
• 1x Drill & Drill Bit
If you’ll need/want to
create a more direct route
for your Drinkpod’s water
source line).
• 1x Sick Beat (song)*
Recommended for
jamming along with, to
ensure best installation
experience.
* Country music should be
avoided if possible, and only
utilized with extreme caution.
7

Step 4
Gather pliers, A
25’ PVC tubing,
bbrass tee
union adapter,
and drill + drill bit
(if hole is required
and unavailable
to connect
watersource to
Drinkpod).
A
C
Step 5
Identify cold
water line
source.
10
Step 3
Insert Rdrip tray
& collector into the
slot underneath the
dispensers.
When choosing
where to place
the appliance,
ensure there is 4” of
clearance on the right
& back sides to allow
for airflow.
R
Read Before
Proceeding
Unlike most of
our competitors,
we’ve upgraded
our installation kit to
include a premium
bSteel Union
Adapter, rather than
the traditional self-
piercing saddle joint.
If, for any reason,
you are unable
to complete the
installation using b,
we recommend
contacting us or
a plumber prior to
trying a self-piercing
saddle valve.
9

Step 10
Screw kitchen sink
faucet hose (we
unscrewed in step
7) onto the top of
bunion adapter
(clockwise) . Do
not tighten with
pliers more than
1/4 turn.
Step 9
Ensure b
union adapter
is closed.
Step 8
Screw bunion adapter (clockwise)
down onto cold water shutoff valve. Do
not tighten with pliers more than 1/4
turn.
8
9
12
Step 6
Twist cold water
source valve
clock-wise to
turn off.
Step 7
Unscrew
(counter-
clockwise)
kitchen sink
faucet hose
from cold water
shutoff valve.
Use pliers
carefully if
required to
loosen tight
connection.
11

Step 13
Firmly slide A25’
x 1/4” PVC tubing
over bquick
connect adapter
up to (but not
overlapping) the
threads.
Step 14
Firmly screw the
compression nut
back on to b
quick connect
adapter.
Do not tighten
with pliers more
than 1/2 turn.
14
Step 11
Unscrew
compression nut
from bquick
connect adapter.
Step 12
Thread A25’ x
1/4” PVC tubing
through b
quick connect
adapter’s
compression nut.
13

Step 16
Use scissors or knie
to cut approximately
1’ section off the end
of A25’ x 1/4” PVC
tubing at a 90°angle.
Step 18
Firmly pull
outward on both
ends of tubing, to
extend quick-
gripping seals on
shutoff valve. Ensure
valve is closed.
Step 17
Connect one end of new tubing section, into one
end of C1/4” Shutoff Valve, and free end of A
25’ x 1/4” PVC tubing, into the other end. Firmly
push the tubing into the push-fitting until you
cannot push it any further. Some resistance is
normal.
This valve is what
you’ll use to locally
shut off water to your
Drinkpod for tasks
like relocation, or
swapping filter.
16
Before You Continue
In our next steps, we will
connect and setup your
new Drinkpod. Before
proceeding, please ensure
that A25’ x 1/4” PVC
can reach from your water
source to the Drinkpod.
Should this require drilling
holes along the path, please
proceed with caution, and
at your own risk. If you do
not feel qualified, please
contact a professional
plumber, or give us a call, so
that we may recommend an
installation technician.
Step 15
Ensure Drinkpod is
located where you
plan to use it, and
that A25’ x 1/4” PVC
tubing has been laid
so that it reaches M
Water Inlet with at
least several feet of
slack.
Make sure Drinkpod
is turned off and
unplugged from
electrical outlet.
15

Step 22
To Remove:
1. Pull back filter pod.
2. Twist counter clockwise.
3. Gently pull filter out/down.
Step 23
To Replace:
1. Gently insert filter upwards.
2. Twist clockwise.
3. Gently push filter back in/up.
Step 24
Open C1/4” Shutoff
Valve by twisting
clockwise.
1817
Step 21
Open YDrinkpod Cabinet Door
to ensure Filters N, o, P, and Q
are properly mounted.
Step 19
Firmly push the open end of new
short tubing into MCold Water
Inlet, on the back of your Drinkpod
until you cannot push it any further.
Step 20
Firmly pull
outward on new short
tubing section to engage
quick-gripping seals.
Removing & Replacing Filters
STOP!!!
Before proceeding,
immediately check
for any leaks at the
adapter site, pvc
shutoff, water inlet,
4 individual filters,
and hot drain cap
for leaks.

Always Flush New Pre & Post
Carbon Filters Prior To Use
20
Step 28
You must flush
the ULTRA + 3
pod filter until
it discharges
clean water, to
ensure any loose
particulates are
removed prior
to using. This
will take about
10 minutes.
See page 25
for alternative
method to
extend filter life.
Step 27
Plug in.
Outlet should
always be
grounded.
Step 25
Open bquick
connect adapter.
Step 26
Open cold water
source line.
19

Filter
CYCLES
6-9
MONTHS
Filters can be ordered from our website at drinkpodusa.com,
Amazon, Ebay, and other online retailers.
The times below are for reference only. Data is based on 2.5
Gallons / 10 Liters usage per day. The actual lifespan of filters
varies based on local water quality, and usage.
ALWAYS
USE
100hrs*
LIFETIME
* 100 hours of actual use,
which only occurs when
water is being dispensed.
It is recommended that
should this filter require
replacement, it be done
by a trained professional.
Indicator
&STATUS
Lights
21

• Never use chemical solvents like
gasoline to clean appliance. Only
clean with tap water and soft cloth.
• Never pull the power plug from wall
socket prior to turning off machine’s
power switch.
• Never modify power cord.
• If power cord ever becomes
damaged, cord should only be
replaced by qualified technician.
• The tap water is the intended water
source for this appliance.
• Never dismantle or modify any
parts of the machine other than
those indicated in this manual.
• Never turn appliance upside down,
or lean more than 45 degrees.
• Every Drinkpod comes with a
limited 12 month warranty from the
date of purchase.
ENJOY
24
Additional
MAINTENANCE
NOTES
• Rear of appliance should be at least 9” / 12
cm away from the wall it backs up to.
• Never put appliance on paper or foam,
which could retain water, and lead to
creepage.
• Never use appliance outdoors, or
somewhere it could be splashed by water.
• Never place anything flammable
next to the machine.
• Remember to shut down heating
and cooling mods, if appliance will
go extended time without use.
• For long term storage: switch
off, unplug power, shutoff and
disconnect water, drain all water
from dispensers, and finally from
lhot water drain valve. Replace
when finished.
• Following long term storage, repeat
filter flushing procedure on page
20.
• Should appliance ever become
blocked from freezing, shut off
cooling mode for 4 hours before
trying to use machine.
23

Copyright © Drinkpod, LLC. All rights reserved. The Drinkpod brand and logo are trademarks of Drinkpod, LLC.
25
Aternative Flushing Method
To extend your filters lifespan, you can follow the steps below as an alternative flushing
method. This method is specifically for the pod filter. When using this method, filters
should be flushed with Hfor an additional 10 minutes after they discharge clean water,
to ensure any loose particulates are removed prior to using.

DRINKPOD
DRINKPOD
DRINKPOD
This manual suits for next models
2
Table of contents
Other Drinkpod Water Dispenser manuals
Popular Water Dispenser manuals by other brands

LIFF
LIFF Limebeater Series installation instructions

InSinkErator
InSinkErator Indulge Contemporary F-HC1100 owner's manual

Follett
Follett VU155N Series Installation, operation and service manual

Kenmore
Kenmore 625.383760 owner's manual

Coway
Coway P-07FR user manual

Elkay
Elkay EZOTL Series Installation and use manual

Elkay
Elkay EZO Series Care & use manual

Parker Hiross
Parker Hiross Hypercool user manual

Pentair
Pentair PRF34K installation instructions

Canature WaterGroup
Canature WaterGroup 185DF Series owner's manual

Atmospheric Water Systems
Atmospheric Water Systems dewpoint DH9 owner's manual

Halsey Taylor
Halsey Taylor HVRBLFR Series owner's manual