6
A daily inspecon prior to using the EZRaider will contribute to its proper
funconality and driving safety.
Warning: If a malfuncon or suspicion of failure has been idened, the EZRaider
should not be used unl it has been repaired at an authorized DSRaider service
center.
1.
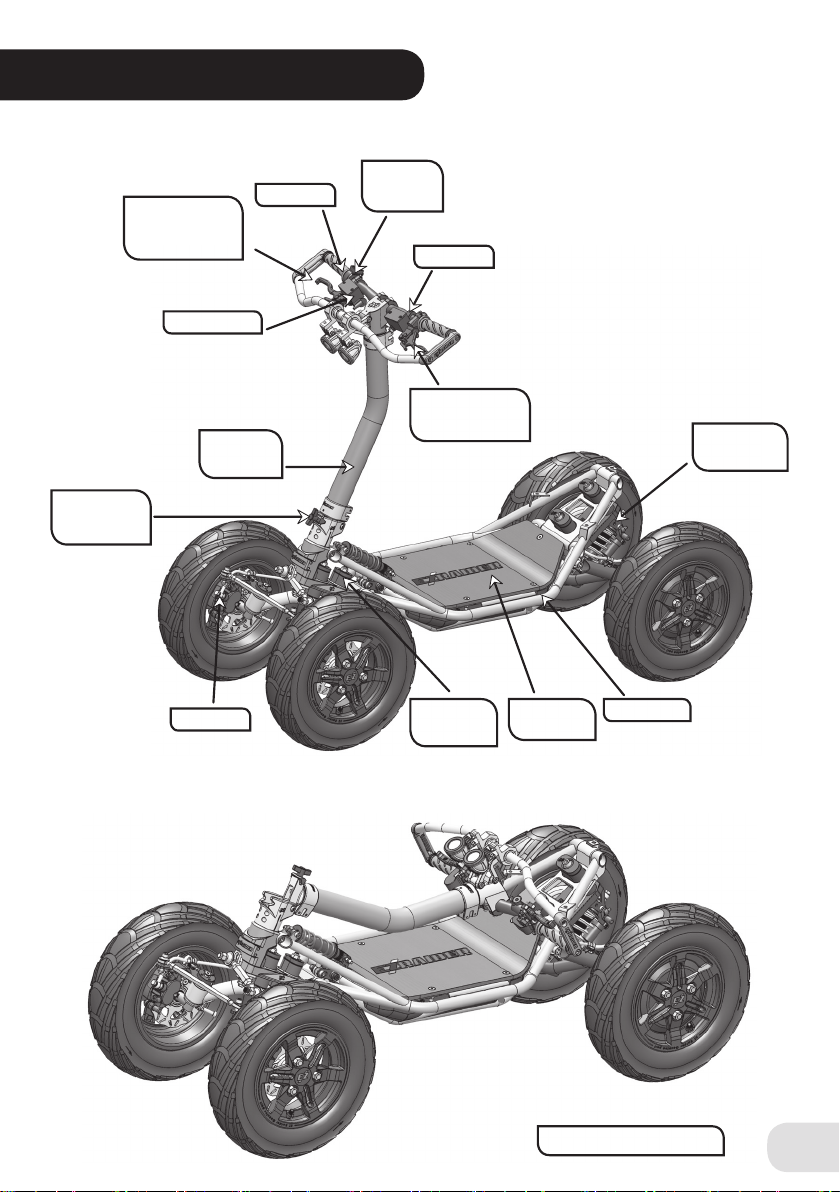
General check. A visual inspecon of the EZRaider, in order to idenfy a malfuncon
or potenal point of failure.
2.
Sckers. All the warning sckers should be intact and readable.
3.
Screws and nuts. Check all the visible screws and nuts. Tighten loose screws as
required.
4.
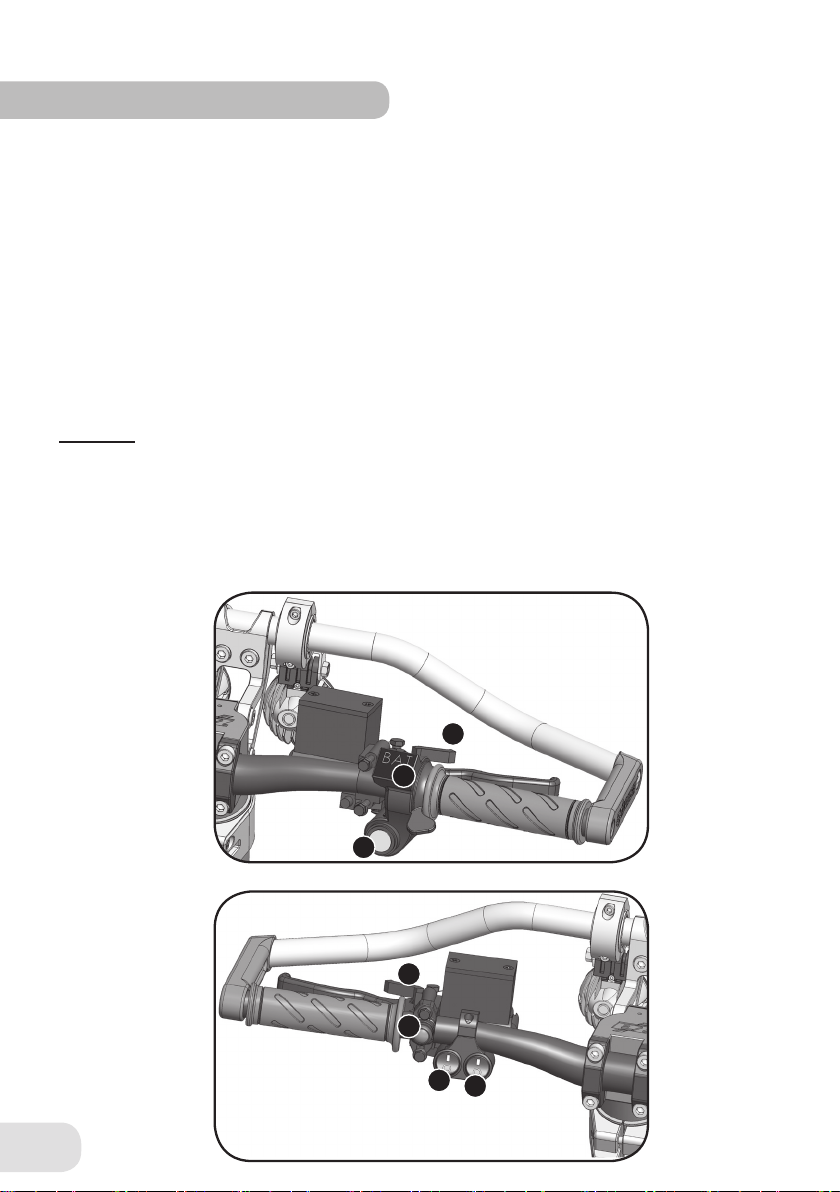
Switches and buons. Check that the switches and buons are funconing properly.
Check the proper operaon of the throle, brake handle and parking brake. Check the
proper funcon of the handlebar, turning the vehicle in both direcons.
5.
Electrical system. Check that the headlights are undamaged and funconing properly.
Check the funconing of the baery storage compartment and charge port.
6.
Cables and wiring. Check that the electrical wiring and control and brake cables are
intact, and that their shielding is not torn, frayed, or missing. Check the soundness of
the electrical connectors.
7.
Steering. Make sure that the steering column is locked in an open state and that the
folding lock mechanism is properly ghtened.
8.
Brakes. Check the soundness and funconality of the brakes. Make sure there is no
leakage of hydraulic uid from the braking system.
9.
Standing plaorm. Check the integrity of the standing plaorm. Check that the an-
slip coang is properly bonded to the plaorm.
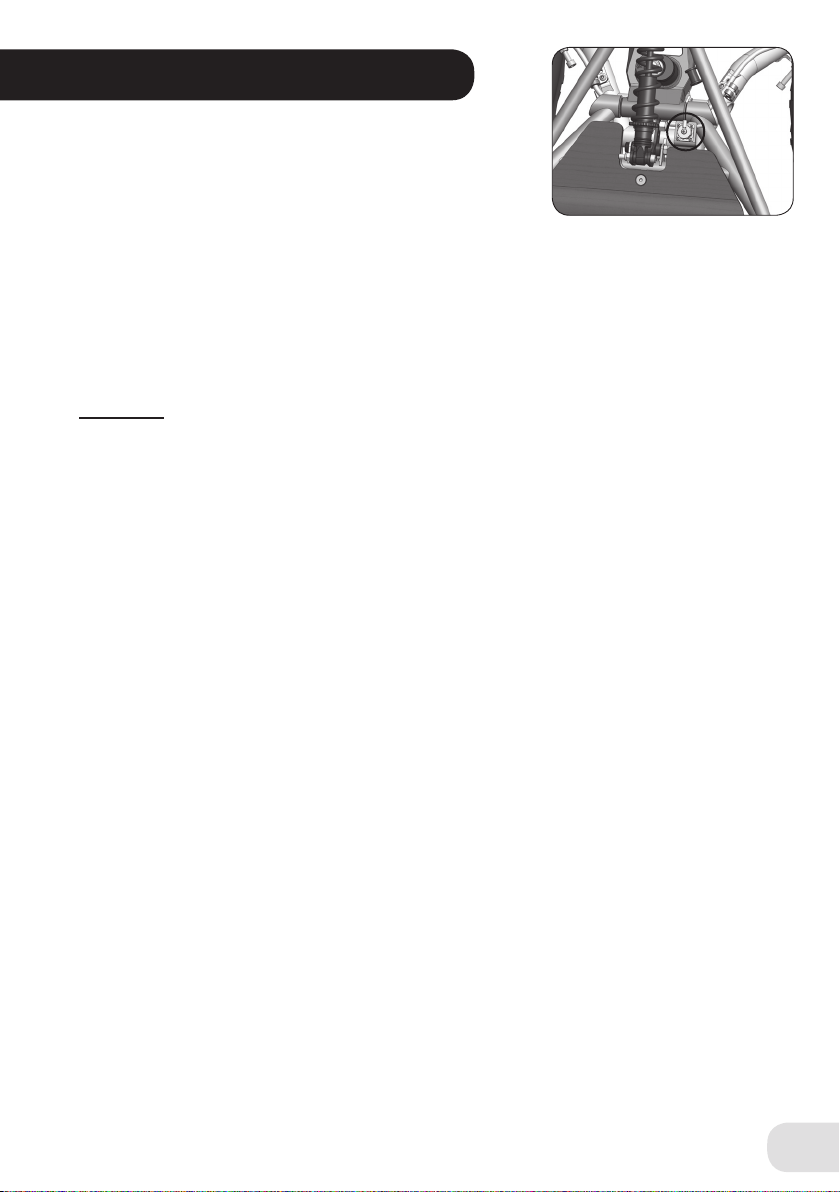
10.
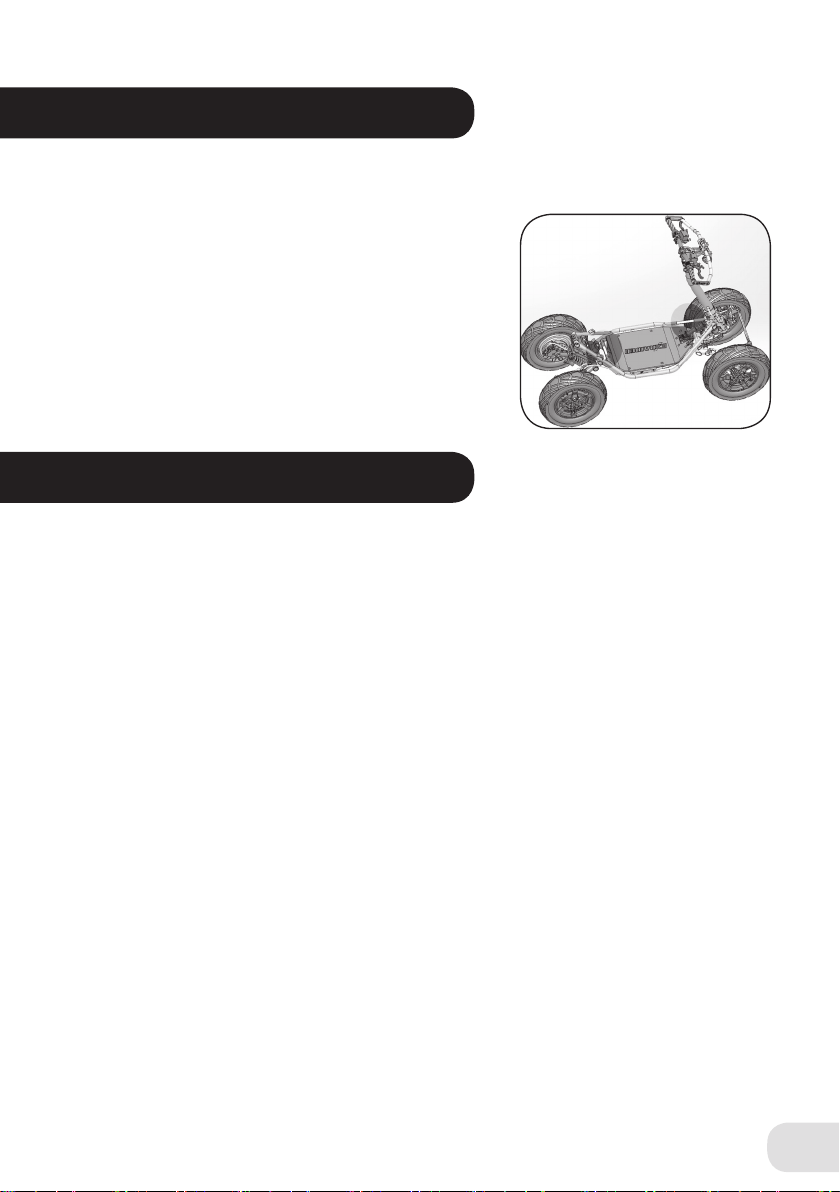
Chassis and suspension. Check integrity of the EZRaider chassis and the suspension
components. Make sure there are no cracks or signicant bruises. Check the integrity
of the suspension rubber supports.
11.
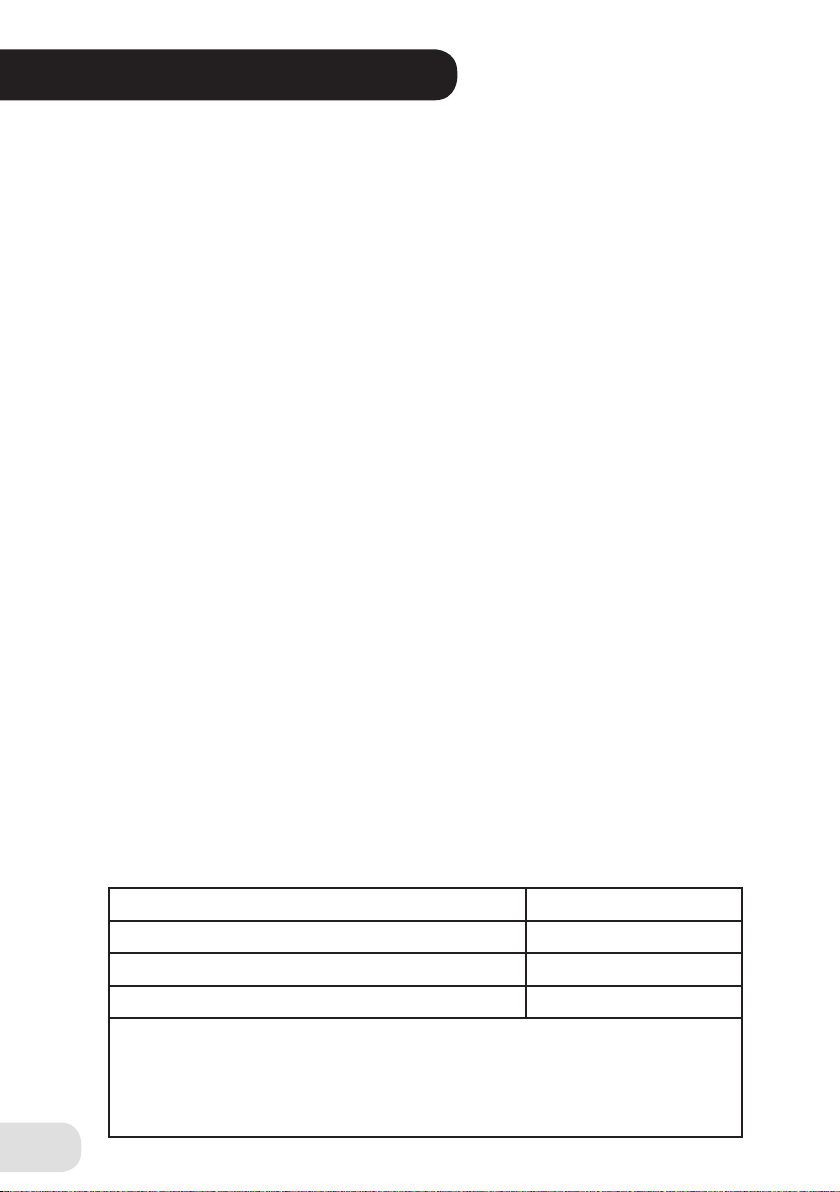
Tires and wheels. Check that the res are undamaged and that the air pressure
conforms to the specicaons in the table below.
Driving on paved roads 10 PSI
Driving in rough terrain 6 PSI
Minimal air pressure 4 PSI
Air pressure during storage 30 PSI
A constant use of low air pressure requires the installment of a
puncture-prevenng substance inside the res.
Note that driving on res with low air pressure raises energy con-
sumpon levels.
Pre-ride inspecon