3
Warning
1. For safety reasons, please keep the product and accessories
out of reach of small children or animals to avoid accidents
such as:
– swallowing the product or accessories. If this happens please
see a doctor immediately.
– Some small parts of product could cause personal injuries.
2. Do not place this product in a high temperature environment,
high or low temperature environments may negatively effect the
internal parts, or even result in re.
Do not place in: microwave oven, radiator, or refrigerator, since
this may cause the product battery to explode.
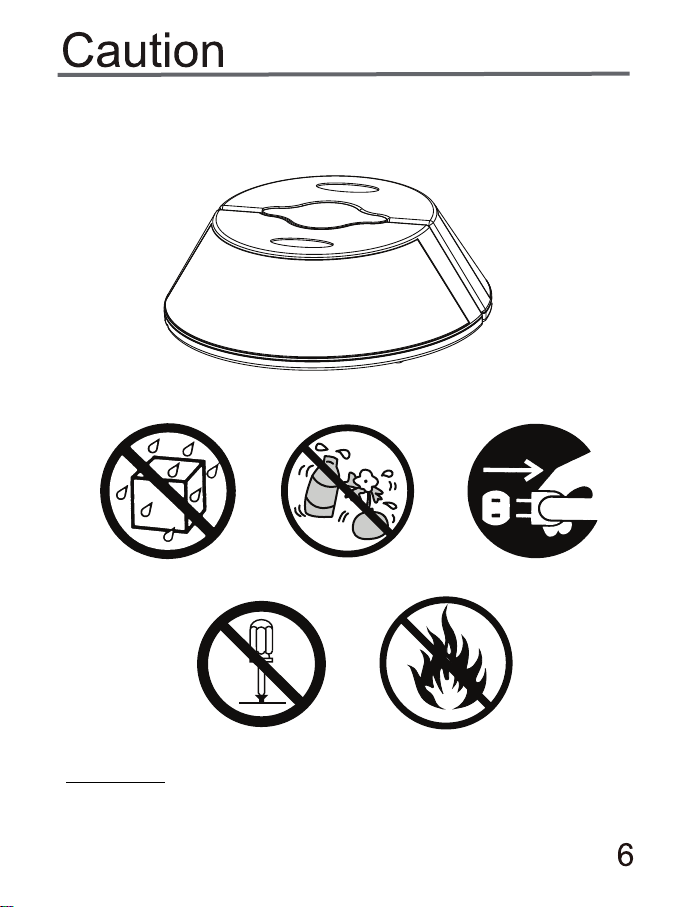
Caution
1. If a credit card is held near the speaker, it will be demagnetized.
Please keep credit cards away from this product.
2. A malfunction of this product will occur if using a power
adapter that doesn’t match the one supplied with the product.
3. Painting this product is prohibited. Do not paint this product.
Painting will affect it’s normal use.
4. Do not hit or drop the product.
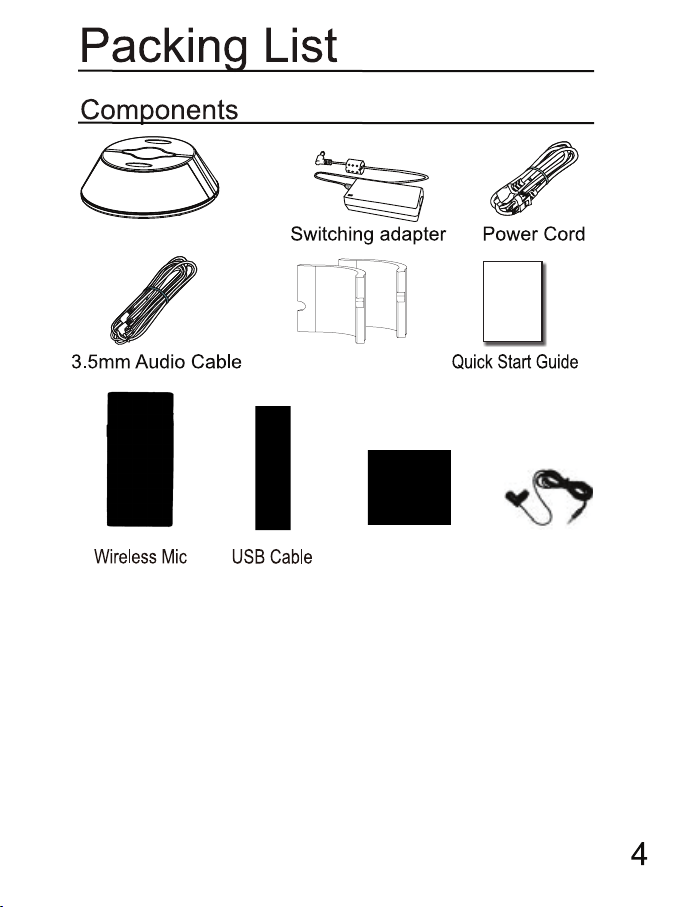
Speaker – Receiver
Foam
Lanyard Collar Clip Mic
Transmitter
Guide