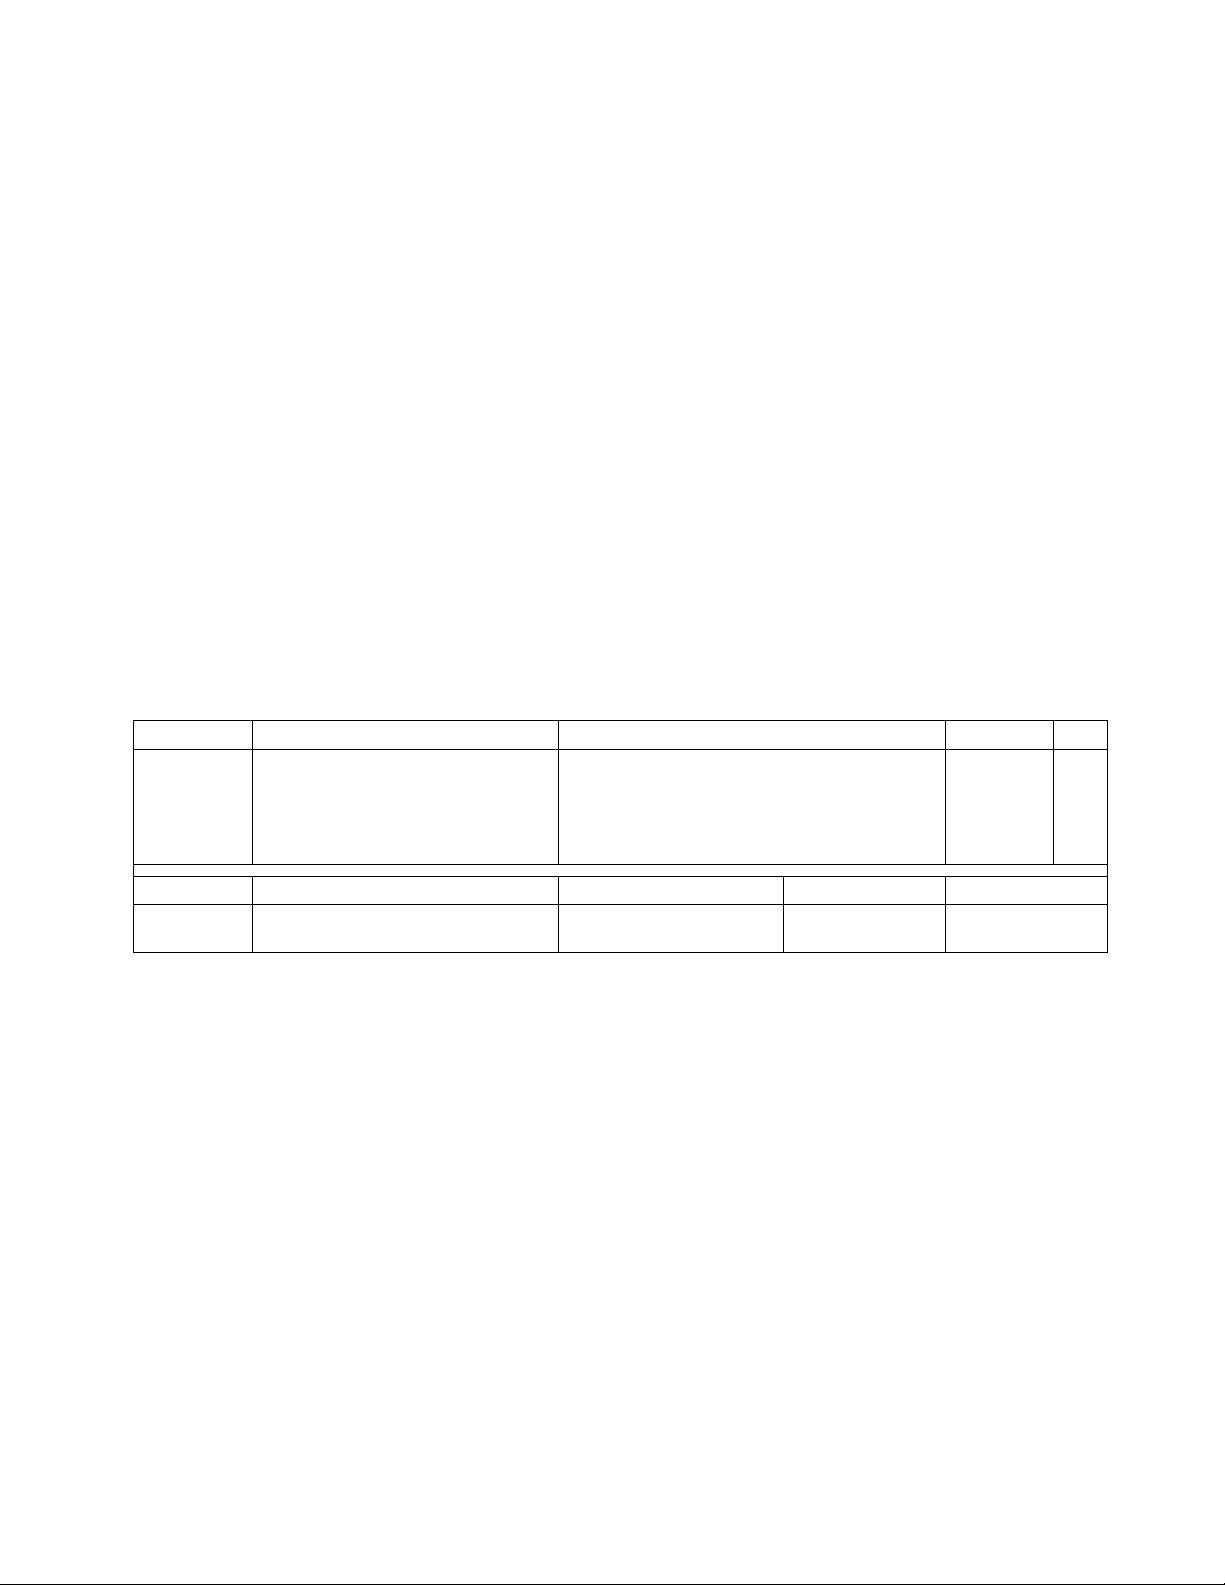
Duke OHRM-39 Specification sheet

229240 1 03/28/14
OPERATION AND INSTALLATION MANUAL for
OVERHEAD REFRIGERATED MERCHANDISER OHRM-39
Please read this manual completely before attempting
to install, operate or service this equipment
This manual is Copyright ©2012
Duke Manufacturing Company. All rights reserved.
Reproduction without written permission is prohibited. Duke is a registered
trademark of the Duke Manufacturing Company.
Duke Manufacturing Company
2305 N. Broadway
St. Louis, MO 63102
Phone: 314-231-1130 Toll Free: 1-800-735-3853
Fax: 314-231-5074
www.dukemfg.com
OHRM-39

229240 2 03/28/14
IMPORTANT WARNING AND SAFETY INFORMATION
WARNING: READ THIS MANUAL THOROUGHLY BEFORE OPERATING,
INSTALLING OR PERFORMING MAINTENANCE ON THE EQUIPMENT.
FAILURE TO FOLLOW INSTRUCTIONS IN THIS MANUAL CAN CAUSE
PROPERTY DAMAGE, INJURY OR DEATH.
DO NOT STORE OR USE GASOLINE OR OTHER FLAMMABLE VAPORS
OR LIQUIDS IN THE VICINITY OF THIS OR ANY OTHER APPLIANCE.
UNLESS ALL COVER AND ACCESS PANELS ARE IN PLACE AND
PROPERLY SECURED, DO NOT OPERATE THIS EQUIPMENT.
CAUTION: OBSERVE THE FOLLOWING:
•
Minimum clearances must be maintained from all walls and combustible
materials.
•Keep the equipment area free and clear of combustible material.
•Adequate clearance for air openings.
•Unit exhausts air to the top and the rear.
•Do not set unit on a curb or seal to the wall.
•Do not block the slots on the top or rear of the unit.
•Operate equipment only on the type of electricity indicated on the
specification plate.
•Retain this manual for future reference.

229240 3 03/28/14
Table of Contents:
Introduction……………………………………………………………………………………………….. 4
Serial Number……………………………………………………………………………………………. 4
Receiving & Inspecting the Equipment……………………………………………………… 5
Specifications…………………………………………………………………………………………….. 5
Installation................................................................................................. 5
Location…………………………………………………………………………………………….. 5
Inside Unit…………………………………………………………………………………………. 6
Electrical Connection…………………………………………………………………………. 6
Operation…………………………………………………………………………………………………… 7
Location of Controls………………………………………………………………………….. 7
Operating Procedure………………………………………………………………………… 7
Maintenance.............................................................................................. 7
Stainless Steel care & Cleaning………………………………………………………….. 7
Cleaning the Condensor Coil……………………………………………………………… 8
Door Care…………………………………………………………………………………………. 9
Drain Maintenance……………………………………………………………………………. 9
Drain Pan Access……………………………………………………………………………….. 9
General Troubleshooting...............................................................................10
Service Parts List............................................................................................10
Wiring Diagram..............................................................................................11

229240 4 03/28/14
INTRODUCTION
This publication contains information regarding the installation and operation of Duke
Overhead Refrigerated Merchandiser units. The information contained within applies to the
model OHRM-39. Please read this manual completely before attempting to install and/or
operate this equipment.
Model number OHRM-39 describes the 39” wide Overhead Refrigerated Merchandiser.
(Fig. 1)
SERIAL NUMBER
Always have the serial number of your unit available when calling for parts or service. The
serial number can be found on the data plate inside the refrigerated compartment.
Figure. 1
OHRM-39

229240 5 03/28/14
RECEIVING & INSPECTING THE EQUIPMENT
Care should be taken during unloading so the equipment is not damaged while being moved
into the building.
1. Visually inspect the exterior of the package and skid or container. Any damage should be
noted and reported to the delivering carrier immediately.
2. If damaged, open and inspect the contents with the carrier.
3. In the event that the exterior is not damaged, yet upon opening, there is concealed damage
to the equipment notify the carrier. Notification should be made verbally as well as in
written form.
4. Request an inspection by the shipping company of the damaged equipment. This should be
done within 10 days from receipt of the equipment.
5. Check the lower portion of the unit to be sure there is no damage.
6. Also view compressor compartment housing and visually inspect the refrigeration package.
Be sure lines are secure and base is still intact.
7. Freight carriers can supply the necessary damage forms upon request.
8. Retain all shipping material until an inspection has been made or waived.
SPECIFICATIONS
INSTALLATION - Location
Units represented in this manual are intended for indoor use only. Be sure the location chosen
has a floor or counter strong enough to support the total weight of the units. Reinforce the
floor or counter if necessary to provide for maximum loading. For the most efficient operation,
be sure to provide good air circulation inside and out. Major service to the refrigeration system
is done from the top and rear of the cabinet. Unit must be sealed to mounting surface.
The outline dimensional drawings for the units are shown in Figure 3.
MODEL DESCRIPTION VOLTAGE AMPS PH
OHRM-39 39” Overhead Refrigerated
Merchandiser 120 VAC (60 Hz)
12 (max)
1
MODEL DESCRIPTION HEIGHT WIDTH DEPTH
OHRM-39 39” Overhead Refrigerated
Merchandiser 30 In. 39 In. 30 In.

229240 6 03/28/14
INSTALLATION – Inside Unit
Take care not to block air flow to the fans and allow space along the front, back and sides.
INSTALLATION – Outside Unit
Be sure that the unit has access to ample air; avoid hot corners and locations near stoves and
ovens.
CAUTION:
This unit exhausts air to the top and intakes air from the top and back. Do not seal the unit to
the wall or block air flow from the top. The ventilation slots must remain open.
Installation Clearances:
12 in. top and rear.
0 in. sides and bottom.
Open to the front.
INSTALLATION – Electrical Wiring
The OHRM-39 is available as a 120VAC, 60 Hz model. All electrical connections should be
performed by a certified electrician and should comply with local electrical codes for your mu-
nicipality.
WARNING:
REFER TO THE AMPERAGE DATA LIST IN THE SPECIFICATIONS OR THE SERIAL TAG DATA AND
YOUR LOCAL CODE OR THE NATIONAL ELECTRICAL CODE TO BE SURE UNIT IS CONNECTED TO
THE PROPER POWER SOURCE. A PROTECTED CIRCUIT OF THE CORRECT VOLTAGE AND
AMPERAGE MUST BE RUN FOR CONNECTION OF THE SUPPLY CORD OR PERMANENT
CONNECTION TO THE UNIT. THE POWER MUST BE TURNED OFF AND DISCONNECTED
WHENEVER PERFORMING MAINTENANCE OR REPAIR FUNCTIONS.
30”
Figure. 3
OHRM-39
39”
30”

229240 7 03/28/14
OPERATION – Location of Controls
The refrigeration control/temperature setting adjustment is located on the back left corner.
This is the only user adjustable component on the unit.
OPERATION – Operating Procedure
Press and hold the (i) button to display setpoint. Keep (i) button pressed and use the up/down
arrows to adjust setpoint. When the (i) button is released, the new setpoint is stored. To exit
from the setup, press the power button or wait 30 seconds. Display will display “dEF” while unit
is in defrost mode. Check the cooling specifications required for the products/goods to be
stored.
Use a simple thermometer to set to a specific temperature. Allow time for temperature chang-
es before making a final temperature check.
OPERATION – Loading
Product must not obstruct air circulation grilles at top and bottom of cabinet interior just
behind door opening.
MAINTENANCE – Stainless Steel Care & Cleaning
To prevent discoloration or rust on stainless steel several important steps need to be taken.
Stainless steel contains 70-80% iron which will rust. It also contains 12-30% chromium which
forms an invisible passive film over the steels surface which acts as a shield against corrosion.
As long as the protective layer is intact, the metal will not corrode. If the film is broken or
contaminated, outside elements can begin to breakdown the steel and begin to form rust or
discoloration.
Proper cleaning of stainless steel requires soft cloths or plastic scouring pads.
CAUTION: Never use steel pads, wire brushes or scrapers.
Figure. 6
Refrigeration control / Temperature
display
Figure. 5
Power
Switch

229240 8 03/28/14
Cleaning solutions need to be alkaline based or non-chloride cleaners. Any cleaner containing
chlorides will damage the protective film of the stainless steel. Chlorides are also commonly
found in hard water, salts and household and industrial cleaners. If cleaners containing
chlorides are used, be sure to rinse repeatedly and dry thoroughly upon completion.
Routine cleaning of stainless steel can be done with soap and water. Extreme stains or grease
should be cleaned with a non-abrasive cleaner and plastic scrub pad. It is always good to rub
with the grain of the steel. There are also stainless steel cleaners available which can restore
and preserve the finish of the steels protective layer.
Early signs of stainless steel breakdown can consist of small pits and cracks. If this has begun,
clean thoroughly and start to apply stainless steel cleaners in attempt to restore the passivity of
steel.
WARNING
NEVER USE AN ACID BASED CLEANING SOLUTION!
MANY FOOD PRODUCTS HAVE AN ACIDIC CONTENT WHICH CAN DETERIORATE THE FINISH.
BE SURE TO CLEAN ALL FOOD PRODUCTS FROM ANY STAINLESS STEEL SURFACE.
COMMON ITEMS INCLUDE, TOMATOES, PEPPERS AND OTHER VEGETABLES.
WARNING
THE POWER MUST BE TURNED OFF AND DISCONNECTED AT ALL TIMES WHEN PERFORMING
MAINTENANCE OR REPAIR FUNCTIONS.
MAINTENANCE – Cleaning the Condenser Coil
The condenser coil is located on the top back area of the unit under a removable cover
(See Figure 7). The condenser coil requires regular cleaning and is recommended every
60 days. However, in some instances you may find that there is a large amount of
debris, dust or grease that has accumulated prior to the 60 day time frame. In these
cases the condenser coil should be cleaned every 30 days.
Condensing Coil is located on the top
back area of the unit under a
removable cover
Figure. 7
Thumbscrews
Cover

229240 9 03/28/14
MAINTENANCE – Cleaning the Condenser Coil – cont.
If the build up on the coil consists of only light dust and debris the condenser coil can be
cleaned with a simple brush, heavier dust build up may require a vacuum or even compressed
air to blow through the condensor coil.
If heavy grease is present degreasing agents are available for refrigeration use and specifically
for the condenser coils. The condenser coil may require a spray with the degreasing agent and
then blown through with compressed air.
Failure to maintain a clean condenser coil can initially cause high temperatures and excessive
run times. Continuous operation with dirty or clogged condenser coils can result in compressor
failures. Neglecting the condenser coil cleaning procedures will void any warranties associated
with the compressor or cost to replace the compressor.
CAUTION:
NEVER USE A HIGH-PRESSURE WATER WASH FOR THIS CLEANING PROCEDURE AS WATER CAN
DAMAGE ELECTRICAL COMPONENTS LOCATED NEAR OR AT THE CONDENSER COIL.
MAINTENANCE – Door Care
The door track needs to remain clear of debris to enable doors to close freely. If the doors can’t
seal properly, internal temperatures are at risk of not being properly controlled. Debris in tracks
can be wiped or vacuumed out. Warm soapy water can be used for cleaning.
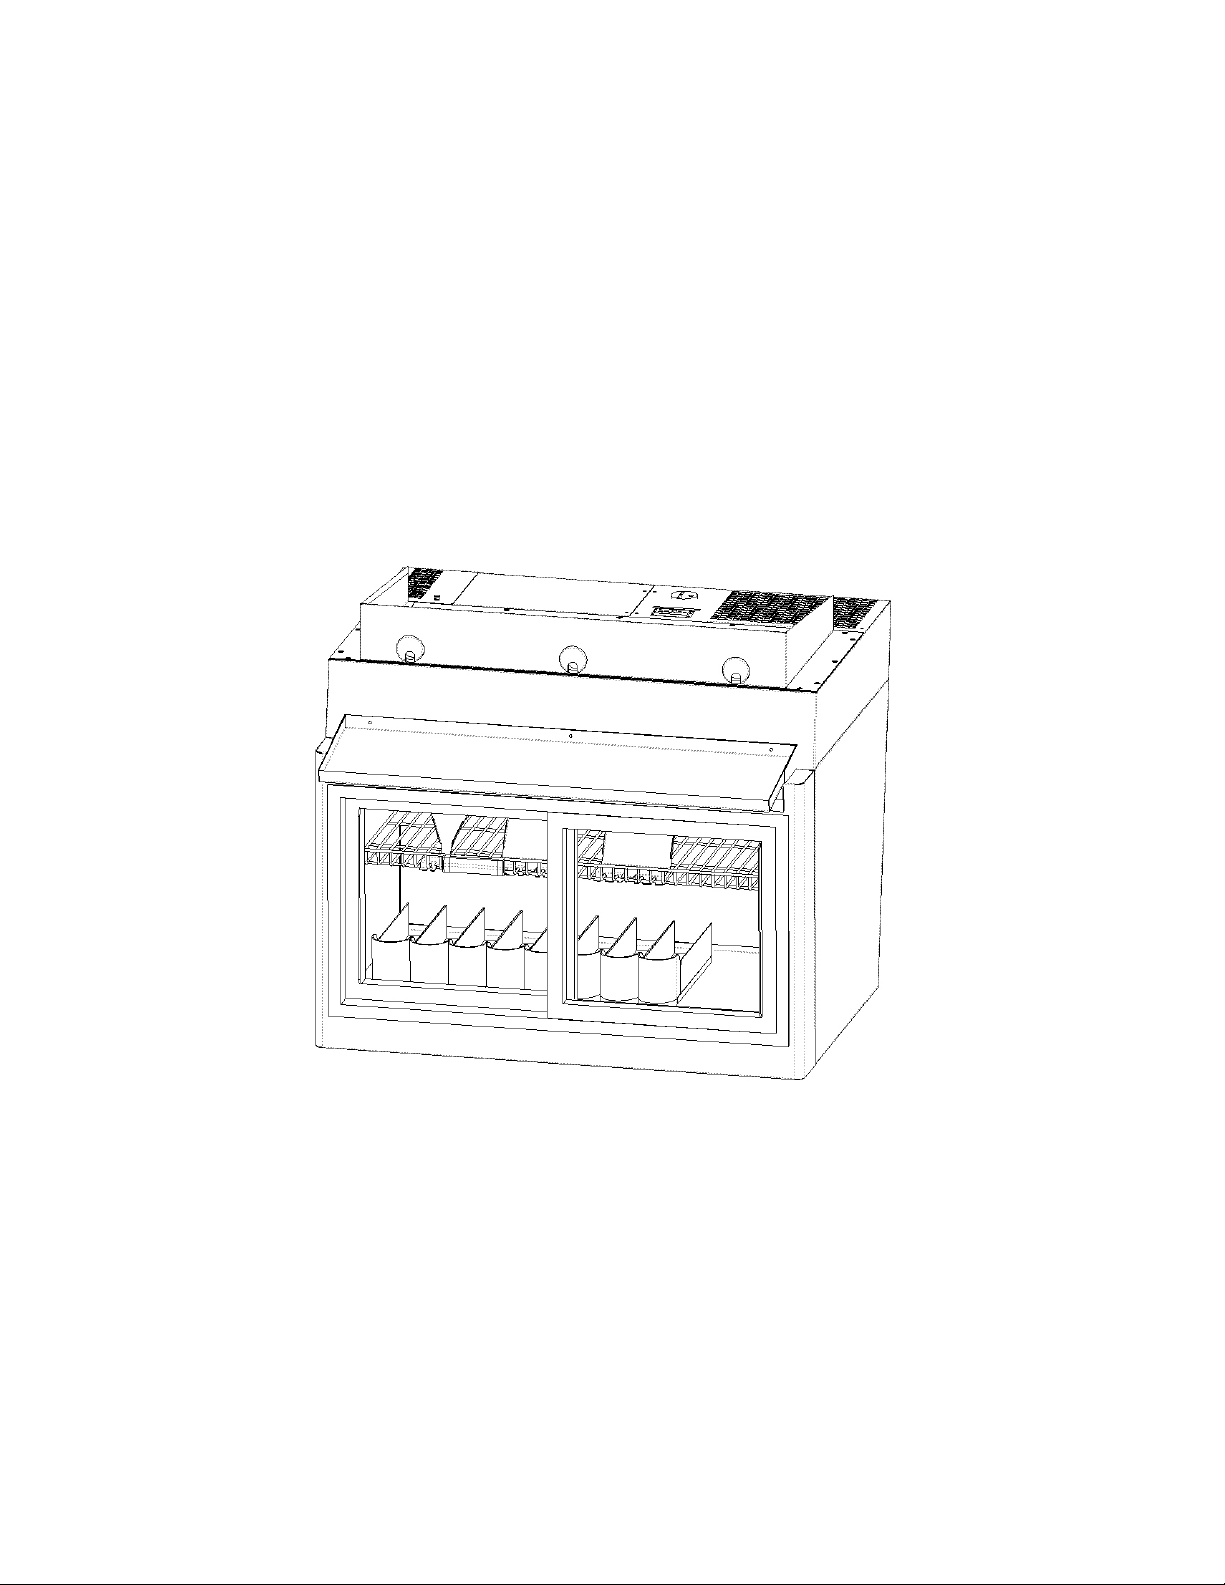
MAINTENANCE – Drain
Each unit has a drain tube located in the rear the unit which removes condensation from the
evaporator coil and deposits it onto a drain pan where it can evaporate. If you notice excessive
water accumulation on the inside of the unit be sure that the drain tube is connected from the
evaporator housing to the condensate evaporator drain pan. If water is collecting underneath
the unit you may want to check the condensate evaporator drain tube to be sure it is still
located above the drain pan. The leveling of the unit is also important as the units are designed
to drain properly when on a level surface, if your floor is not level this can also cause drain
problems. Be sure the drain pan is kept free of dirt, dust and other debris as excessive amounts
will cause water to back up and overflow from the drain pan.
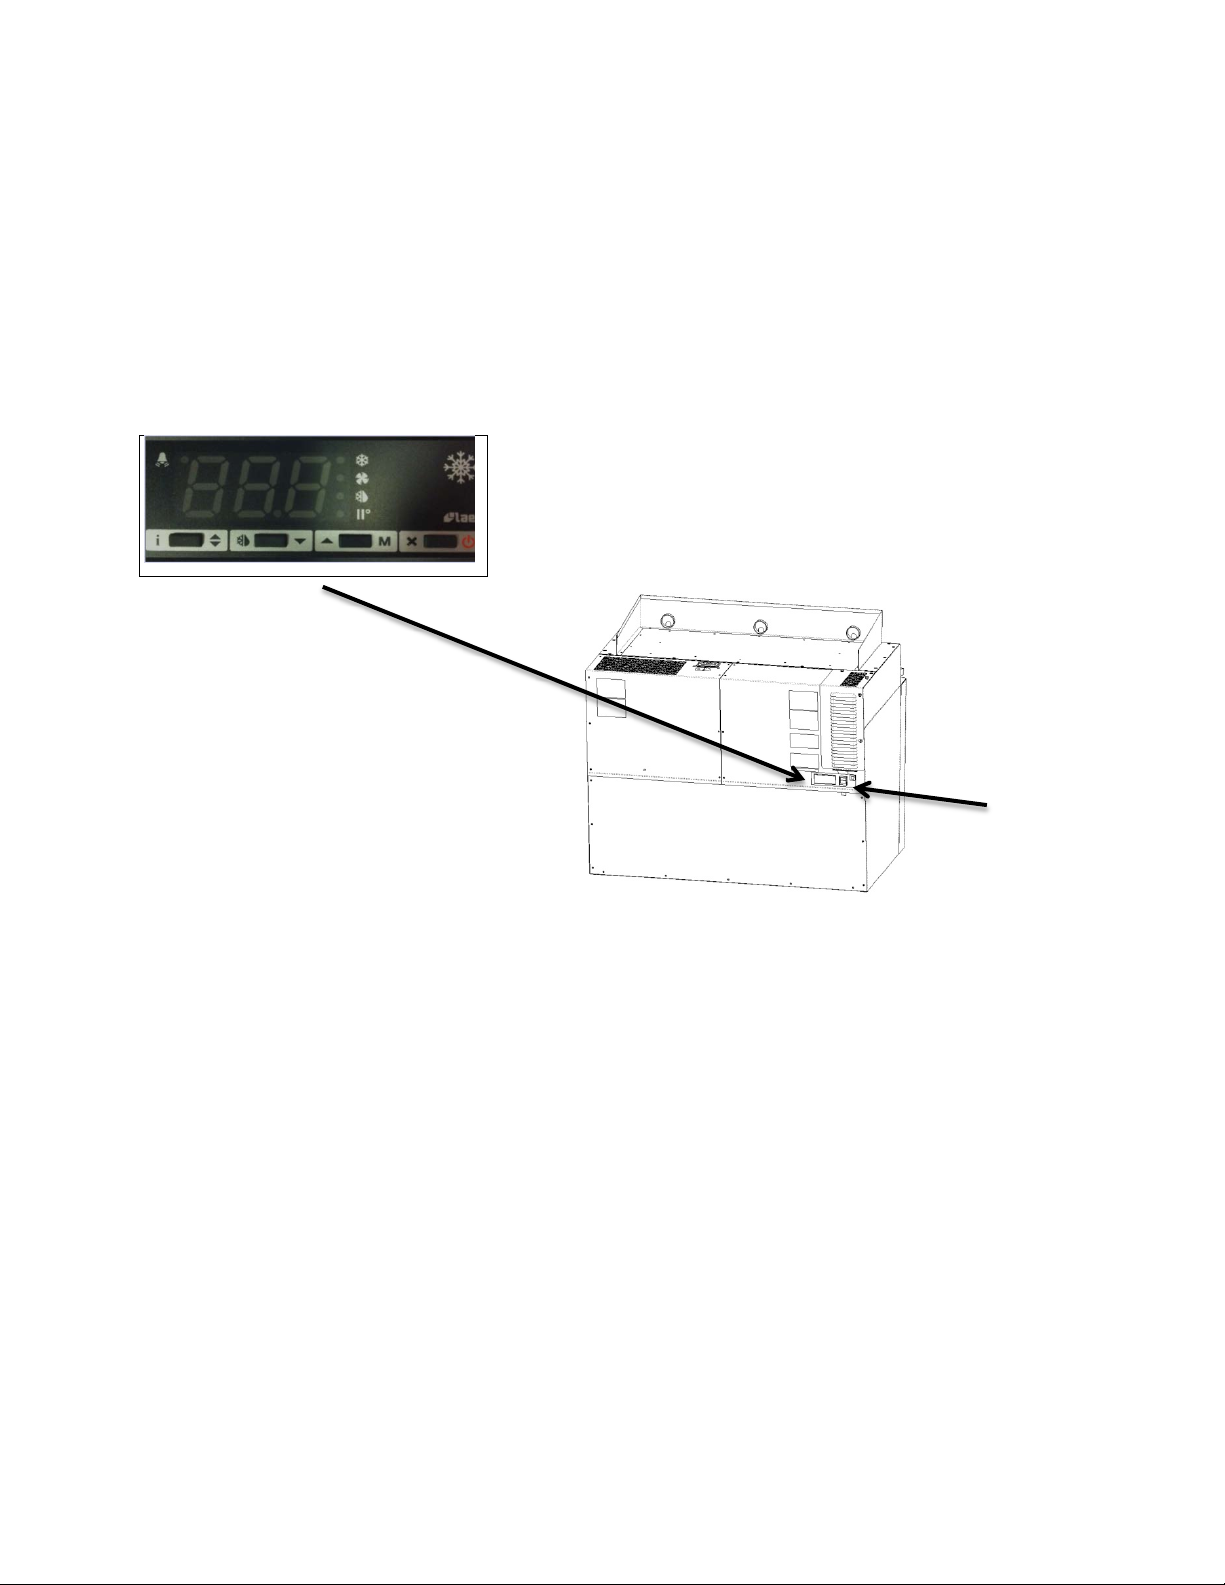
MAINTENANCE – Drain Pan Access
The drain pan and drain tube can be accessed from the top, rear area of the unit. Remove the
top rear cover. The drain pan is located behind this cover.

229240 10 03/28/14
GENERAL TROUBLESHOOTING
Always ask and check:
1. Is the unit connected to a live power source?
2. Check the circuit breaker?
3. Is the power switch on and controller display lit up?
4. Check rating label. Are you operating the unit on the proper voltage?
TROUBLE SHOOTING GUIDE
1. Problem: Power light off and unit does not cool.
a. Has unit been connected to a proper electrical source of the proper voltage?
b. Is electricity turned on at the main? Check the circuit breaker or fuse.
c. Is the controller display lit?
2. Problem: Unit does not maintain proper product temperature.
a. Are the controls set to the proper setting?
b. Has unit been pre-chilled for 30-45 minutes?
c. Was product placed into the unit above desired temperature?
d. Are there air conditioning ducts, take-up air ducts or fans located near or over
the unit, causing drafts?
SERVICE PARTS LIST
OHRM SERVICE PARTS LIST
PART #
DESCRIPTION
520105
Replacement Controller - T'Stat 120V
222302
Power Switch
225739
4 amp Circuit Breaker
216486
Condensing Unit, Complete 120V 60Hz
217833
Compressor, Replacement 120V 60Hz
217828
Fan Motor, 120V 60Hz
217829
Fan Blade
217825
Overload Protection 120V 60Hz
217826
Start Relay 120V 60Hz
217843
Start Capacitor 120V 60Hz
71138
Motor, Evaporator Fan w/ blade
216575
NSF Thermometer
226570
Evaporator
223701
Element, Mullion Heater
225855
LED Power Supply
225840
LED Light Compartment 12"
225842
LED Light Compartment 8"
225851
LED Light Chute 12"
225852
LED Light Chute 8"

229240 11 03/28/14
WIRING DIAGRAM

229240 12 03/28/14
NOTES

229240 13 03/28/14
Duke Manufacturing Company
2305 N. Broadway St.
Louis, MO 63102 Phone:
314-231-1130 Toll Free: 1-
800-735-3853 Fax: 314-
231-5074
www.dukemfg.com
Table of contents
Other Duke Merchandiser manuals