Dvico FusionHDTV User manual

FusionHDTV
1Before Getting Started ...............................................................................2
1.1 FusionHDTV Specification.......................................................................................................... 2
1.2 FusionHDTV System Requirements........................................................................................... 4
1.3 Package contents....................................................................................................................... 5
2Software Installation...................................................................................6
2.1 Installing FusionHDTV Applications............................................................................................ 6
2.2 Driver installation.......................................................................................................................11
3Hardware Installation ...............................................................................14
3.1 About the Board........................................................................................................................ 14
3.2 Before Installation PCI card...................................................................................................... 16
3.3 Connecting Power UP cable..................................................................................................... 17
3.4 PCI Board Installation............................................................................................................... 18
3.5 Remote Installation................................................................................................................... 19
4Using FusionHDTV...................................................................................20
4.1 Starting and Quitting................................................................................................................. 20
4.2 Display setup............................................................................................................................ 20
4.3 Using FusionRemote................................................................................................................ 24
4.4 FusionHDTV Shortcut Key ....................................................................................................... 25
5Technical Support ....................................................................................26

All specifications and information are subject to changes without further notices 2
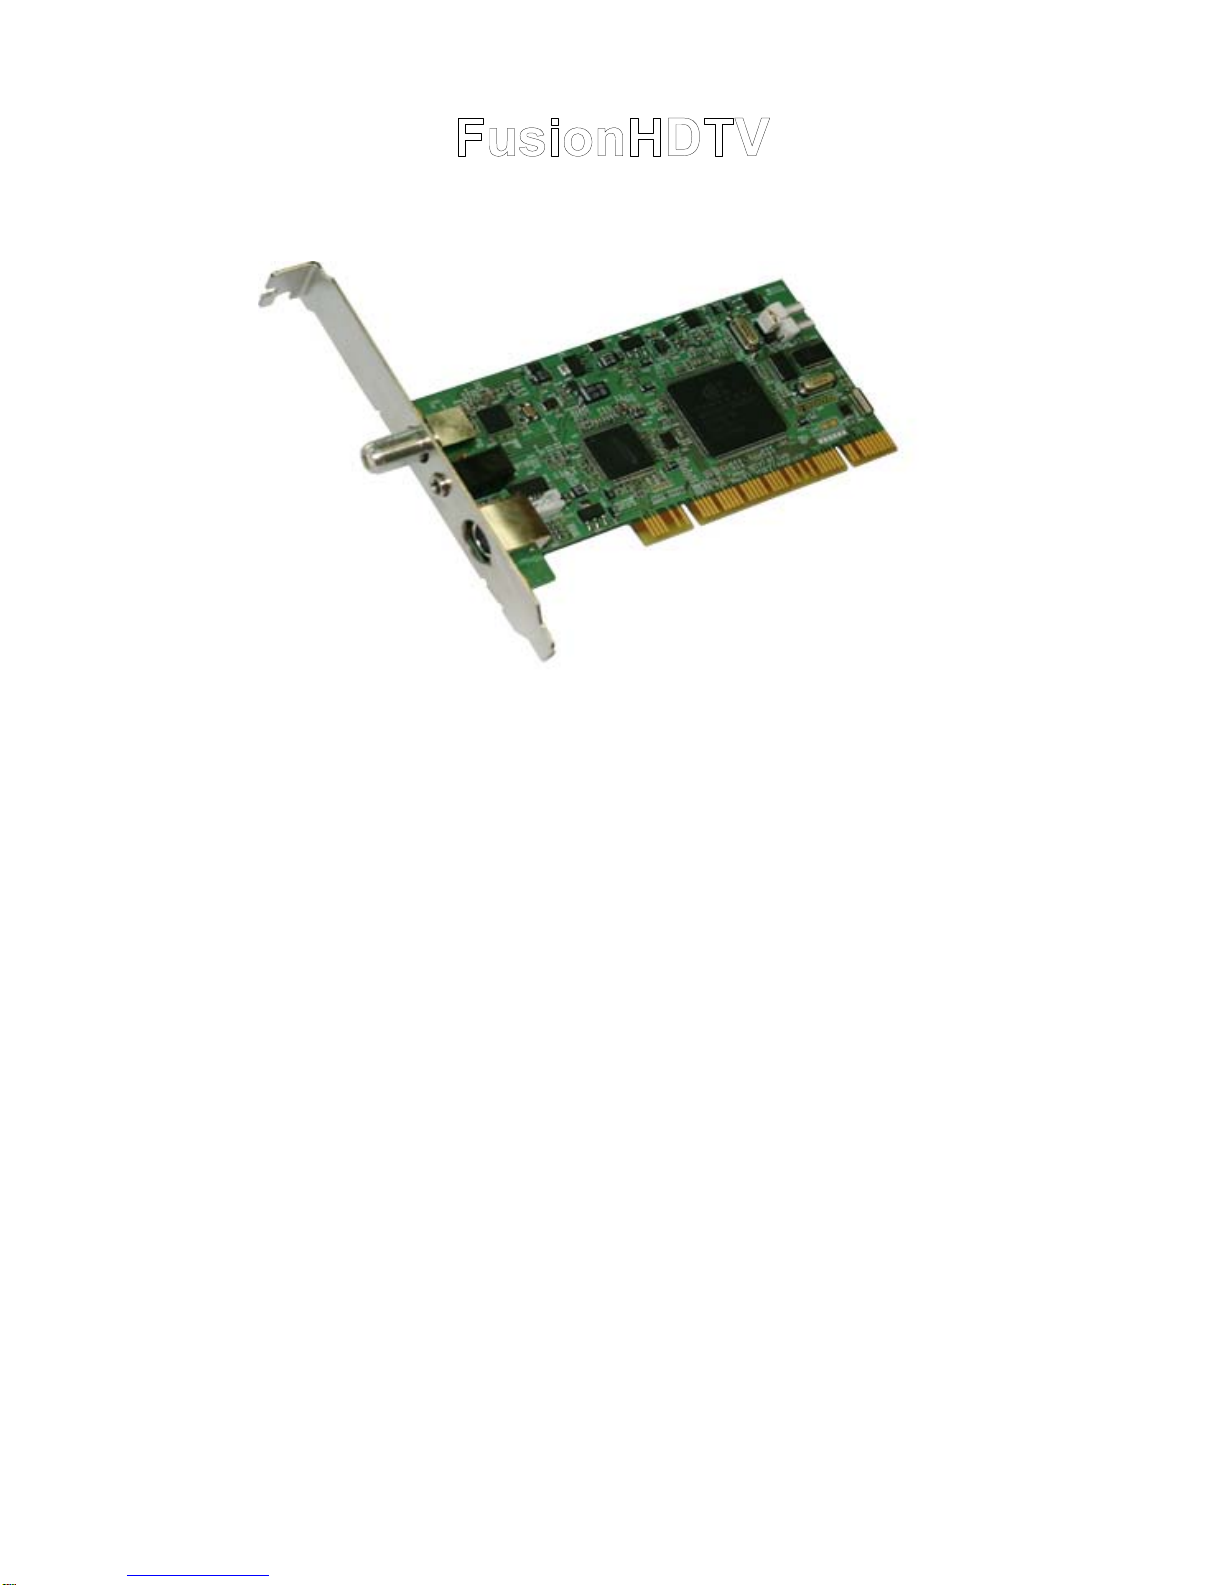
1 Before Getting Started
1.1 FusionHDTV Specification
A Highly cost effective reception card
You can enjoy HDTV at quite a low price due to Dvico’s innovative HDTV software decoding engine.
Unrivaled crystal-clear picture quality
FusionHDTV provides up to 5 times higher resolution when compared to analog TV, and provides
crisp and crystal-clear picture quality to a PC screen.
Good picture quality on LCD or low-resolution monitor
FusionHDTV shows excellent and super-clear on HDTV screens and even on LCD TV’s and low
resolution CRT due to Dvico’s proprietary decoding engine.
Great system compatibility
FusionHDTV is compatible with most video cards and motherboards. FusionHDTV works on any
recent VGA cards including Nvidia MX series or later chipsets, as well as ATI Radeon chipsets. It
works quite well on Intel, VIA, SIS, and other motherboard chipsets. Minimum system requirements
are Pentium 4 1.6G and DDR266 memory (or RDRAM memory), or AMD’s Athlon™ XP 1600+ or
faster processor, if you don’t have the ATI Radeon VGA card. Pentium 3 1Ghz or faster will be enough
if you have an ATI Radeon card.
Recording and playback of the HDTV stream
You can record live HDTV broadcasting streams to a PC and play them back anytime you want. You
can select the single sub-channel or whole stream recording when you hit recording button.
Using the most recent tuner
FusionHDTV uses the most recent tuner to get the best reception rate, so you can get the un-interrupted
and stable HDTV screen
Supports all the formats of Australian AS4933 spec of Australian AS4933 spec
FusionHDTV supports All digital terrestrial channels, so you will have the ability to receive all the
channels available to you at your location.
ATSC 8VSB/64QAM/256QAM reception support
FusionHDTV works either with free to air digital TV(8VSB) and unencrypted digital cable TV(QAM)
broadcasting channels. So you will have the ability to receive all the channels available to you at your
location.
Support analog Video Signal Capture
You can Captures analog video signal (Composite and SVHS) and convert it to VCD/ SVCD/ DVD
format. This feature cannot be supported depending on product.
AC3 audio output
FusionHDTV provides AC3 audio decoding, which is the standard format of ATSC or DVB-T. It can also
bypass the AC3 audio to digital output to connect AV amplifier.
Supports S/PDIF audio output thru sound card
It can bypass the audio to digital output and connect directly to anAV amplifier.
High resolution still capture
FusionHDTV provides high resolution still screen capturing capability in live playback as well as file

All specifications and information are subject to changes without further notices 3
playback mode.
Cut-on-the-fly feature – Cut the transport stream files
You can cut out the wanted scenes from the captured file and reconstruct the Digital clip.
Supports sub-channel
Sub channel is listed up in sub channel play list and can be selected with channel up/down button or
mouse selection in sub channel play list.
Second language
Supports the second language function in digital broadcasting.
Supports screen saver off.
Screen saver is off while FusionHDTV runs.
Supports AAC audio decoding
TS file clips and DVHS with AAC audio can be played directly in FusionHDTV.
Supports the Favorite List
You can add your favorite programs into favorite list before watching them.
HD-to-DVD or Xvid format conversion
HD clips can be converted to MPEG2, DVD files or DivX format using FusionConverter tool.
Supports DVB-T Teletext and subtitle
You can show the real time teletext browser and subtitle.
Supports True HD Time Shifting
FusionHDTV provides the various file playback functions just like live TV mode. That is, pause/ instant
replay/ time-shifting by scroll bar/ fast-forward/ fast-rewind.
Being interrupted while watching live TV programs (such as pick up phone calls & answer the door), all
you need to do is simply press the Pause button and freeze the picture for a period of time, and then
pick up right where you left off.
The FF/REW Function is available Windows XP Service Pack 2 or above
Supports PIP (Picture in Picture)
The FusionHDTV is like having two TVs in one! With the Picture in Picture (PIP) function you can now
watch two of your favorite programs all on a single screen.
Supports Multi-View
You can see all sub channel video on the single video screen.
- This function is available under Windows XP or higher to be installed.
- The multi-View function is available without Time-shifting or analog channel.
- When the Fullscreen mode, this function doesn't work at this moment.
Supports Power up function
FusionHDTV is available the Power Up function.
Turn ON or OFF your PC like you do your TV. With multifunctional remote control you will be able to
boot your PC from a distance. Not only does it provide perfect control of all HDTV functions you will also
be able to control Windows MCE 2005 and many other application programs with this multifunctional
remote control.

All specifications and information are subject to changes without further notices 4
1.2 FusionHDTV System Requirements
System requirements for FusionHDTV are as follows
* The Specification or Input/Output may differ with the product.
<Input/Output>
One TV antenna reception port
One inside stereo connection jack to sound card for VIDEO
S-Video IN, Composite IN
<DxVA VGAs>
Pentium3 800MHz or faster with 128M memory
Celeron 900Mhz or faster with 128M memory
GeForce4 MX420,440,Fx5200,5600 Series or late all models.
Pentium M 1.4GHz or faster for notebook PC
All ATI Radeon series VGAs
Windows 2000/XP/MCE 2005/Vista 32bit/Vista 64bit
: FusionHDTV DVB-T Dual Digital4 is not supported under windows 2000
Ultra-DMA66 enabled main board and HDD for recording
<nonDxVA VGAs>
Pentium4 1.6GHz or faster with 128M memory
All Nvidia MX series VGAs and ATI Radeon series VGAs
All Matrox series VGAs
DDR266 or faster memory
Windows 2000/XP/MCE 2005/Vista 32bit/Vista 64bit
: FusionHDTV DVB-T Dual Digital4 is not supported under windows 2000.
Ultra-DMA66 enabled main board and HDD for recording
<Remote control booting>
FusionHDTV is available the Remote control booting function.
Turn ON or OFF your PC like you do your TV.

All specifications and information are subject to changes without further notices 5
1.3 Package contents
The FusionHDTV package contains the following items. Some packages may change depending on other
conditions.
①FusionHDTV card
②Setup CD
③Manual
④Internal cable to sound card for External output Audio (7 RT GOLD/DVB-T pro only)
[ Fusion Remote ]
* FusionHDTV remote transceiver is basic option.
①FusionHDTV transceiver
②IR Remote Receiver
③Converting cable for IR receiver and external input.( Not support the Dual Digital4)
1 2 3
1 2 3 4

All specifications and information are subject to changes without further notices 6
2 Software Installation
Most likely there will be an updated version of the files on our web site.
Please check the site (http://www.FusionHDTV.co.kr/Eng) before you install the software included in the CD.
2.1 Installing FusionHDTV Applications
Insert FusionHDTV Installation CD into the CD-ROM drive. The setup window will automatically pop up. if
you downloaded the recent version on DVICO’s website, please run install.exe or setup.exe.
2.1.1 Uninstall Drivers
1) When you select Uninstall Driver in the menu on the FusionHDTV INSTALLER program, Select
your FusionHDTV board type.
2) It will remove all the old drivers previously installed.
3) When all the drives are removed, you will see following message.

All specifications and information are subject to changes without further notices 7
2.1.2 Installing FusionHDTV Software
Important: Installation on Windows 2000 Professional or Windows XP
Before you install FusionHDTV software, be sure that you logged on as an account with
Administrator privileges.
1) Select “Install FusionHDTV”.
2) At the FusionHDTV Installation dialog
opens, click on the “Next>” button.
3) The “Choose Destination Location”
window will appear. Click on “Next” if
you want to install the FusionHDTV in
the default directory. Otherwise, you
can choose a different directory by
clicking on “Browse”.
4) Press “Next” on the Destination
Folder selection window.

All specifications and information are subject to changes without further notices 8
5) The “Setup status” window will appear.
6) Choose your country, then click “OK”. If your System is
Korean, This step is skipped. You have to run the ‘Select
Country’ on the Start-program-DVICO-FusionHDTV and then
scan the channel.
7) PC specification selection windows will
appear. Please select the appropriate
system. You can change the mode after
installation with configuration menu of
the application program. You do not
need to reinstall the program with
different options. Vista OS skips this step.
8) Select your FusionHDTV card, and Press
‘Install Driver’ to install latest drivers. This
selector may differ to country selection.

All specifications and information are subject to changes without further notices 9
9) The Driver Installer appears. Press
‘Next’.
10) If you connect 2 card or above, Press “YES”
and then re-install another driver, but if you
have 2 same card, you may press “NO”.
11) Press “Continue Anyway” for the digital signature message.
12) Following message indicates the completion of the setup.
13) By clicking the Finish button, the
software installation is done.
14) When you reboot, the system will
ask for the 3(2) drivers. Please click
“Yes” when the digital signature
window appears.
<Notes>
In certain cases, Windows will ask for the .sys files. You can locate the sys files in the C:\Program
Files\DVICO\FusionHDTV\driver or C:\Windows\System32\Drivers folder.

All specifications and information are subject to changes without further notices 10
2.1.3 Installing Microsoft DirectX 9
Important! Installing on Windows 2000 Professional or Windows XP
You can check the version of DirectX by typing “dxdiag” on the command line which appears with
menu selection “start->run”
If you have DirectX 9 or later already, you
do not need to install DirectX 9 again.
1) Run ‘Install.exe’ and then select
“Install Direct 9”.
2) Read the License Agreement
carefully and check “I accept the
agreement” and then click on “Next” if
you agree.
3) To start installing of DirectX 9.0
Runtime, click on “Next”.
Tip If there is a DirectX already installed
in the system, a different window will show up
instead of the one above.
4) Click on “Finish” to restart system
and complete installation of the
DirectX.

All specifications and information are subject to changes without further notices 11
2.2 Driver installation
2.2.1 Installing Windows drivers
If you already installed the FusionHDTV software, insert the FusionHDTV board into the PCI local bus slot.
In certain cases, Windows will ask for the .sys files. You can locate the sys files in the C:\Program
Files\DVICO\FusionHDTV\driver or C:\Windows\System32\Drivers folder.
Although you have another product, the step of installation is similar.
1) When the “Add New Hardware Wizard window” appears, select “Install the software automatically
(Recommended)” and then click “next”.
2) When the “FusionHDTV DVBT-PRO, Unified AVStream” window appears, Click “Continue Anyway”.
3) After files are copied, Click “Finish” if the “FusionHDTV DVBT-PRO, Unified AVStream” driver is
properly installed.

All specifications and information are subject to changes without further notices 12
Tip
[ FusionHDTV DVB-T Pro]
Using this way, you may install “FusionHDTV DVBT-PRO, Unified AVStream” and two “FusionHDTV
(unused device function)” drivers.
[ FusionHDTV DVB-T Dual Digital 4]
Using this way, you may install two “ FusionHDTV USB, AVStream Capture(DVB-T DUAL)” ,”
FusionHDTV USB, AVStream Capture(DVB-T DUAL)” drivers.
[ FusionHDTV DVB-T DUAL Express ]
Using this way, you may install “FusionHDTV Express, Unified Capture (DVB-T Dual Express)” drivers.
[ FusionHDTV7 Dual Express ]
Using this way, you may install “FusionHDTV Express, Unified Capture (HDTV7Dual)” drivers.
[ FusionHDTV7 RT GOLD ]
Using this way, you may install “FusionHDTV7 RT, Unified AVStream” and two “FusionHDTV (unused
device function)” drivers.

All specifications and information are subject to changes without further notices 13
2.2.2 Checking the Windows driver
Right click the “My Computer” icon and select “properties” from the popup menu. Select Hardware-> Device
Manger. You must see following devices properly installed under the “Sound video and game controllers”.
* The DVB-T Dual Digital4 is not supporting the Windows 2000.
[ DVB-T ]
[ FusionHDTV DVB-T PRO ]
FusionHDTV (unused device function)
FusionHDTV DVBT-PRO, Unified AVStream
[ FusionHDTV DVB-T DUAL DIGITAL4 ]
FusionHDTV USB, AVStream Capture (DVBT-DUAL)
[ FusionHDTV DVB-T DUAL Express ]
FusionHDTV Express, Unified Capture (DVB-T Dual Express)
[ ATSC ]
[ FusionHDTV7 RT GOLD ]
FusionHDTV (unused device function)
FusionHDTV7 RT, UnifiedAVStream
[ FusionHDTV7 Dual Express ]
FusionHDTV Express, Unified AVStream(HDTV7Dual)
** If a driver file look for, click the browse button. Select the driver directory under the installation directory
(ex : C:\Program Files\Dvico\FusionHDTV\driver) or Driver folder of installation CD.
If you want to remove the driver, select Uninstall Driver in the menu on the FusionHDTV INSTALLER
program, Select your FusionHDTV board type.
To remove the 64bit driver, You may remove the driver by "Control panel-Add or Remove programs".

All specifications and information are subject to changes without further notices 14
3 Hardware Installation
3.1 About the Board
[ FusionHDTV DVB-T Dual Digital 4 ]
Air Antenna: Connects to the terrestrial Digital signal.
Remote receiver : Connect IR Remote receiver.
PME Jumper : For the PME# option of power up.(Refer to chapter 3.3)
Power Up connector : For the power up cable when PME is not available.
[ FusionHDTV DVB-T Dual Express ]
Antenna: Connects to the terrestrial signal
VIDEO-IN: For external video sources and IR receiver
Power Up connector : For the power up cable when PME is not available.
PME Jumper Power Up connector
Air Antenna
IR Remote receiver
Air Antenna
VIDEO-IN
Power Up connector
PME Jumper

All specifications and information are subject to changes without further notices 15
PME Jumper : For the PME# option of power up.(Refer to chapter 3.3).
[ FusionHDTV DVB-T Pro ]
Air Antenna: Connects to the terrestrial signal (Digital & Analog).
Video –IN/Remote receiver : For external video sources, Line-In and remote receiver.
Analog Audio Output Port : For the audio of analog sources.
PME Jumper : For the PME# option of power up.(Refer to chapter 3.3).
Power Up connector : For the power up cable when PME is not available.
[FusionHDTV7 RT GOLD]
Antenna: Connects to the terrestrial signal (Digital & Analog).
Video –IN/Remote receiver : For external video sources, Line-In and remote receiver.
Remote Receiver: can use this port without dongle cable for remote.
Power Up connector
Air Antenna
Video –IN/Remote Receiver
PME Jumper
Analog Audio Output Port
Antenna
Video –IN Analog Audio Output Port
Power Up connector
PME Jumper
Remote Receiver

All specifications and information are subject to changes without further notices 16
Analog Audio Output Port : For the audio of analog sources.
PME Jumper : For the PME# option of power up.(Refer to chapter 3.3).
Power Up connector : For the power up cable when PME is not available.
[FusionHDTV7 Dual Express ]
Antenna: Connects to the terrestrial signal or cable
VIDEO-IN: For external video sources.
Remote Receiver: can use this port without dongle cable for remote.
Power Up connector : For the power up cable when PME is not available.
PME Jumper : For the PME# option of power up.(Refer to chapter 3.3).
3.2 Before Installation PCI card
Warning:
1) Before installing, first touch the grounded part of the PC to protect the components on the board
from static electricity.
2) Before installing the board, the system’s power should be turned off. Installing the Board when the
system’s power is “ON,” will damage the system or the Board and void your warranty.
3) Please remove the power cord from the PC.
Antenna
VIDEO-IN
Power Up connector
PME Jumper
Remote receiver

All specifications and information are subject to changes without further notices 17
3.3 Connecting Power UP cable
We have 2 Power Up functions - the PME and power switch cable.
If your mainboard supports the PME (Power Management Event) option, you can skip the ‘Connecting
Power UP cable’ steps.
We recommend that you enable Wakeup by PME# of PCI in bios-Power Management Setup. This
option is different according to the bios manufacturer of the mainboard, so it is important to refer to the
manual of the mainboard for the PME option. Please check if PME jumper has been done to PME side
properly.
If you want to change the bios setting, please press the DELETE key (AwardBios) as soon as you boot.
(AMI Bios : F2 key)
1) Shut down your computer and unplug main power cord.
2) Remove the computer case cover.
3) Locate the ATX power switch pins on your computer case
and trace the wires to the power switch connector on your
mainboard. The ATX power switch cable is normally a
twisted pair of cables with a two-pin connector as shown in
the picture below.
< Note >
On the mainboard, the ATX power switch pins are usually labeled
“POWER SW” or something similar. It is vital to remember the
position of these pins for a later step in the installation process.
4) Unplug the ATX power switch cable from the mainboard and
connect it to the connector named “Case Power Pin” on the
FusionHDTV TV PCI Tuner Card, as shown in the picture
below. And you need to change the PME jumper to SW
The ATX power switch cable is not polarized. You can plug it in either
direction.
5) Connect the black socket of the Power Up power patch cable to
the power switch connector on the mainboard.
6) Connect the white socket of the Power Up cable to the connector
named “M/B Power Pin” on the FusionHDTV PCI Tuner card.

All specifications and information are subject to changes without further notices 18
< Note >
Please double check if everything has been done properly. If you plug the cables into an incorrect pin,
your PC may not start or may function improperly.
The location of PME jumper may differ to the TV card model.
- PME jumper used to PME# option in Bios.
- S W jumper used to connecting the Power pin.
------------------------------------------------------------------------------------------------------------------------------------------
<< Note >>
Connect the white end of the Power Up cable to the TV tuner card and the black end to the Mainboard.
Double check your work. If you plug the cables into the incorrect pins, your PC may not start or
otherwise function improperly.
If you don’t want to use Power Up Scheduling from the Windows Shutdown state, you can skip the
power switch circuit connections. In other words, you can skip Power Up Connecting. You can still use
scheduled recording from Standby mode or powered on state.
Power Up will start your computer in advance of 5 minutes before the schedule time. If you set schedule
on 4 o’clock, Power up will wake up your computer on 3:55. Therefore, you need to shut down the
computer before 3:54 in order to let Power Up start the computer.
This feature cannot logon your system When your account requires an your user name and password.
So if you want to use Power Up Scheduling, you must have the auto logon account.
------------------------------------------------------------------------------------------------------------------------------------------
3.4 PCI Board Installation
1) Connect the analog audio output port to the sound card (CD-IN or Aux) for Video or composite.
(DVB-T Pro/7 RT GOLD only)
2) Insert the board by holding the top part of the board and push it until it completely locks into the slot.
Fasten the screw on the bracket using a screw driver.
Tip After the board installation, when the power is on, the driver search message will appear. Please
refer to chapter 2 for driver Installation.
M/B Power Pin
Case Power Pin
PME/SW Selector

All specifications and information are subject to changes without further notices 19
3.5 Remote Installation
1) Connect the IR receiver
module to the enclosed
converting cable or remote
receiver port to the bracket.
2) If you have a converting
cable, Firmly connect the
remote receiver to
converting cable’s IR port.
3) After IR receiver and FusionHDTV remote software is installed, please reboot and start the
configuration by right clicking the FusionRemote icon at the low right bottom of the screen. If you do
see the FusionRemote icon in the tray, please start the program by Start->Program->DViCO-
>FusionRemote.
4) Please select the port that IR receiver module is attached and press the any button on the remote
transceiver. A Dialog box with the remote transceiver buttons will appear.
Tip FusionRemote program will start
automatically when the PC is booted. You can
check the Fusion Remote program availability at
the Task Bar of Windows like the picture below.
** In case of IR receiver, please connect the
remote receiver to enclosed dongle cable.

All specifications and information are subject to changes without further notices 20
4 Using FusionHDTV
Please check Http://www.FusionHDTV.co.kr for any updated software or manuals.
4.1 Starting and Quitting
Click Start, point to Program->DVICO->FusionHDTV, or double click on the FusionHDTV icon in the program
folder to execute FusionHDTV.
When you first execute the program, it will ask for a channel scan. Please say “Yes” for the channel scan.
By clicking (Exit Button), the software is terminated.
4.2 Display setup
FusionHDTV Software composed with View panel and control panel.
4.2.1 Video Window
It shows the HDTV picture inside the window.
[ Single mode ]
[ PIP mode ]
Other manuals for FusionHDTV
1
Table of contents
Other Dvico PCI Card manuals