3
5
2
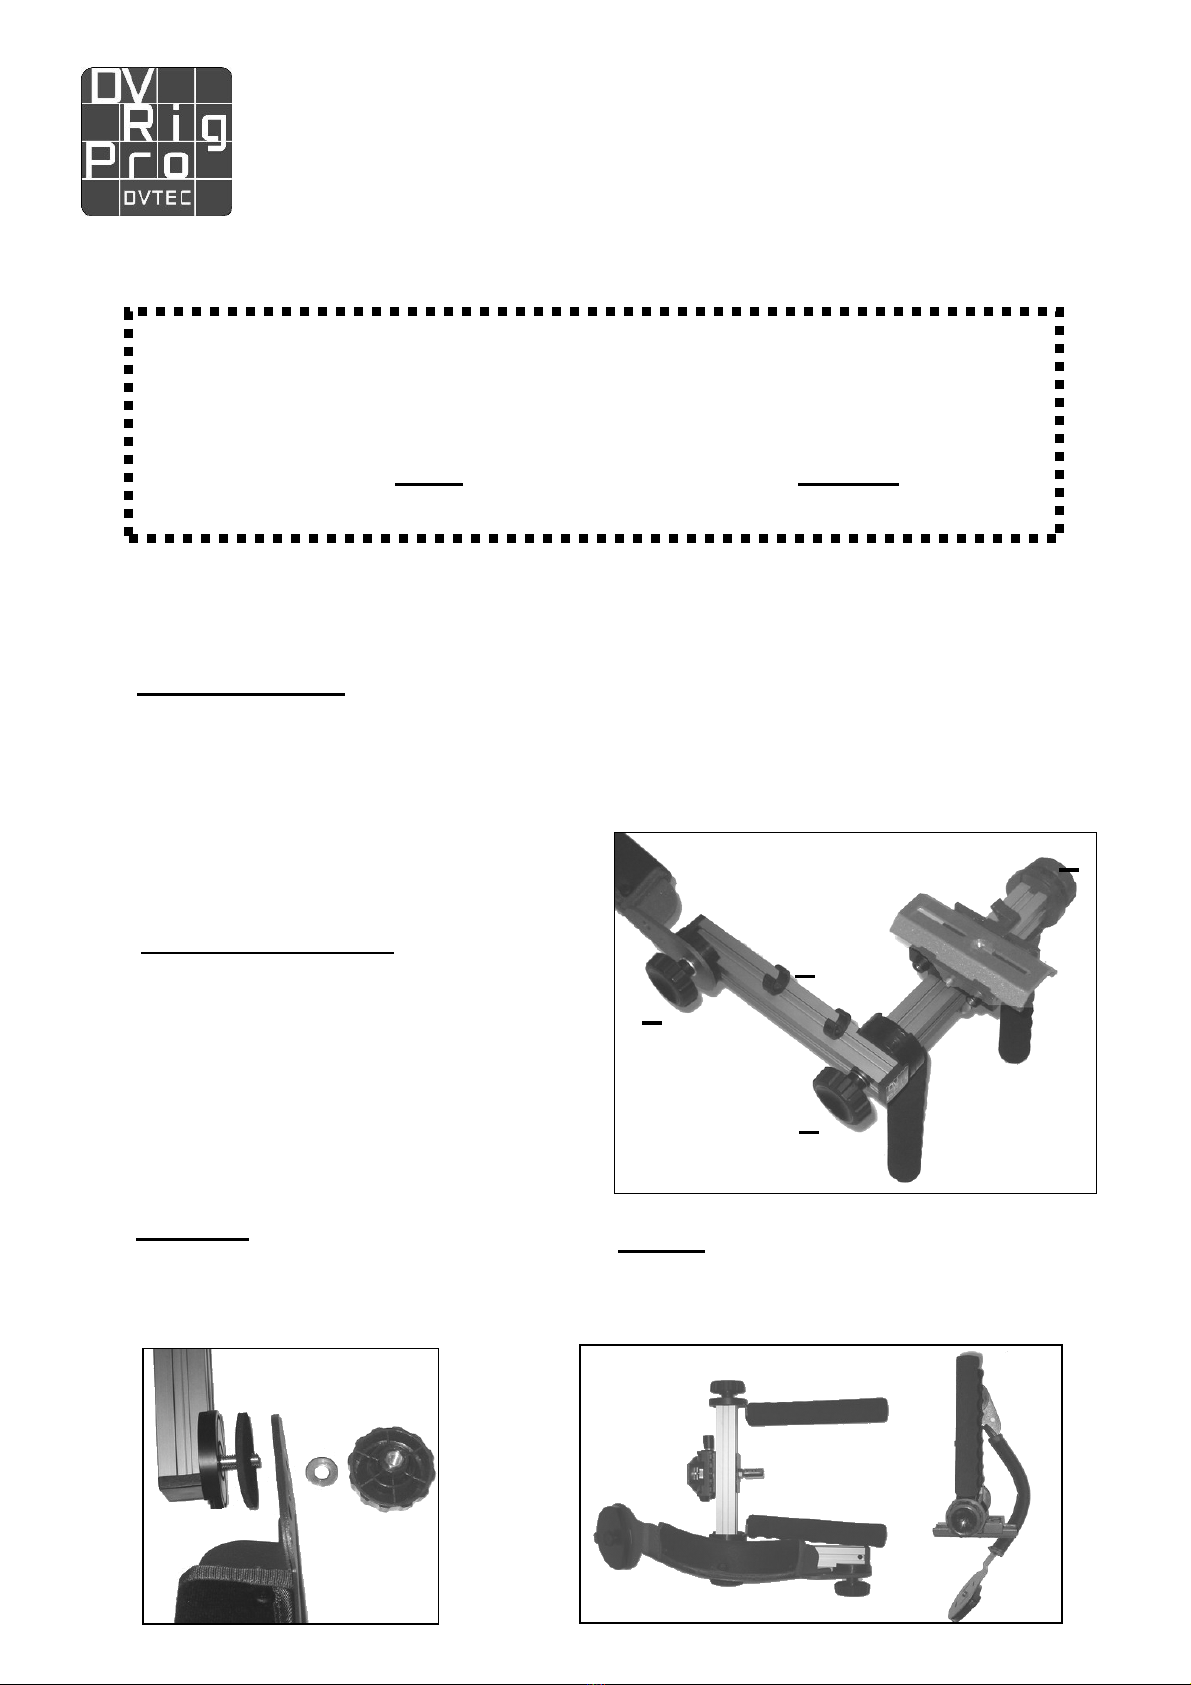
The two large locking knobs (1,2) are loose for storage and transport. Pick up the Rig
and stretch it. Lock the Large knobs (1,2) and place the Rig on a stable flat surface.
Knob (0) is fixed; do not try to turn it!
Operate and test the two large Tilt/Crane (1) and Elevation (2) Knobs, Practice
tightening and loosening them and check for smooth movement. Do not over lock, and
do not unlock more then one turn.
Operate and test the small locking knob (3) located
under the camera’s quick release base. Practice
moving it along the rail. Do Not Over lock, and do not
unlock more then one turn.
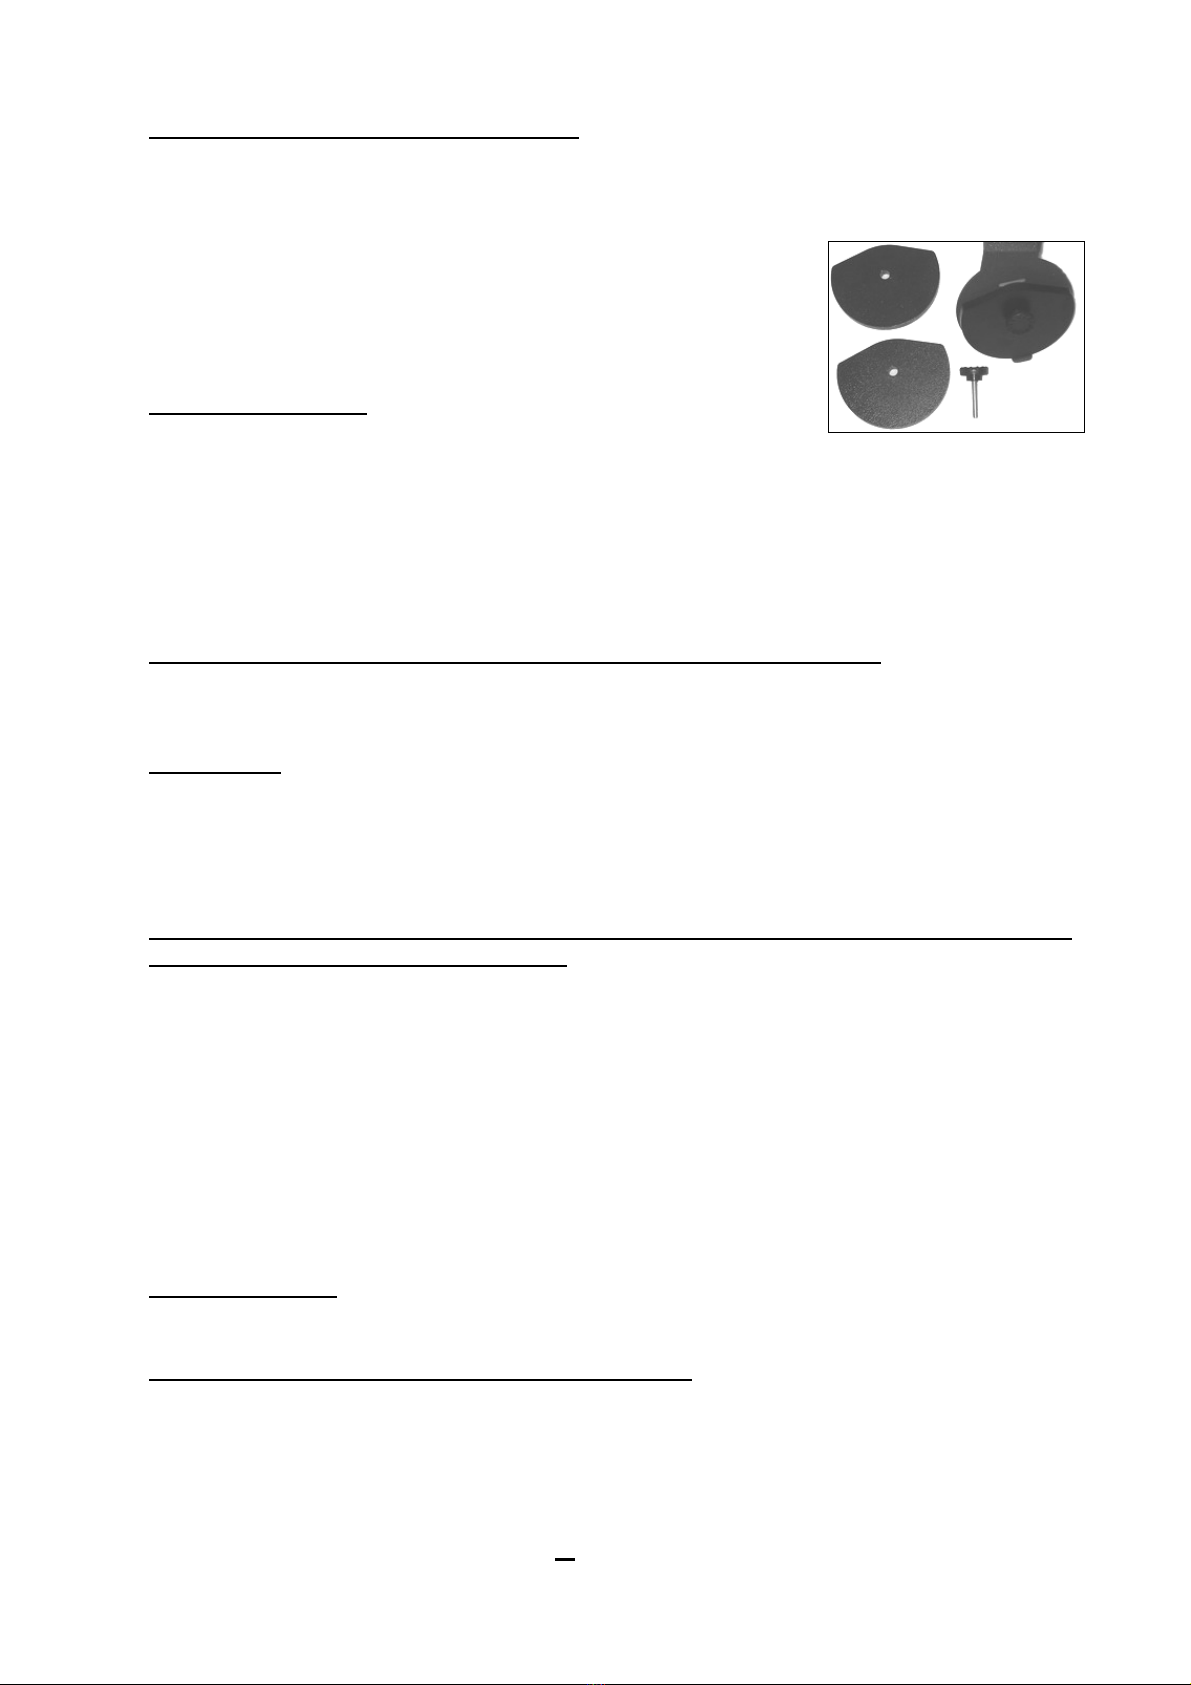
Release the camera plate from the Quick Release base
by turning the Left hand lever (5) and pushing the brass
safety lock on the right side.
Attach the sliding camera plate to your camcorder by using a flat screwdriver or a coin.
Tighten the camera screw firmly.
Slide the camera into the Rig’s Quick Release base and lock it in the middle position.
Check the back weight. Make sure it is secured in place. If you use your own Battery,
take off the weight and replace it with your battery. Secure it with the supplied Velcro
straps. Make sure it is secured and will not move or fall during shooting.
Attach the Remote control unit (Optional) to the top of the right padded handle bar.
The DvRigPro. Chassis is now ready.
The Active Suspension Pod
The active Suspension pod is supplied and stored spring loaded, this means that
releasing the locks will release the springs, the pod may take off like an “arrow” and
hurt or damage you or your property. Be Careful, and Do Not Unlock until ready to be
used. Store the Active Suspension Pod in its spring holders (4) on top of the Rig.
• To adjust the pod’s length, lift the camera to just above your eye level and lock the
top-locking knob.
• The top spring is softer then the bottom spring. Choose the one that is best for the
weight of your camera and type of shooting and lock the other one.
• For normal operation only one section of the pod should be free.
• For extreme up and down tilting and free camera moves, release both pod locks.
For most stable longer period shoots, or tele shoots, Tighten all locks.
The Support Belt
The Support belt will fit most of you. If not, Mail us and we will airmail you an extension.
Put the belt on with the Top (Open) end of the holster pointing up.
It is highly recommended that you fasten the belt quite tight over your hipbone.
Make sure not to over tight the belt, and DO NOT let the belt interfere with normal
breathing, you have to feel comfortable.
Position the holster in the middle of your body.